User Guide / Creating 3D Cutaways
Creating 3D Cutaways in Equator
Begin by finding an area that you would like to create a 3D Cutaway of. On the right side of the screen, select “3D Cutaway”. On smaller screens, you may need to Click the three dots to extend the menu, and then choose the option ”3D Cutaway”.
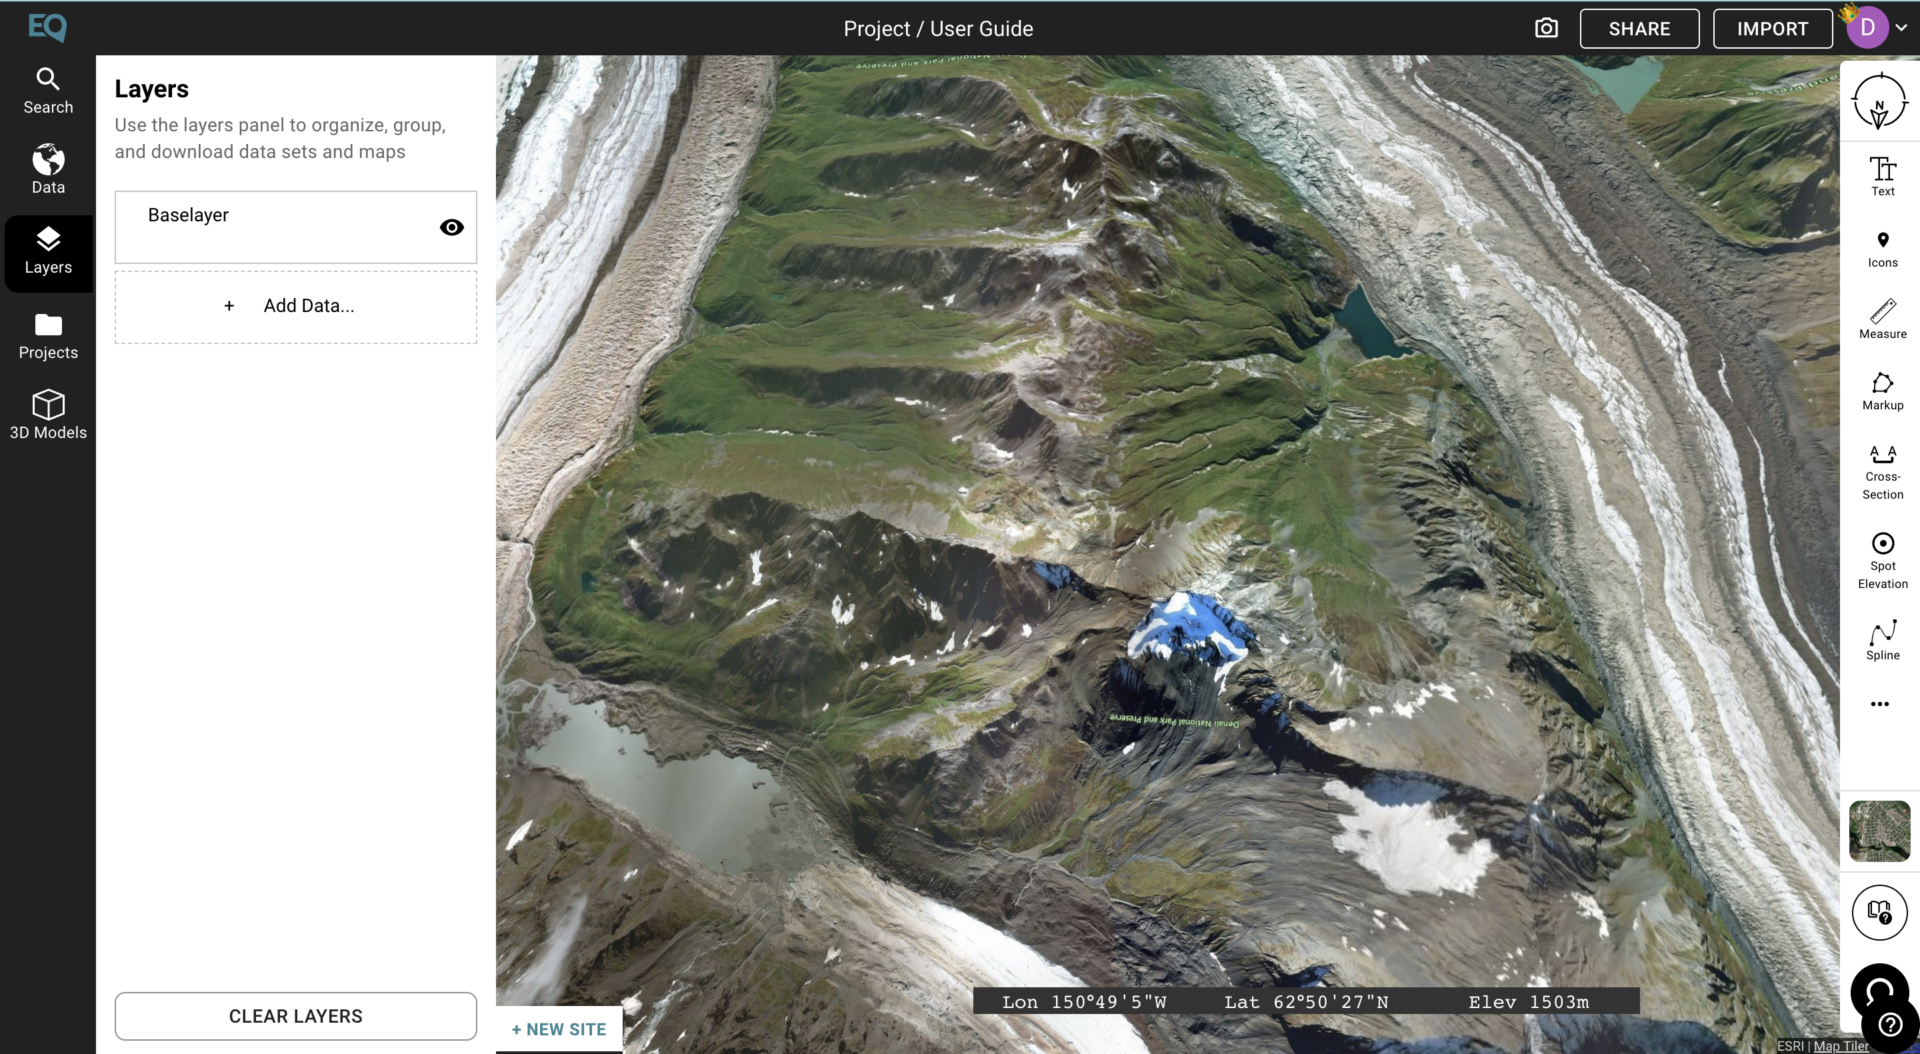
On the screen, a red dot will appear alongside the cursor. This will allow for the creation of the cutaway. On the left side of the screen, a detailed menu that allows for the customization of the cutaway will also appear.
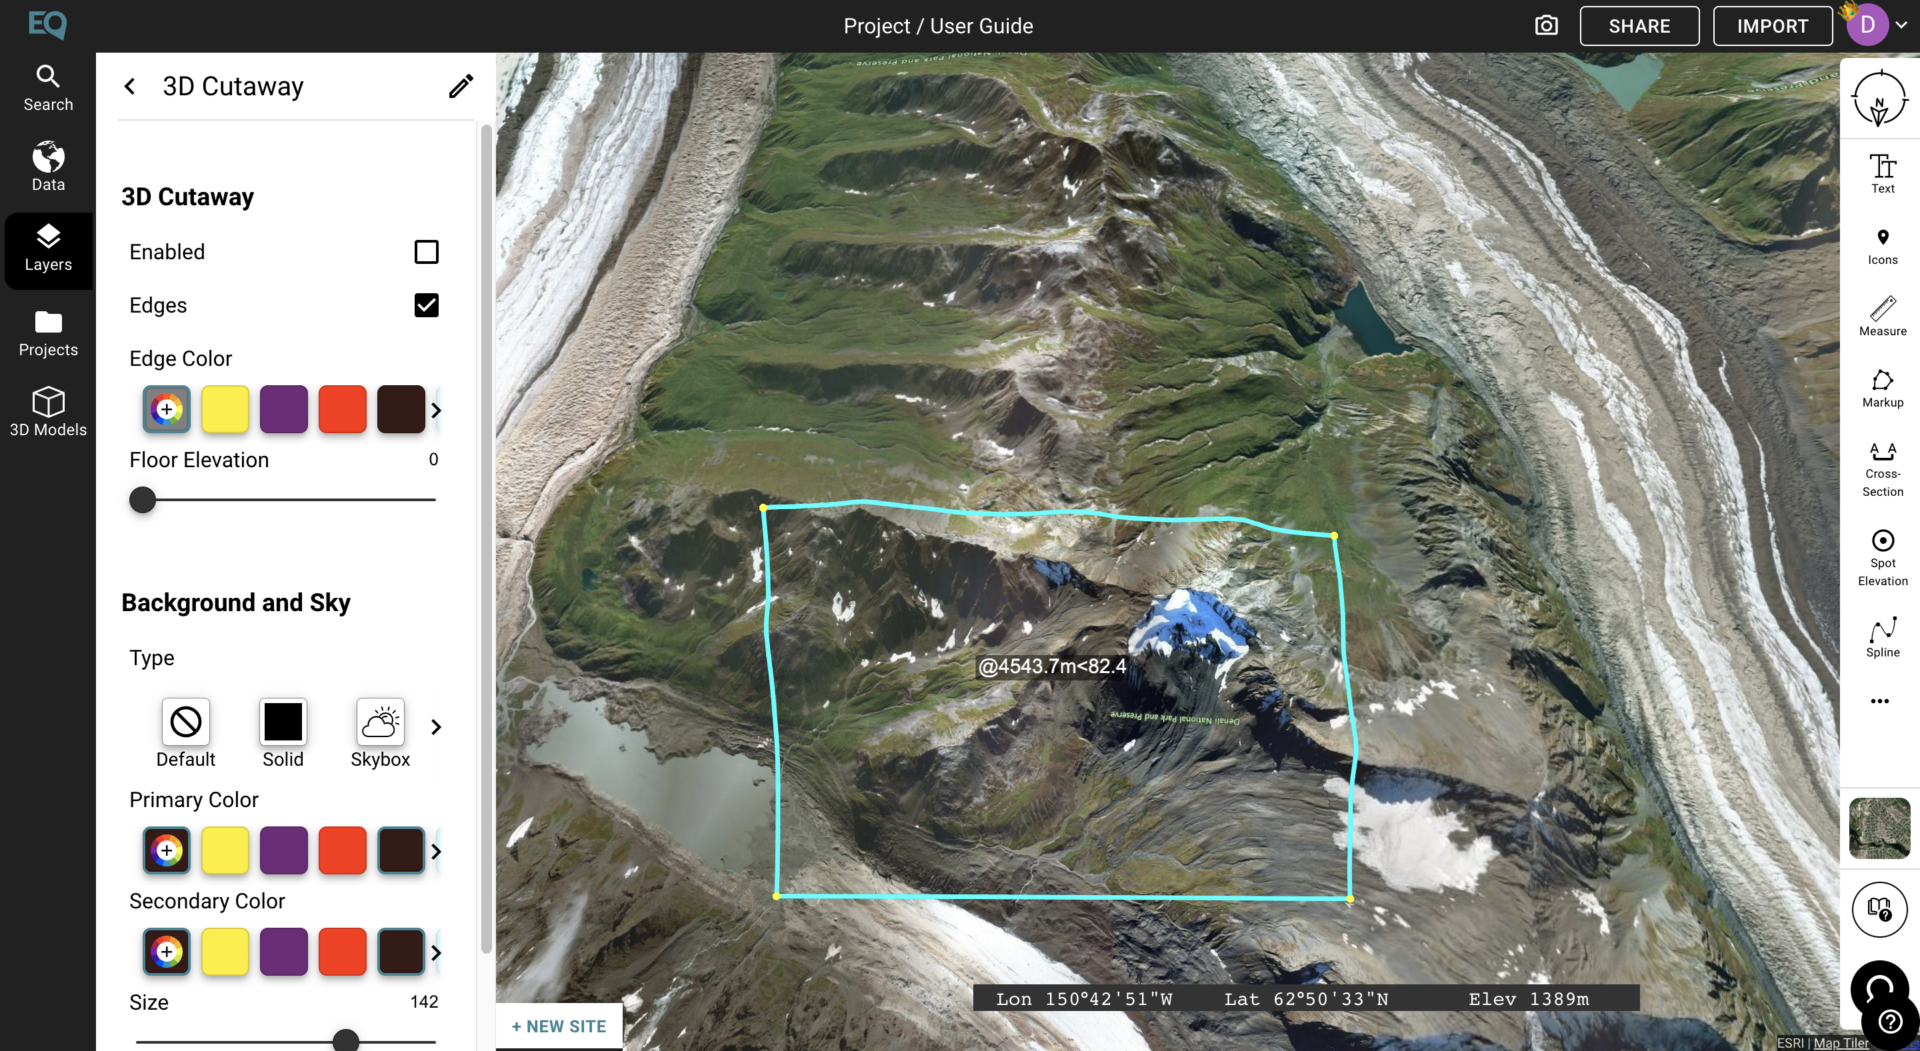
To create the cutaway, begin to draw a rectangle and/or square shape over the area where you would like the cutaway to be created. To do this, create points by clicking on the screen.

In order to complete the Cutaway, click the final point on top of the first initial point. This will create the cutaway. The rest of the map will be hidden.
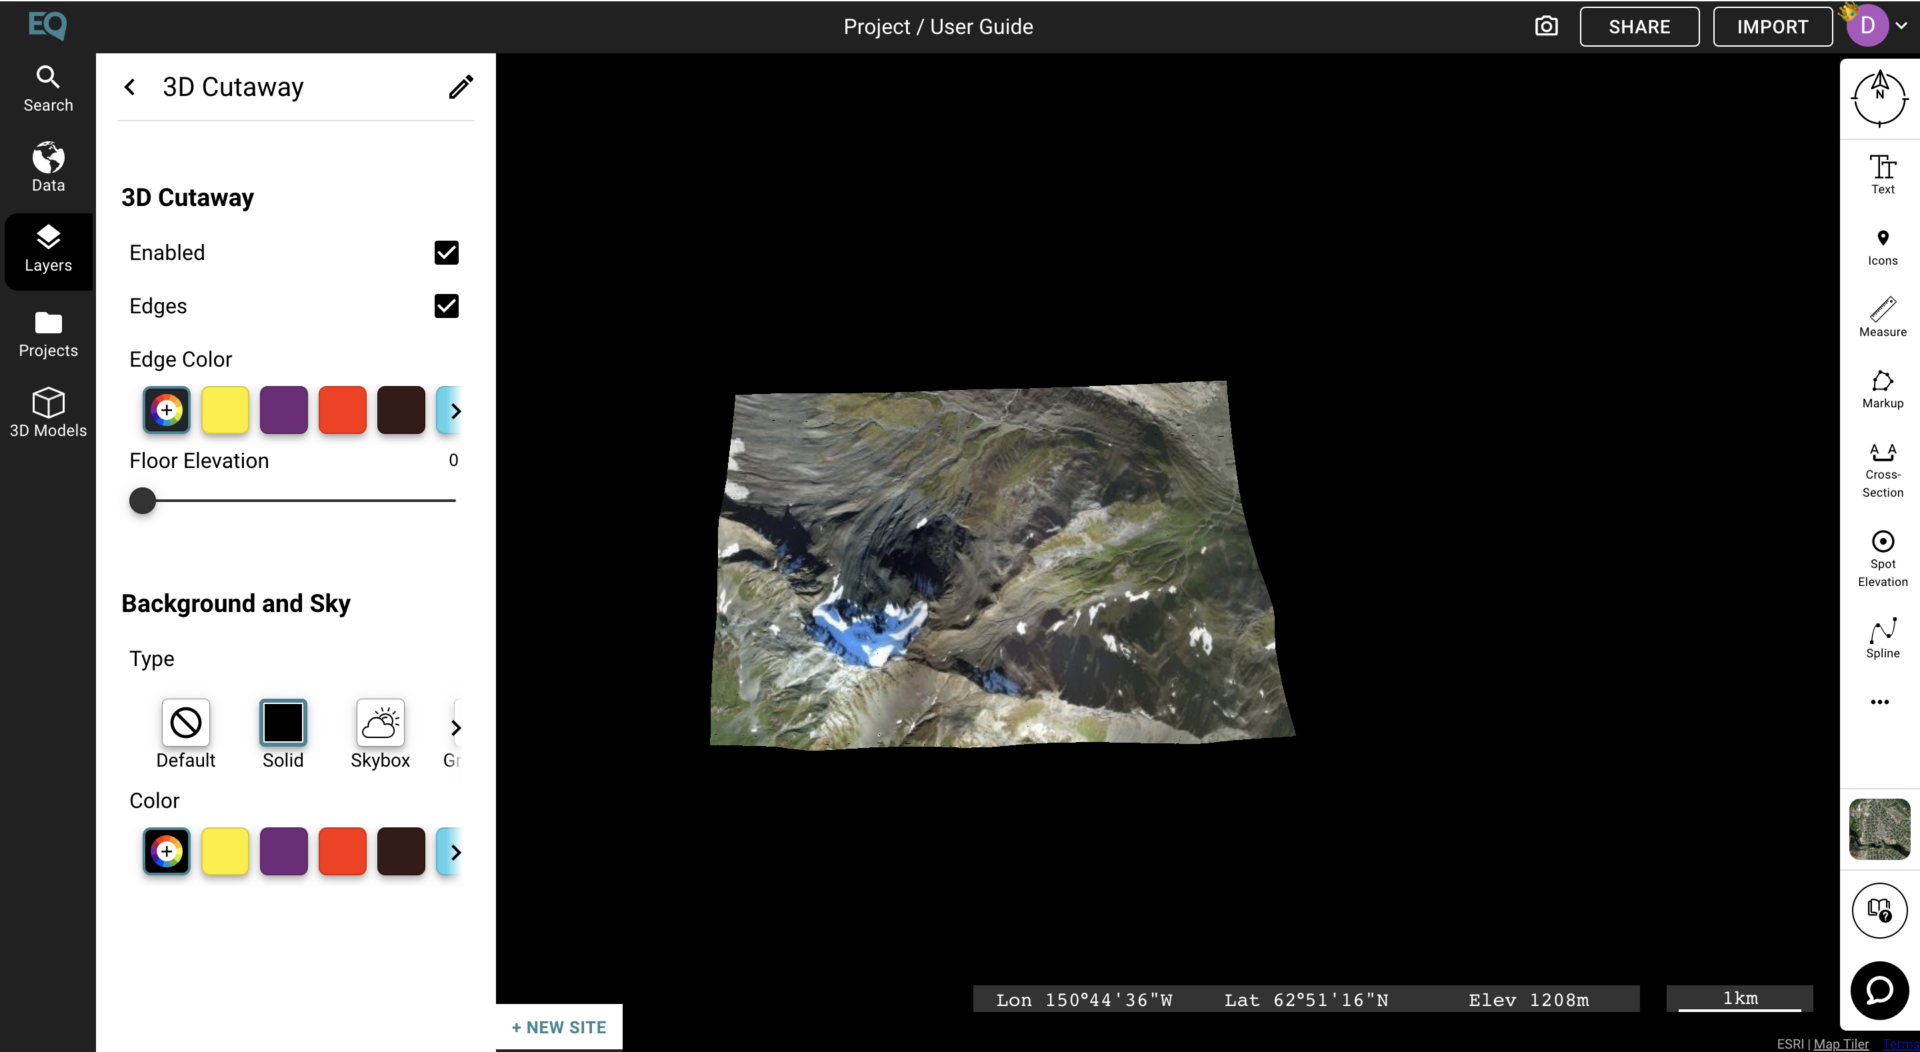
To rotate the Cutaway and view it from a different angle, right click and drag in any direction.
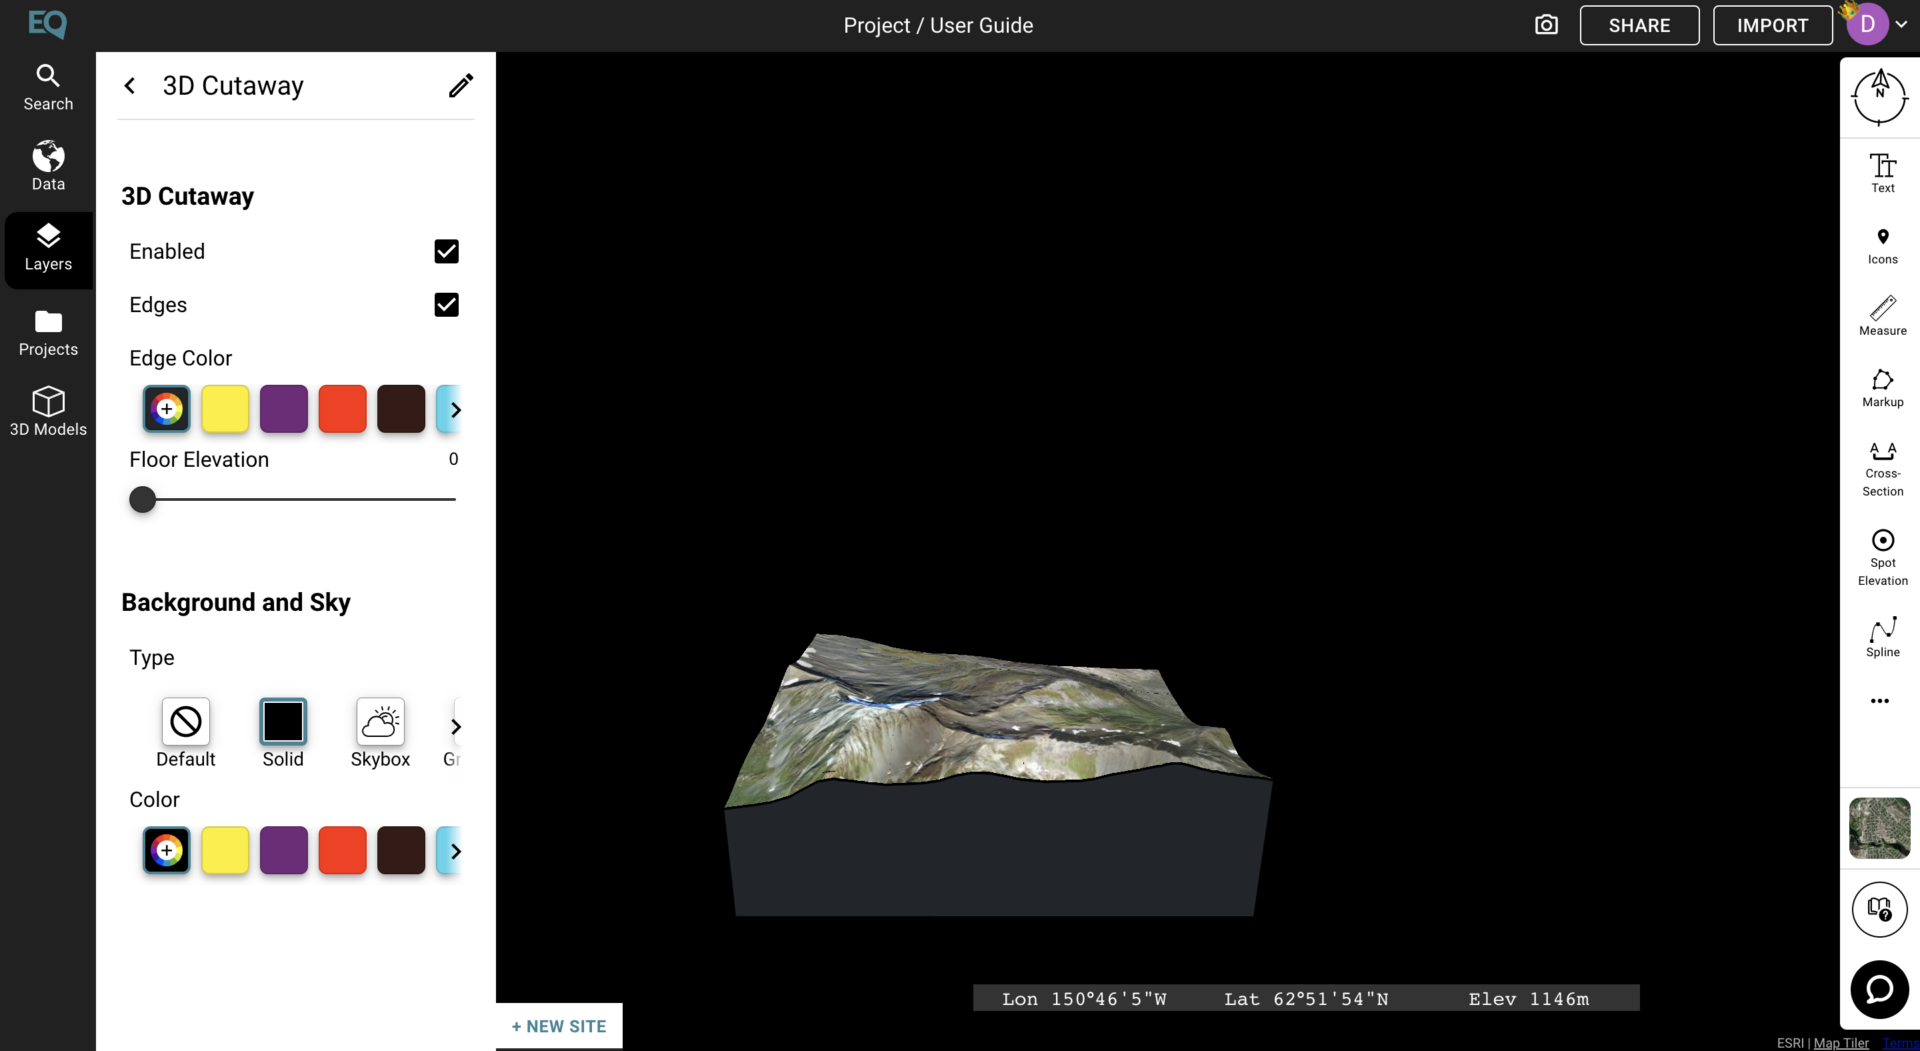
The colour of the Cutaway, as well as the background can be customized using the menu on the left.
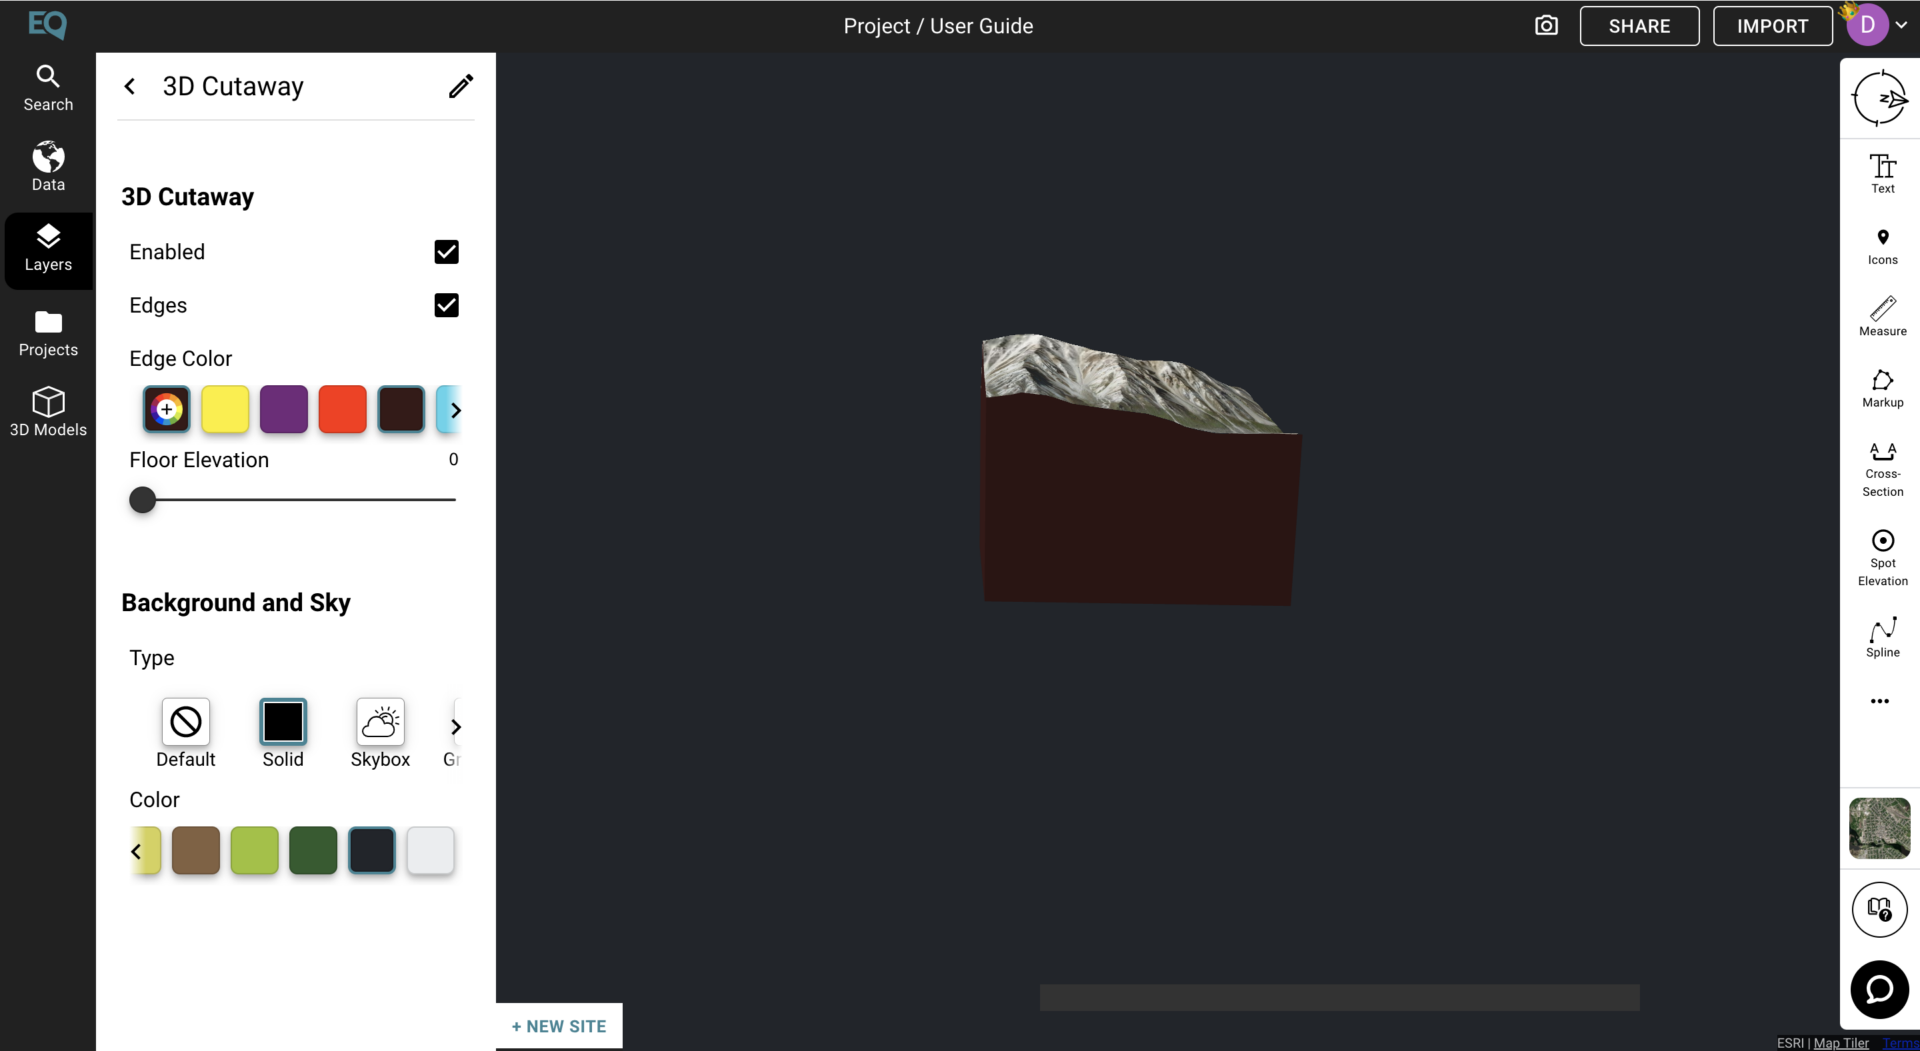
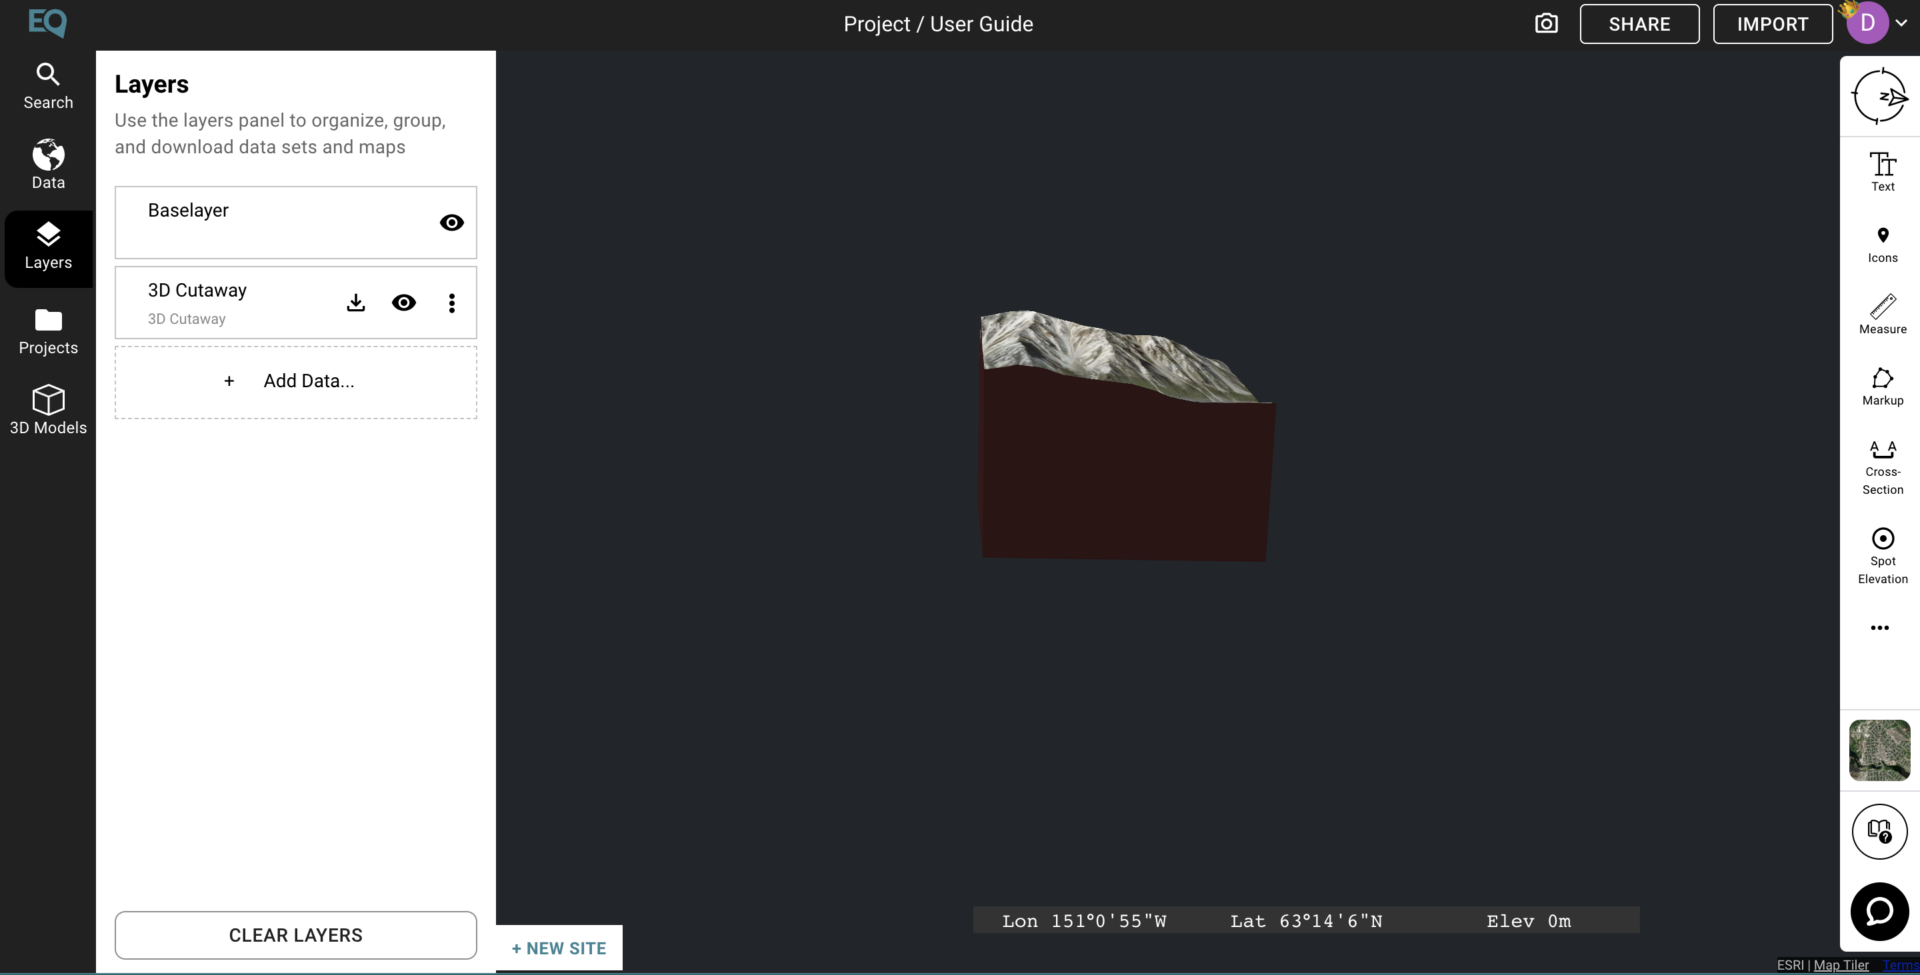
You can turn the visibility of the 3D Cutaway off from the layers menu on the left side. Any time you turn the visibility of the cutaway layer back on, the rest of the map will disappear. You can bring the view back to the cutaway at any time by right clicking on the layer and selecting “Zoom To”.
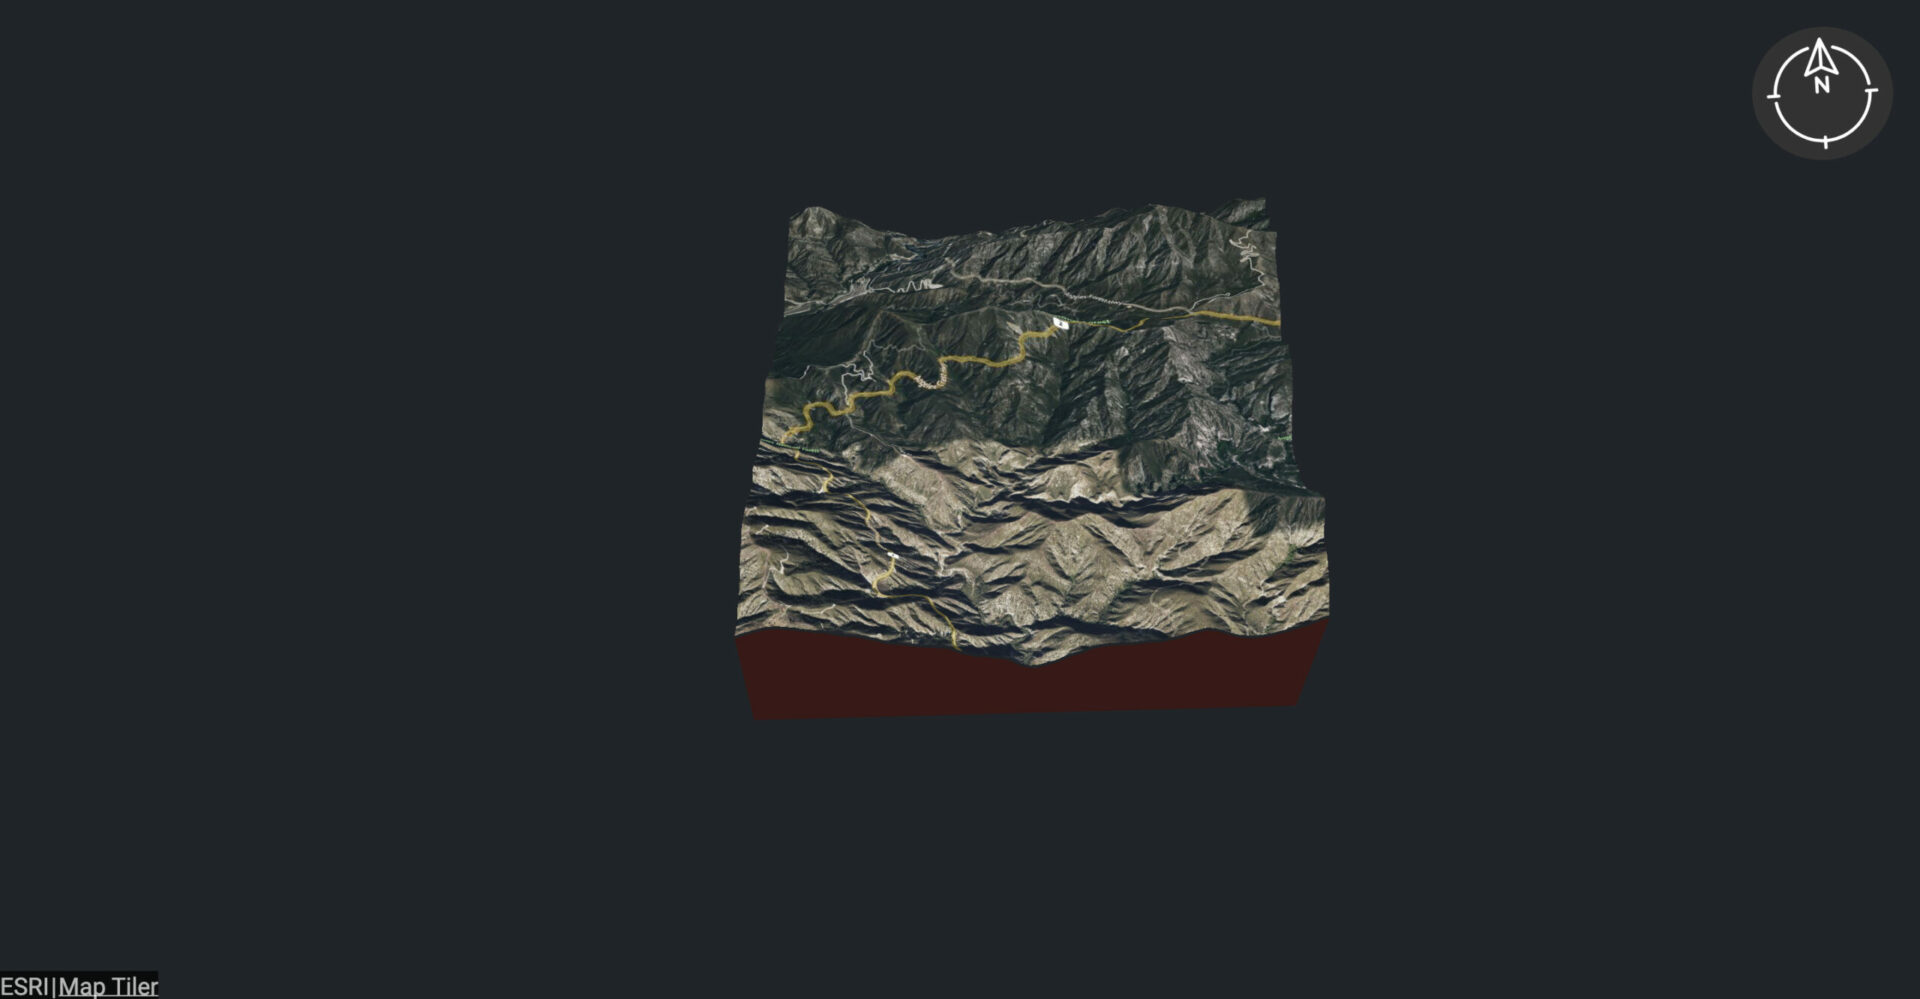
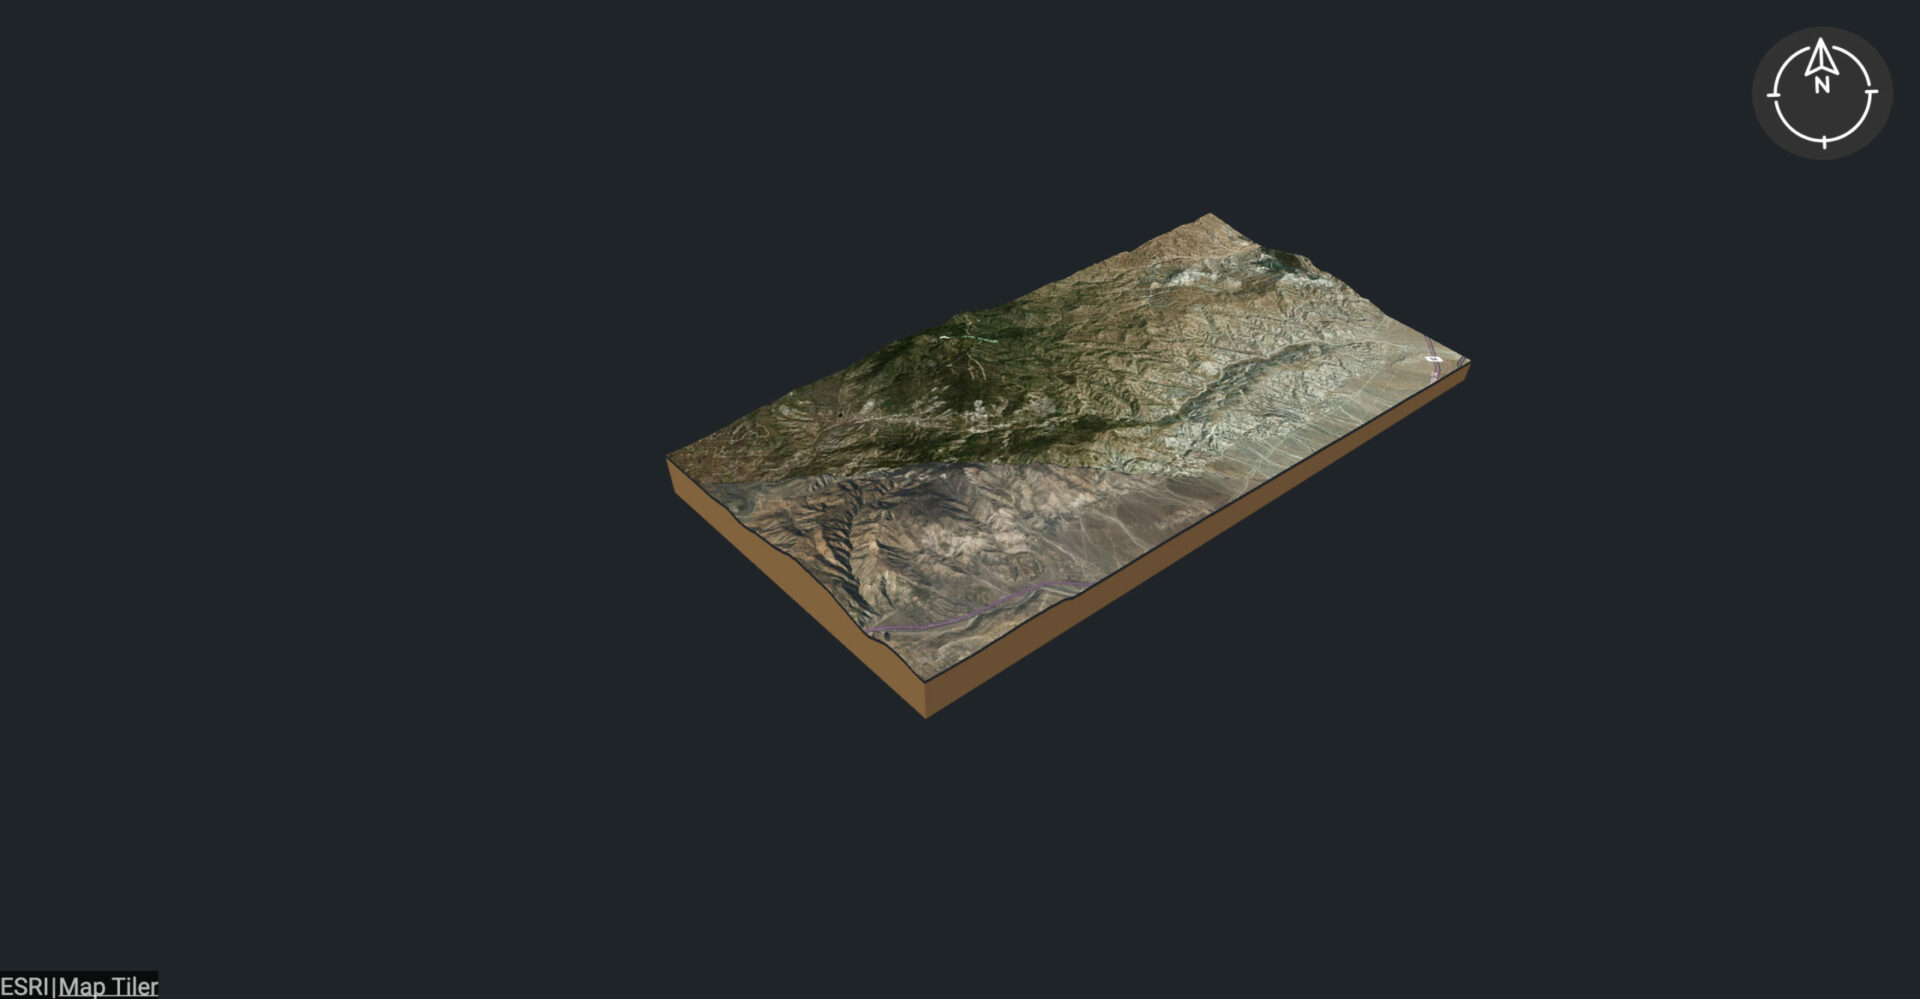
Some examples of Cutaways:
