Step 1
Open the DEM in QGIS
In this example, we use a DEM exported from the Equator Data Menu. To learn how to download a DEM, check out this tutorial:
How to Export USGS LiDAR as a DEM
Do you need a DEM? You can download it for free from Equator:
Open your DEM shapefile in QGIS by dragging and dropping the file into the map space.
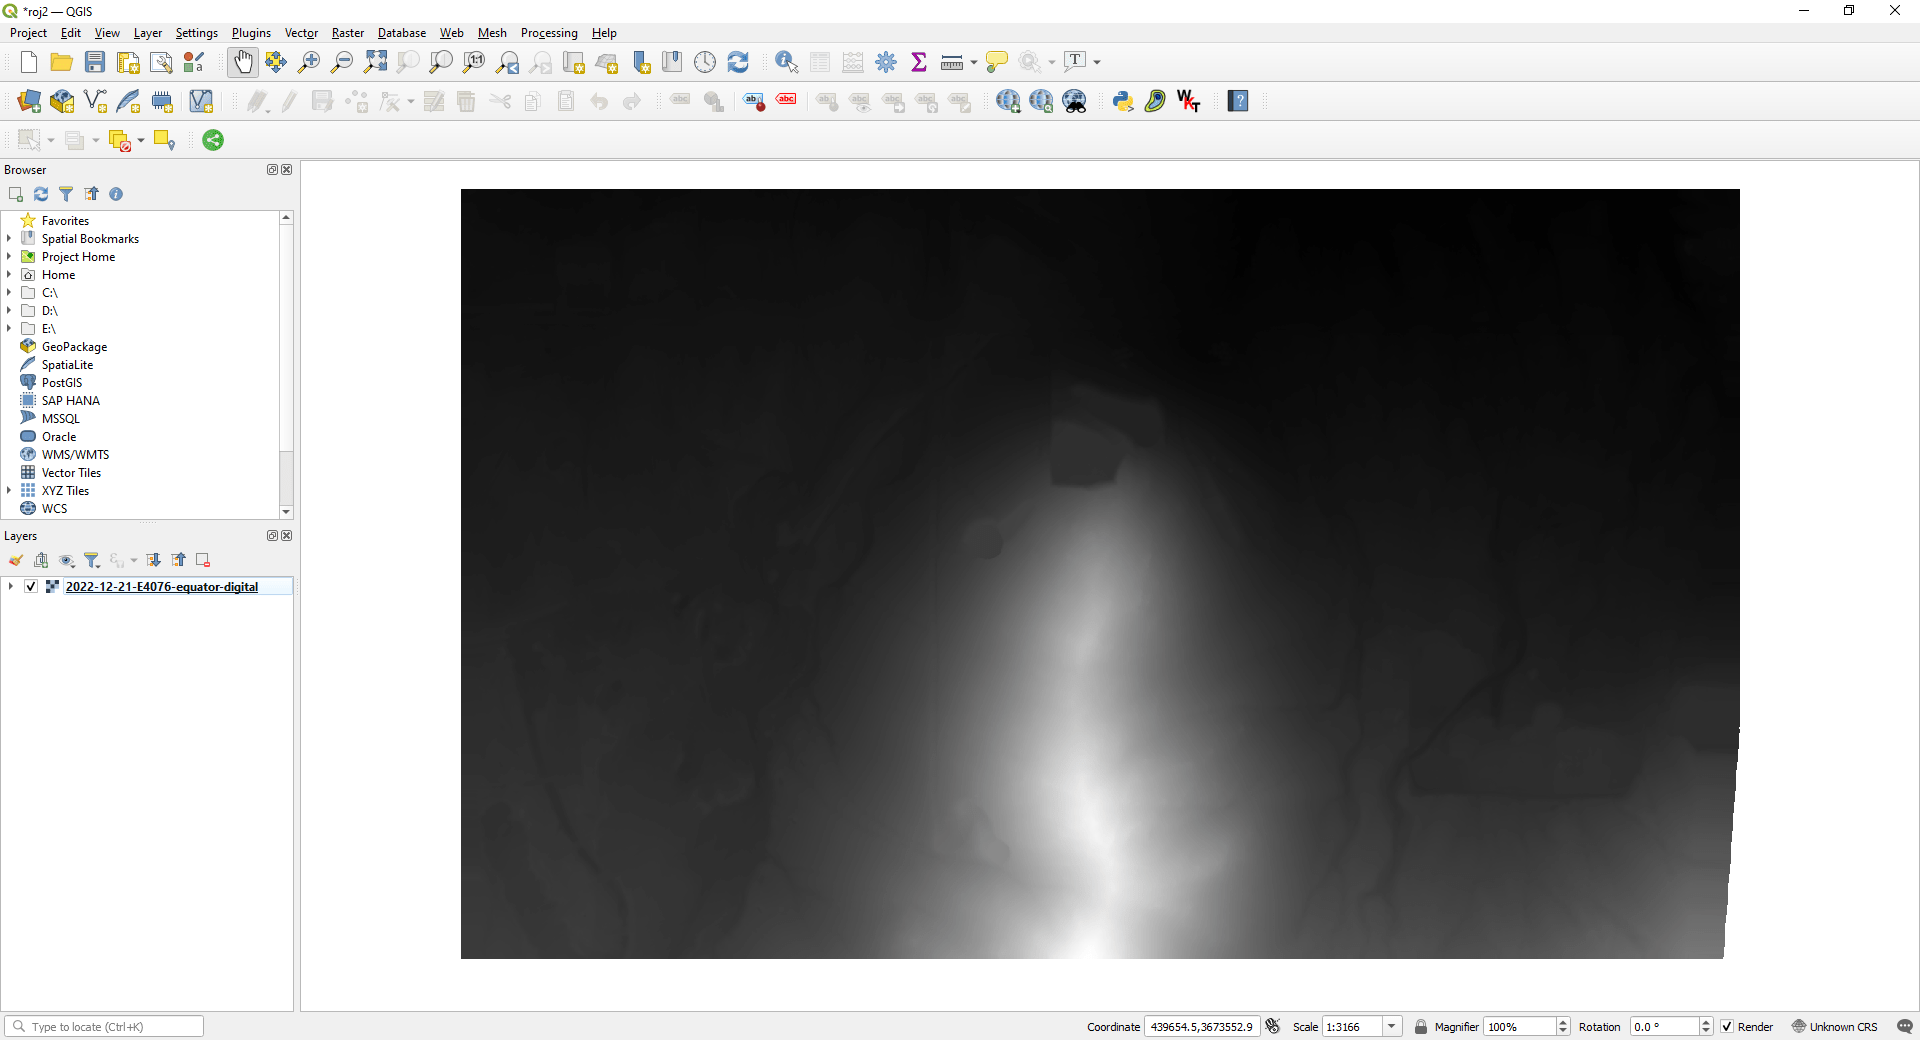
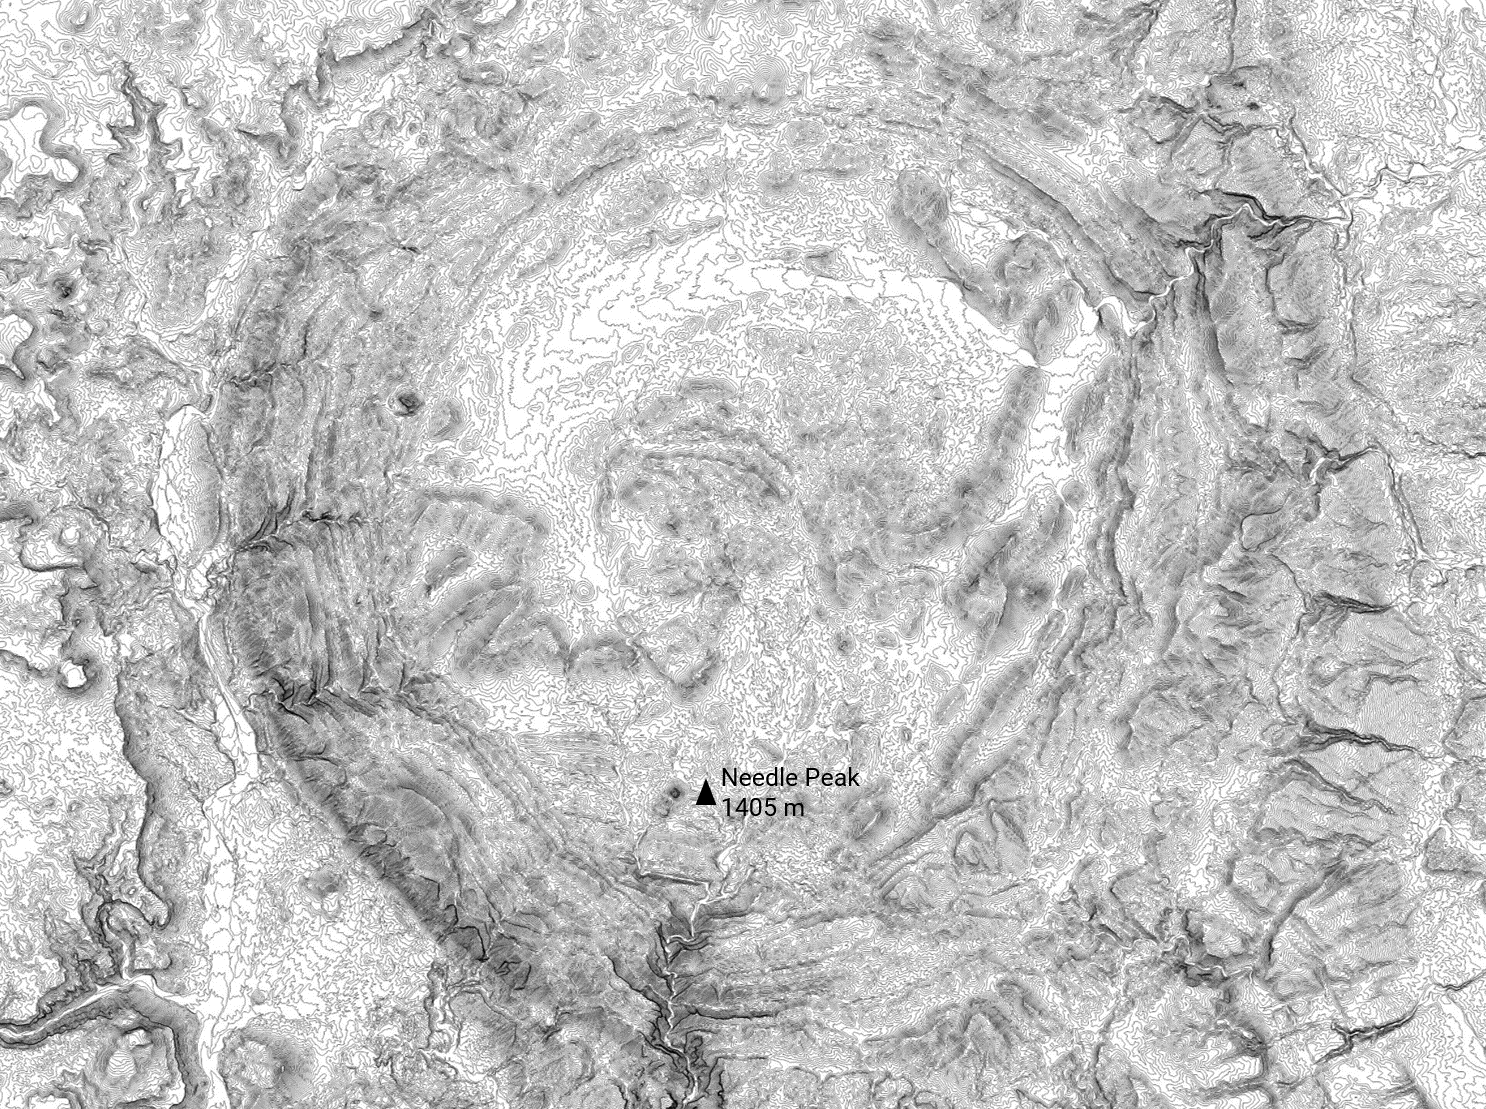
Image of our DEM in QGIS
Step 2
Fill Sinks
Note: DEMs from Equator automatically fill sinks when exported.
If you did not get your DEM from Equator, follow the instructions below:
Processing → Toolbox → SAGA → Terrain Analysis – Hydrology → Fill sinks (wang & liu)
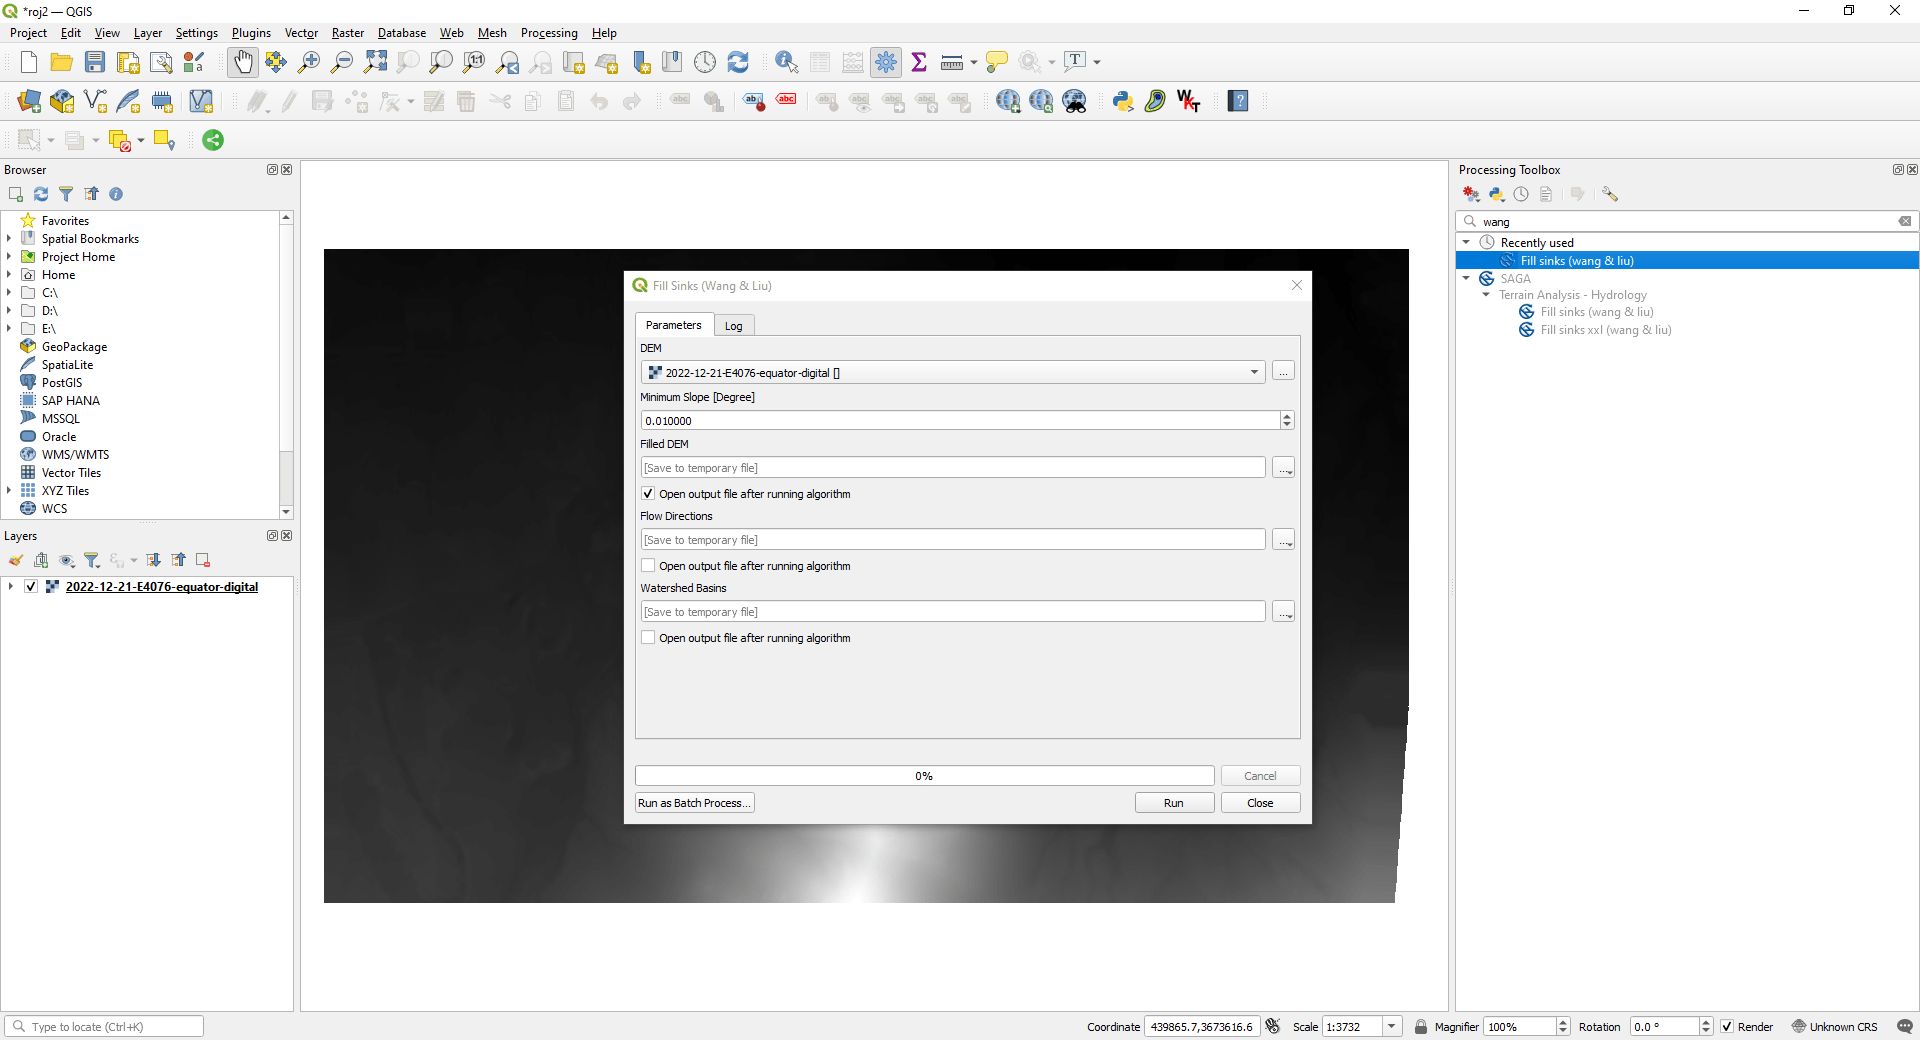
Using the fill sinks tool to generated a Filled DEM layer
Step 3
Run The Slope Tool
Now that we have projected our DEM onto our project, we will run the Slope tool:
Processing → Toolbox → Taster Terrain analysis → Slope
Set the input layer as your DEM, and adjust the other input settings as you deem appropriate (in this case we elected to leave the default settings):
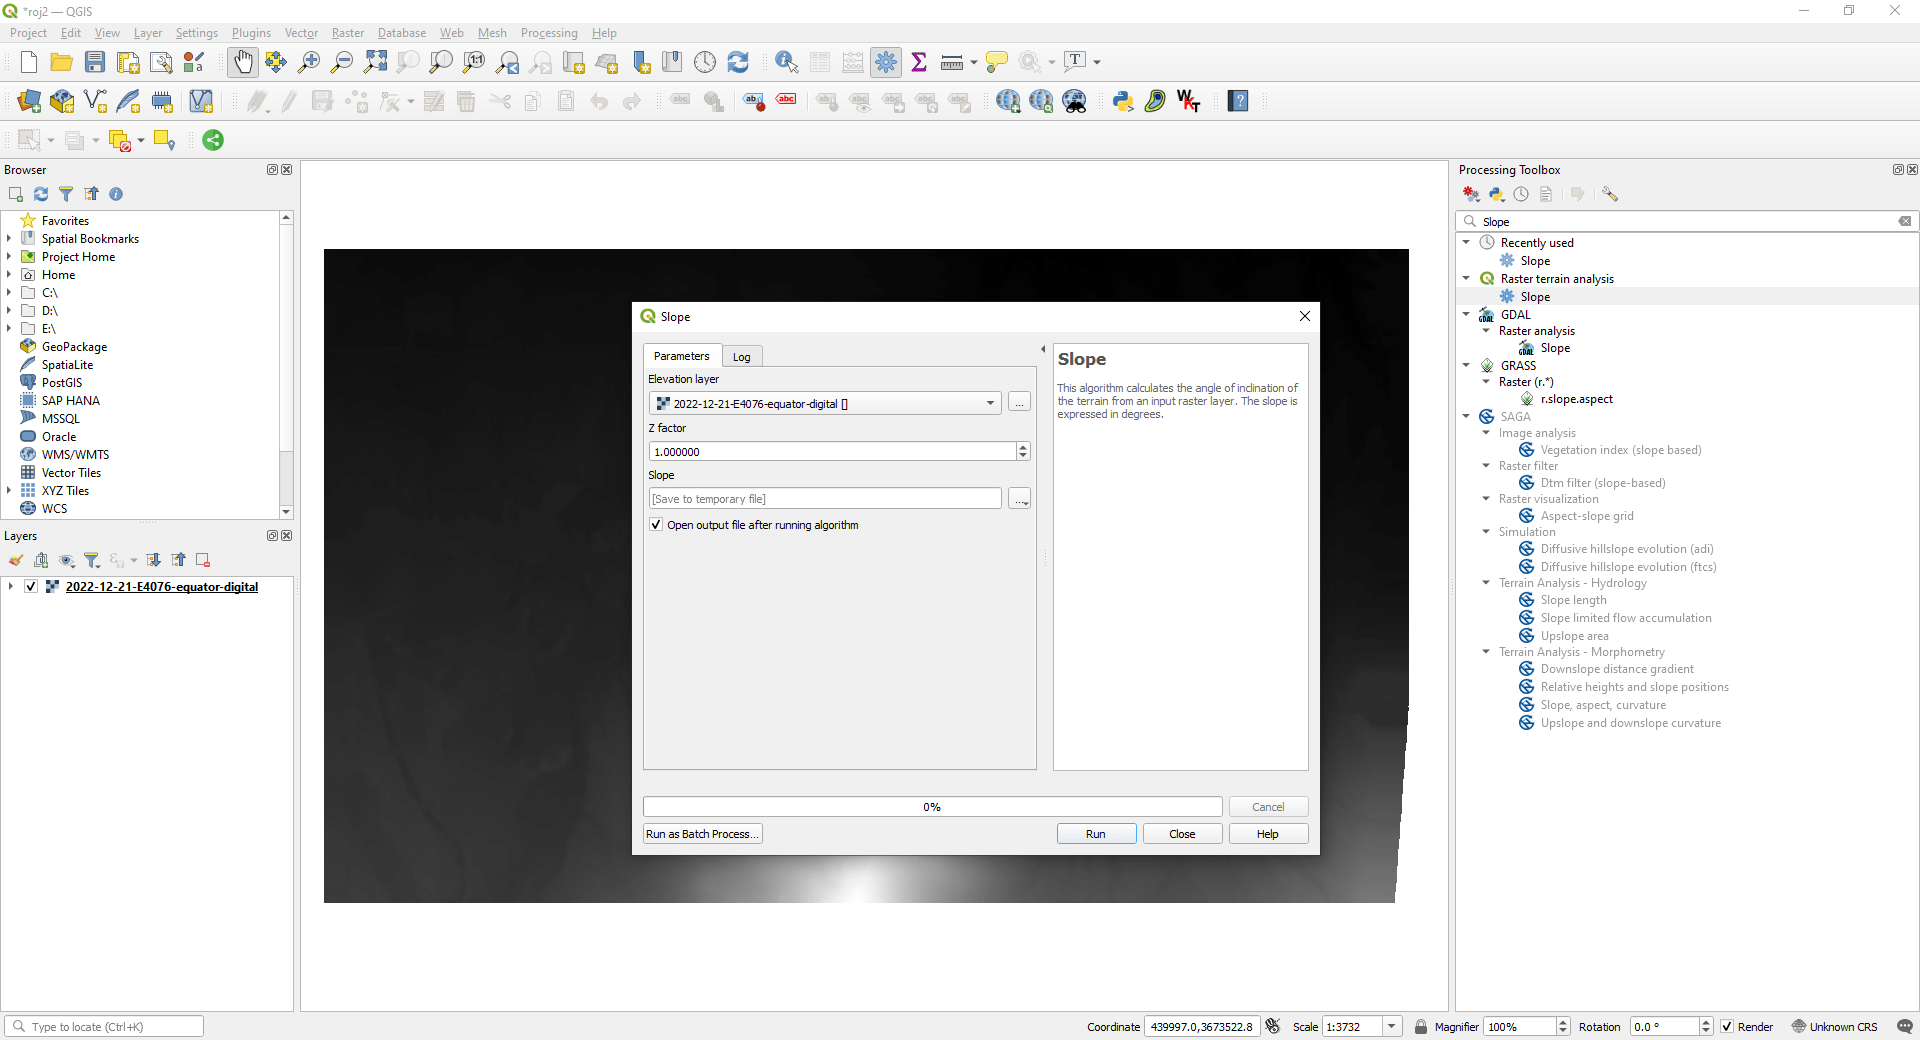
Using the Slope tool to generate the final layer
Done!
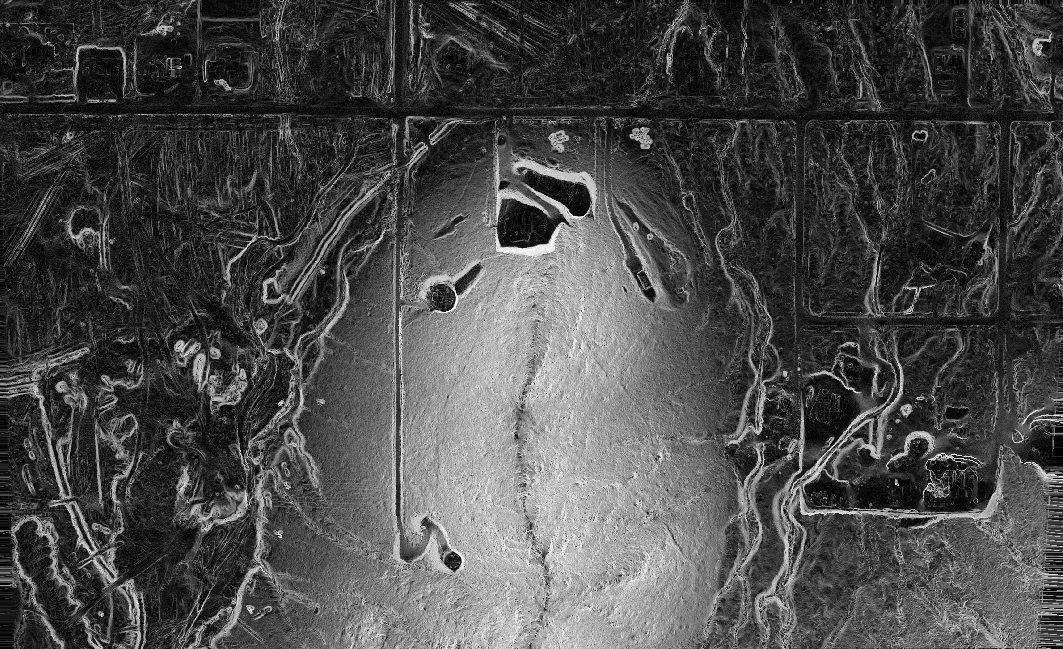
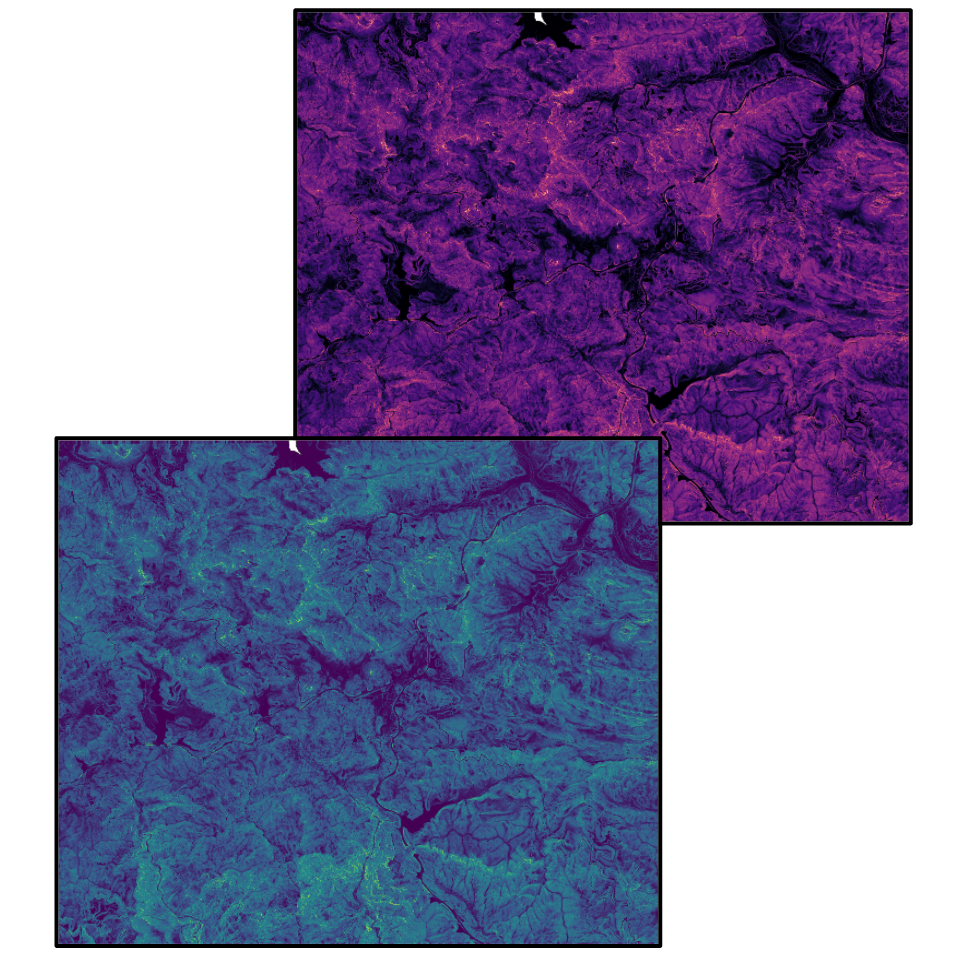
You now have a layer with the slope of your DEM calculated in degrees!
We hope this helped, and feel free to take a look at some of Equator’s other blogs and “How-to tutorials”!
