Step 1
Source the shapefile
If you have a shapefile already that you would like to clip, skip to Step 2.
If you need to source contour data as a shapefile, you can do so from Equator. Open Equator and either log in or create a new account. Zoom into your project site by using the scroll on your mouse or in the search toolbar. Create a site boundary by selecting the +New Site button at the bottom of the screen. Navigate to the Data menu on the left of your screen, and select Contours as a SHP, which will be the top option. Click the + button, then select the New Site that you have just created, the dataset, and the contour intervals you require, then press Generate. Once the contours have loaded, you will need to download them to your computer. To do so, navigate to the Layers menu and select the down arrow on the contour layer that was just added. Select SHP and the correct coordinate system, then press Download.
Step 2
Open the shapefile in QGIS
In this example, we use a contour line shapefile exported from Equator. If you need to download a contour shapefile from Equator, select the link below:
Working with large contour data sets in other applications, like desktop CAD software, can be challenging due to file size limitations. Sometimes, it makes sense to clip the contours to your site limits before importing them into CAD. This tutorial will show you how to complete that process using QGIS.
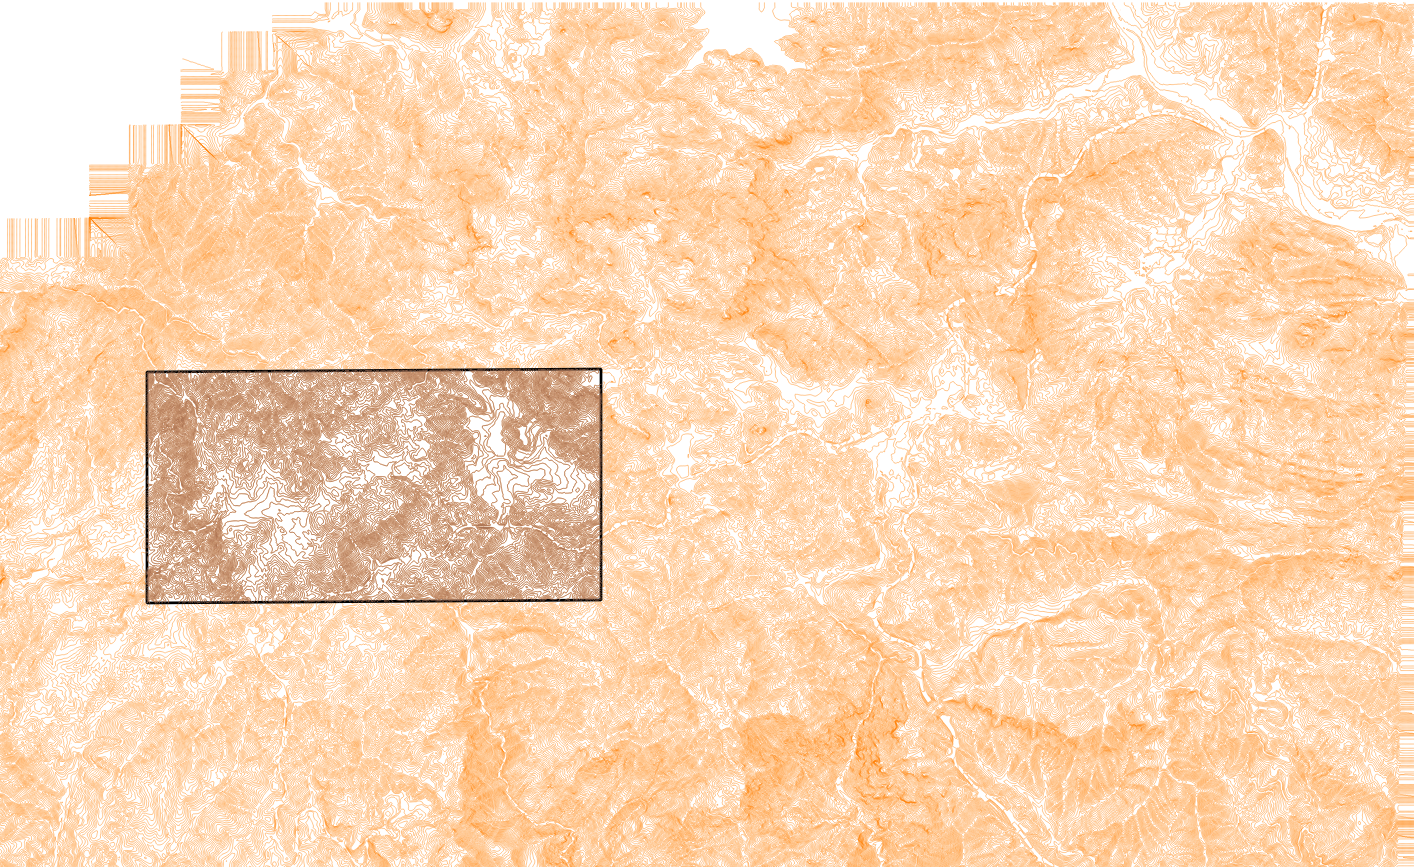
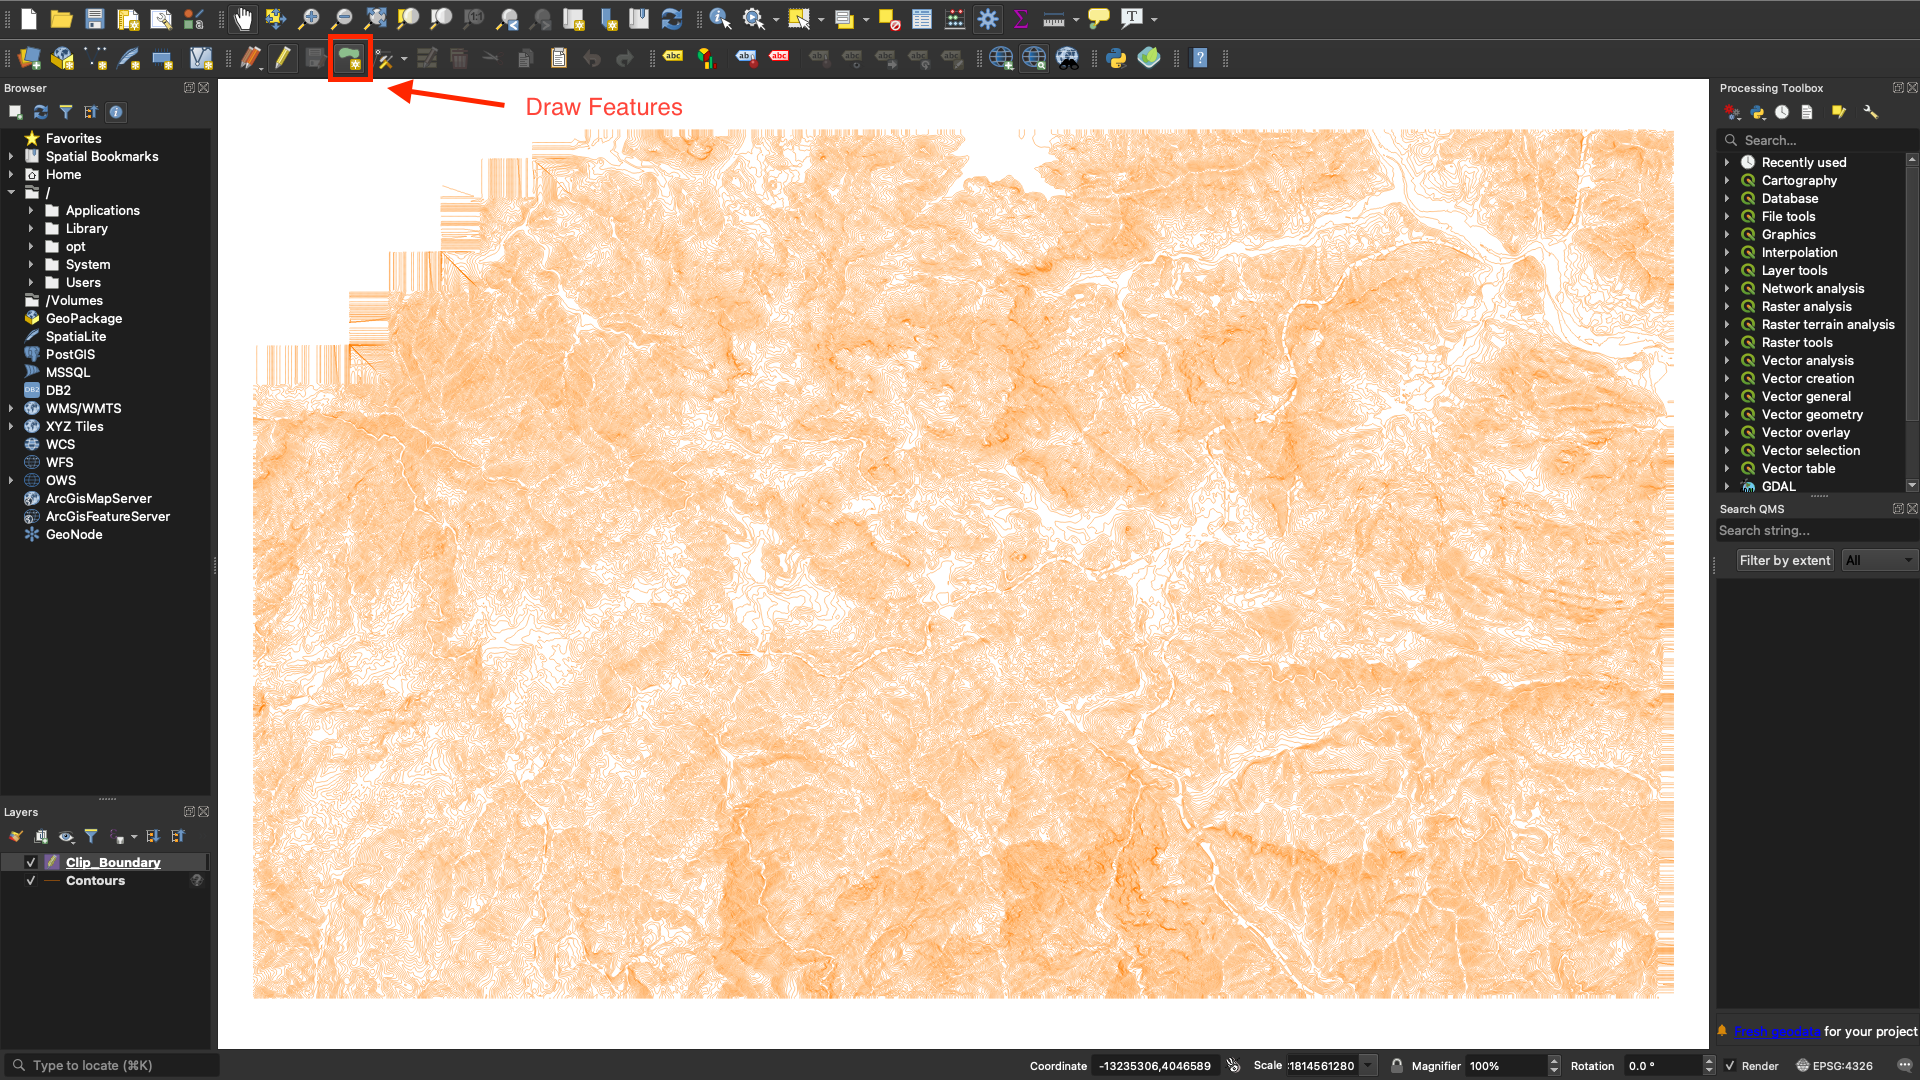
Open your shapefile in QGIS by simply dragging and dropping it into the map space.
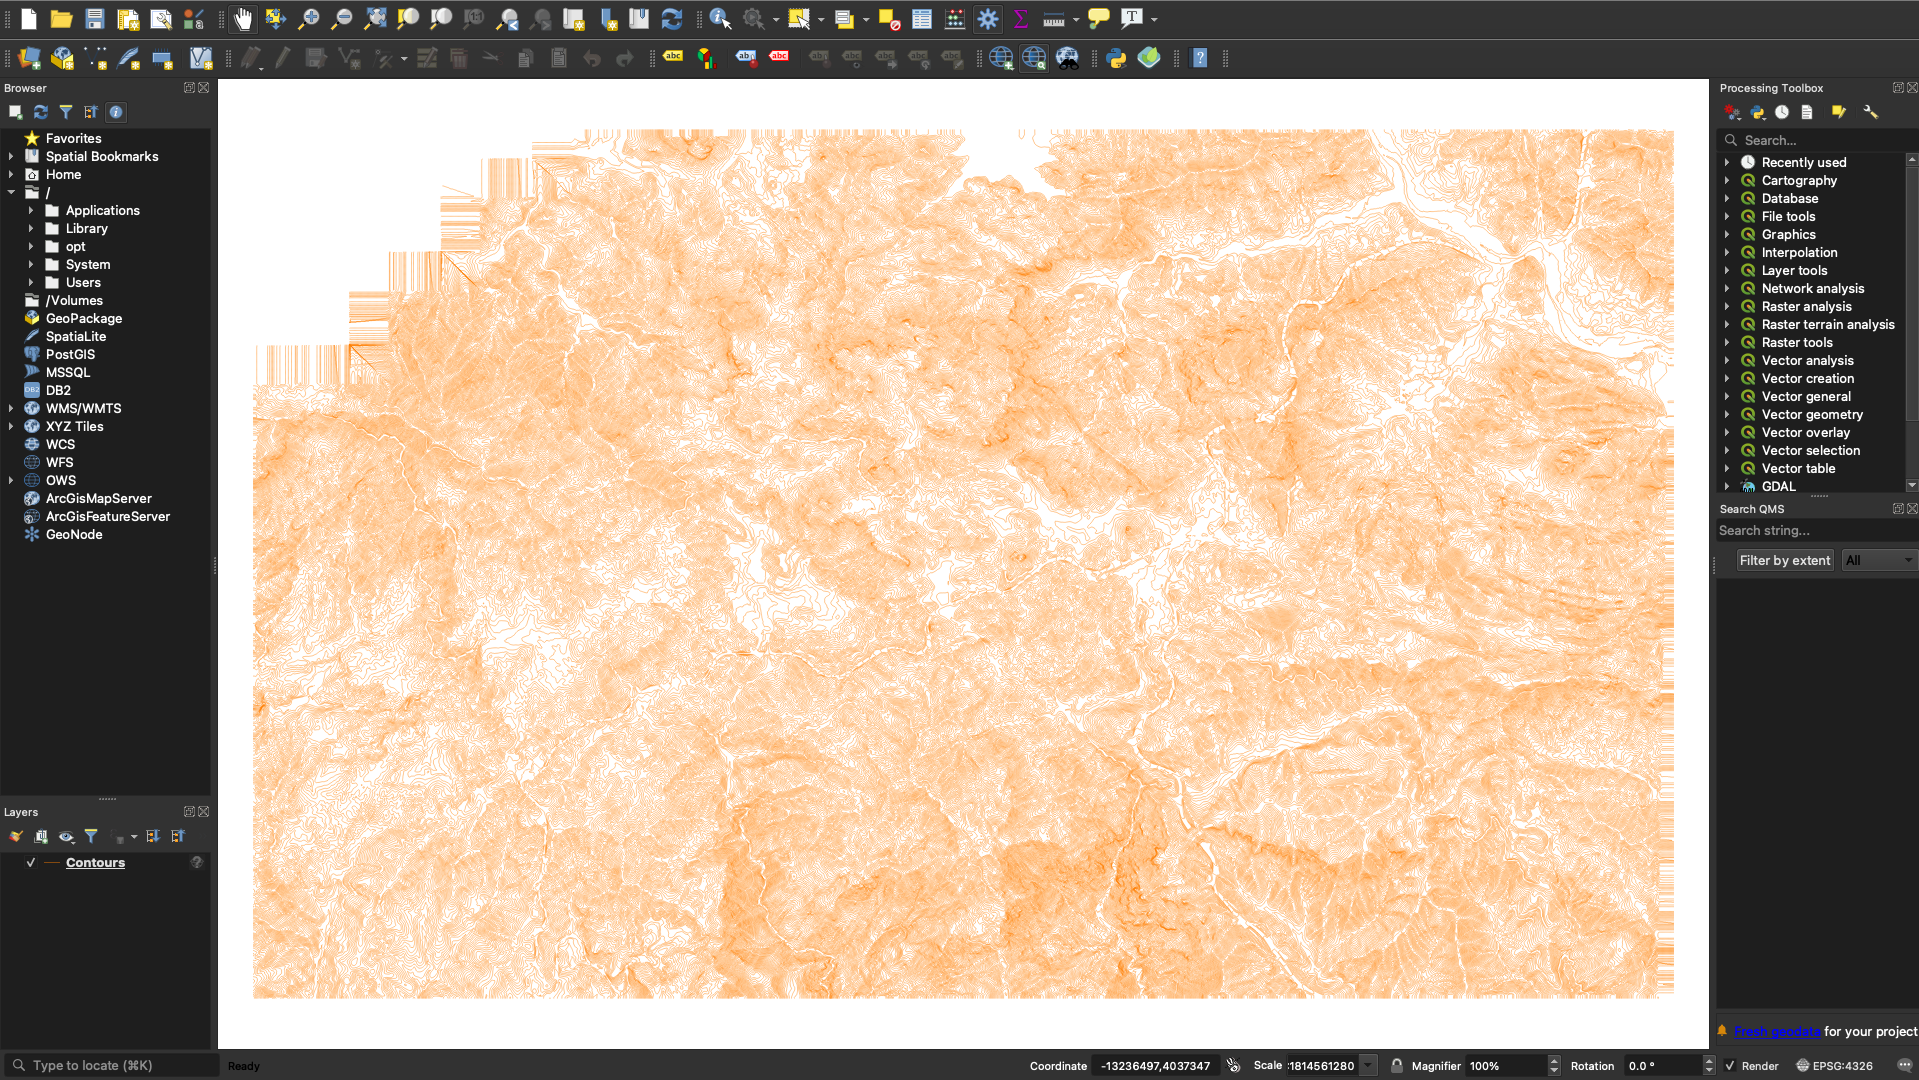
Image of the large contour shapefile that we will be clipping in this tutorial, opened in QGIS
Step 3
Generate a Clip Boundary
In order to clip a contours shapefile, you will need to set up another vector layer to act as the clipping boundary.
In this tutorial, we will create a new vector layer (polygon feature) to be used as the clip boundary. You may also use another existing layer to clip your contours, in that case, skip to Step 3. From the top menu in QGIS, navigate to:
Layer → Create Layer → New Shapefile Layer
In the New Shapefile Layer menu, we recommend updating the following settings:
- File Name: navigate to the folder where you would like to save your shapefile, and give your file a name.
- Geometry type: in this example, we are going to use polygon so that we can clip the contours to a rectangular shape
- Coordinate system (dropdown menu): It is important to set the correct coordinate system when generating your new shapefile layer, otherwise you may run into errors in the steps that proceed.
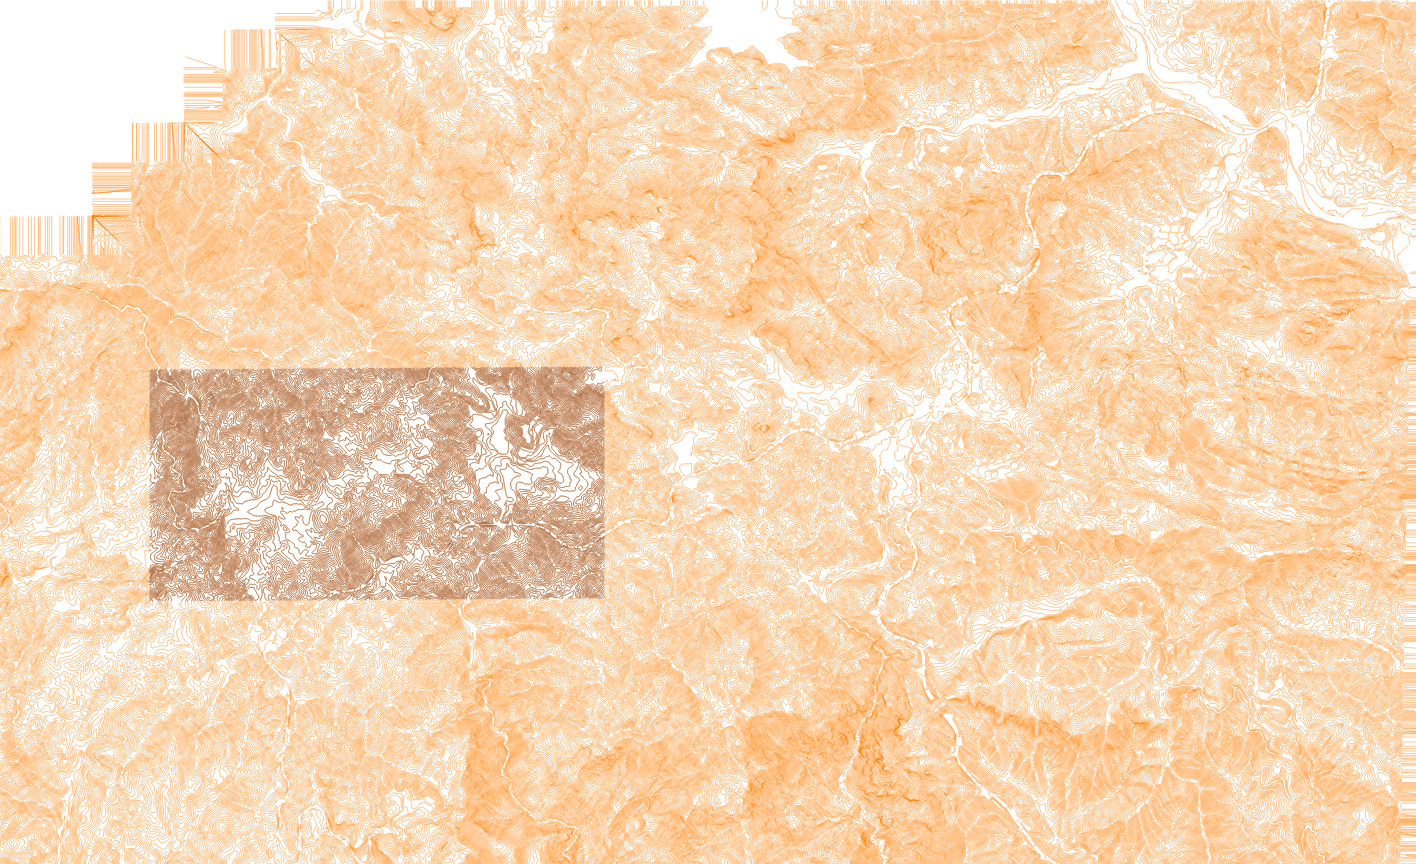
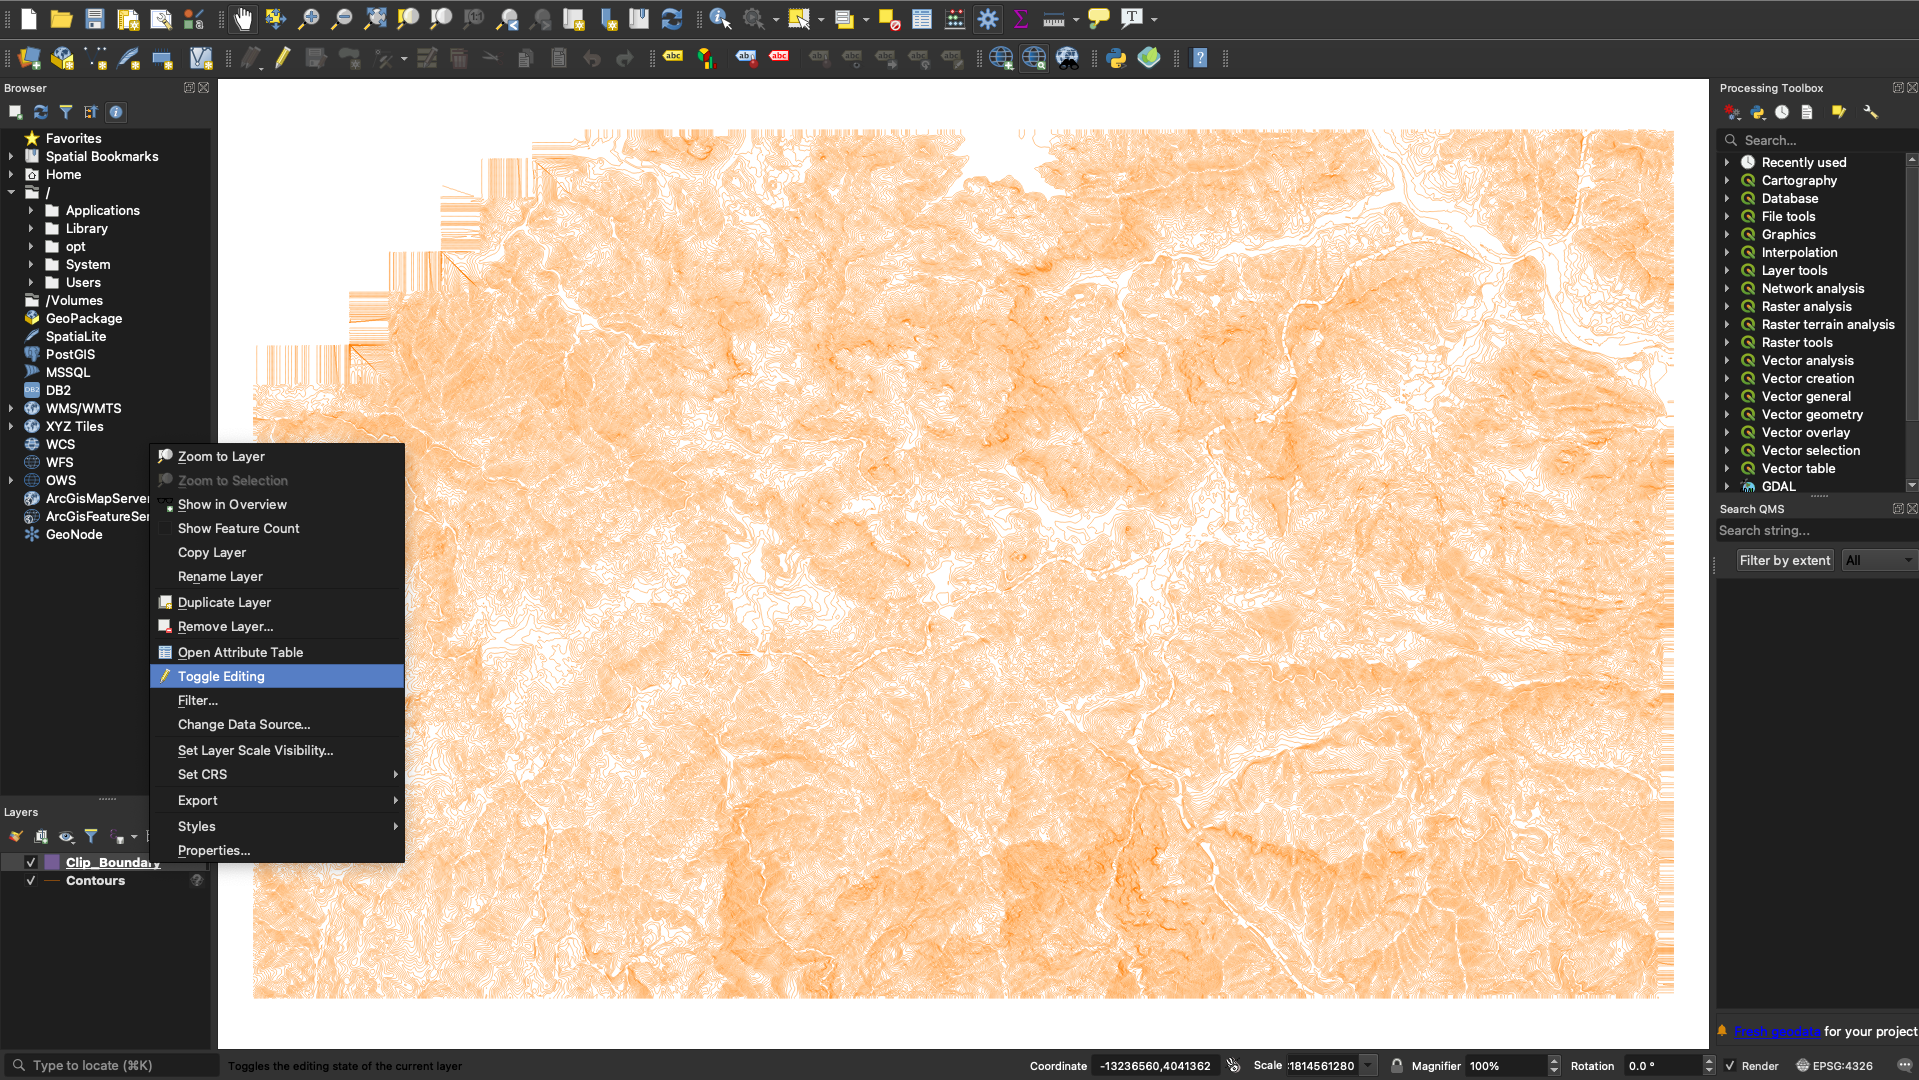
Once you have added a new shapefile layer with the correct input settings, toggle editing mode on. To do this:
Right-click on your shapefile layer (in this case “Clip_Boundary”) → Toggle Editing
At this point, you can draw your polygon using the Add Polygon feature in the top menu.
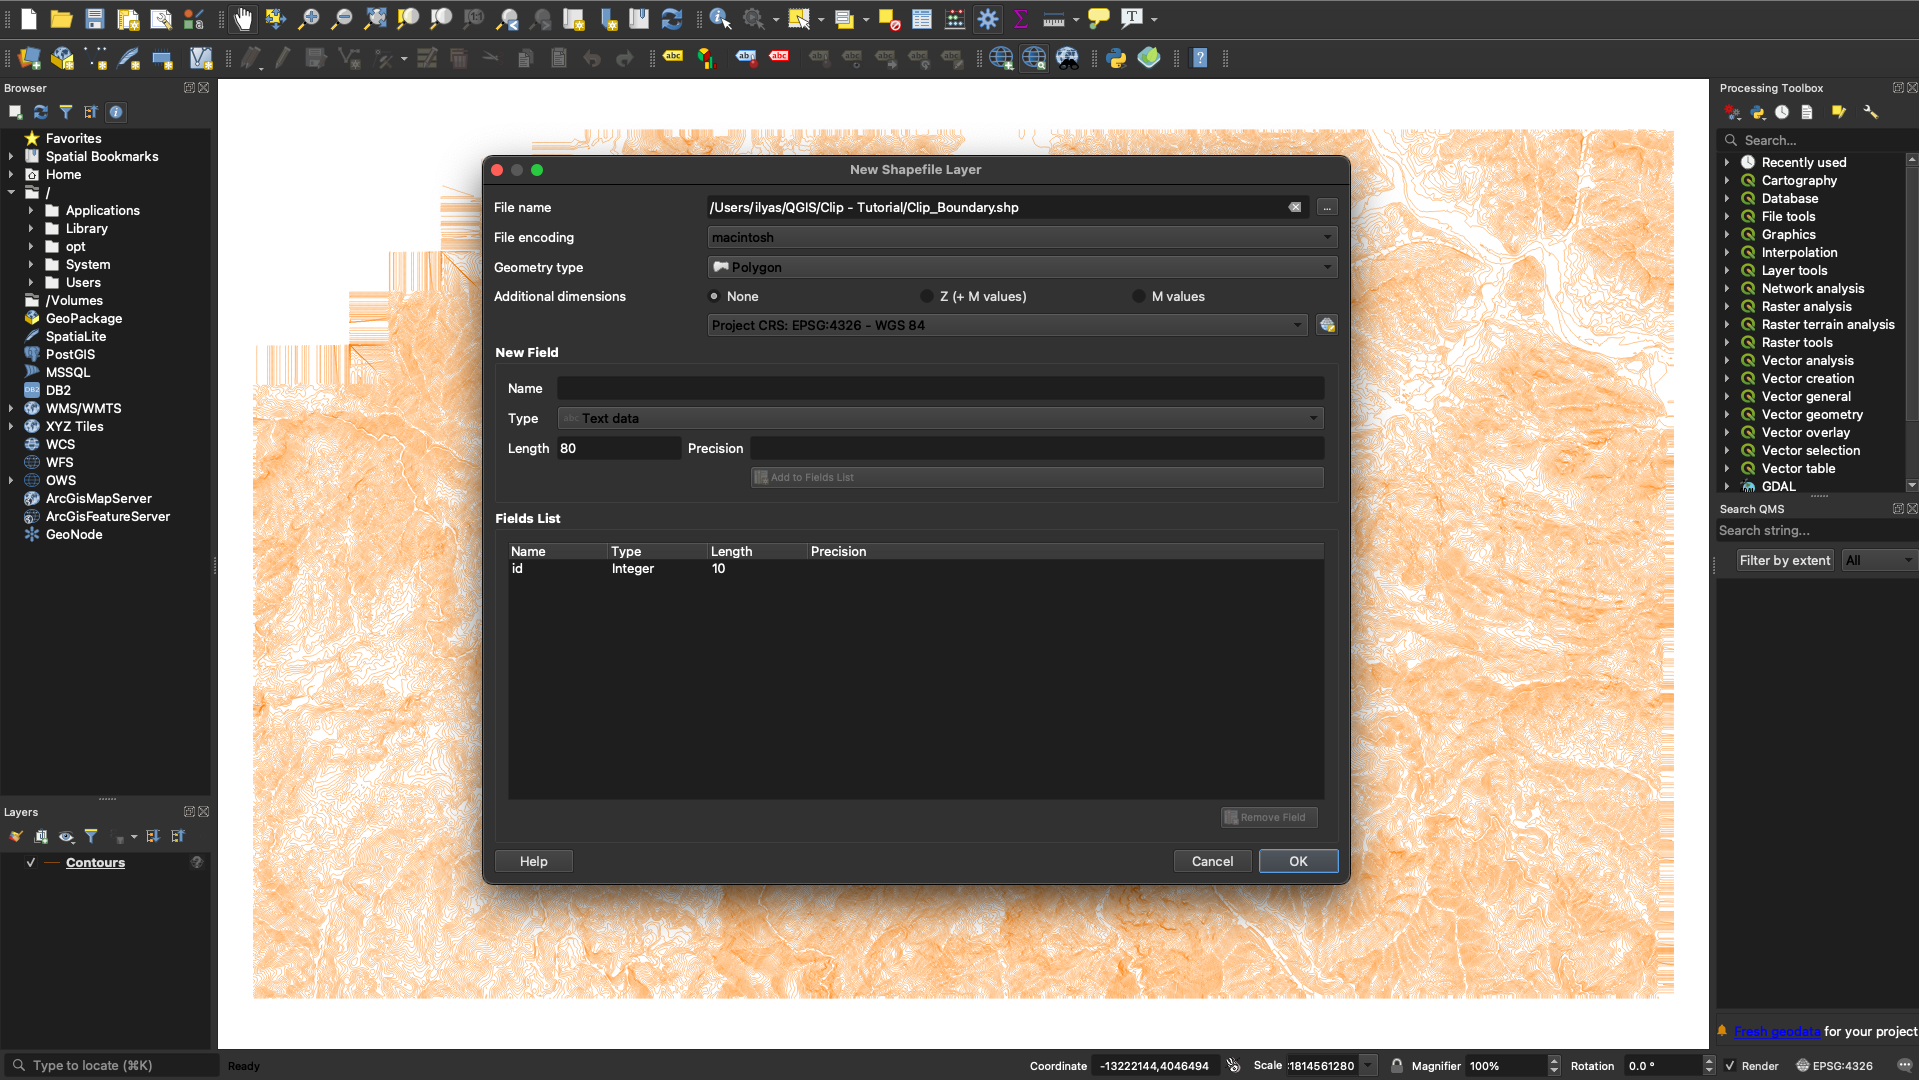
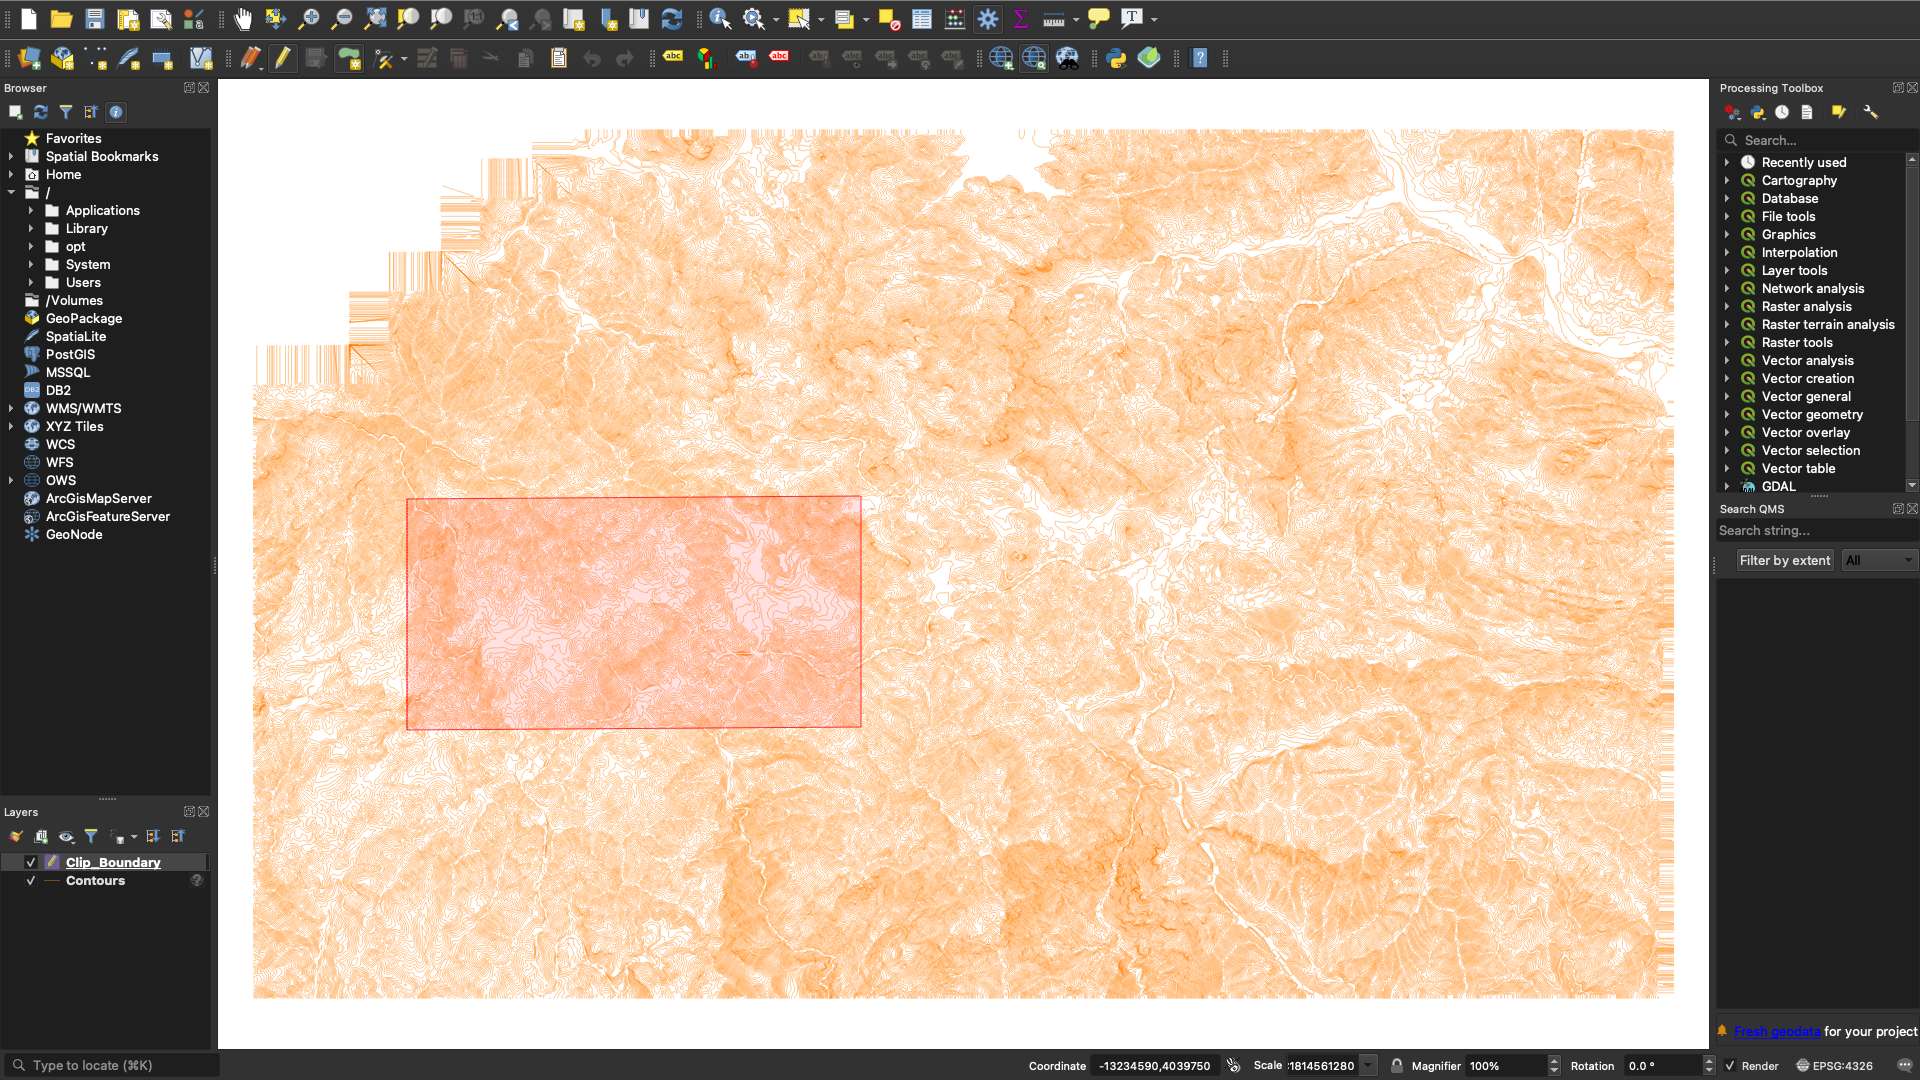
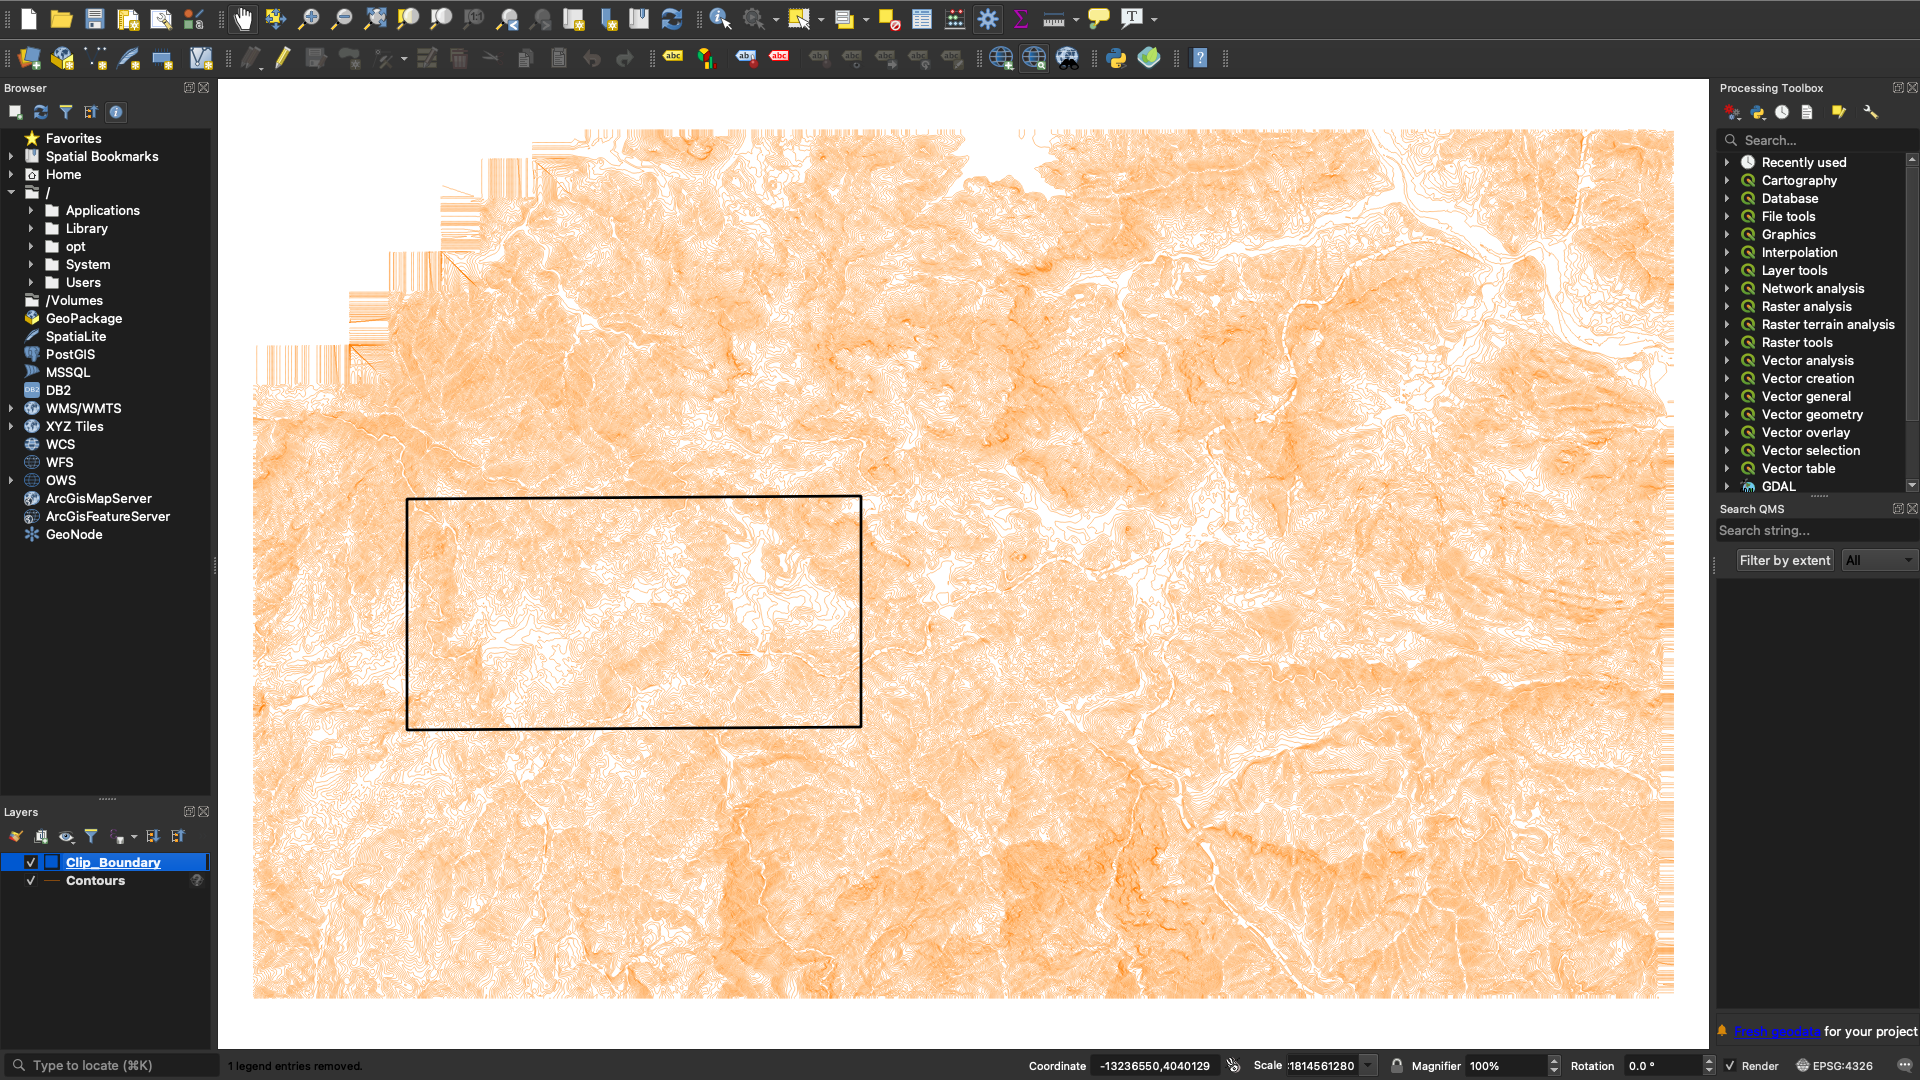
Adding a new shapefile layer, to be used to clip the contour shapefile
Step 4
Clip Input Layer
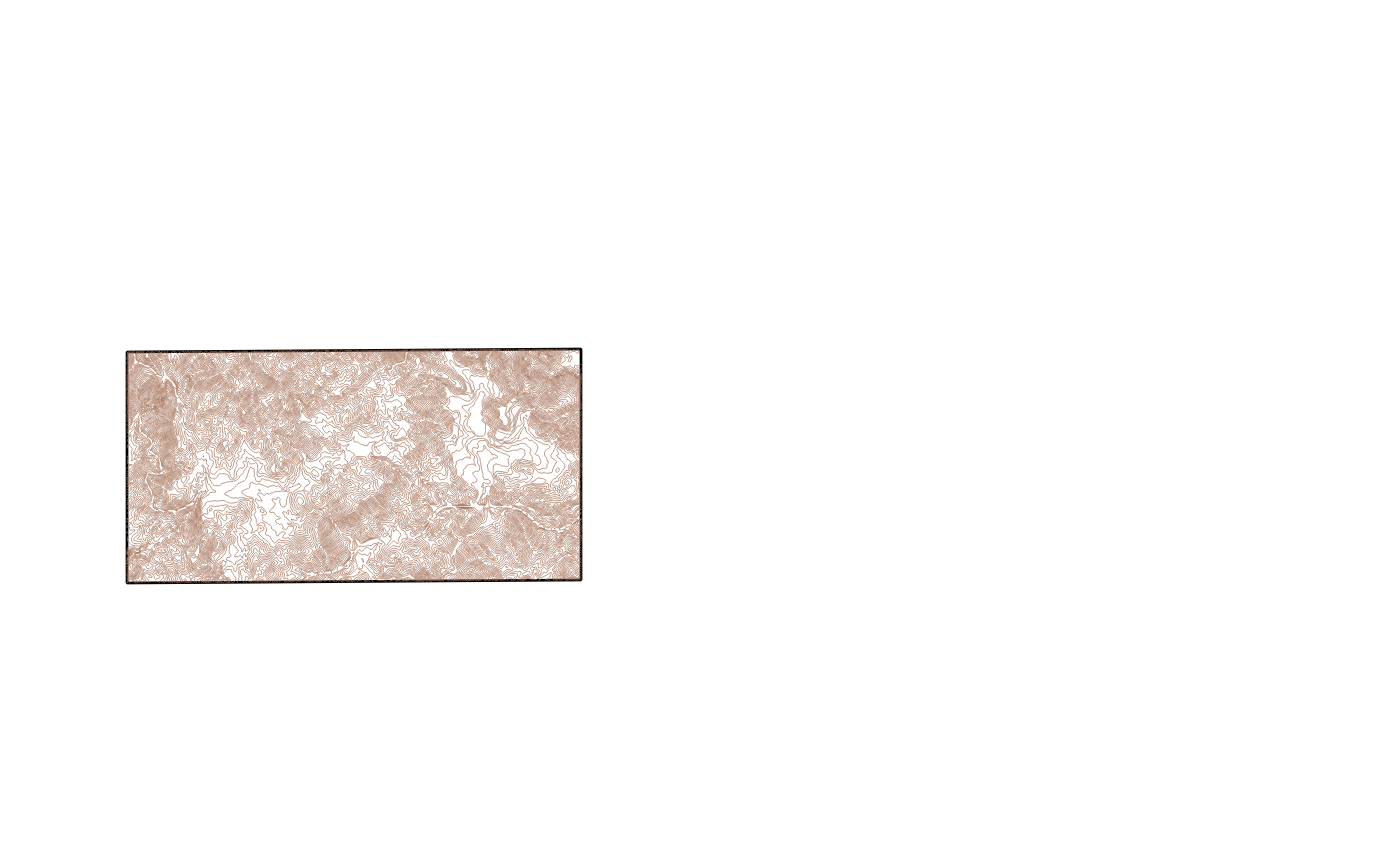
We will use the Clip geoprocessing tool now that we have a clipping boundary. In the top menu, click on:
Vector → Geoprocessing Tool → Clip
You need to set the input values: the input and overlay layers. For your input layer, you will set that as the data you want to clip (in this case, it is our contour), and for your overlay layer, you will set it as the clip boundary.
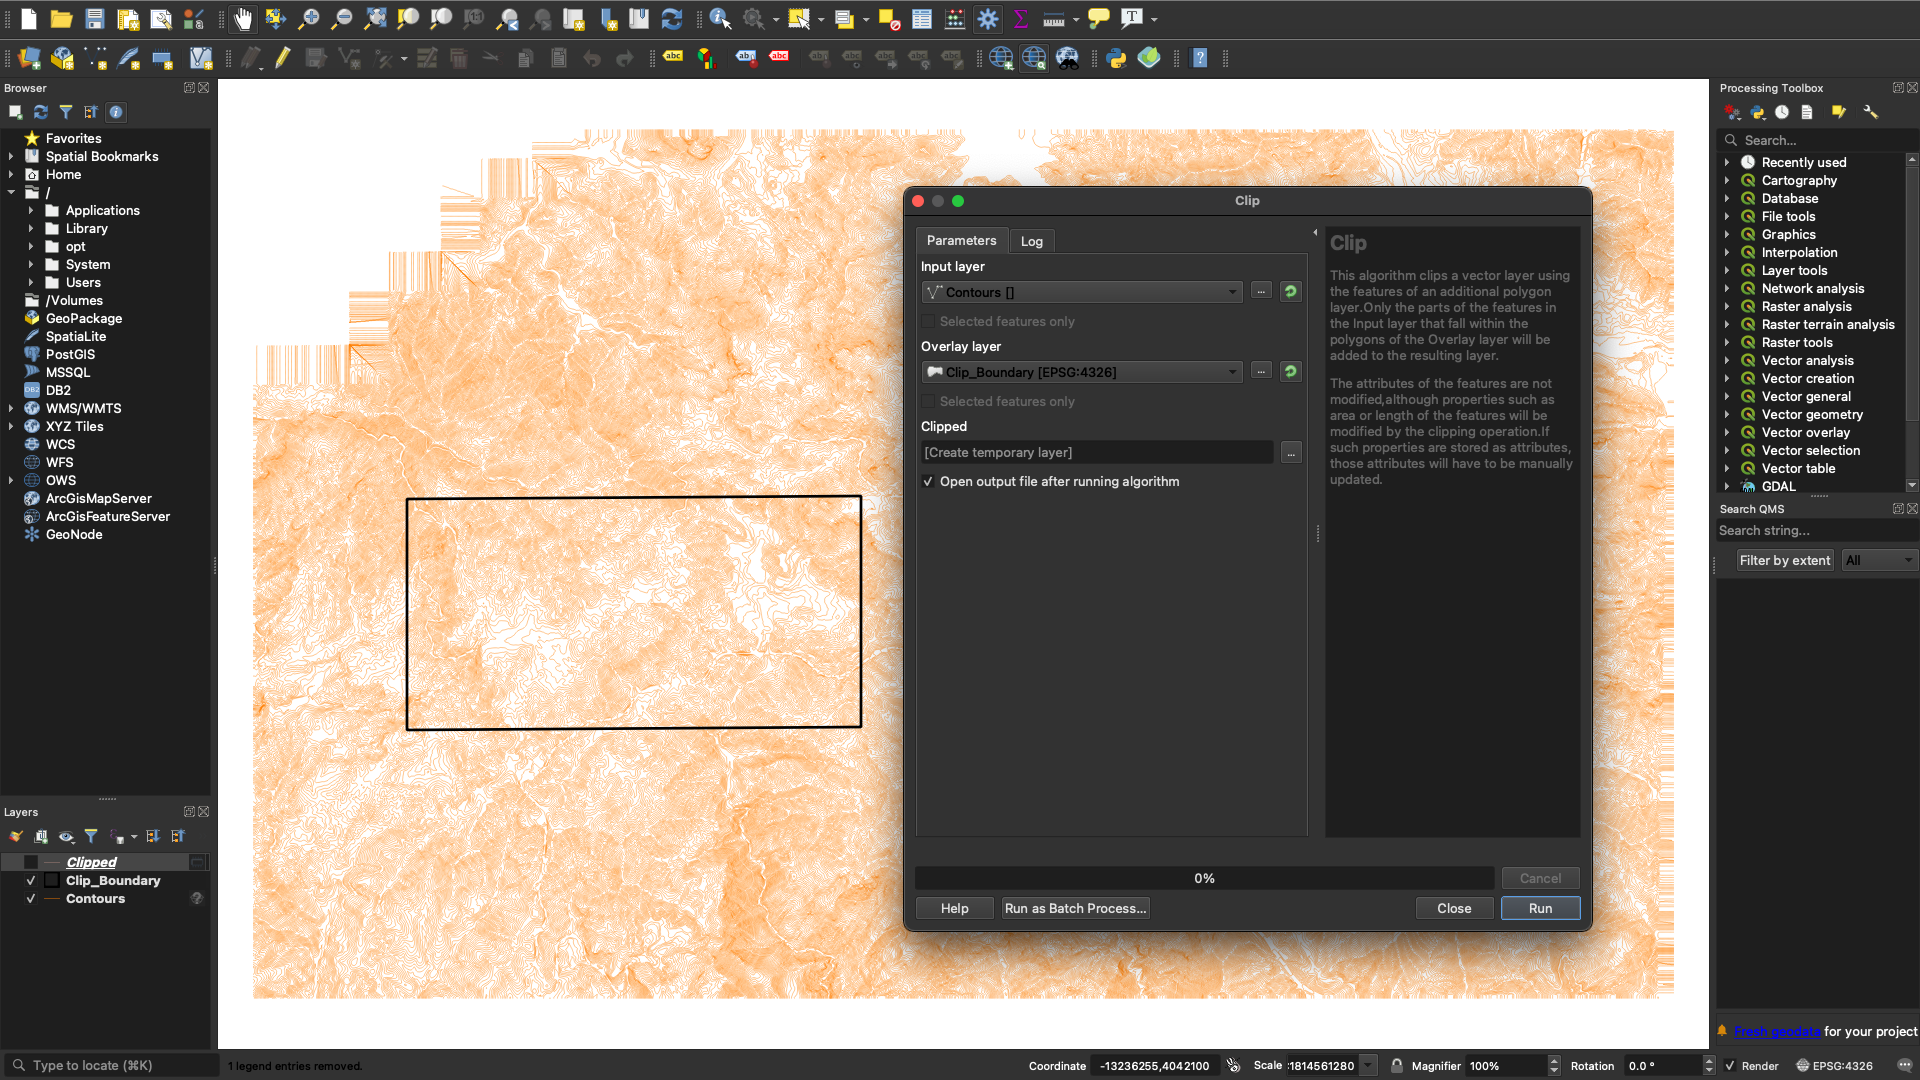

Clipped contours with the clipping boundary overlay layer
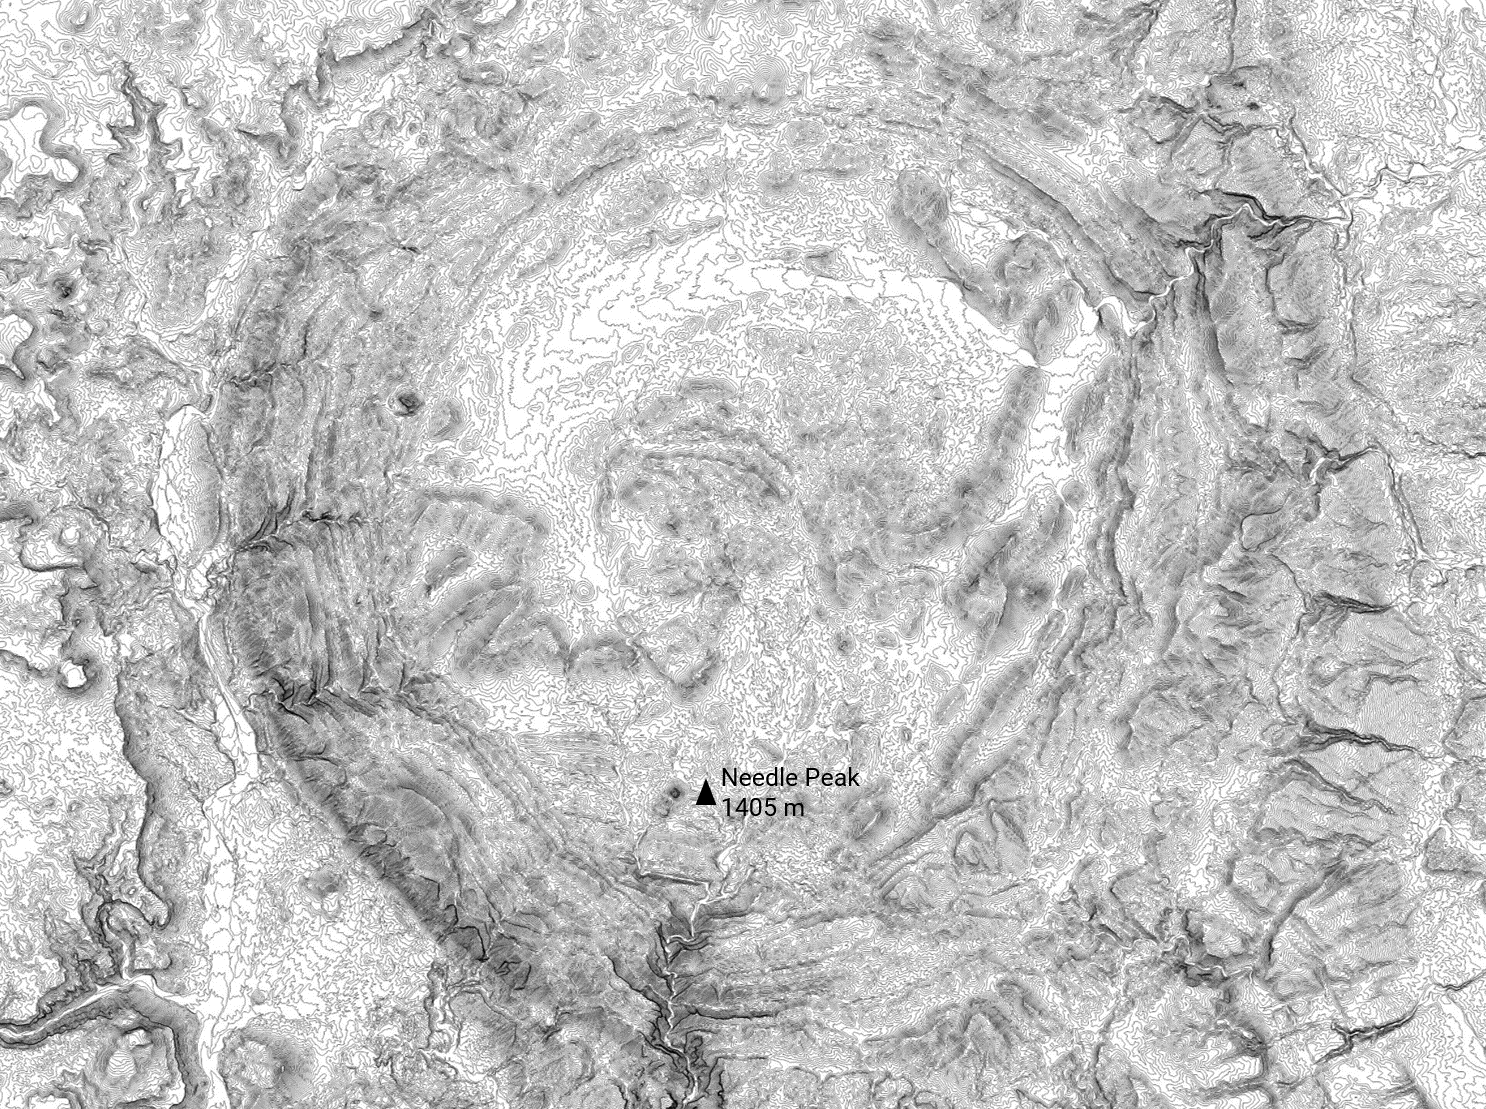
Done!
By now you should have your clipped contour feature! We hope this helped, and feel free to take a look at some of Equator’s other blogs and “How-to tutorials”!