Step 1
Upload Data
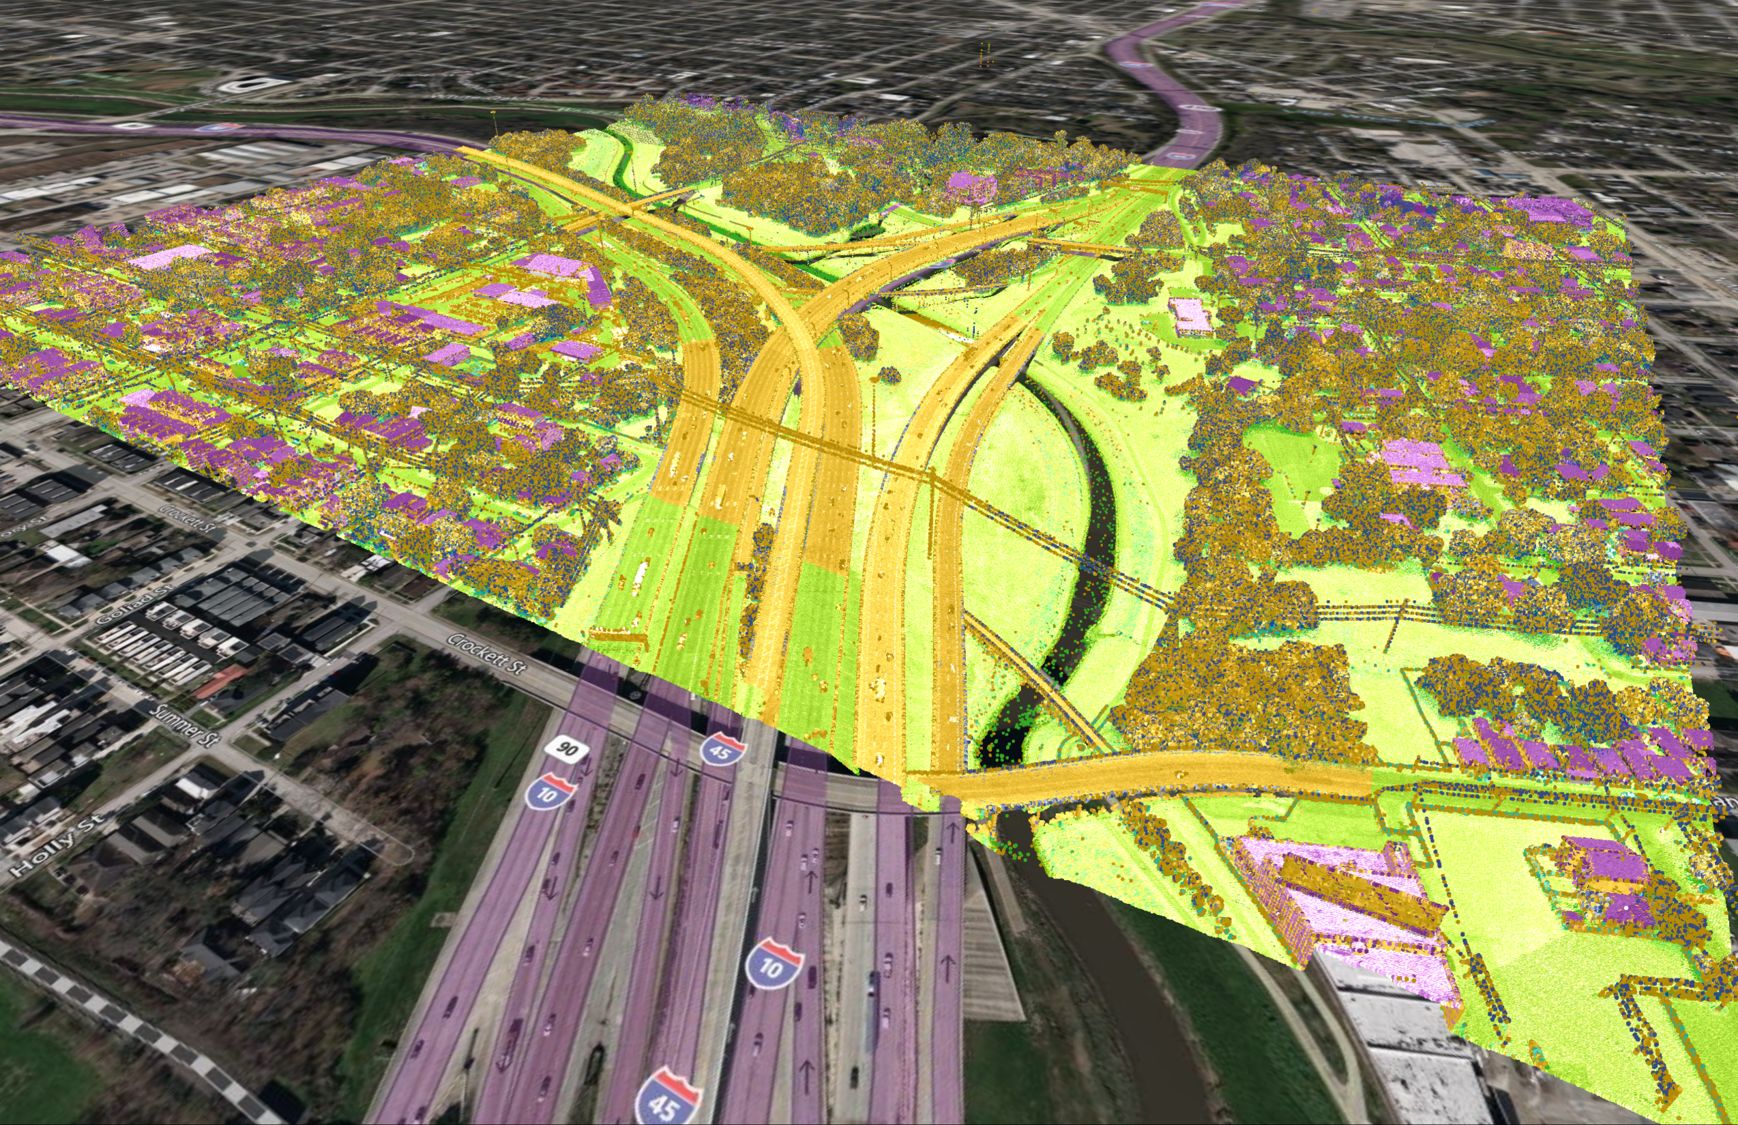
We begin by uploading our DEM (Digital Elevation Model) from the Equator Site Builder. You may extract your DEM from any source you find appropriate, however, for our purposes we use Equator’s Site Builder as it provides us with the most up-to-date free high-resolution data, along with many other advanced features that enhance our project. Besides our DEM, we will also extract a Hillshade for our site – which we highly recommend in order to enhance the visualization of your 3D map in QGIS – as well as a Contours SHP and Orthoimage.
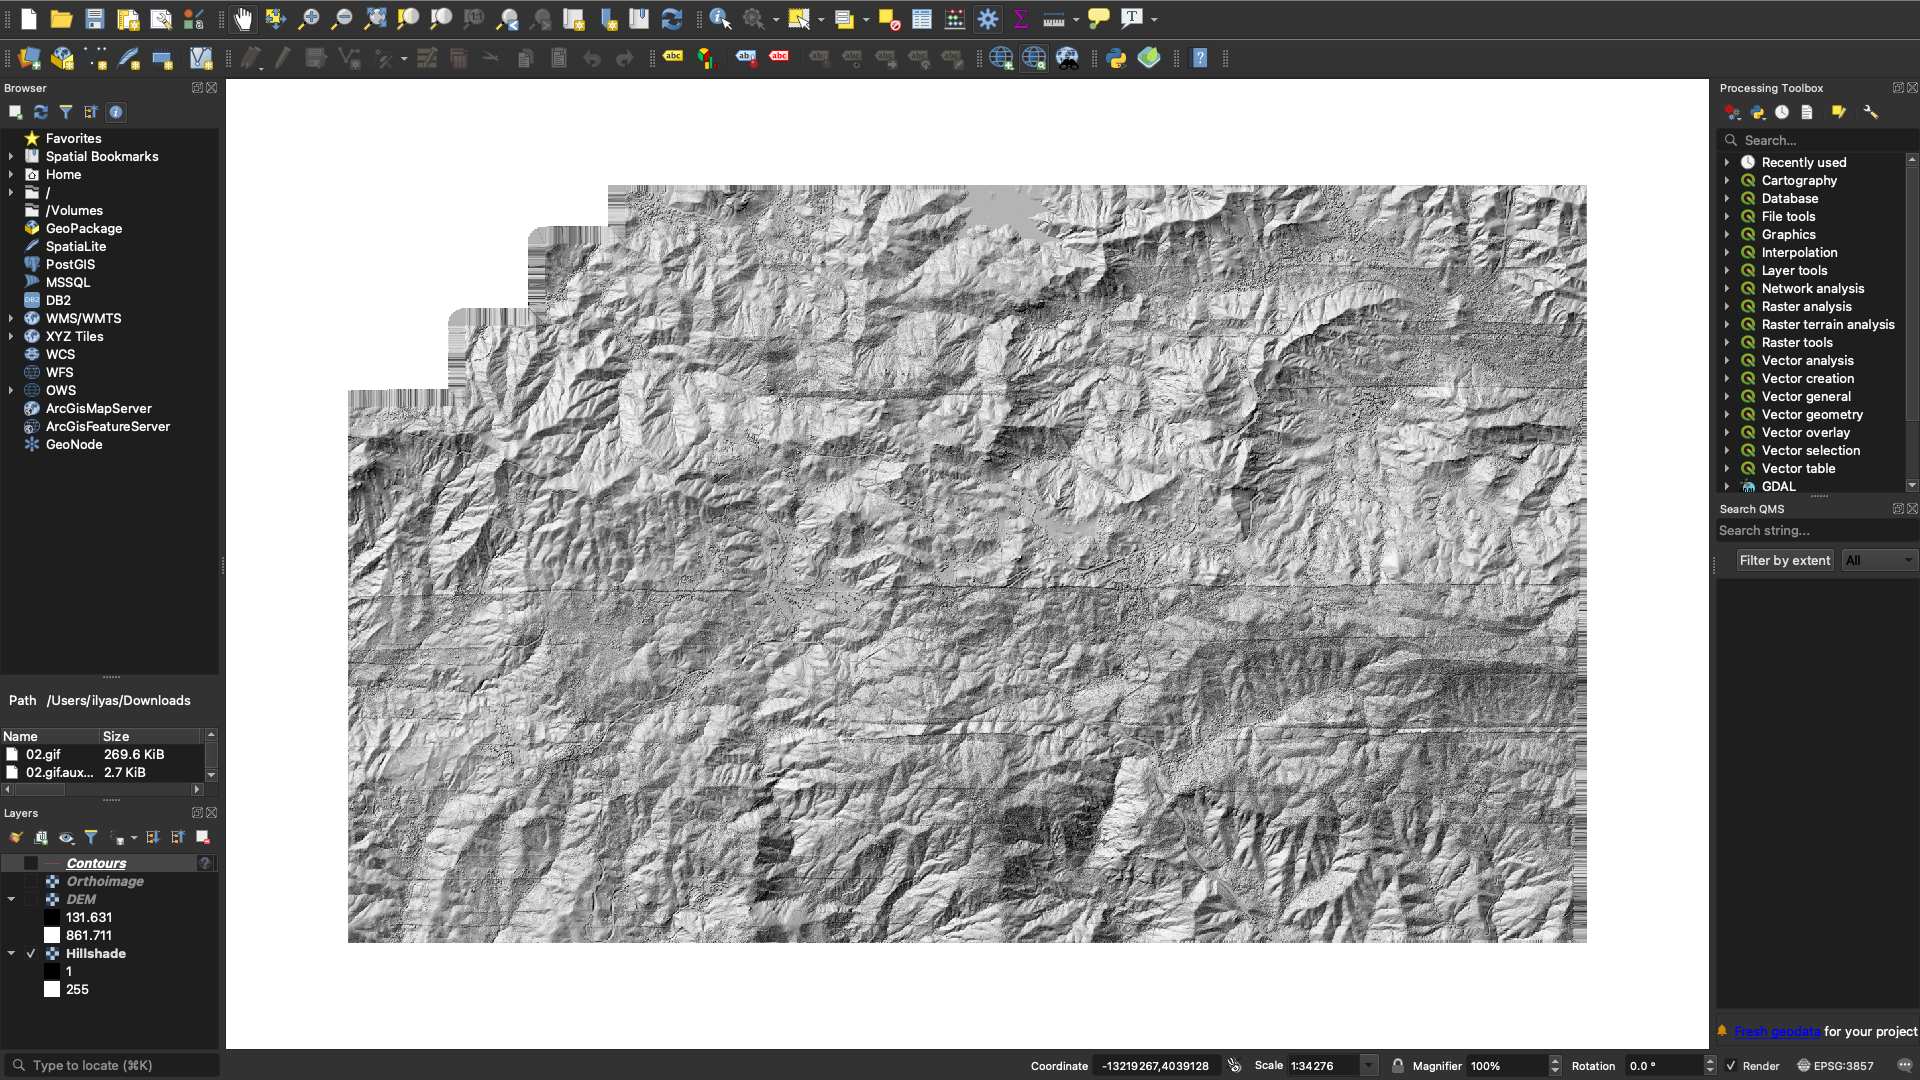
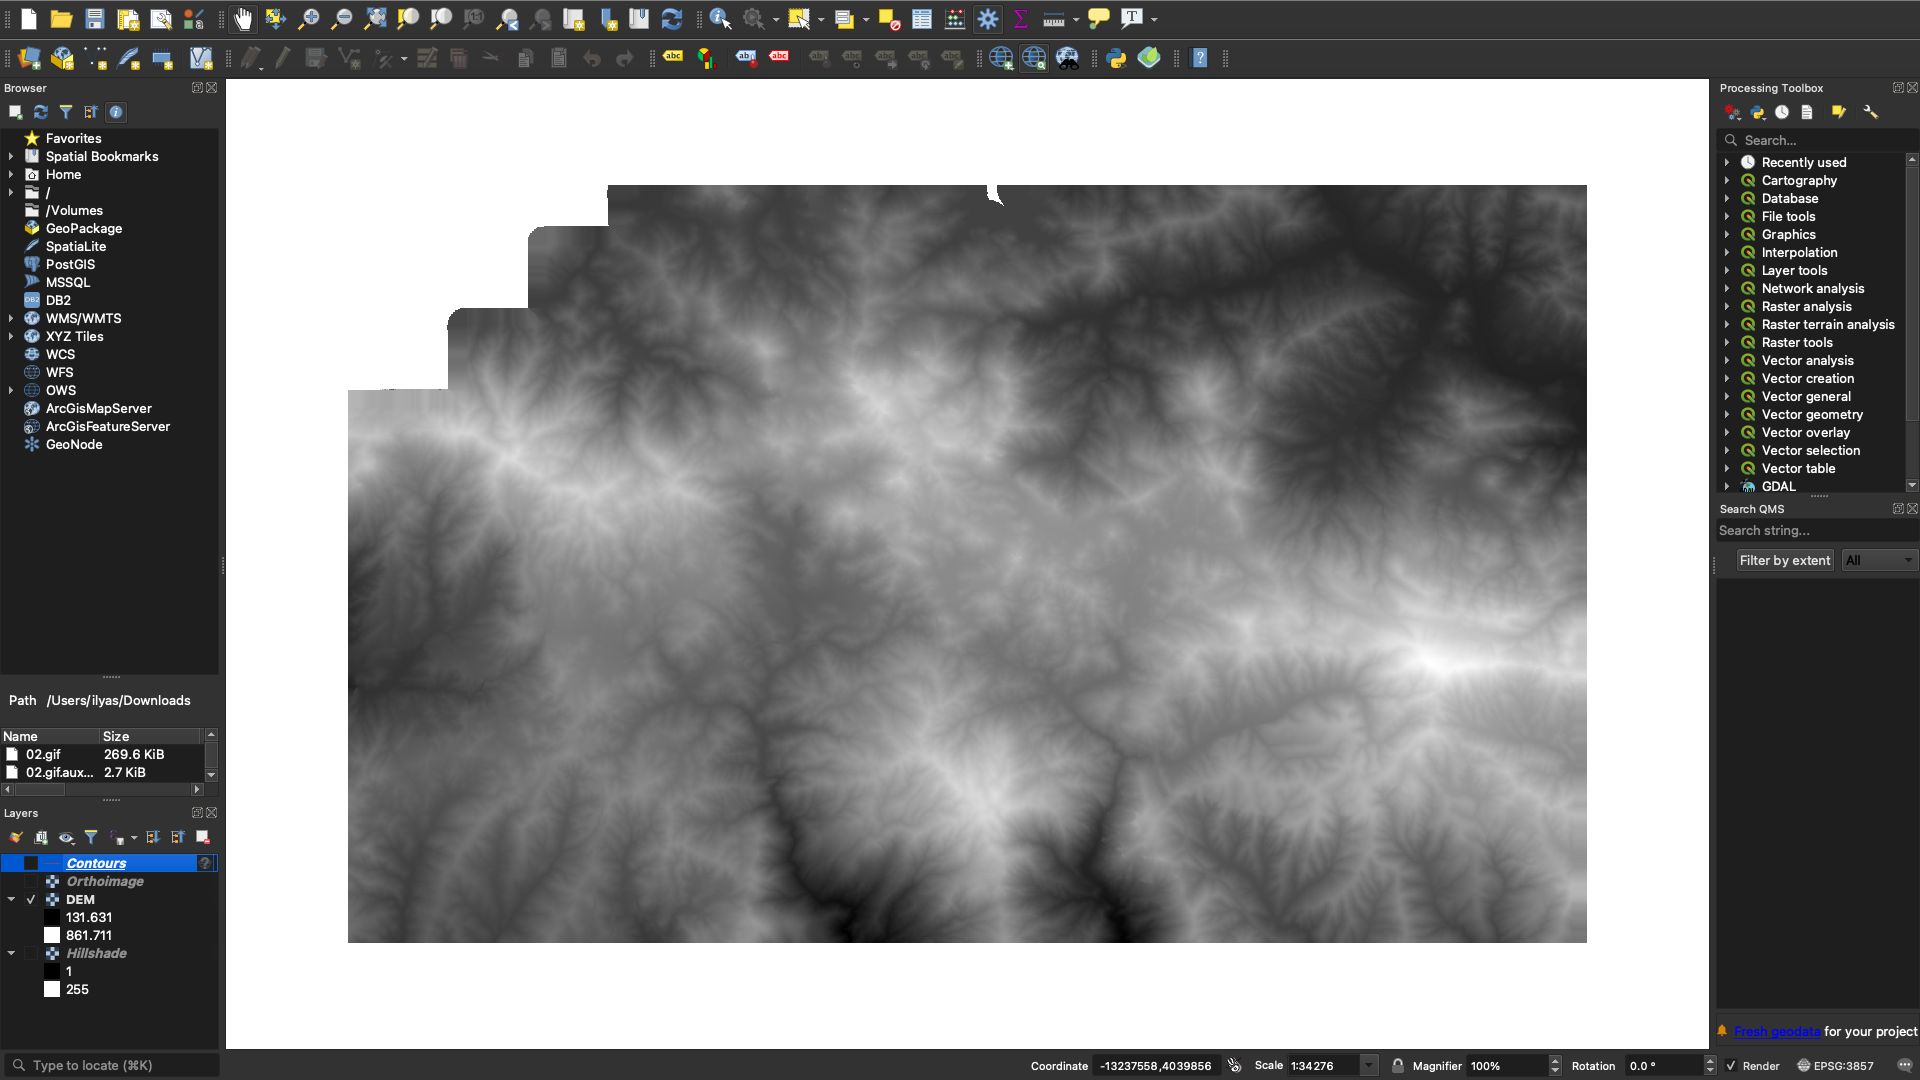
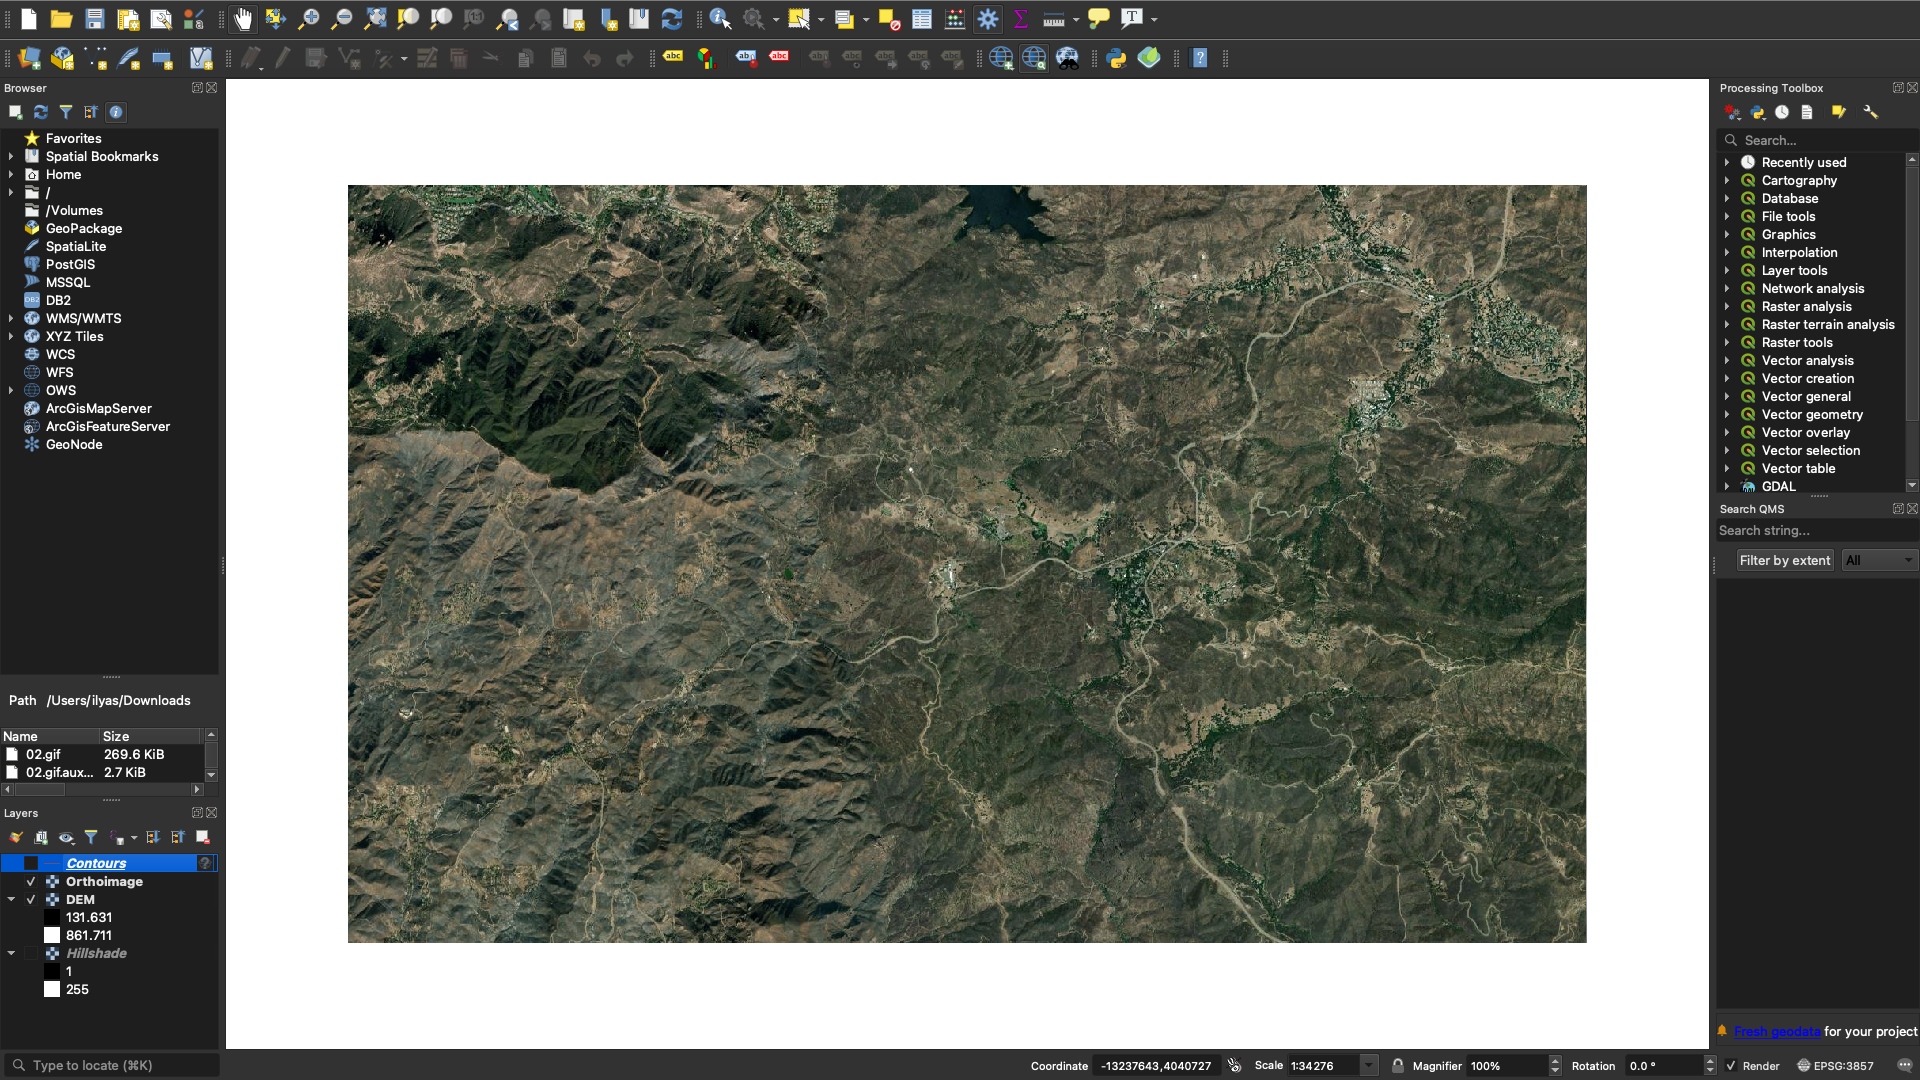
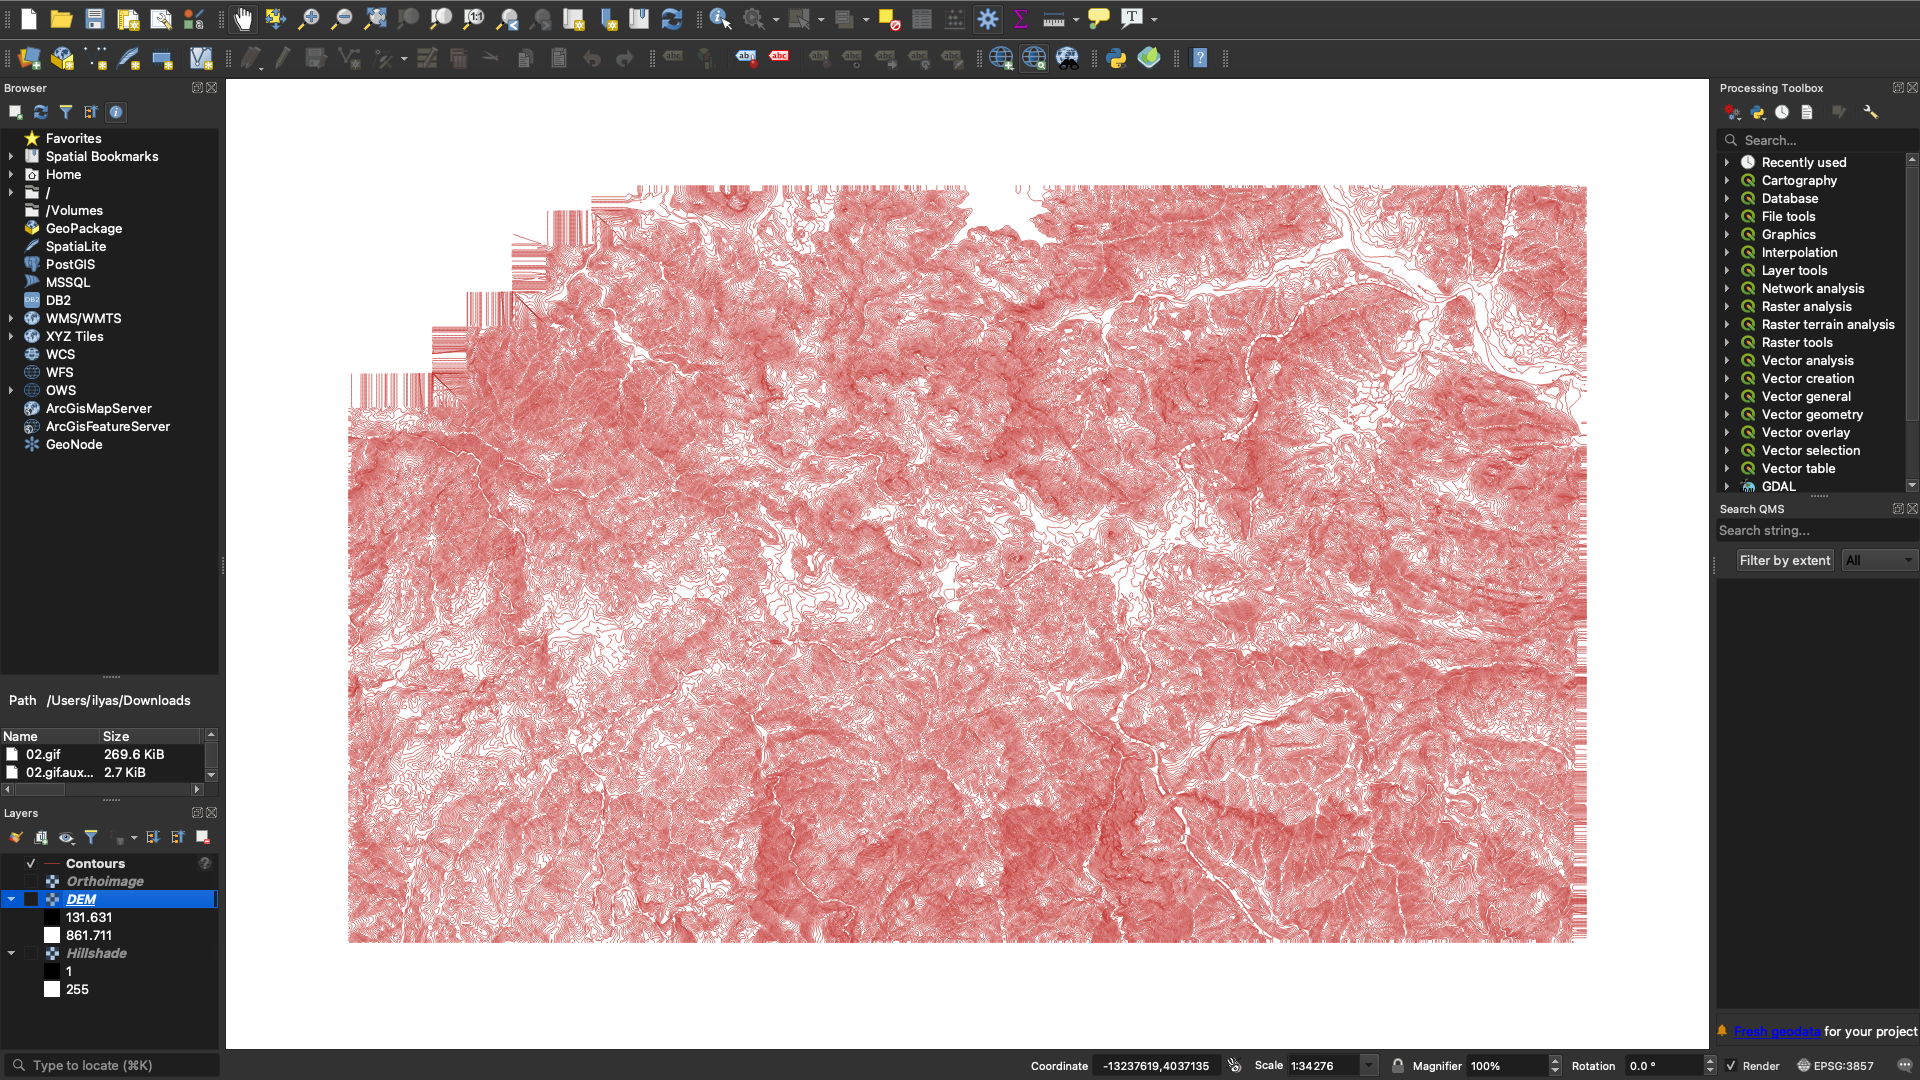
Hillshade, DEM, Orthoimage, and Contour data uploaded from Equator Site Builder
Step 2
Generate 3D Map View
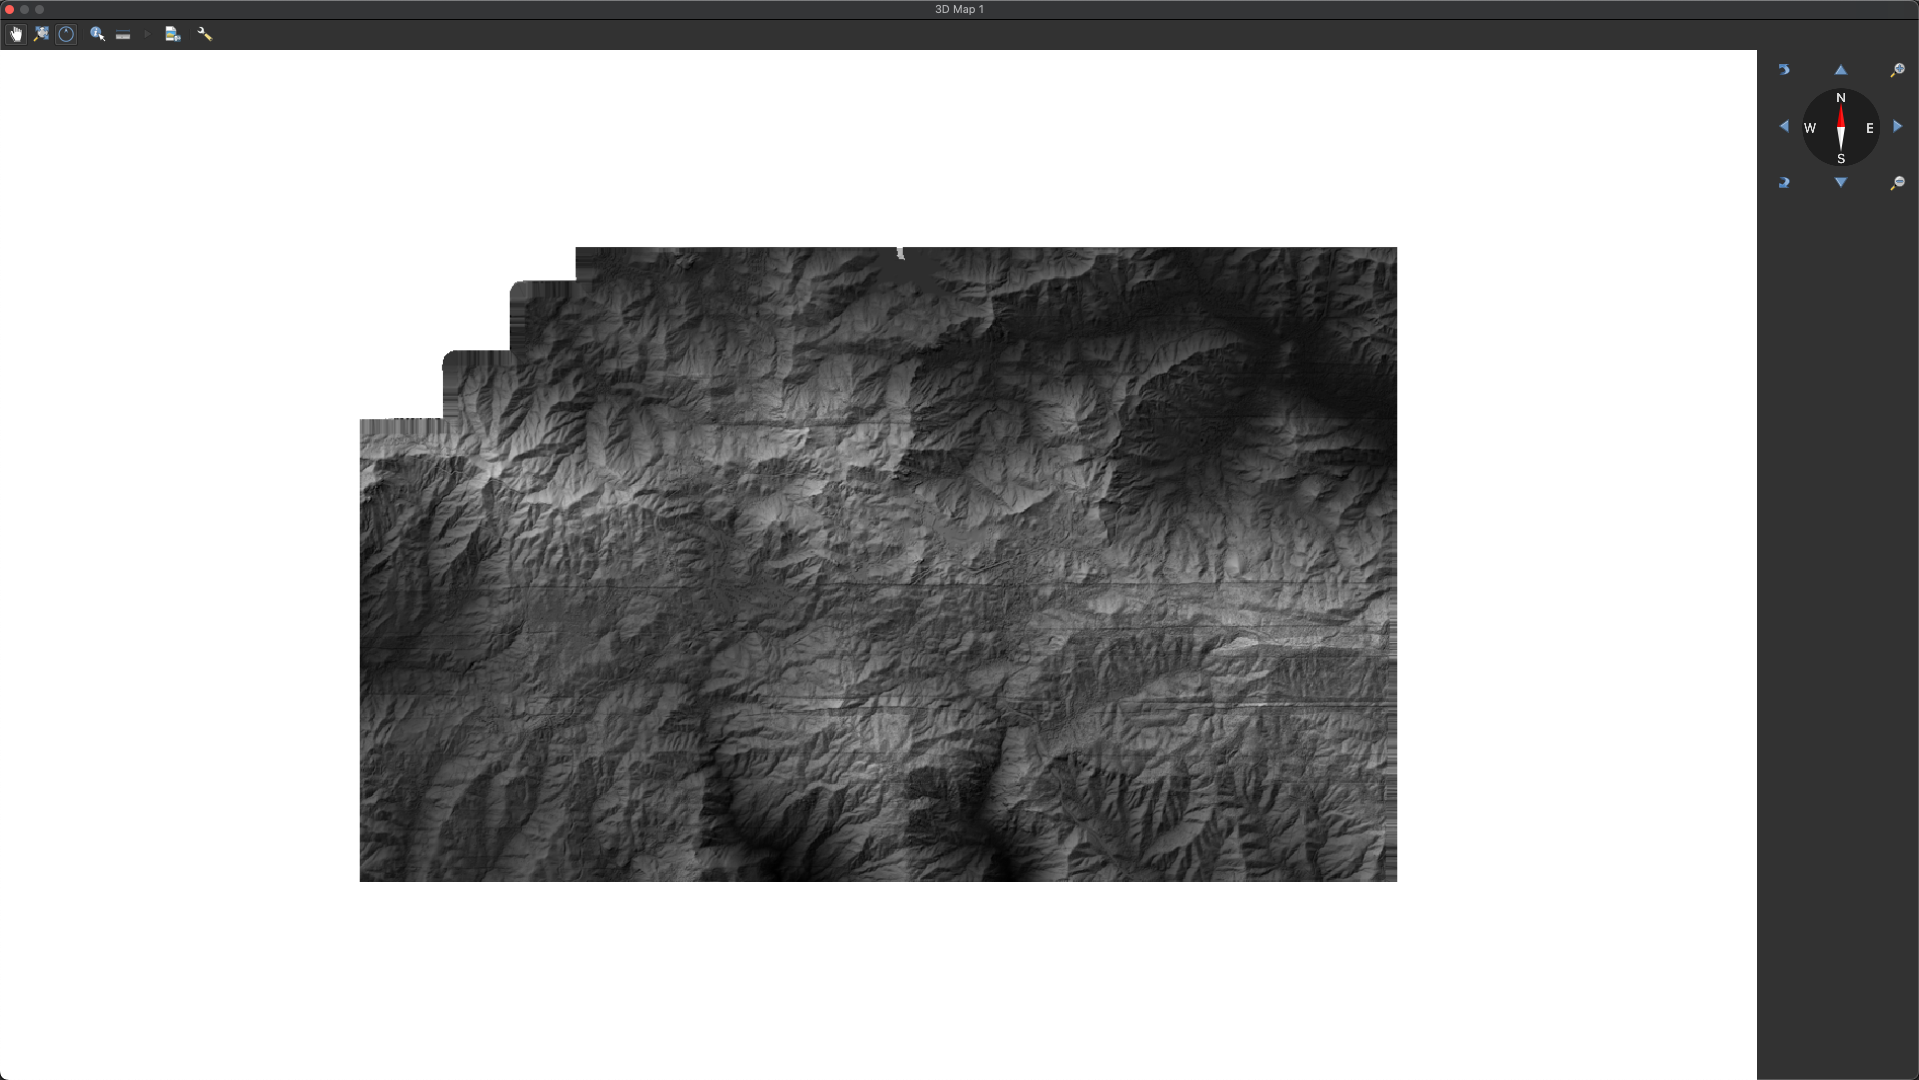
Next, generate a New 3D Map View.
View → New 3D Map View

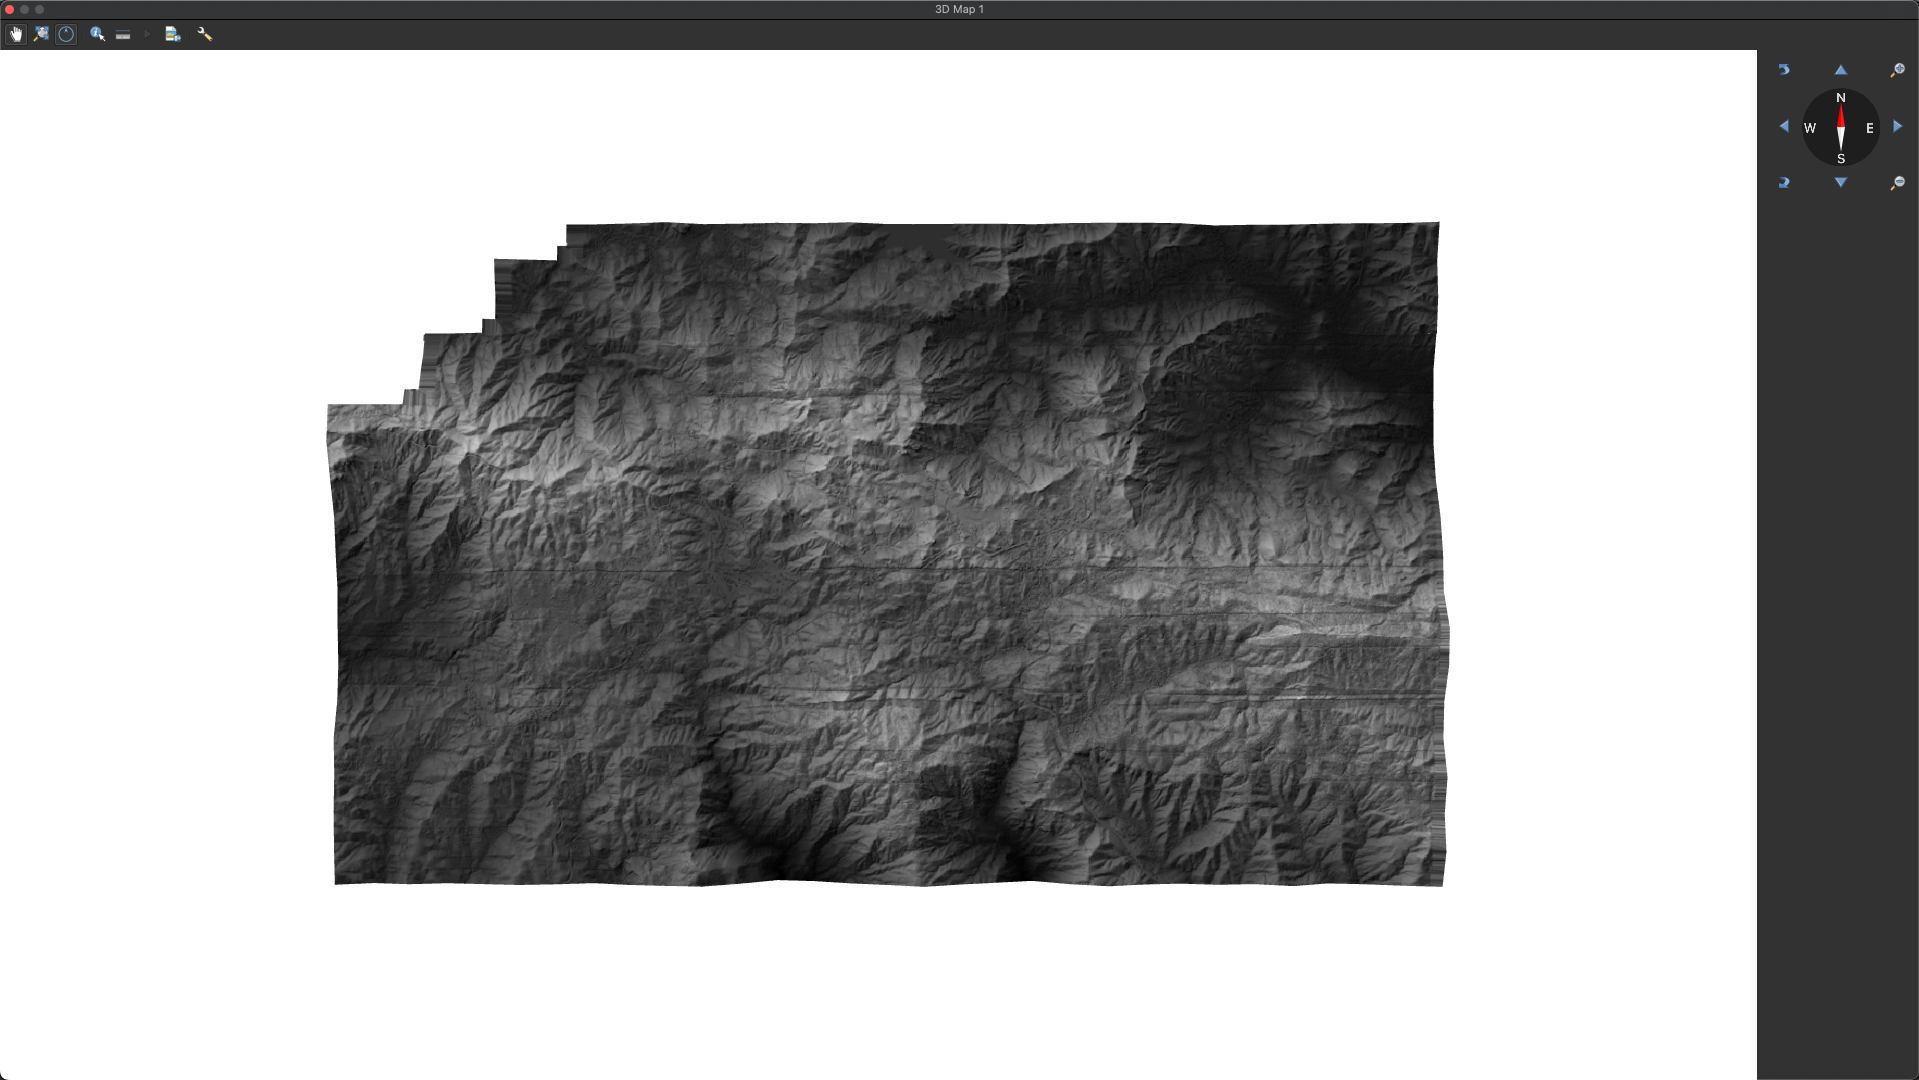
Generate New 3D Map View

Generated 3D Map View
Step 3
Set Type
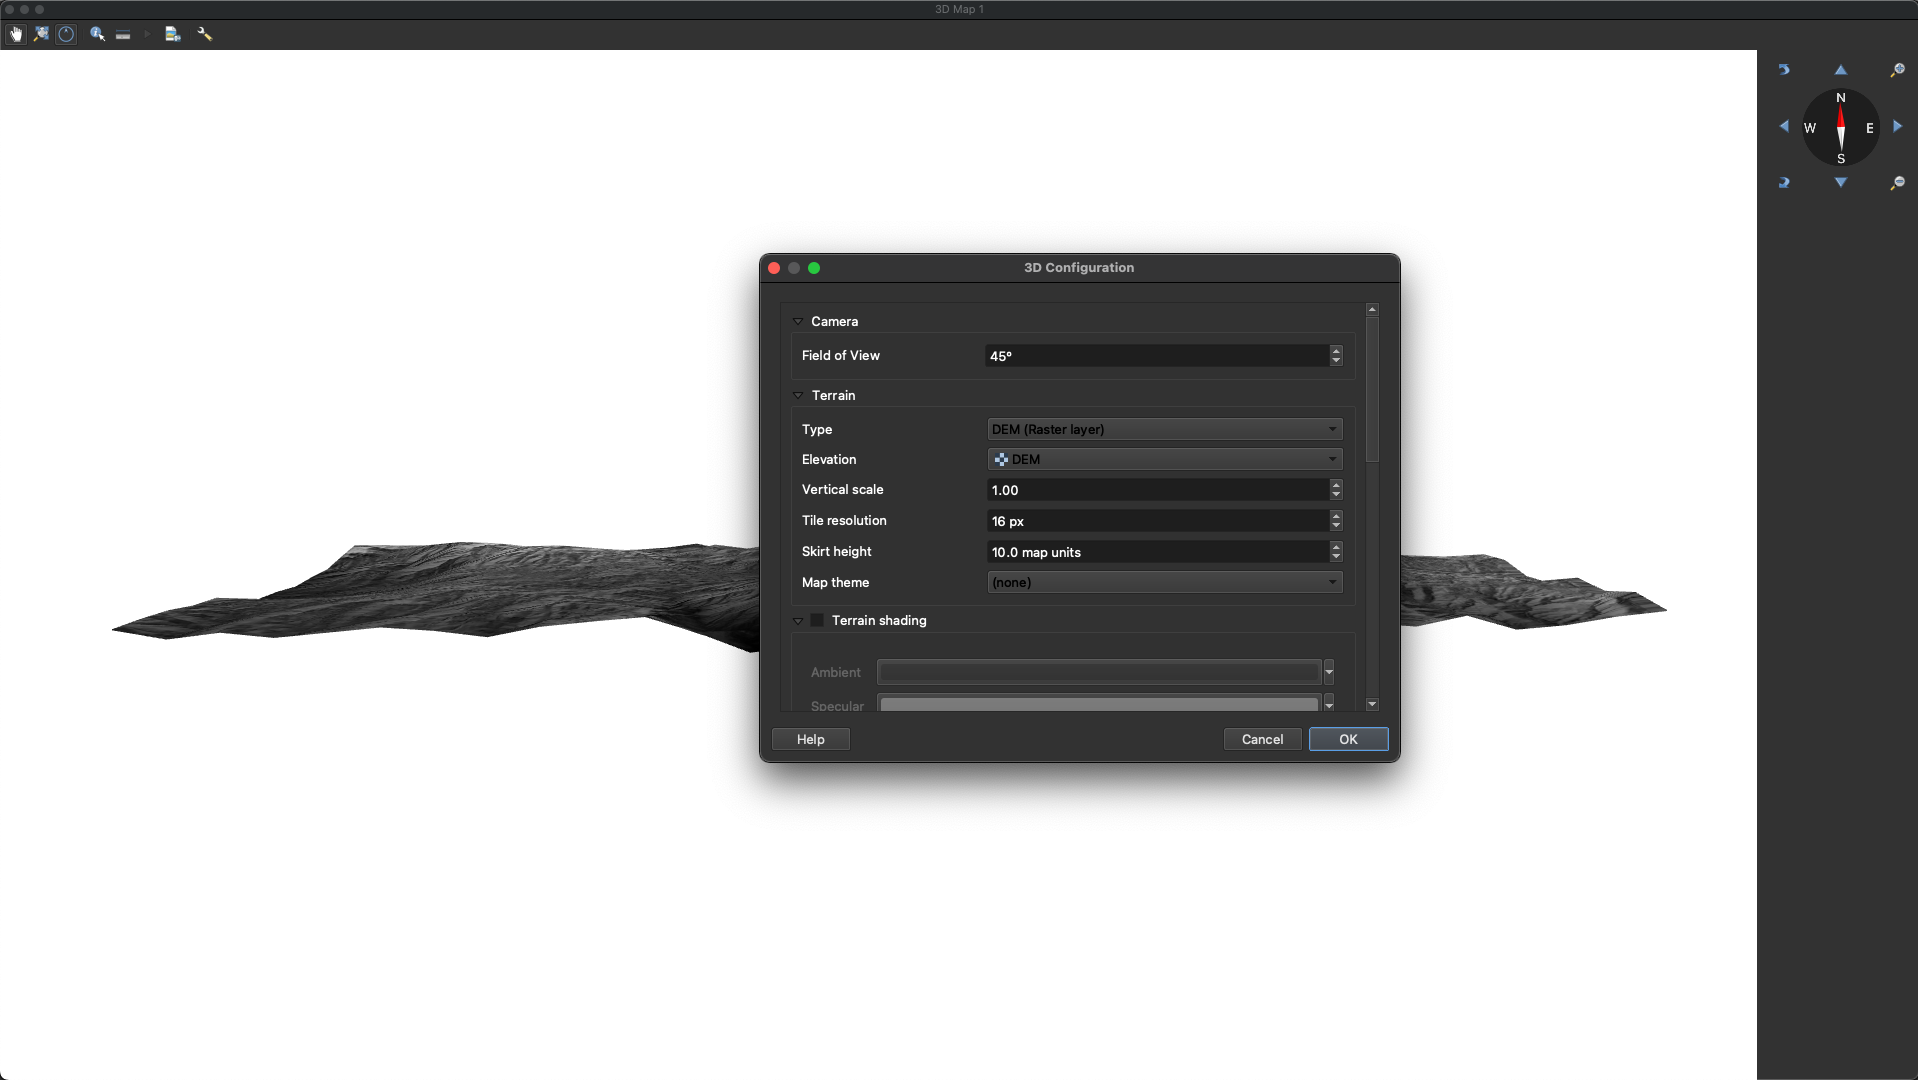
Now you must set your type to whatever is appropriate for your project – we elected to set it to a DEM (Raster Layer), setting our elevation to our DEM shapefile.
3D Map 1 → 3D Configuration

3D Configuration Tool
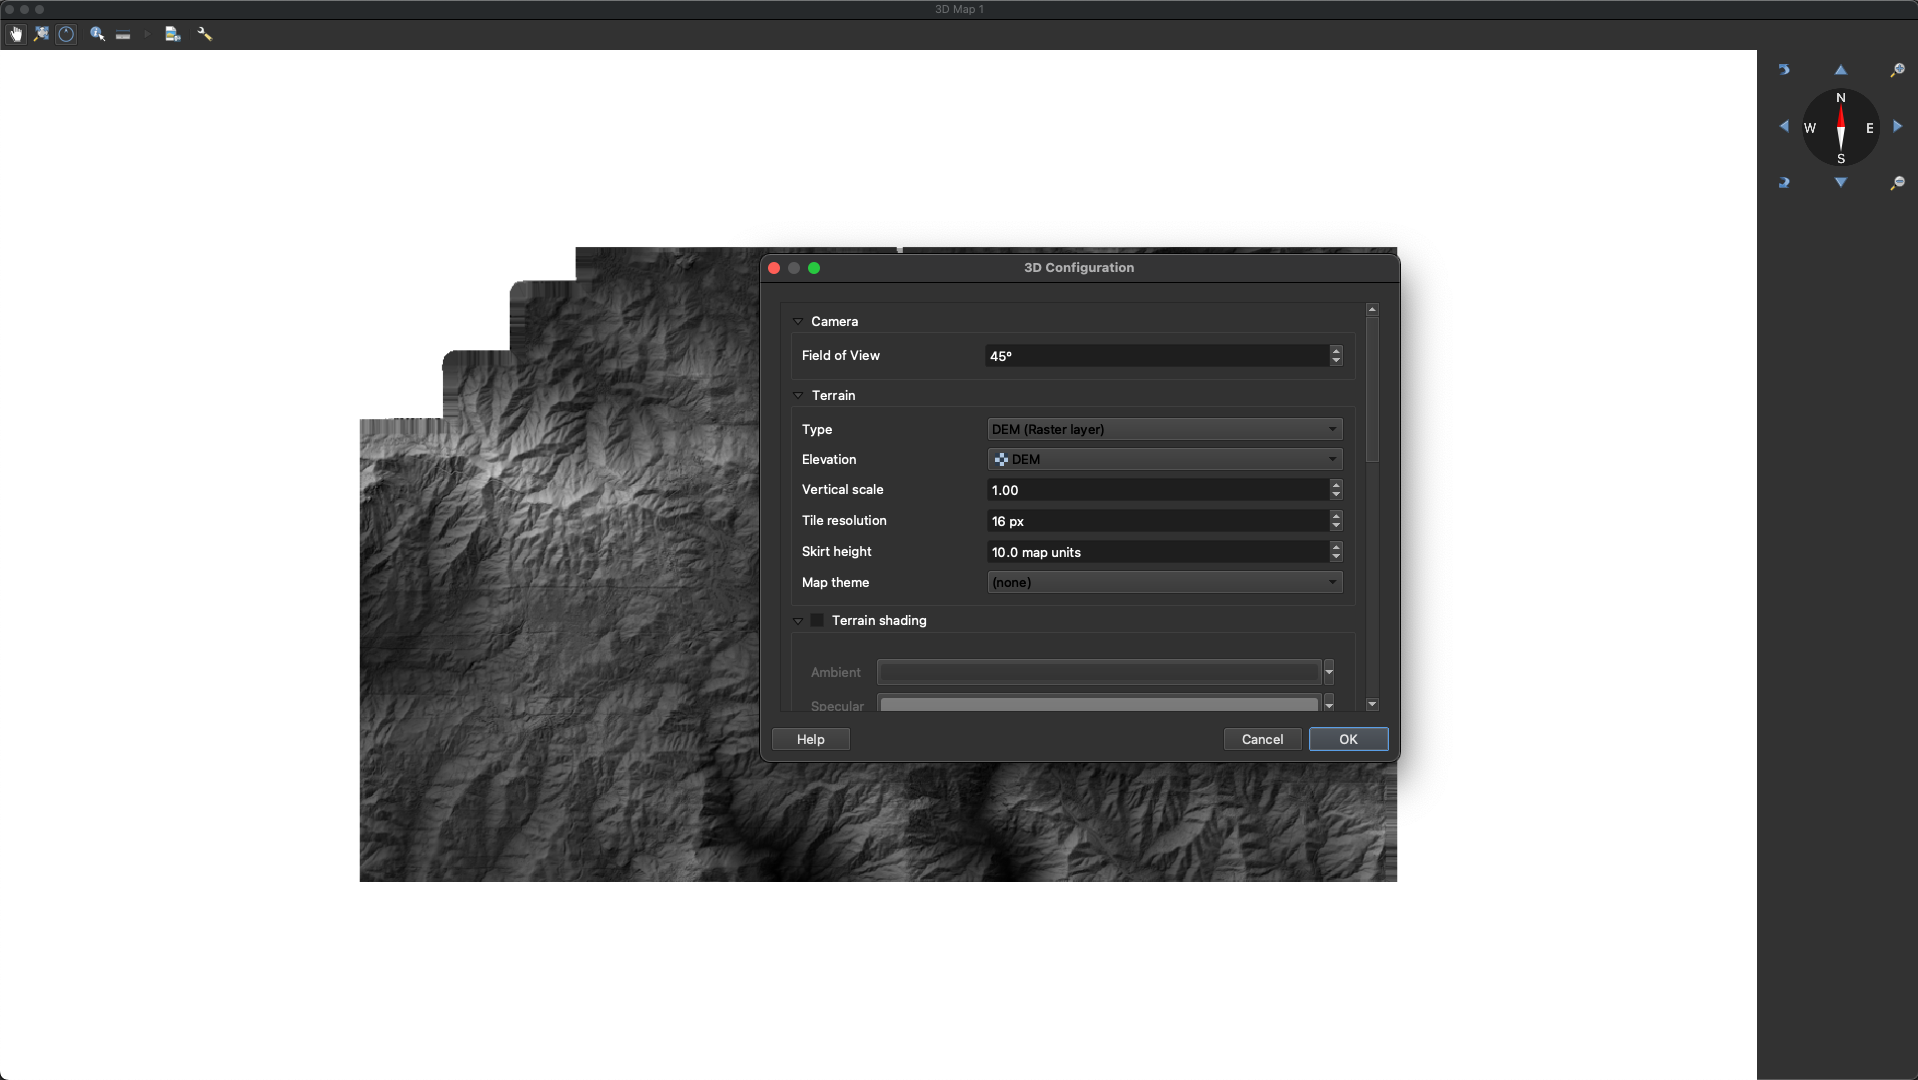
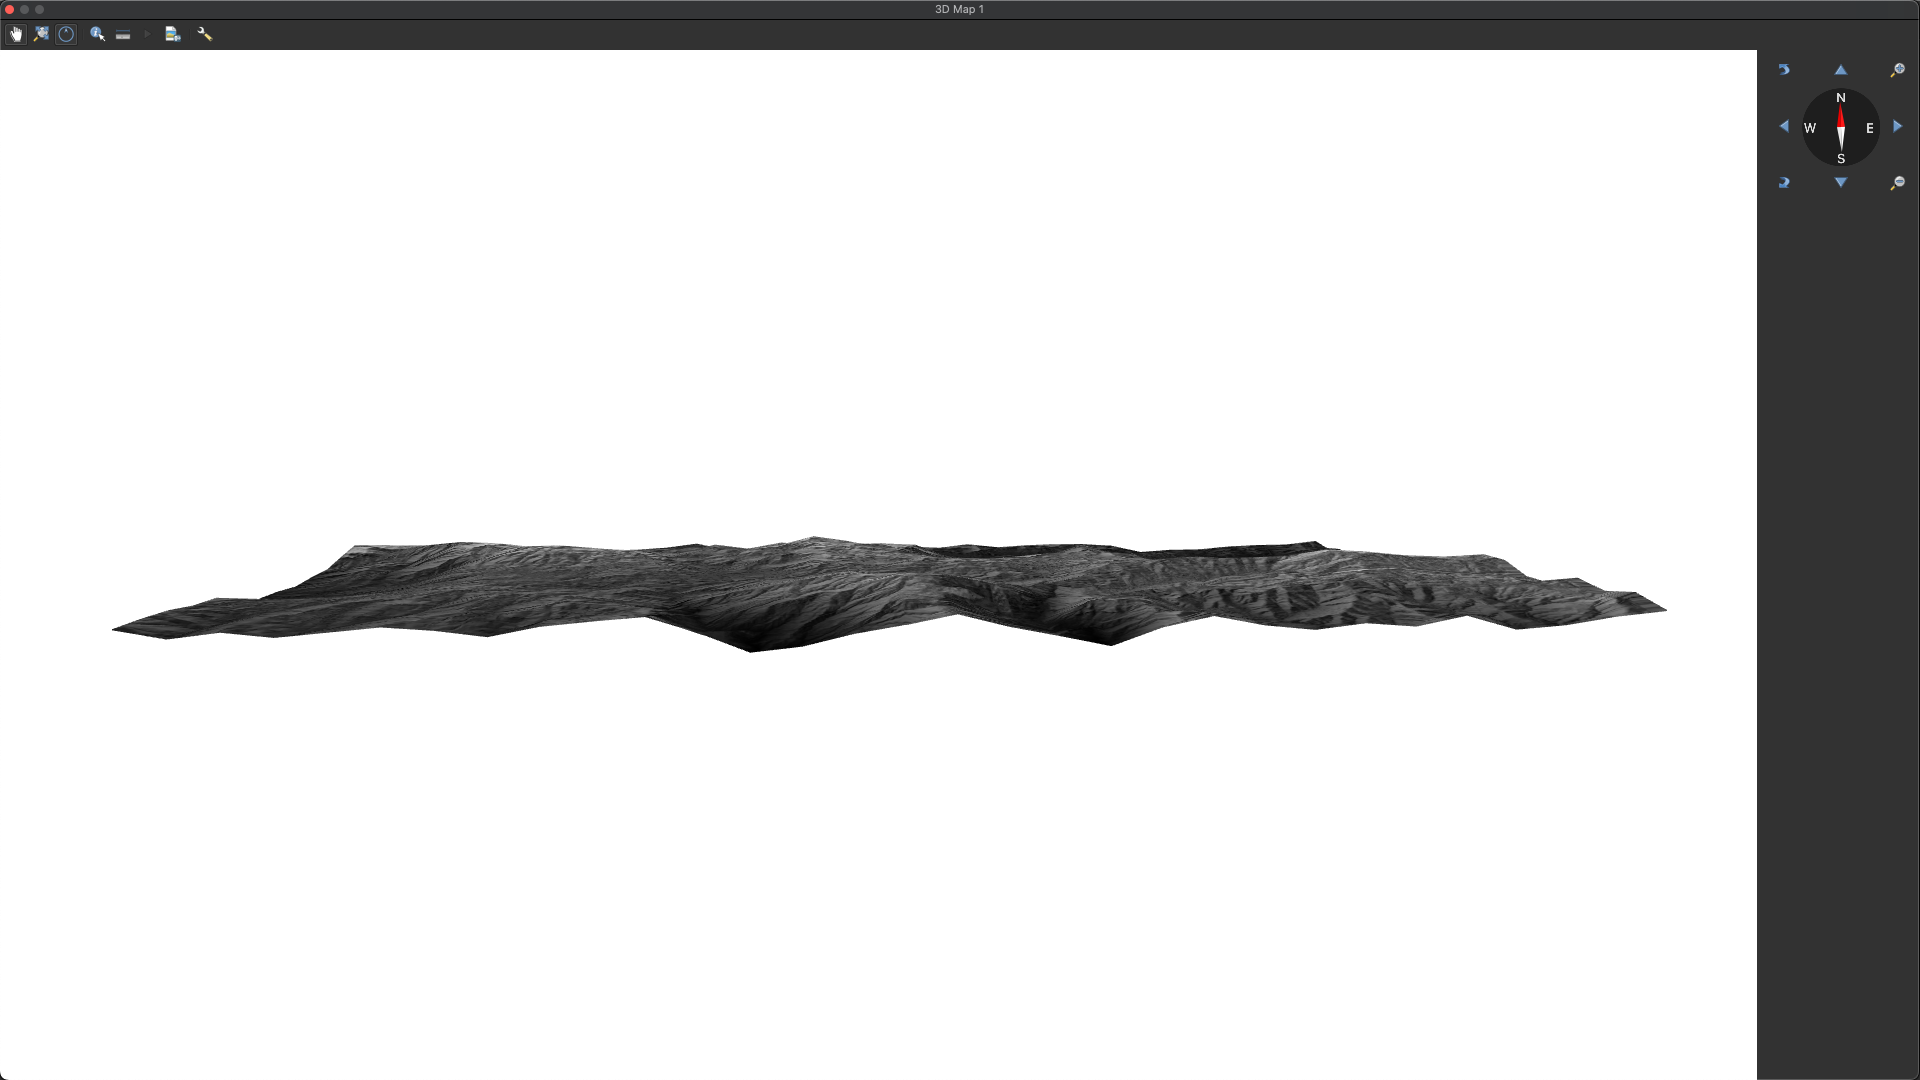
3D Configuration with correct input settings and before and after
Step 4
Adjust Vertical Scale
There! We now have a 3D view of the map. Just a note that if you want to change the angle of your view, you can do so by holding the shift key along with the left click of your mouse, and moving the mouse to adjust the view as you deem appropriate. Now, whilst we have a 3D view of our map, the elevation for our mountains are a little underwhelming. If you want to exaggerate your vertical scale (or reduce it), go to 3D configuration and set the Vertical Scale you think is most appropriate. We chose to increase our Vertical Scale to 2.00 as per the screenshot below.
3D Map 1 → 3D Configuration

Keys to adjust 3D view angle

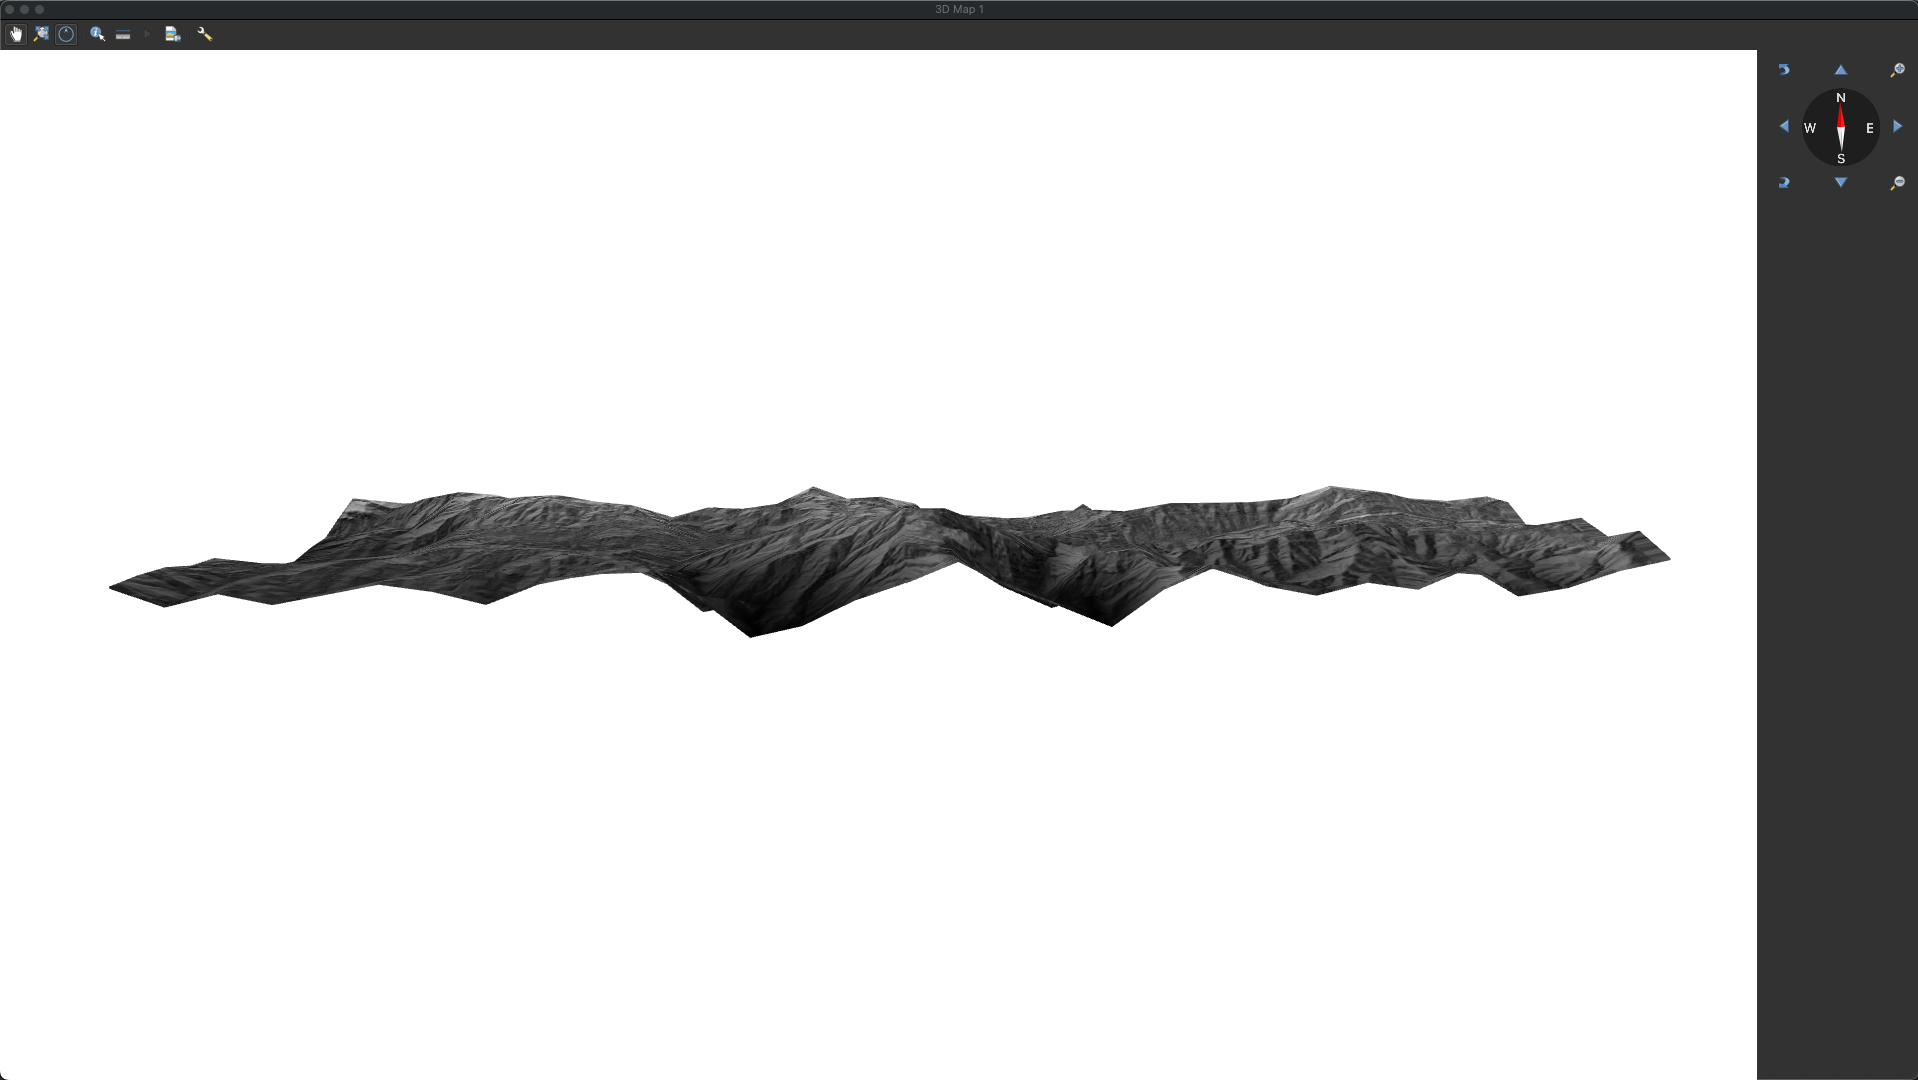
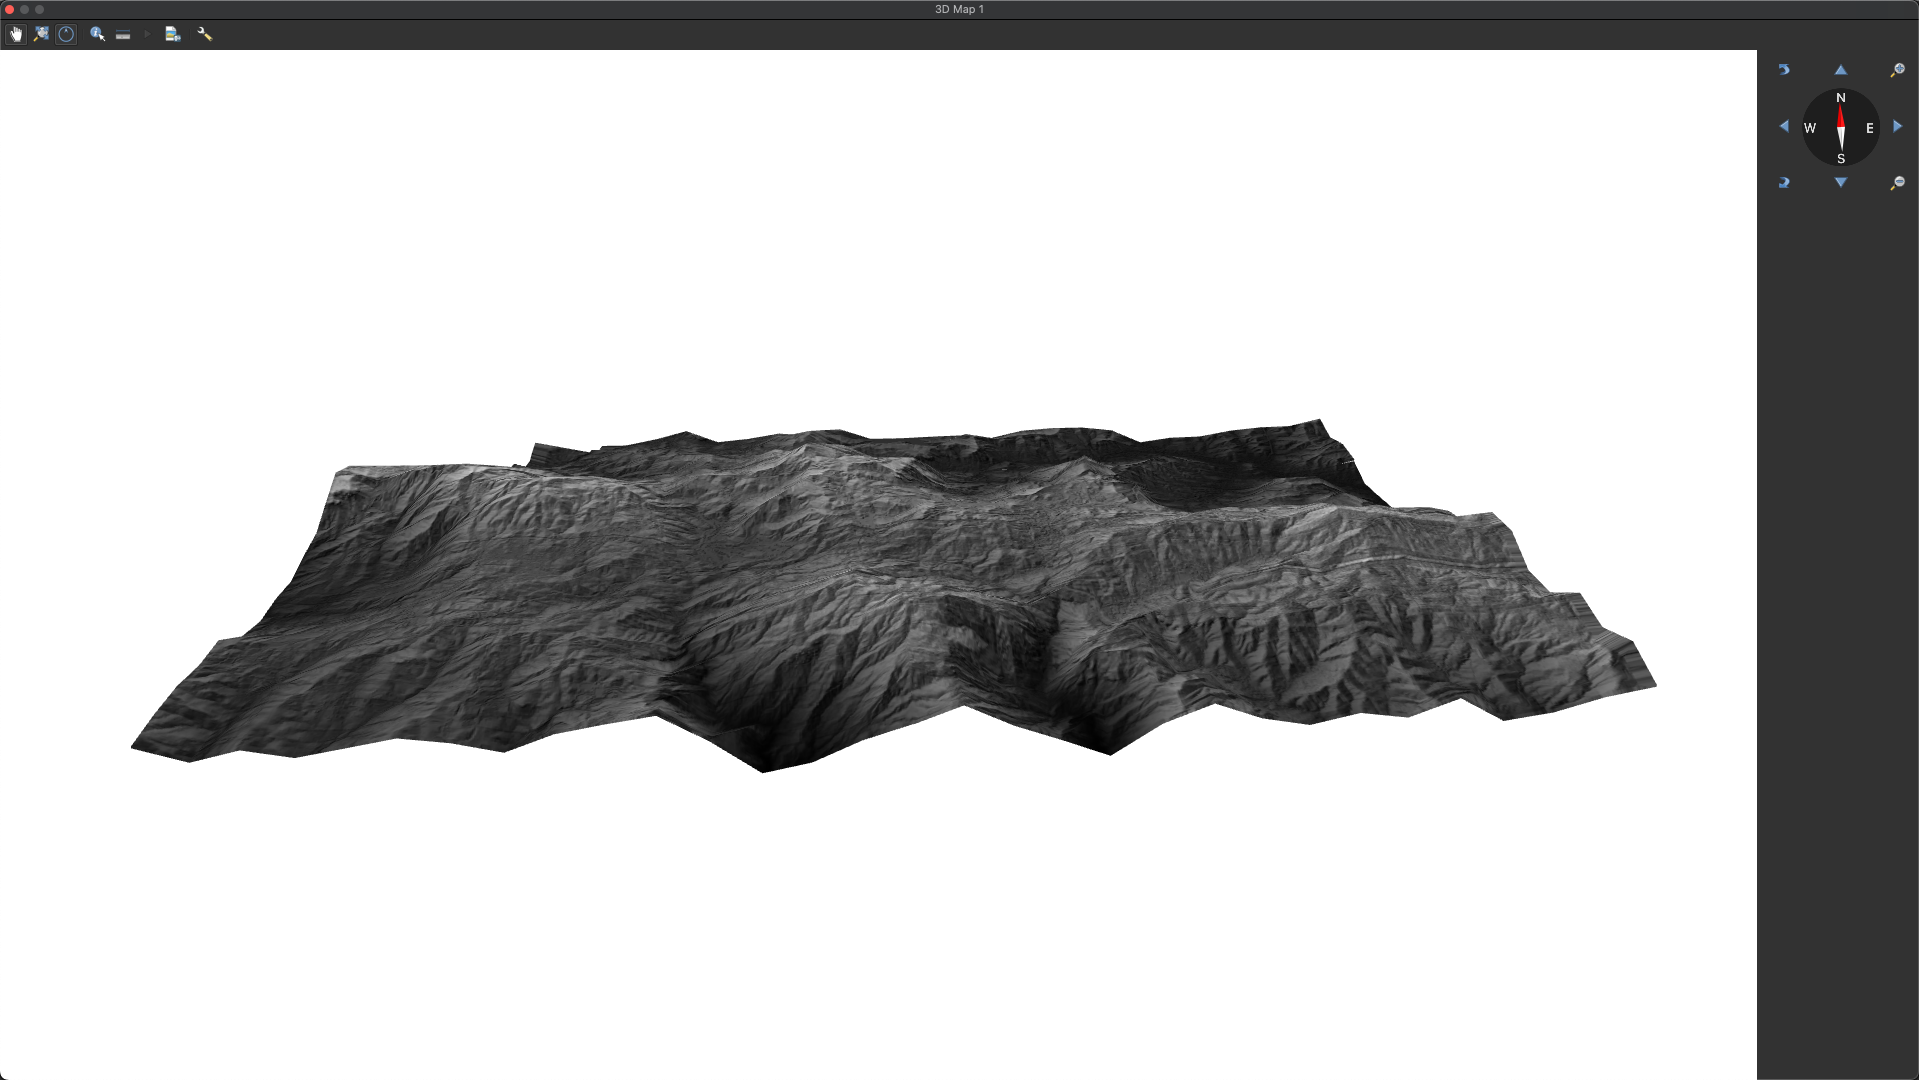
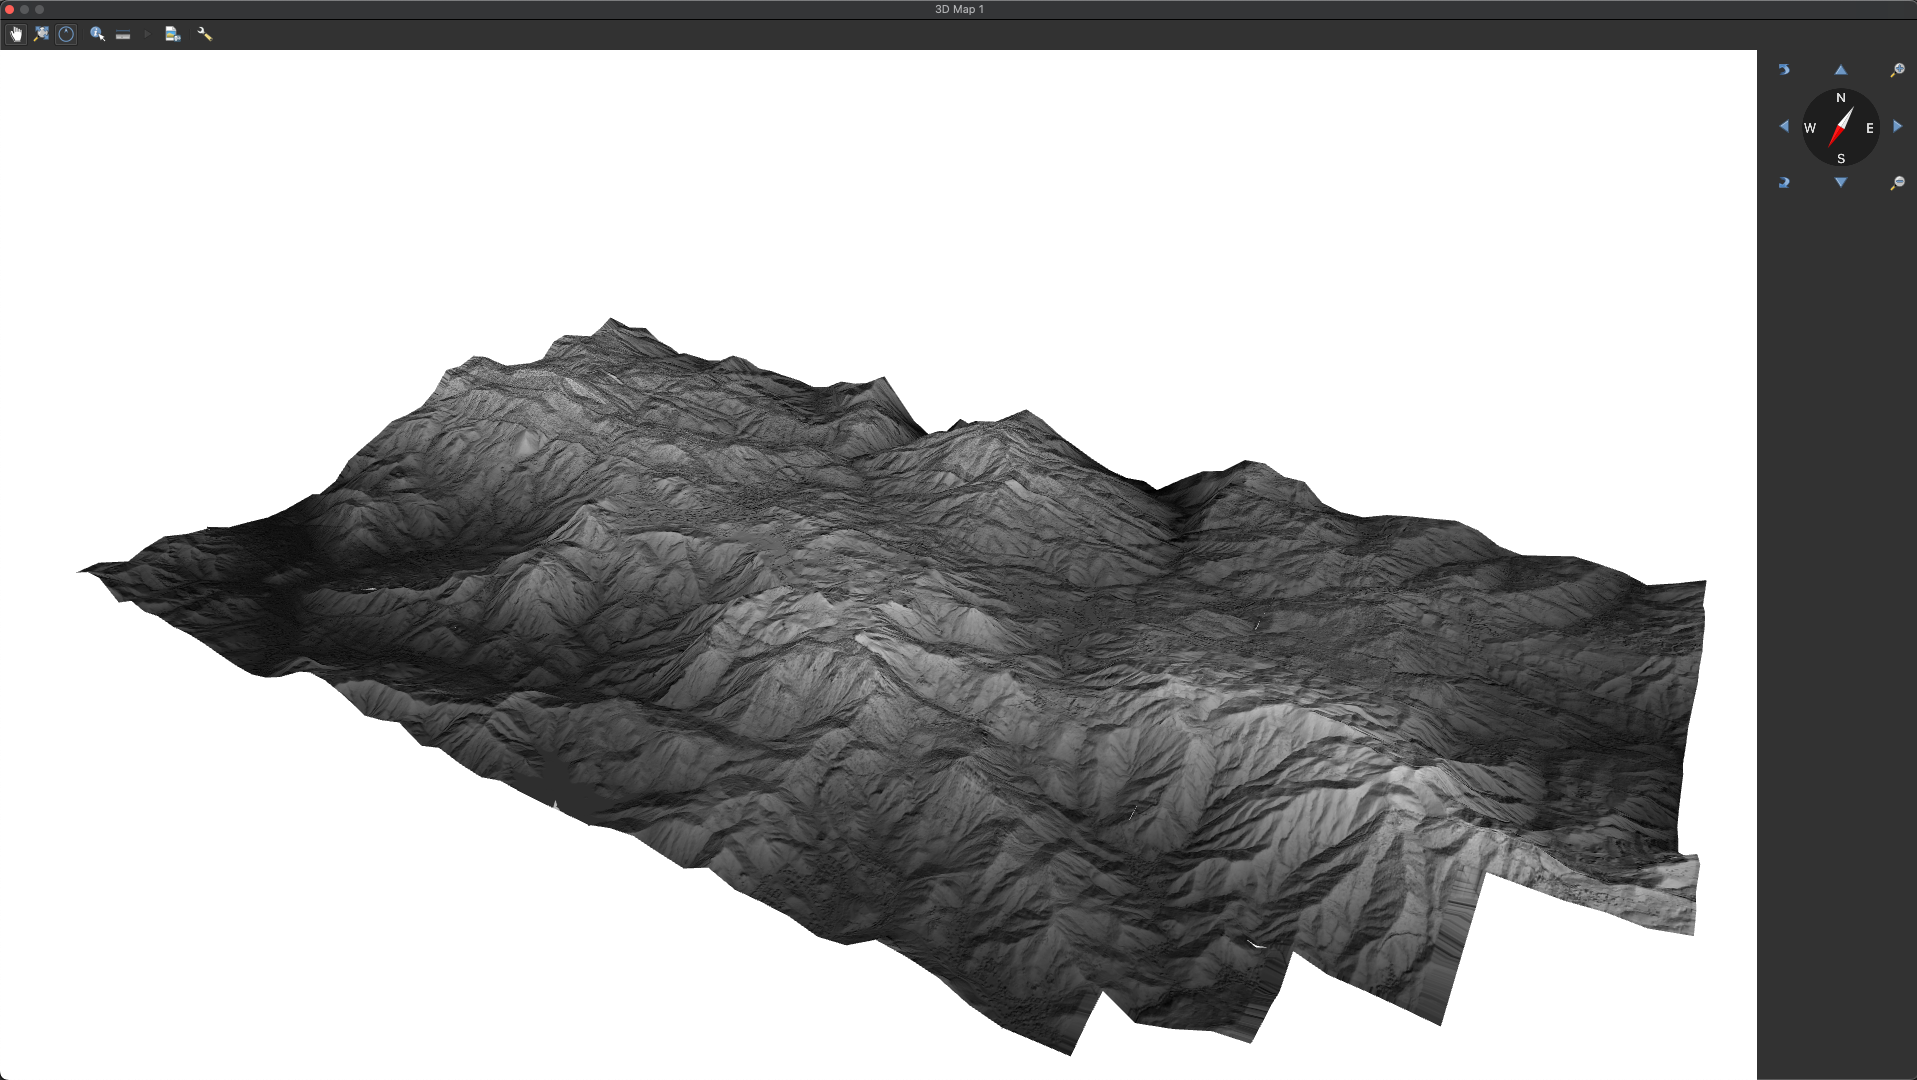

Adjusting the Vertical Scale, before and after
Step 5
Customize Symbology
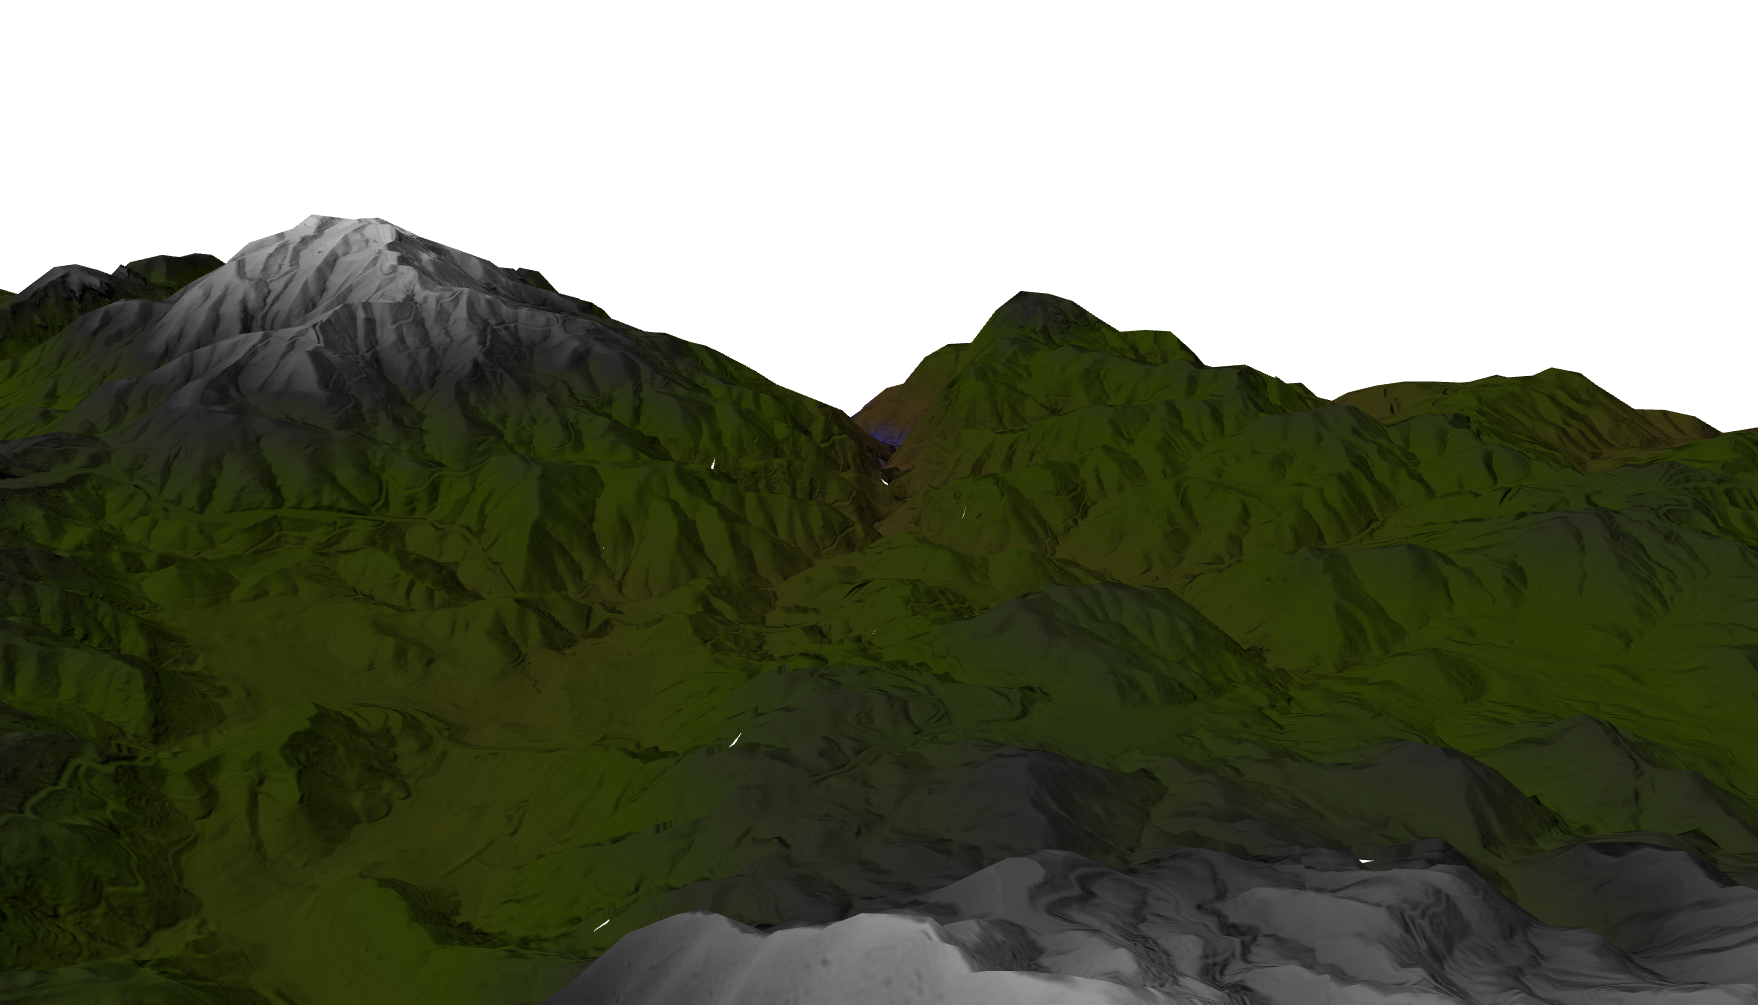
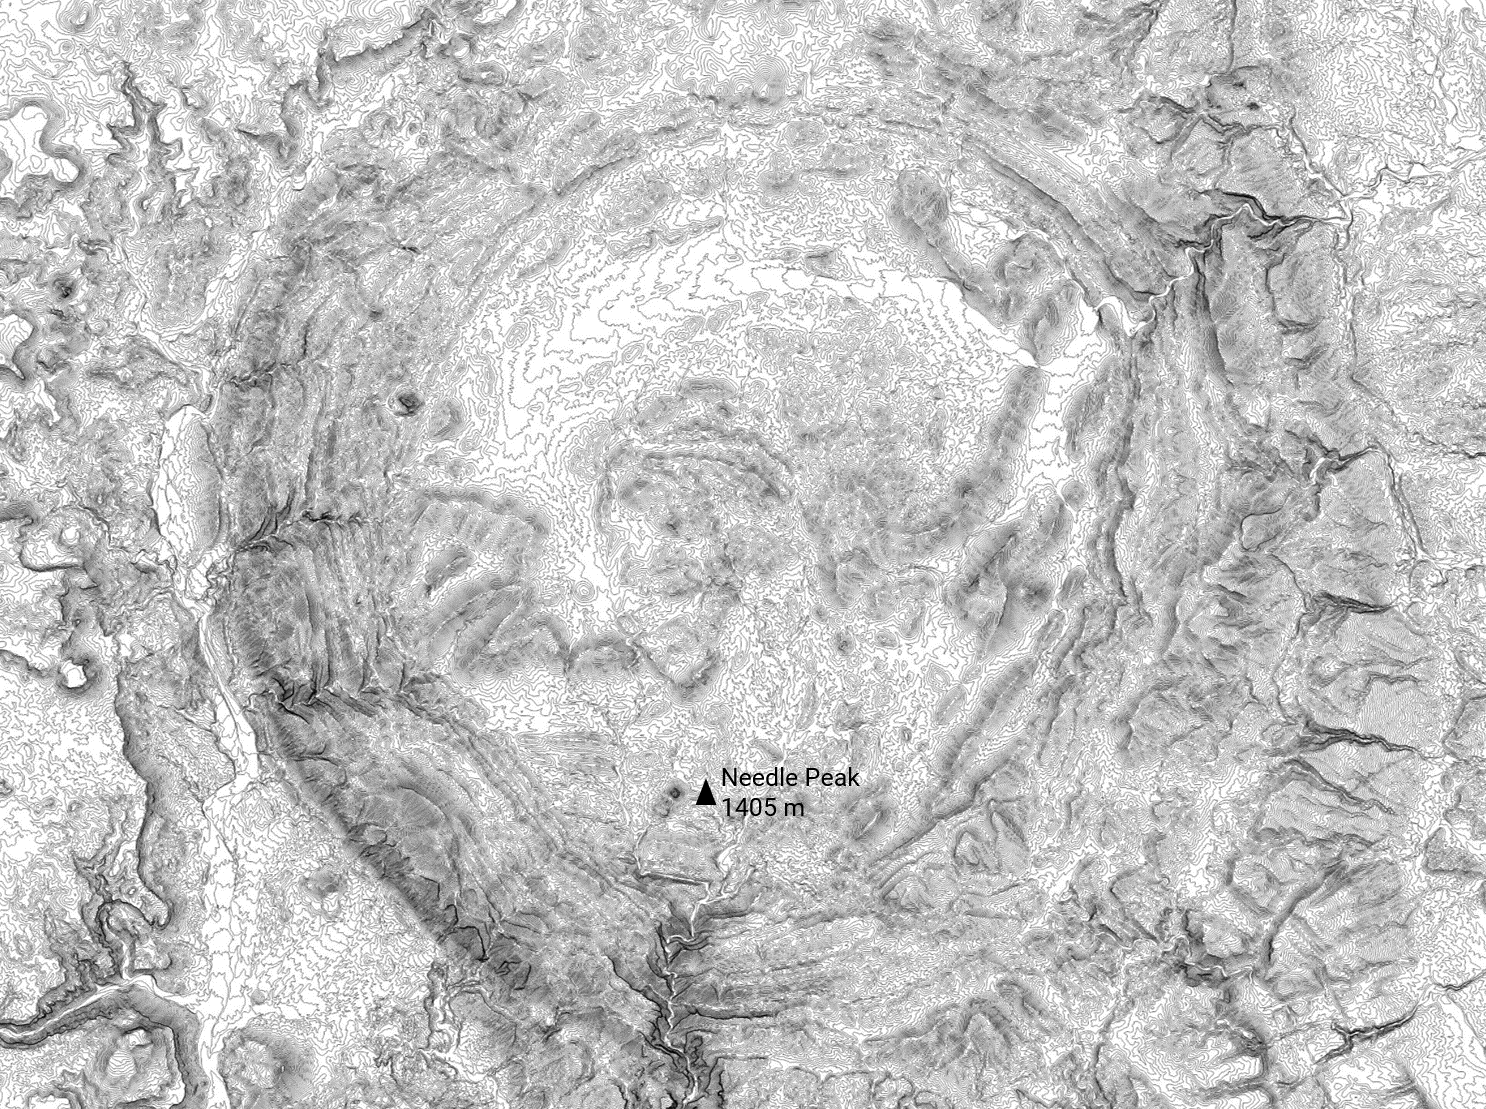
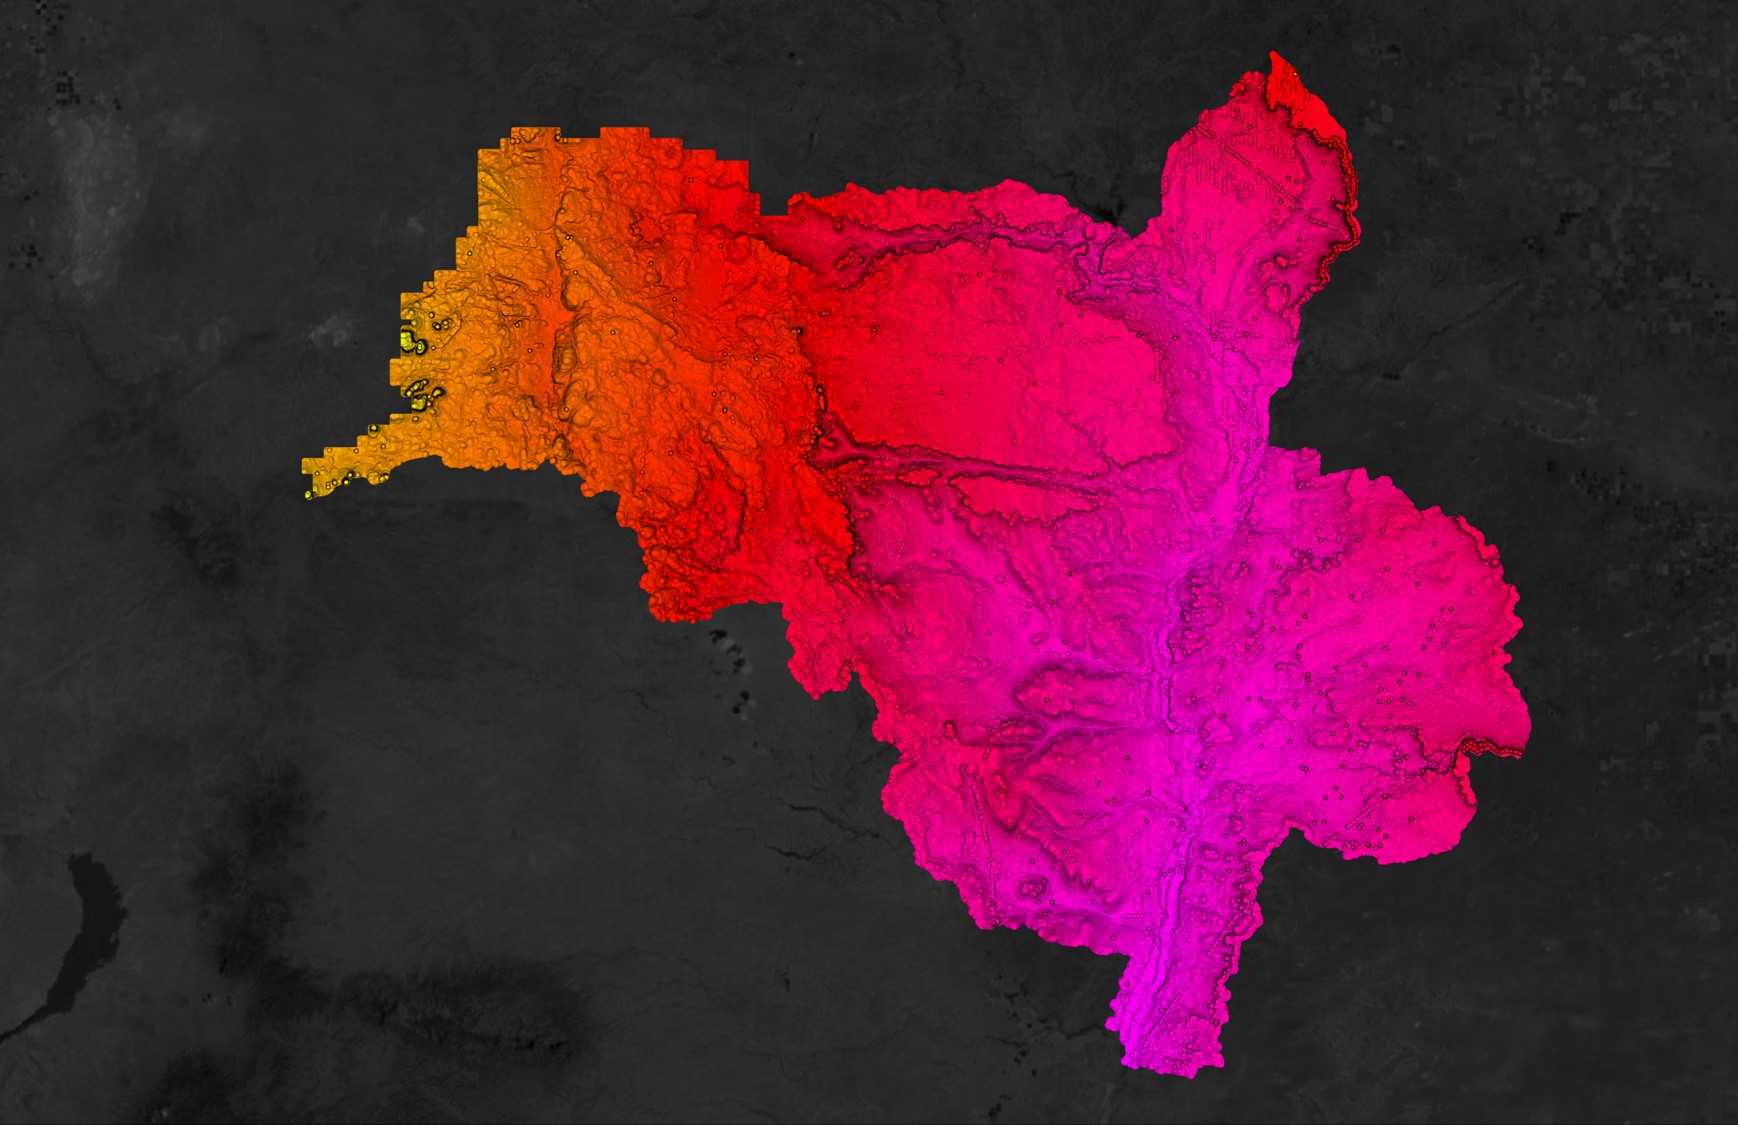
Almost finished! Now we will update our symbology. You can follow the steps outlined here if you want to replicate our symbology or you can choose to create your own. Begin by opening up the symbology of your DEM and setting your Render type to Singleband pseudocolor. Next, open the color ramp and set the Type to Discrete. Then, individually select the colors you want to represent the various elevation values in your map.
(Your DEM) → Layer Properties → Symbology
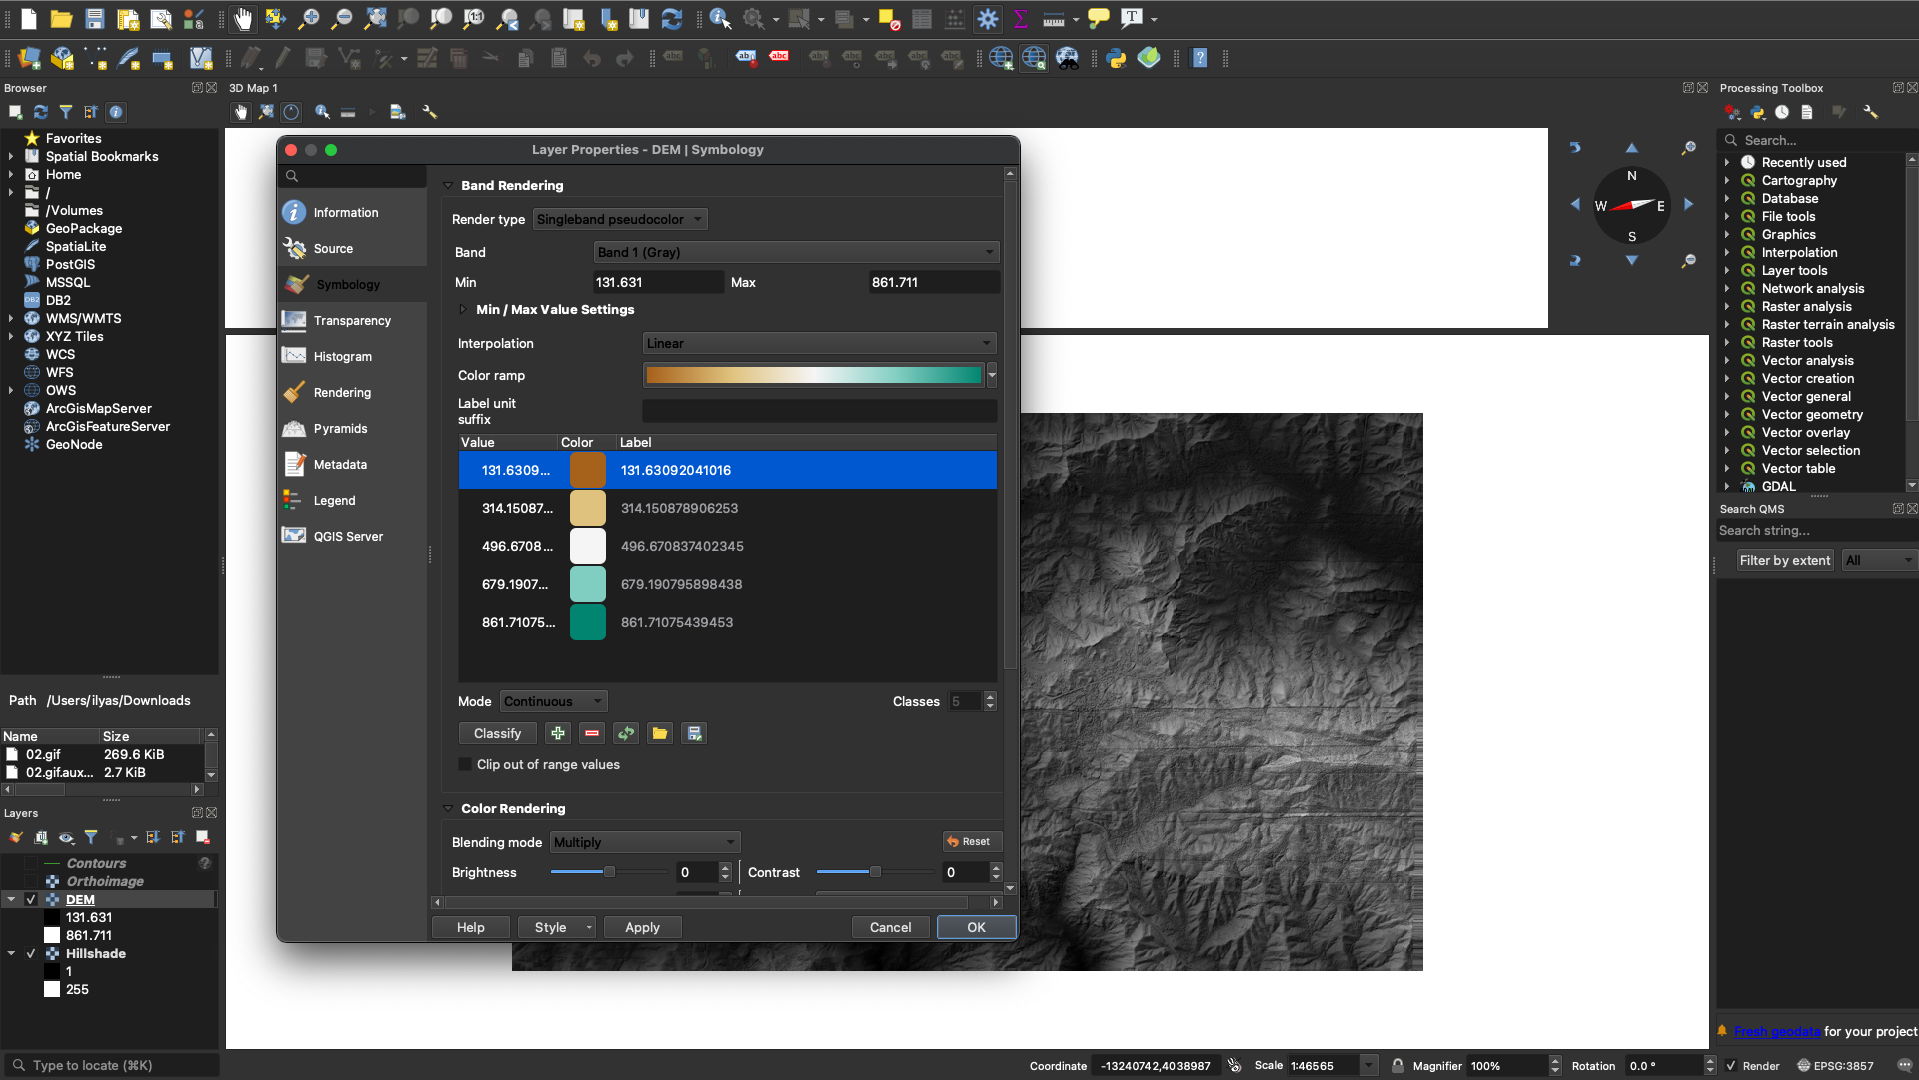
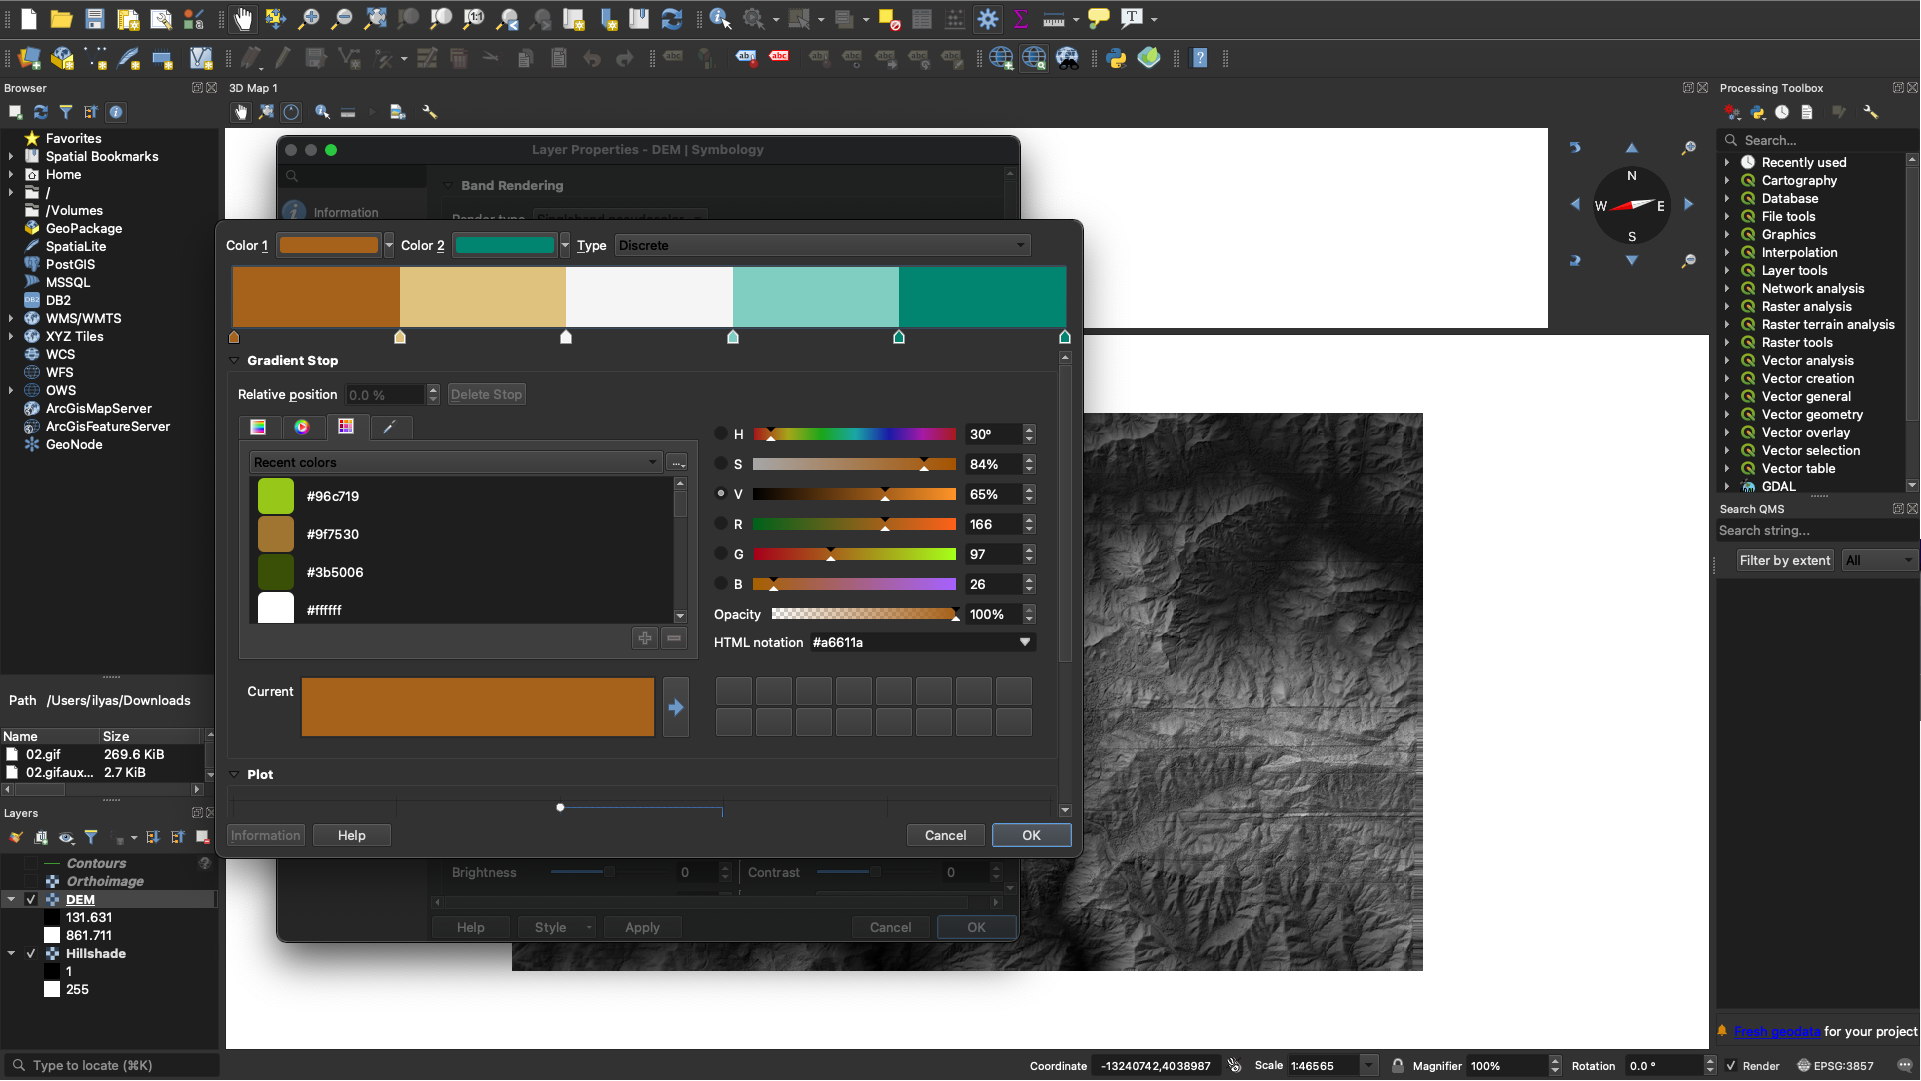
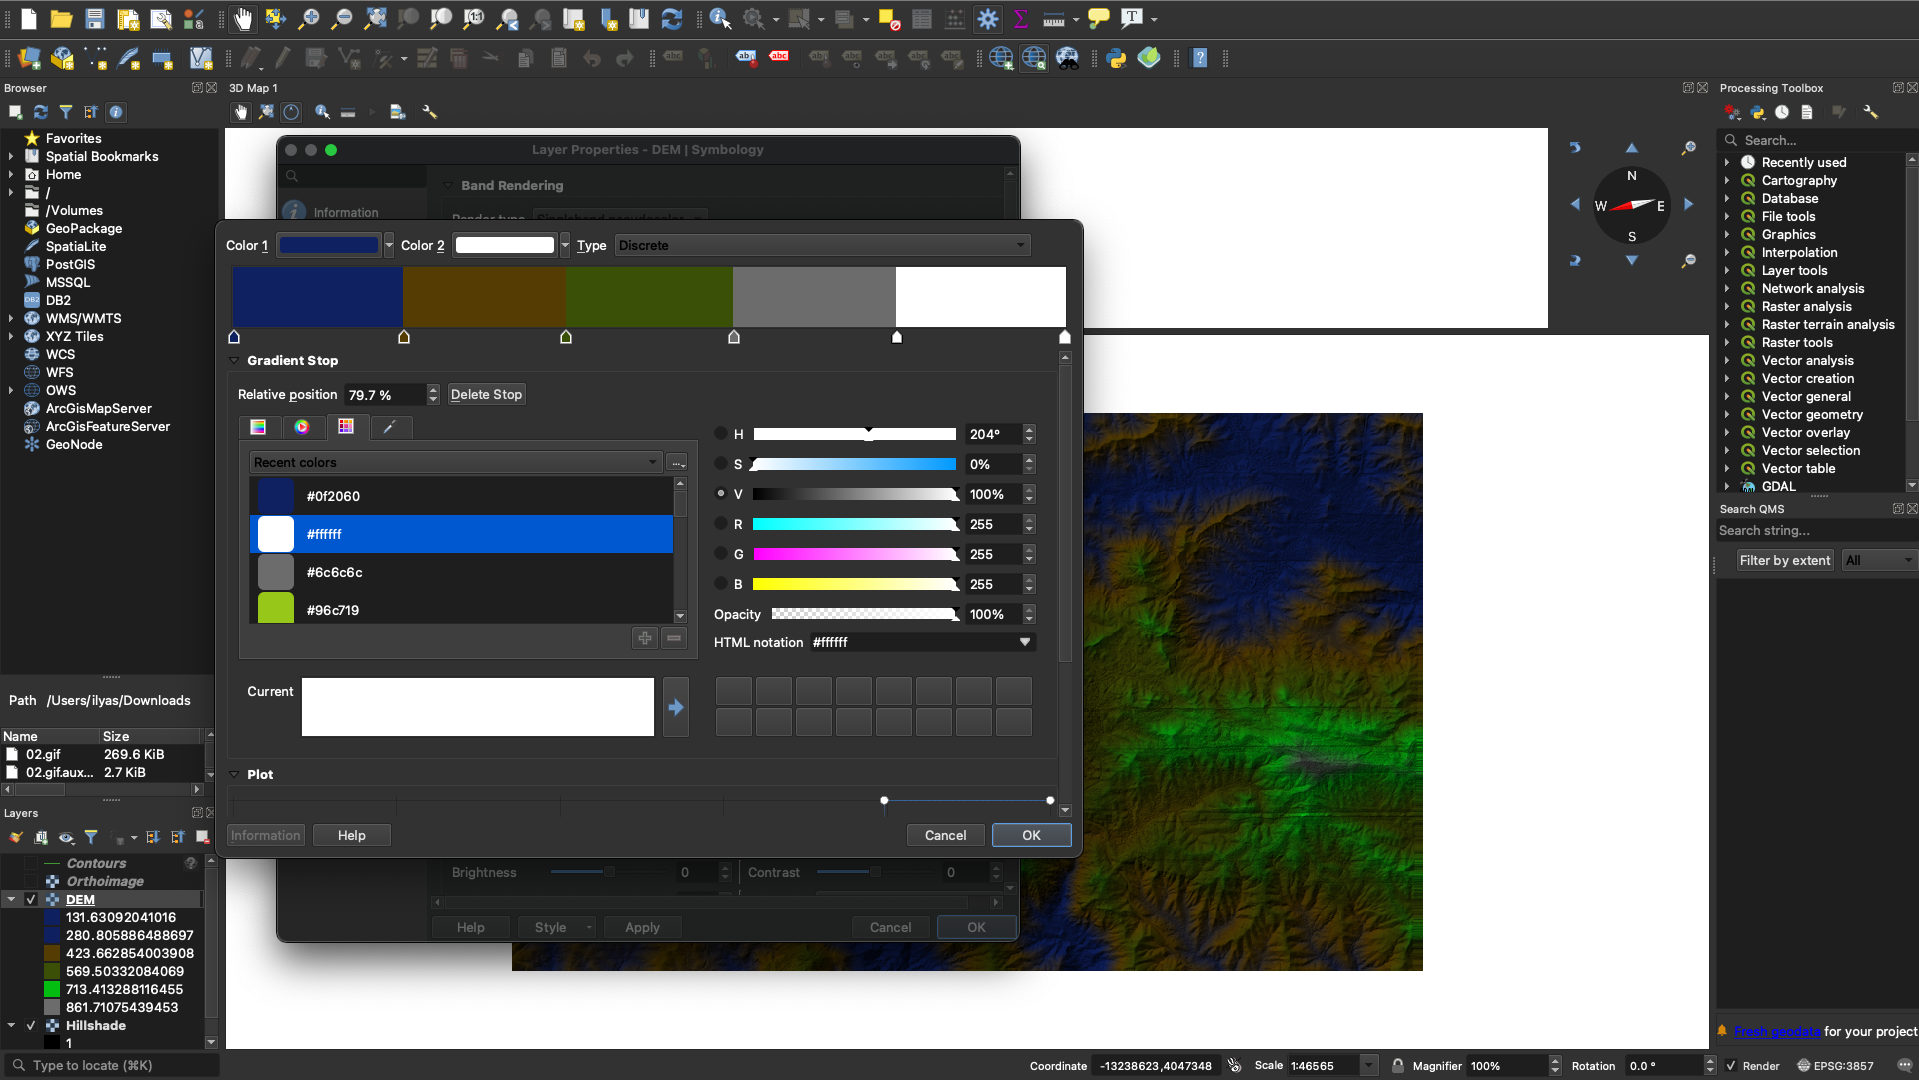
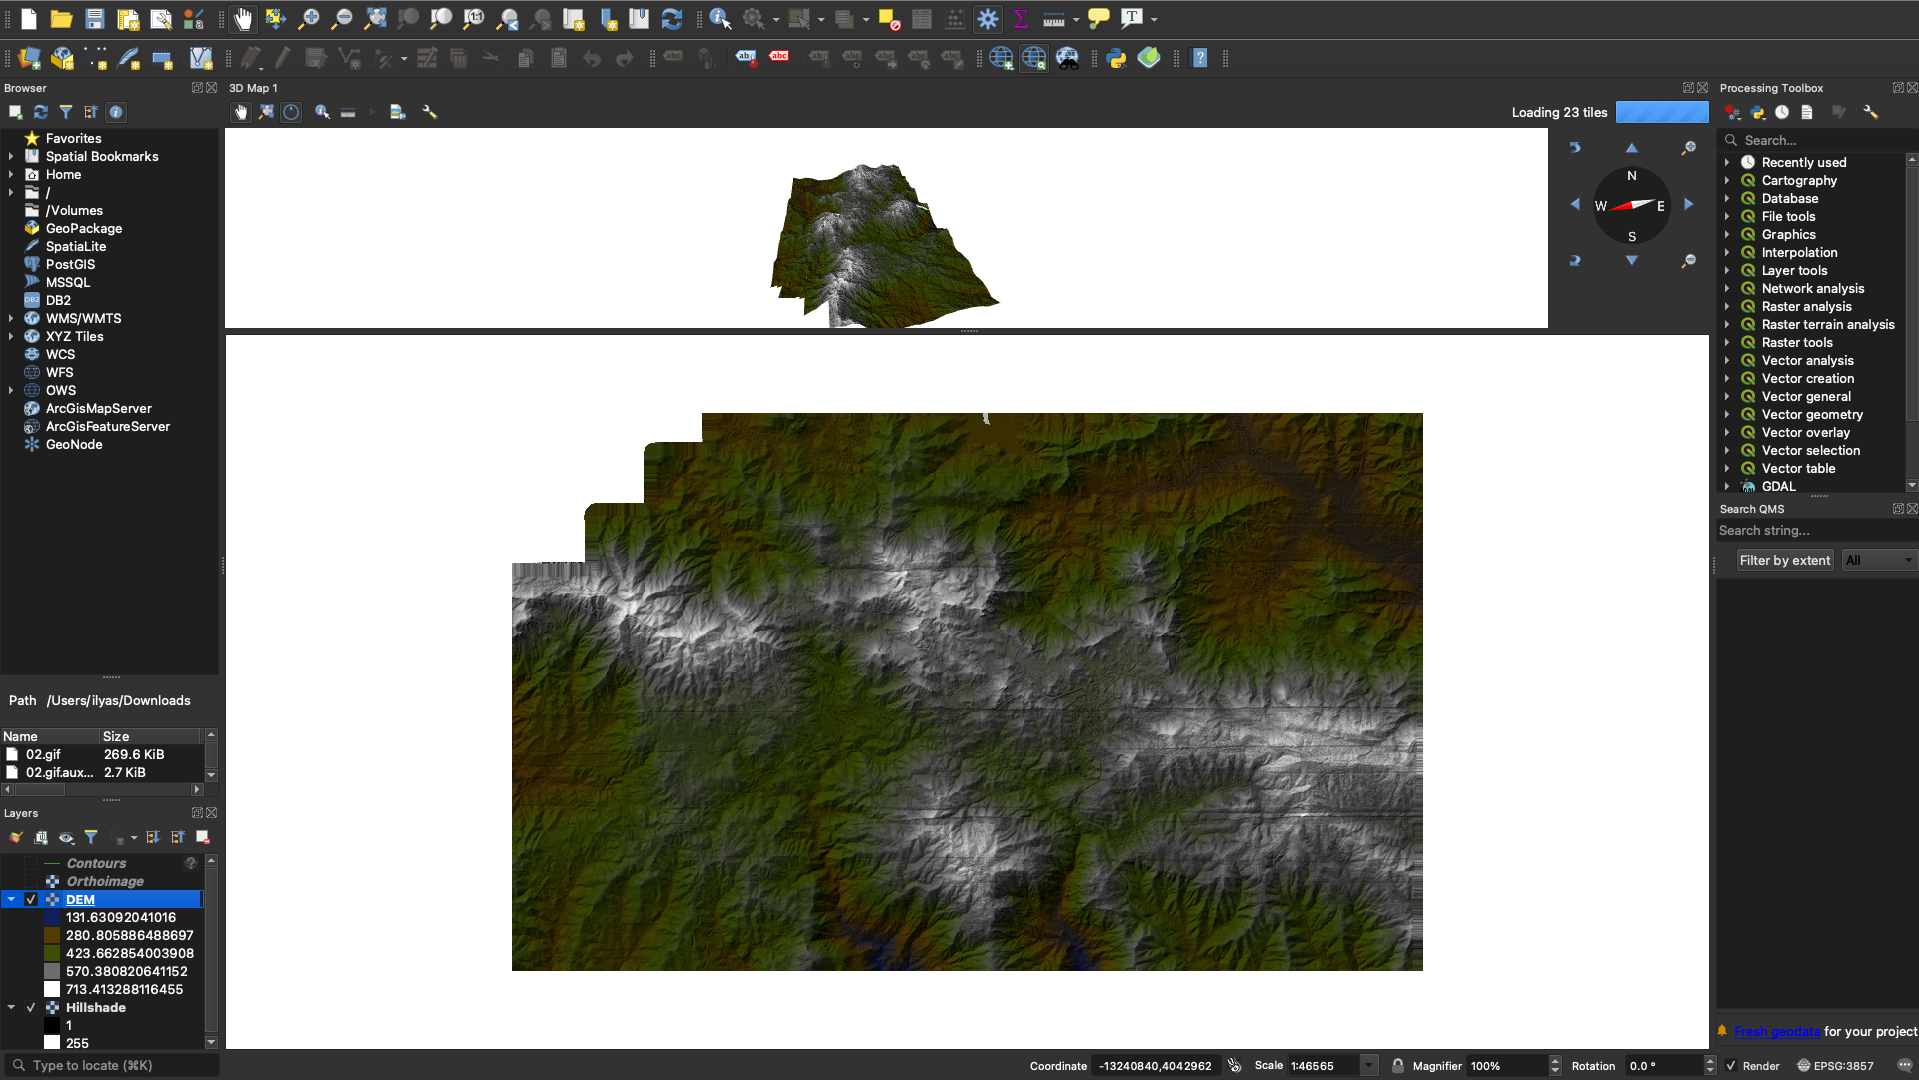

Customizing the Symbology, before and after
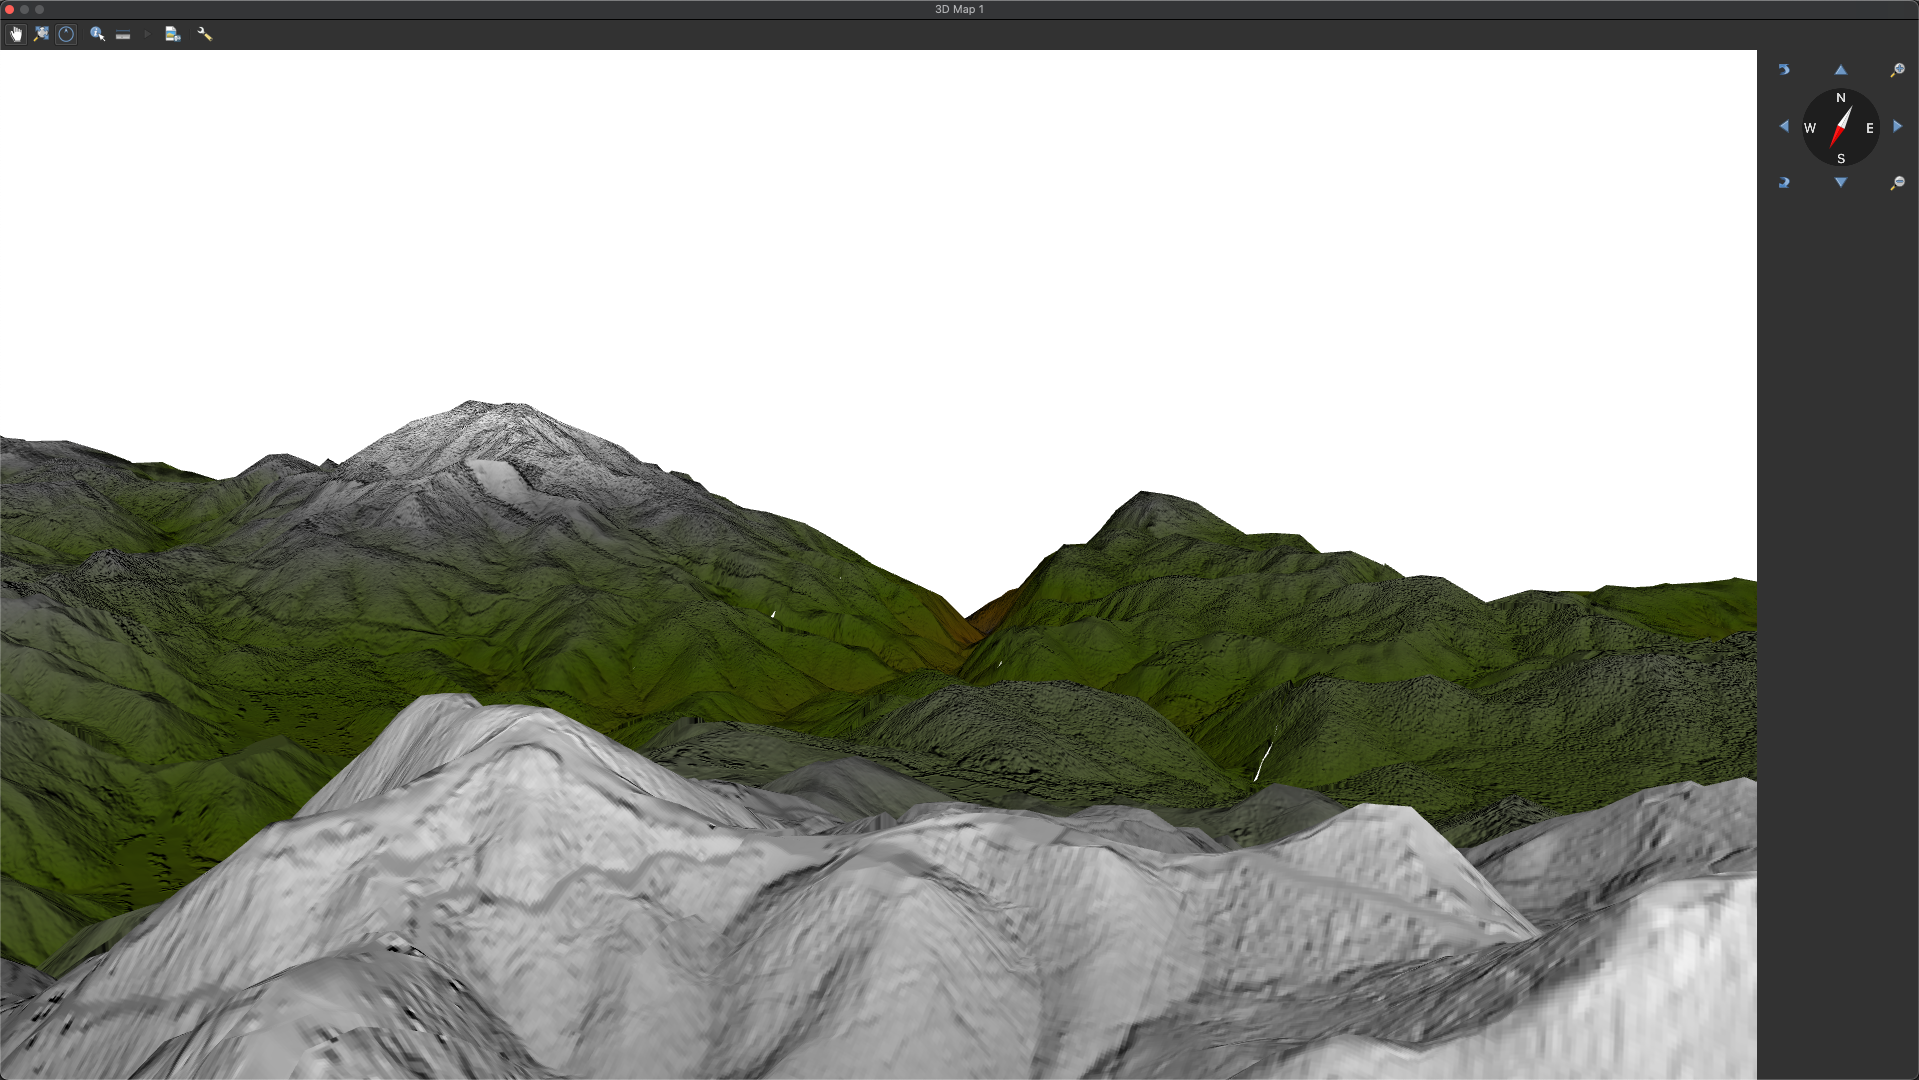
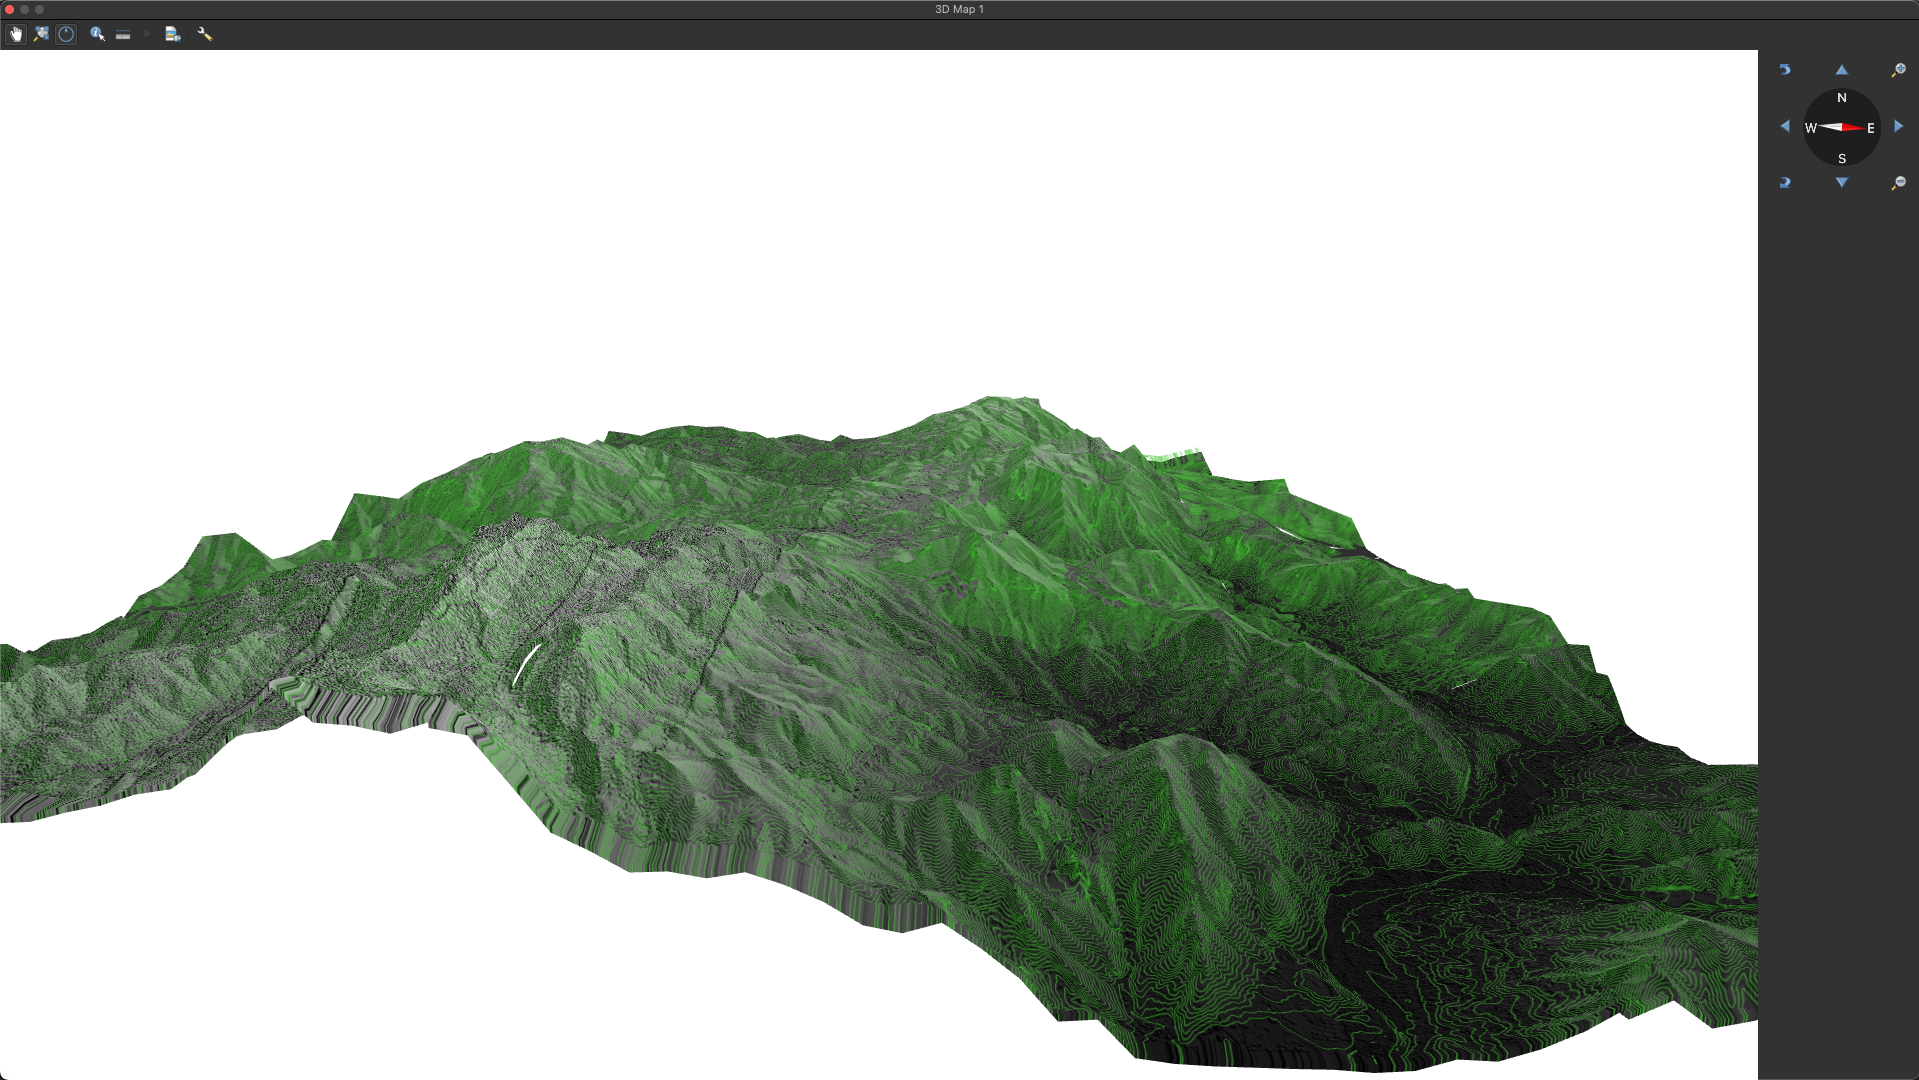
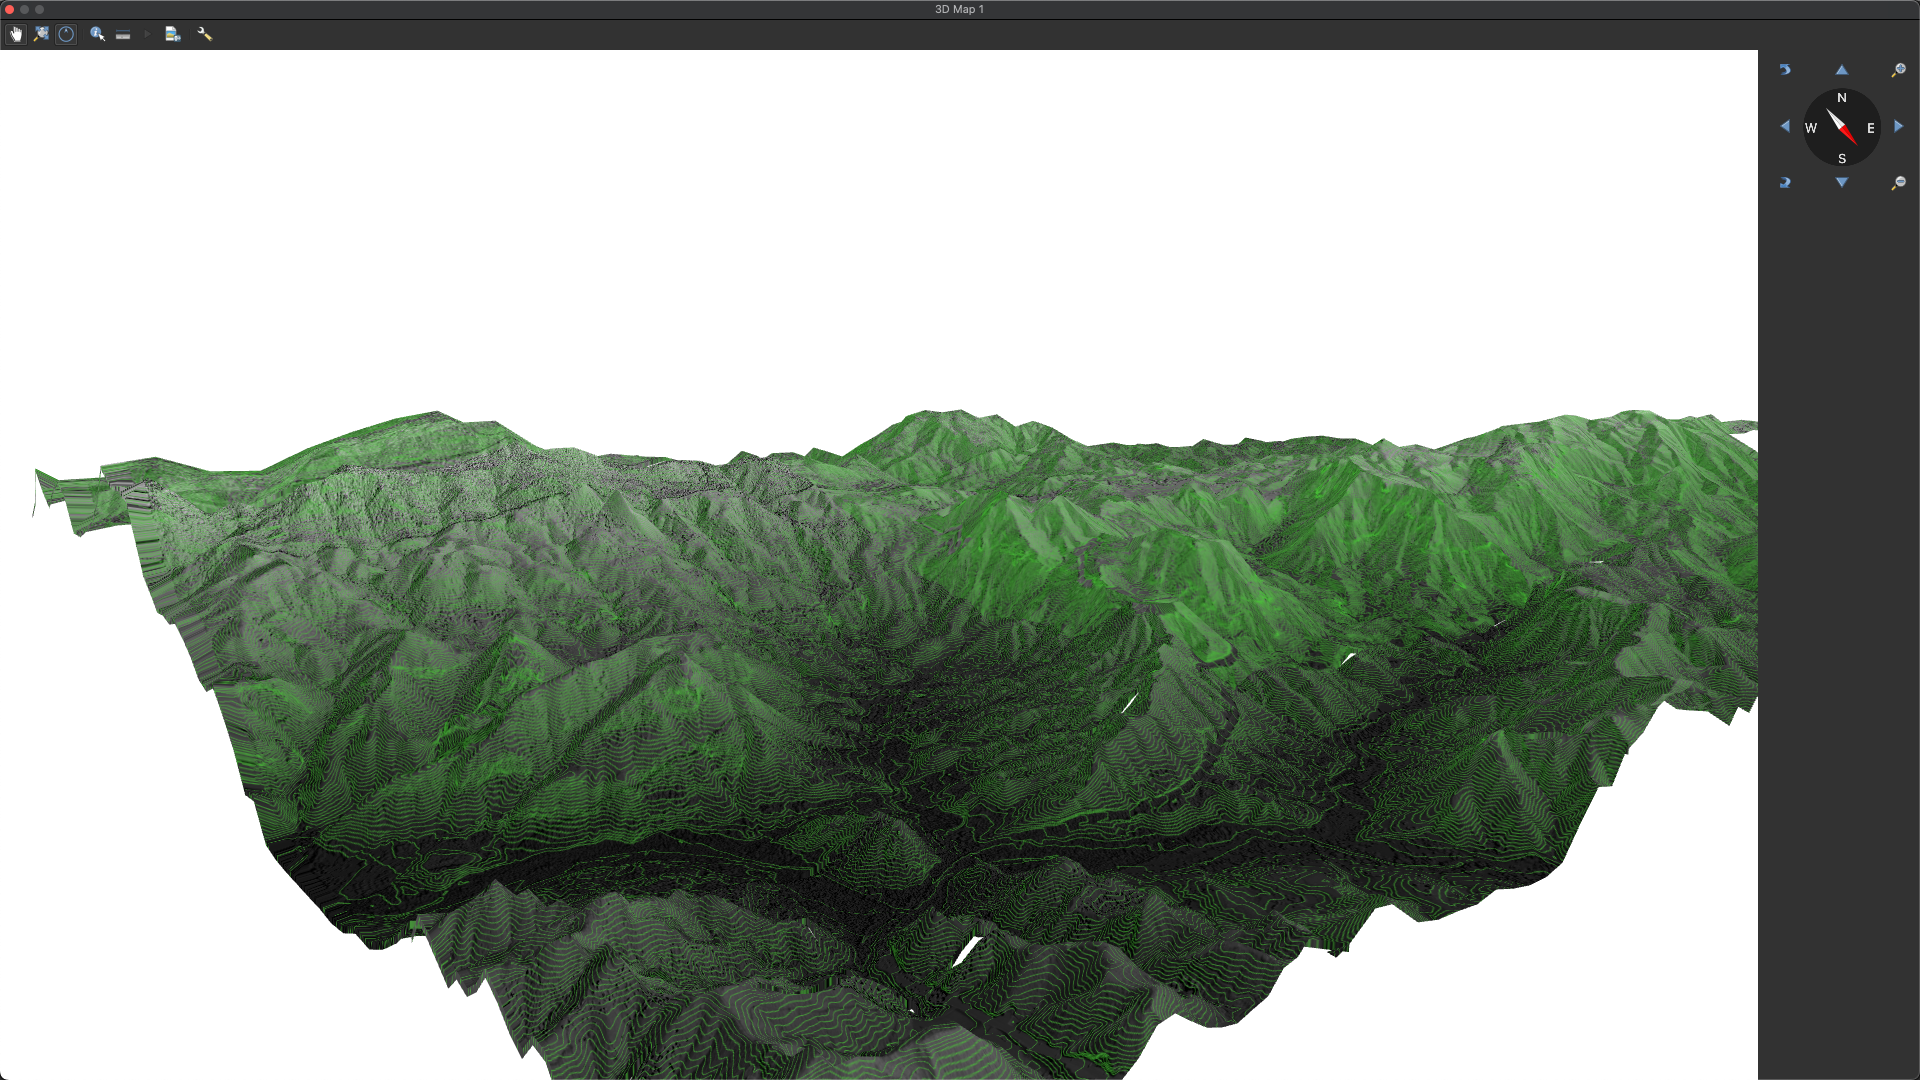
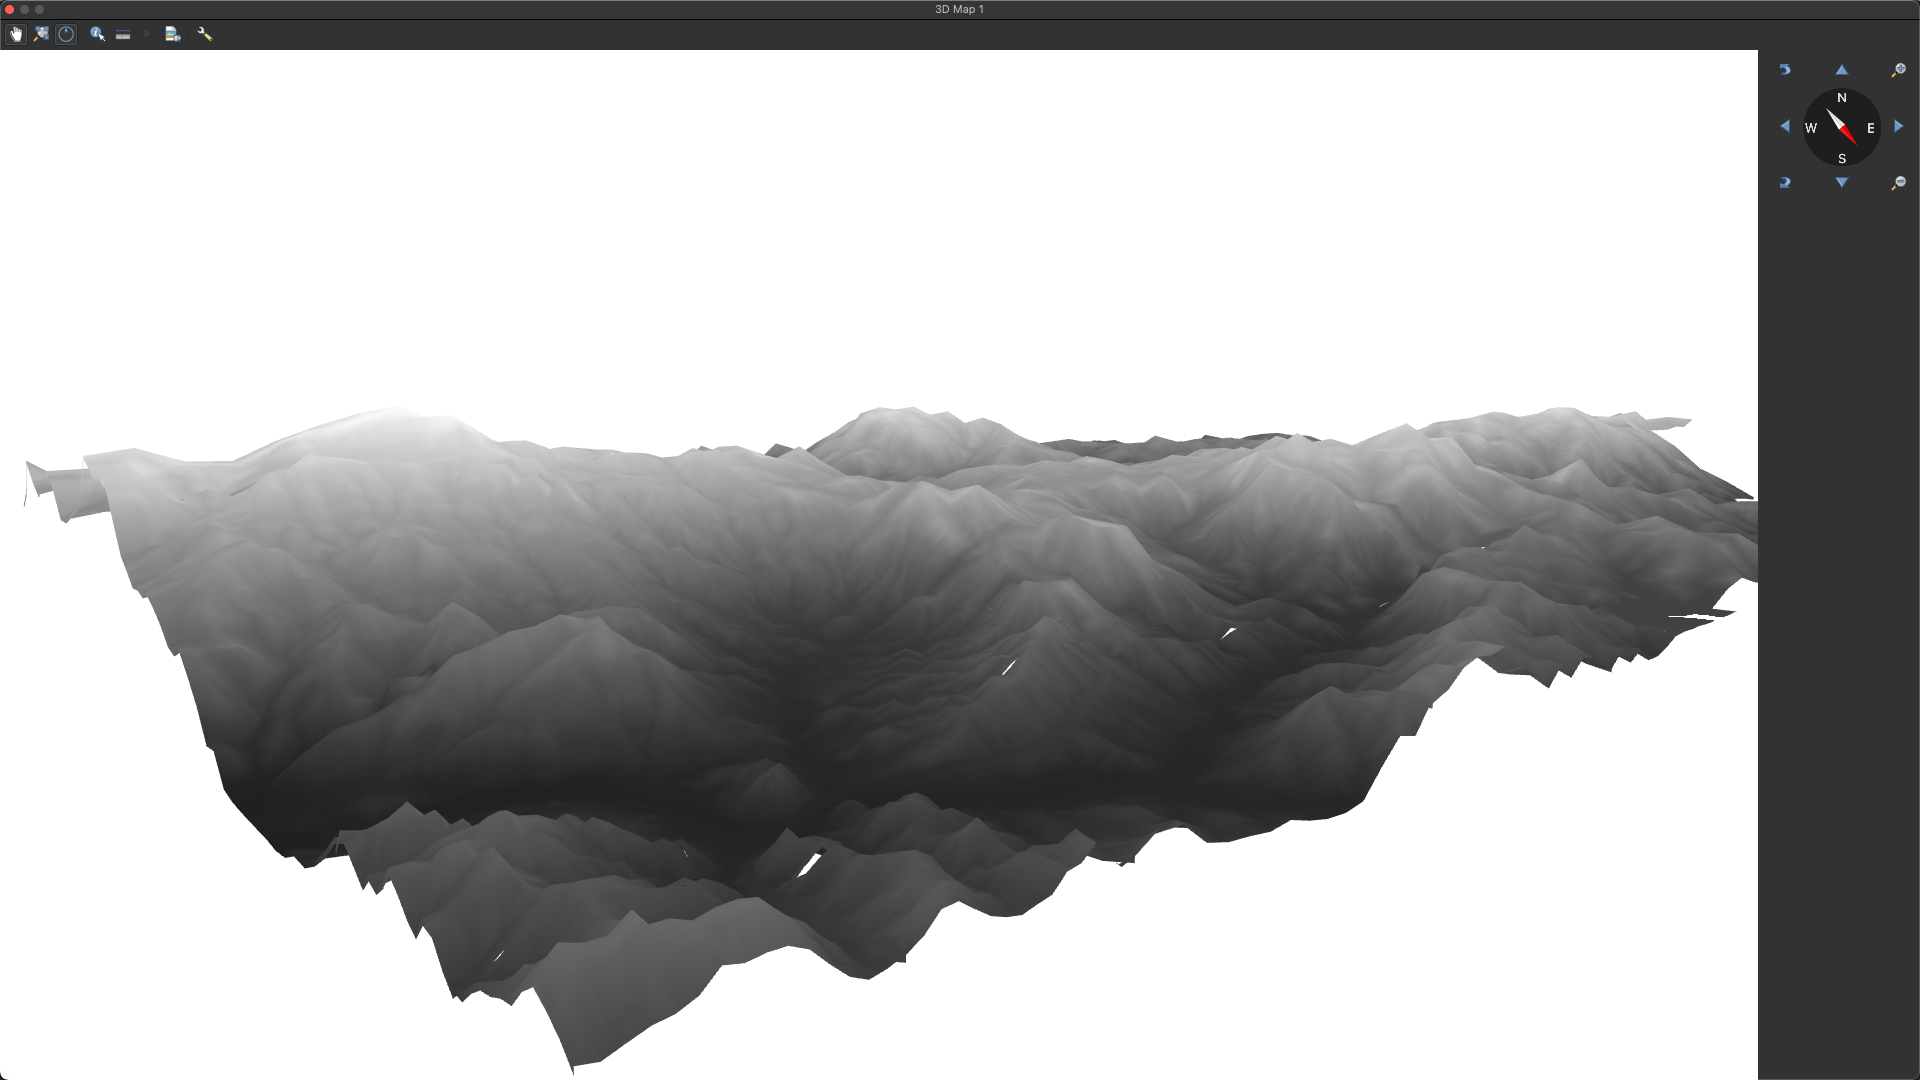
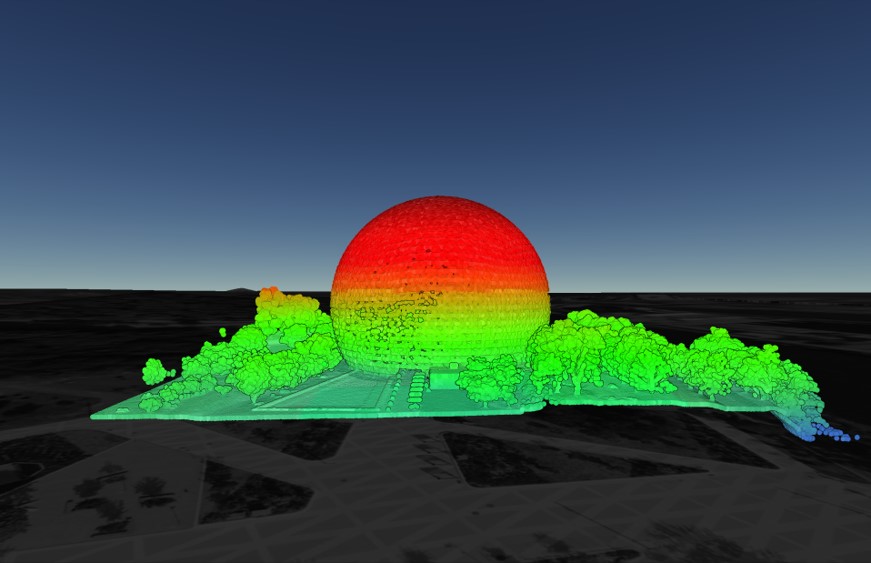
Done!
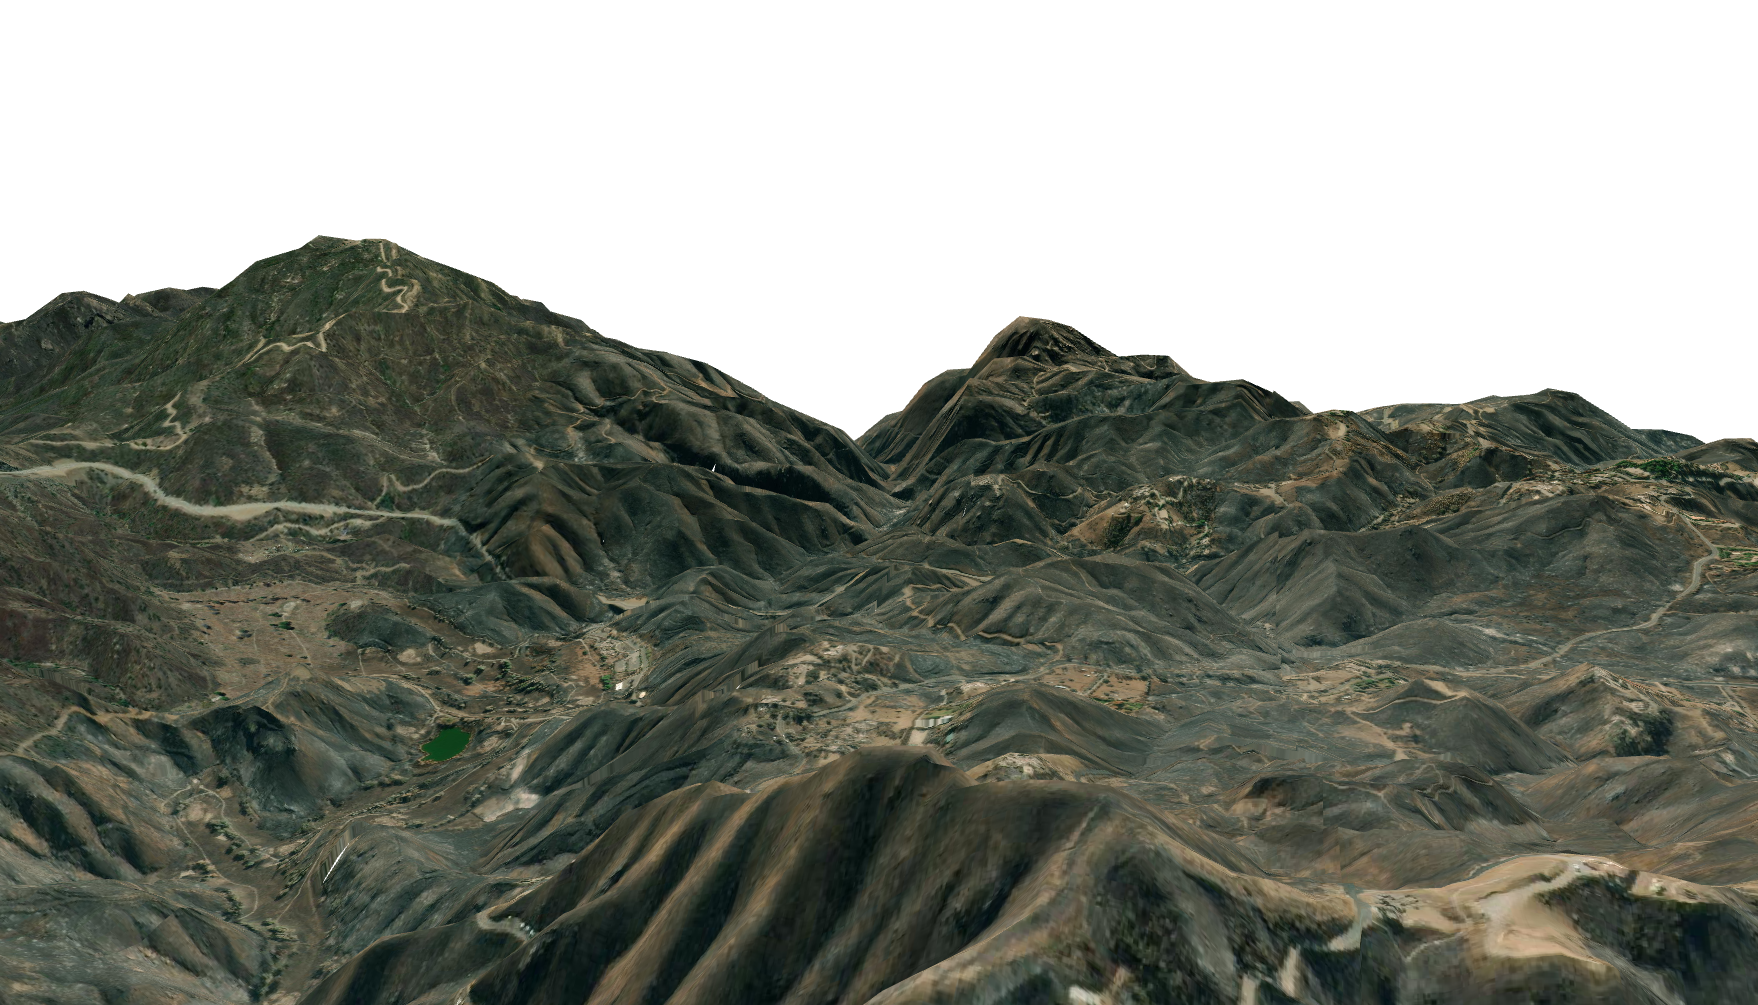
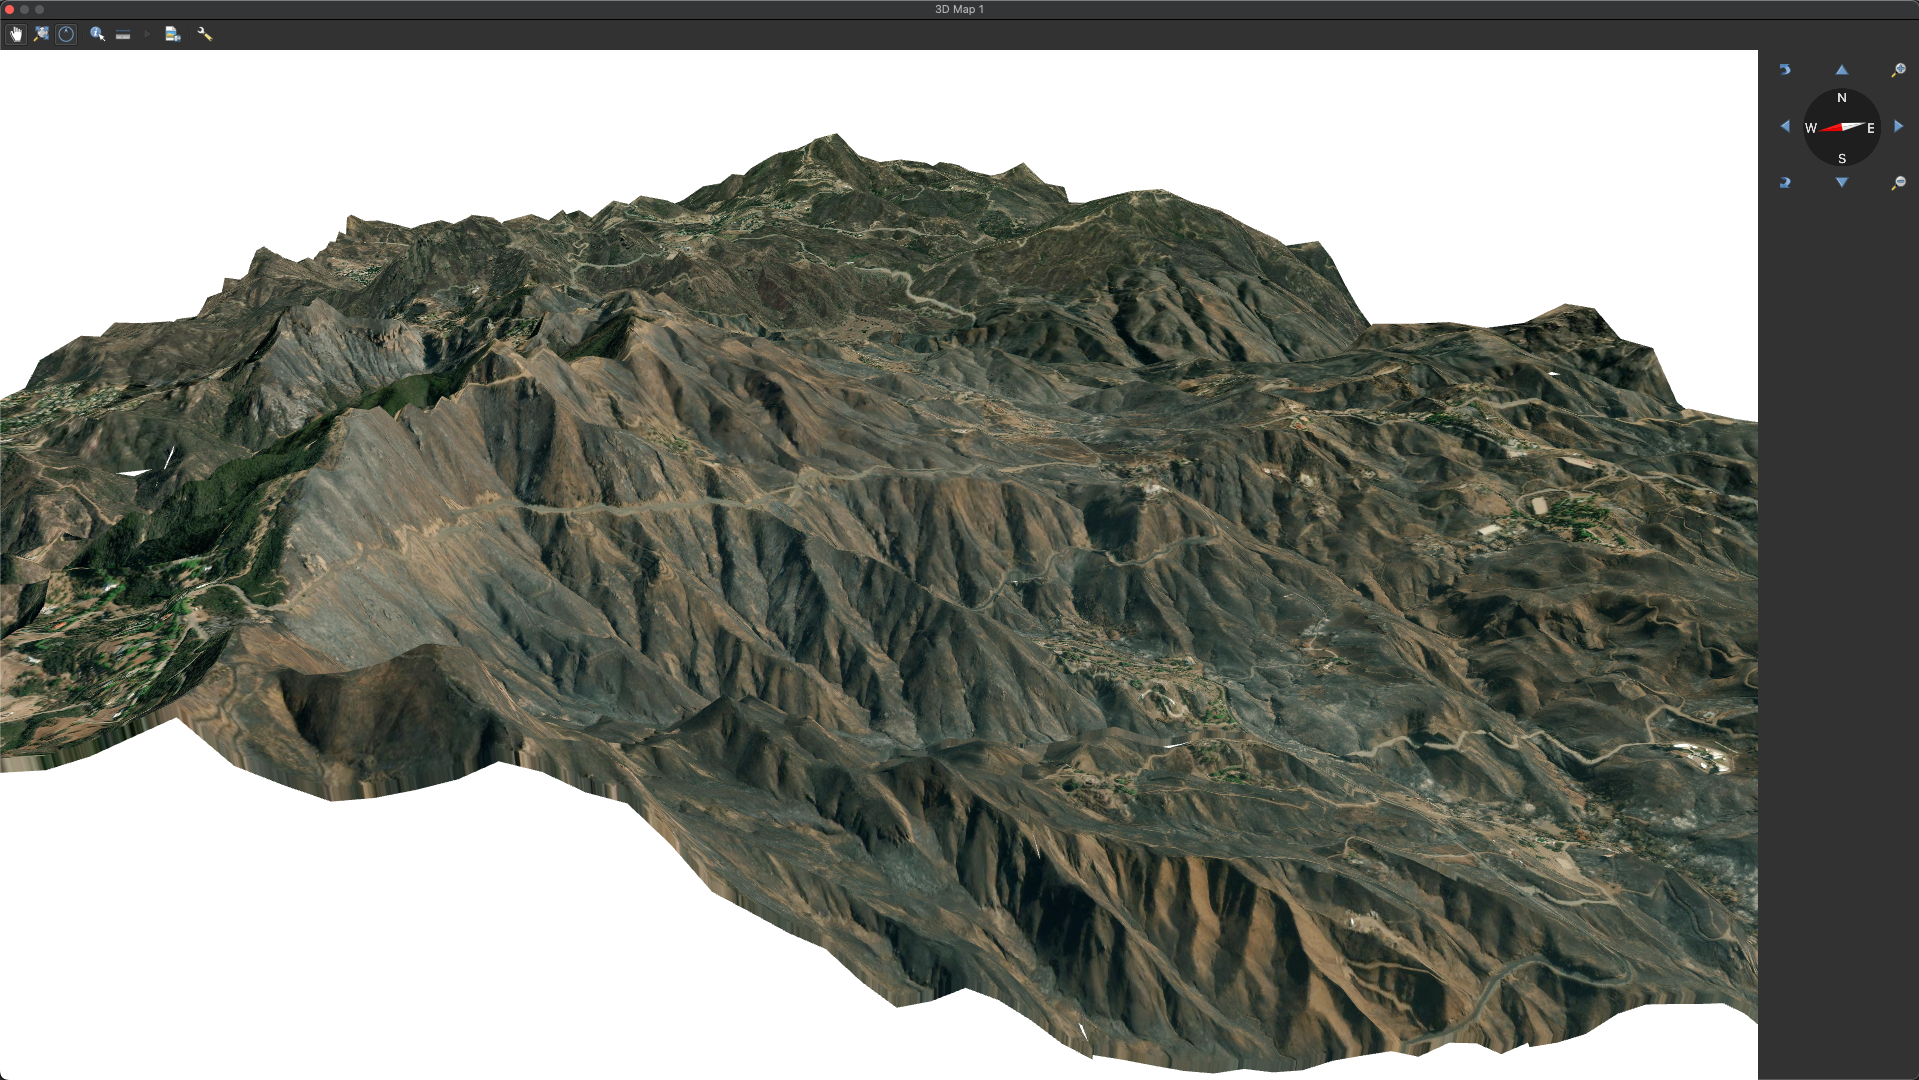
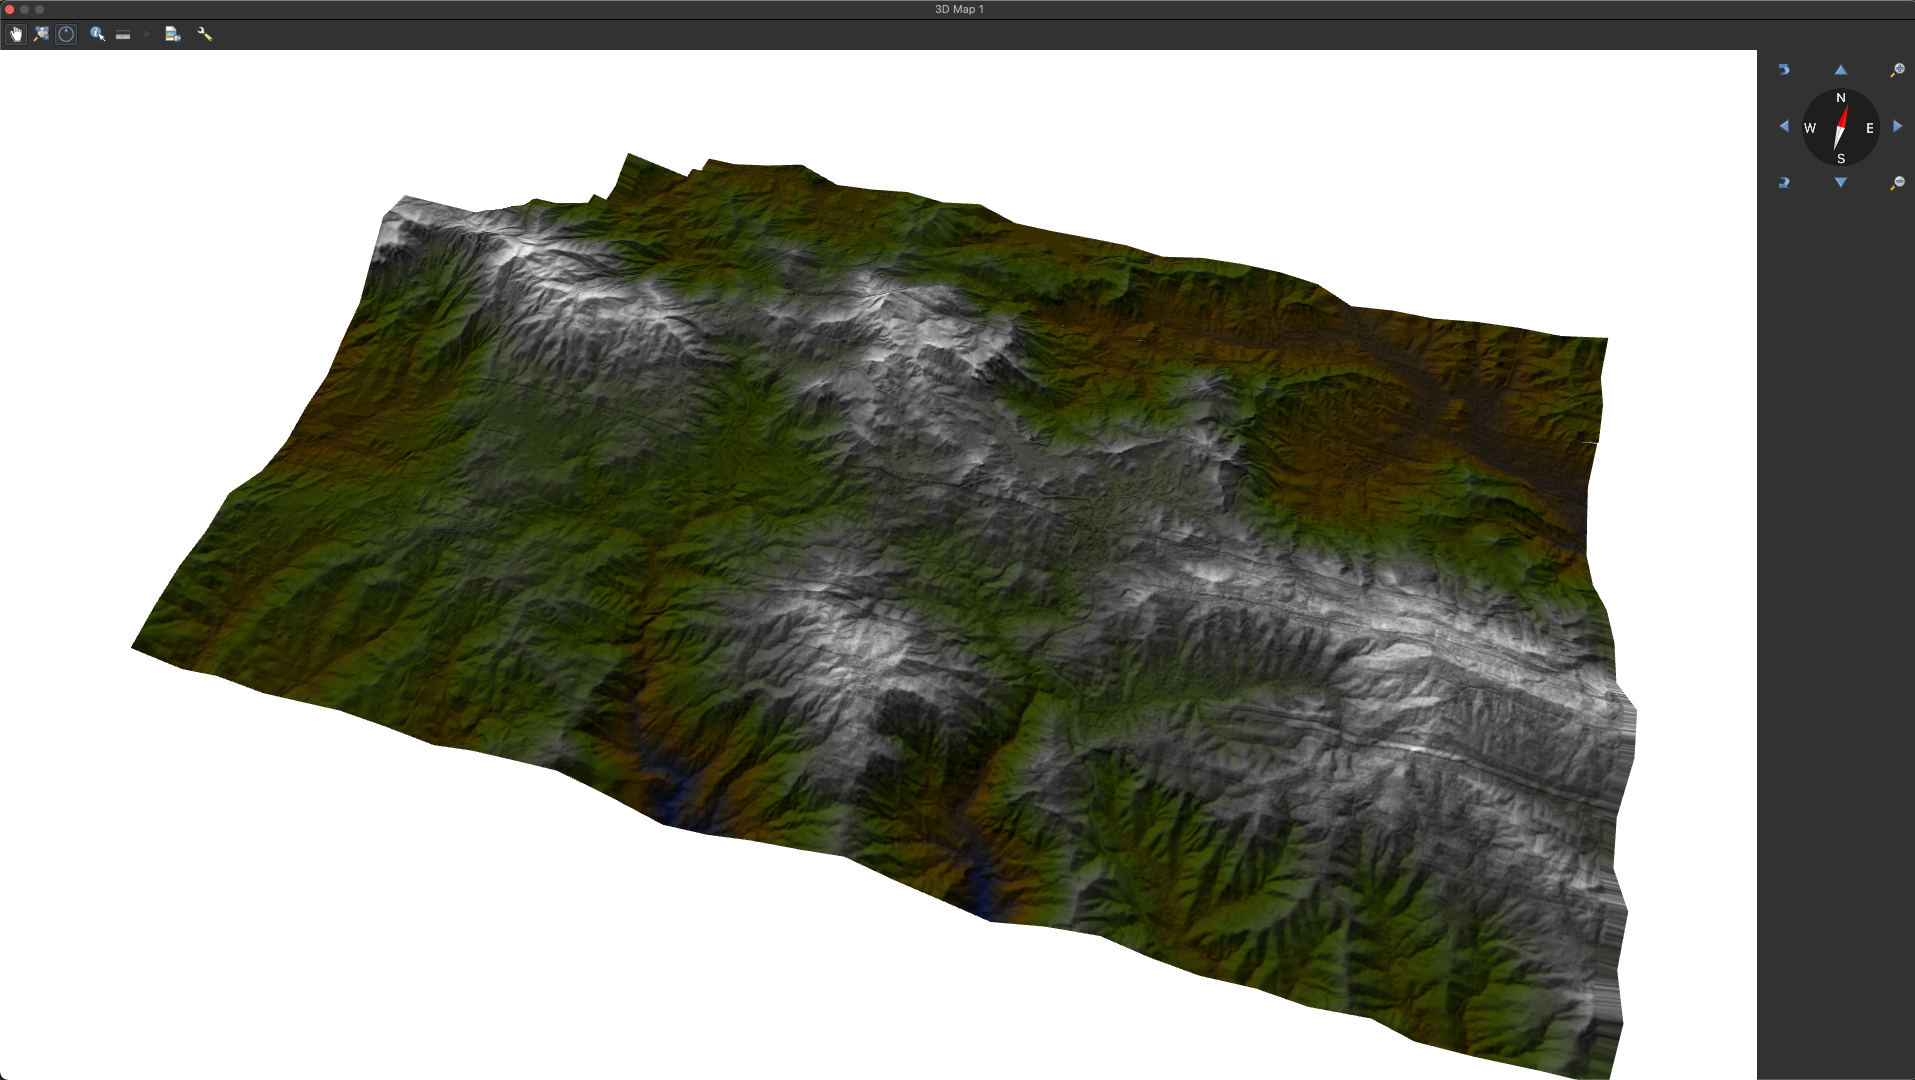
Now you should have a nice looking 3D map! You can play around with different layers and symbology, such as the Orthoimage and Contour layers. You can save an image of your map using the Save as image feature next to the 3D configuration tool. Below is a slideshow of some of the possible ways you can customize your 3D map. We hope this helped, and feel free to take a look at some of Equator’s other blogs and “How-to tutorials”!