Step 1
Upload DEM Data
Before you can create a hillshade, you will need data. We begin with uploading our DEM (Digital Elevation Model) from the Equator Site Builder. We use Equator’s Site Builder as it provides us with a plethora of high-resolution elevation data, with advanced features to enhance our project. Particularly, if we extract our data from the Site Builder, we won’t need to re-project our data into QGIS as the Site Builder already projects the data into the appropriate projected coordinate system. However, if you choose to extract your DEM from another source, then be sure to re-project your DEM to the appropriate coordinate system within QGIS.

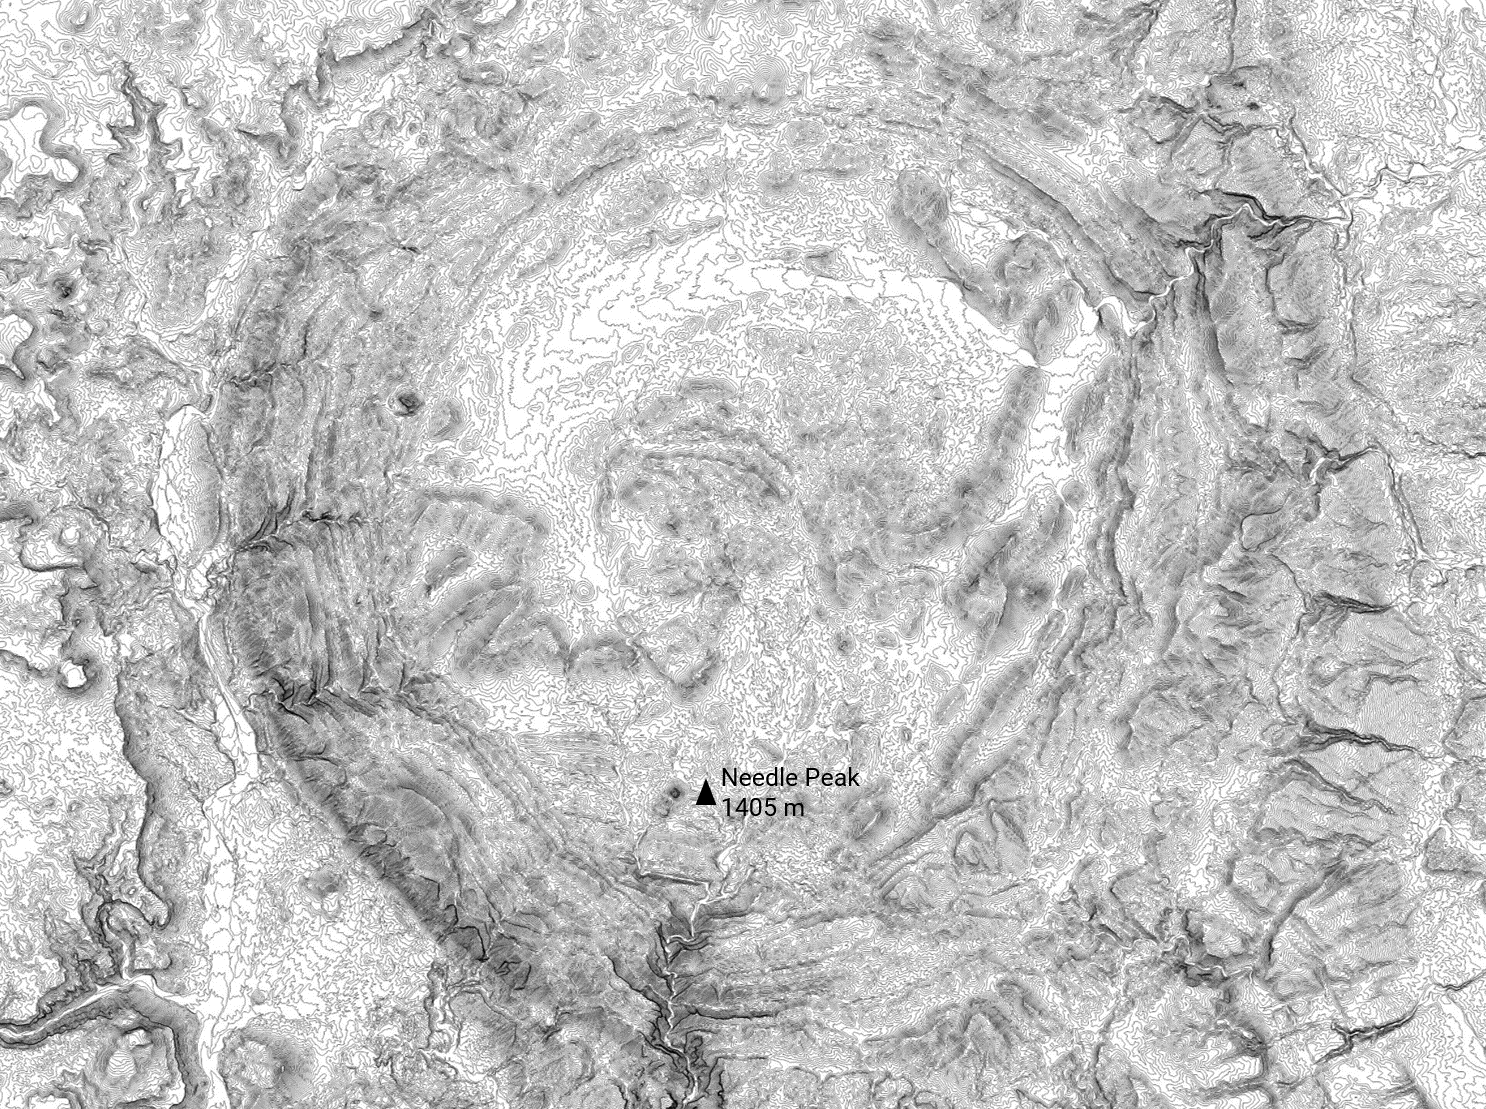
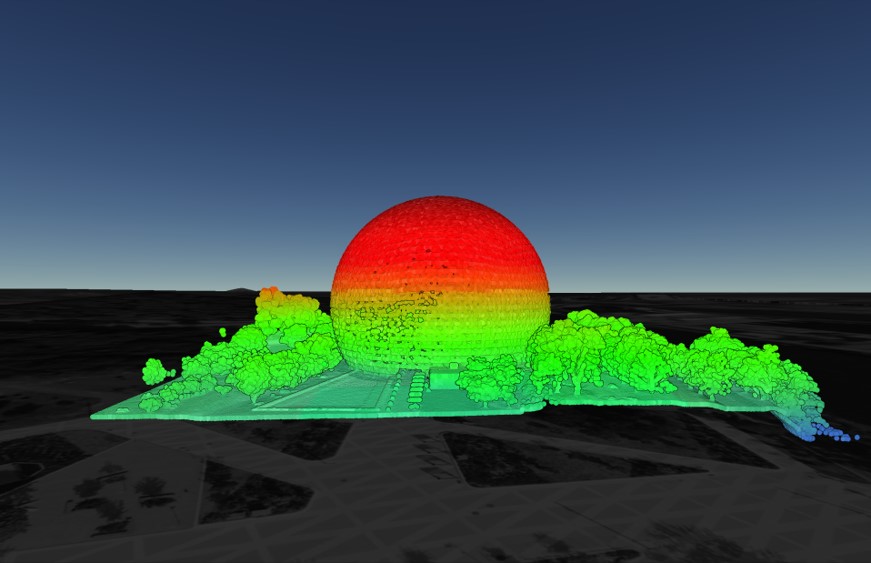
Image of our uploaded data from the Equator Site Builder
Step 2
Generate a Hillshade
Next, generate your Hillshade using the Hillshade analysis tool:
Raster → Analysis → Hillshade
There are four parameters in this toolbox in particular that will determine the shading projected onto your terrain surface. These are the Z factor (vertical exaggeration), Scale (ratio of vertical units to horizontal), Azimuth of the light, and Altitude of the light. Your inputs for these 4 will vary in accordance to your projection needs so it is important to understand their respective functions. In the case of our projection we elected to leave things at their default settings.

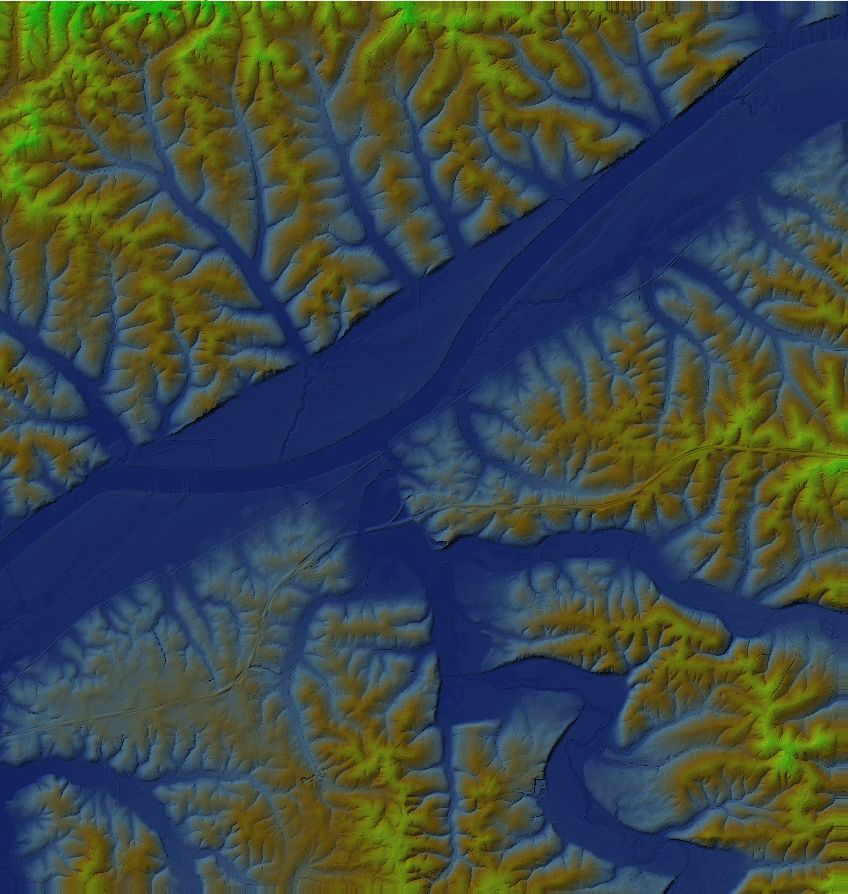
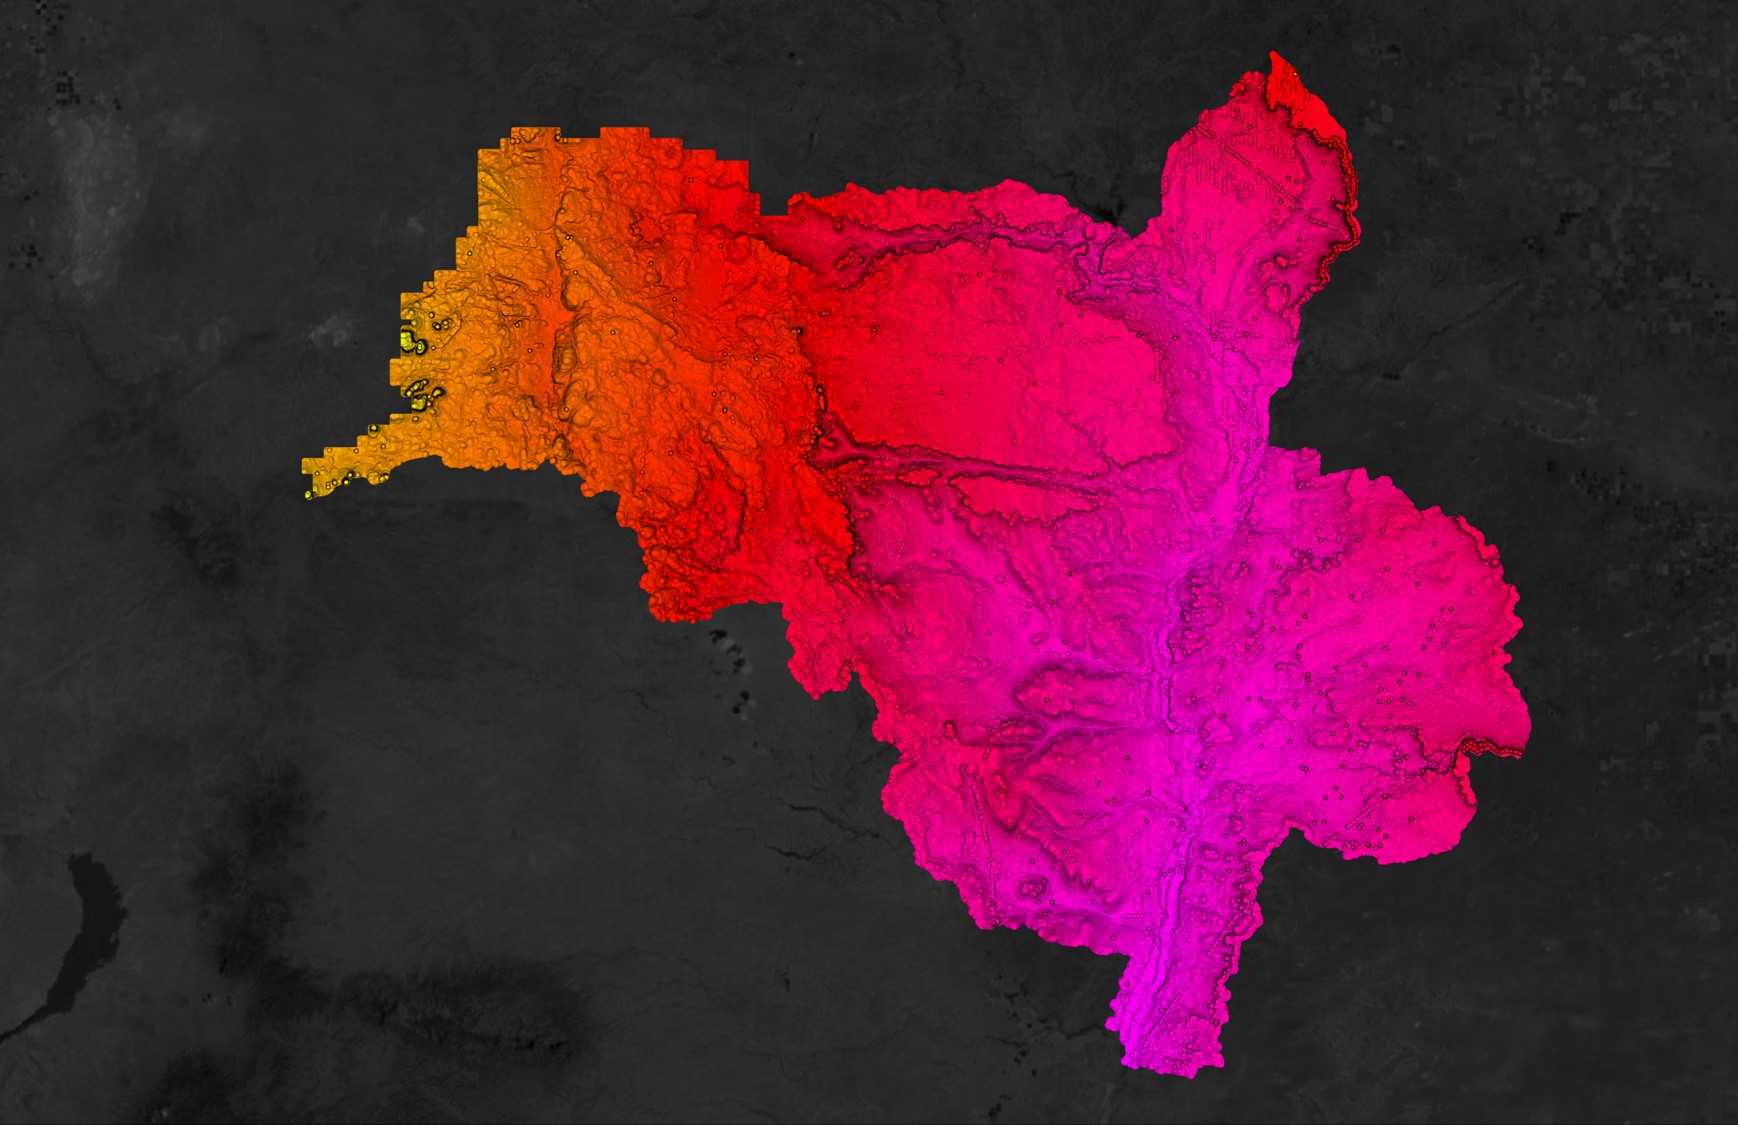
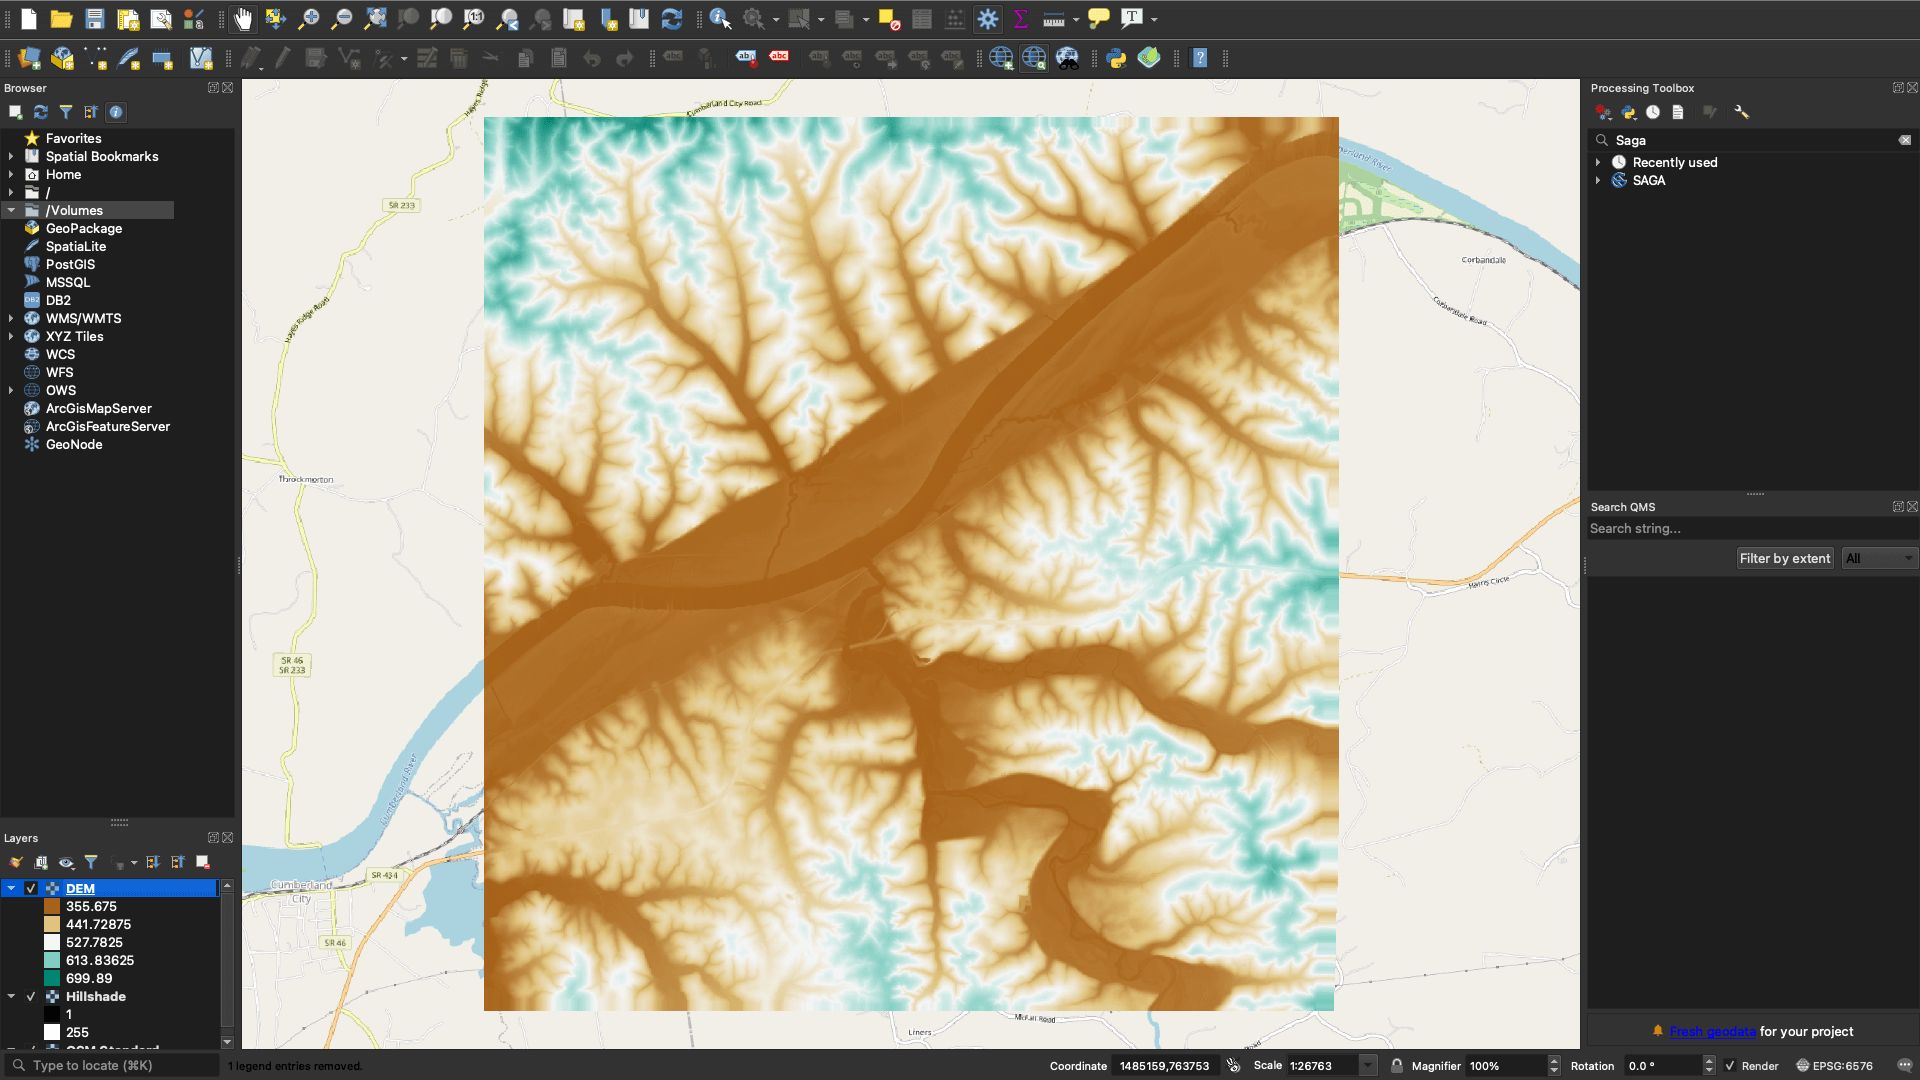
Hillshade with the default settings
Before and after generating Hillshade
Step 3
Change the Symbology
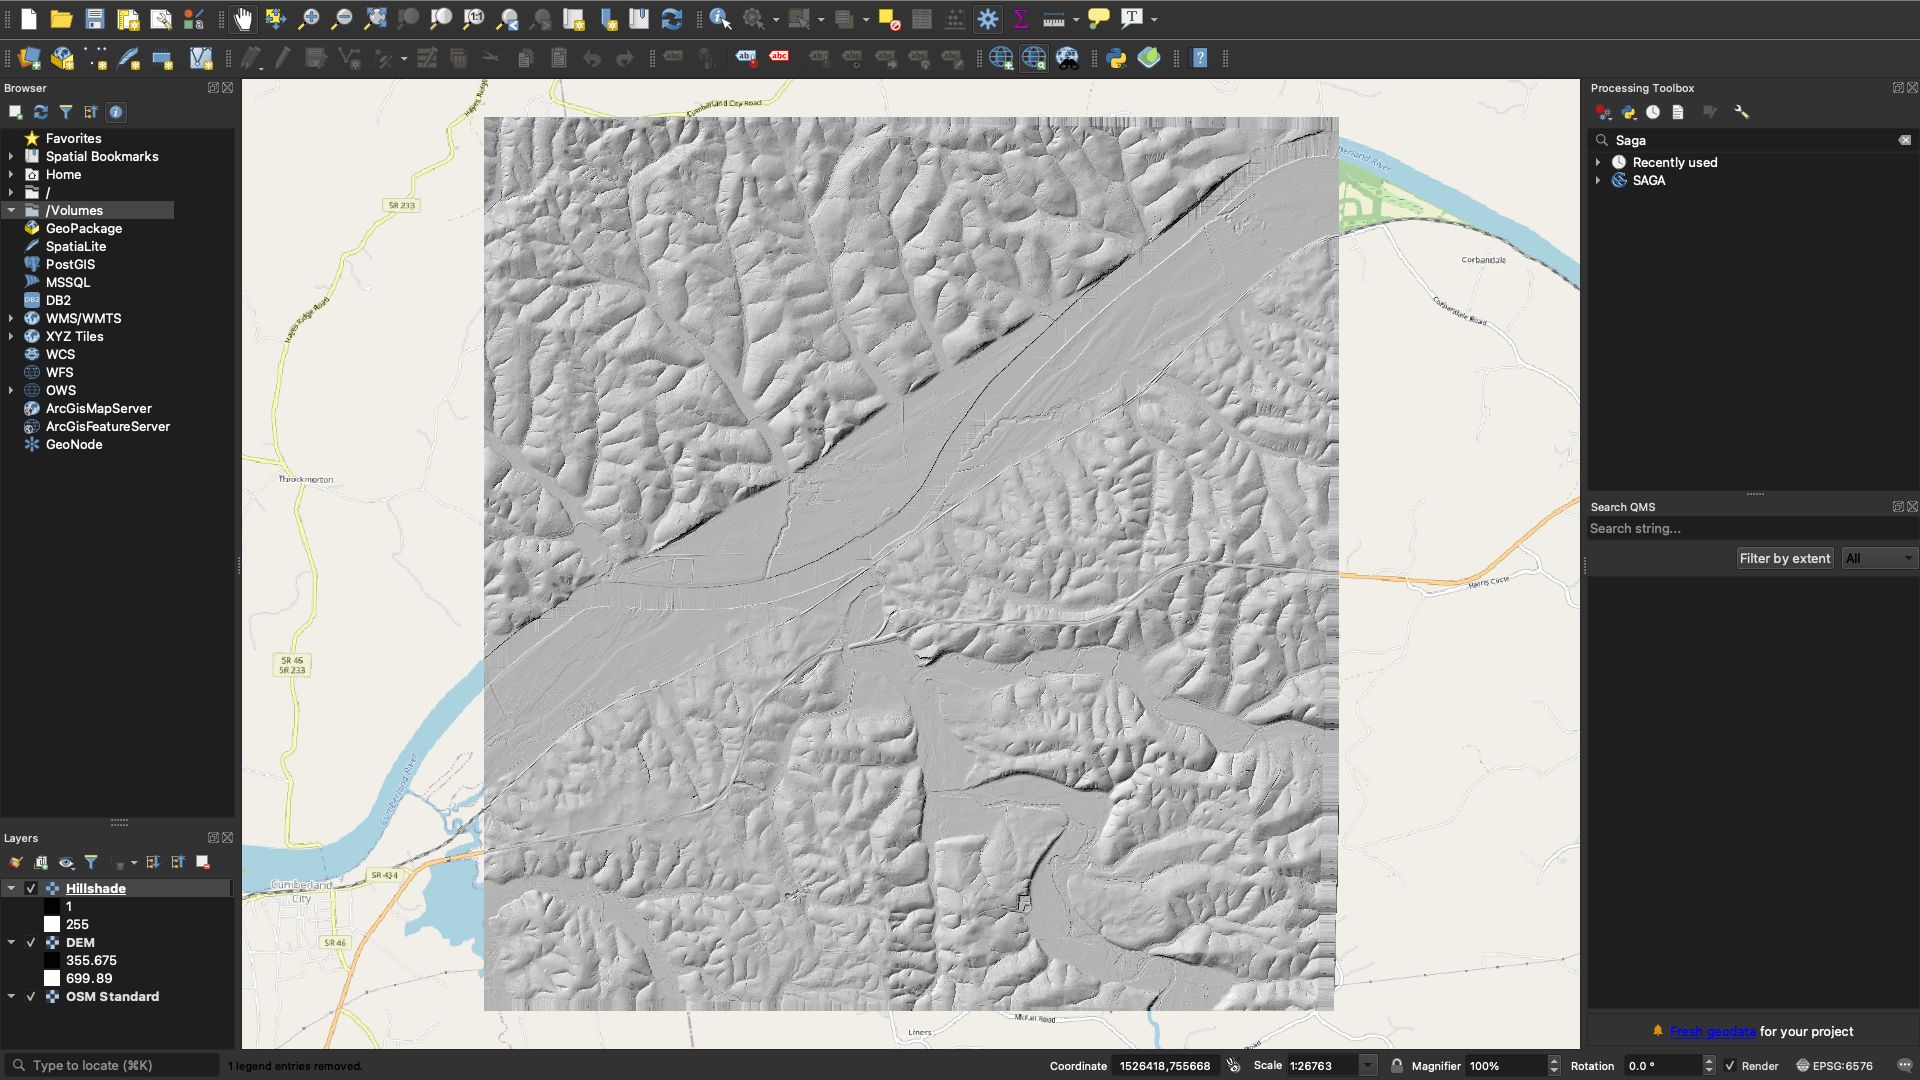
Having generated your Hillshade, you will likely want to change the appearance from it’s bland gray symbology. To do this, be sure to set your original DEM layer at the top of your layers order in the Layers panel (bottom left corner of your screen). Now open up the Symbology of your DEM:
DEM → Properties → Symbology
Your symbology will vary in accordance to your own needs. If you’re looking to replicate ours, then set your Render type to Singleband pseudocolor and select the BrBG Color Ramp. Now, because we will be wanting to project our symbology onto the Hillshade layer, scroll down in symbology until you get to Color Rendering. From there, select Multiply as your Blending Mode parameter.

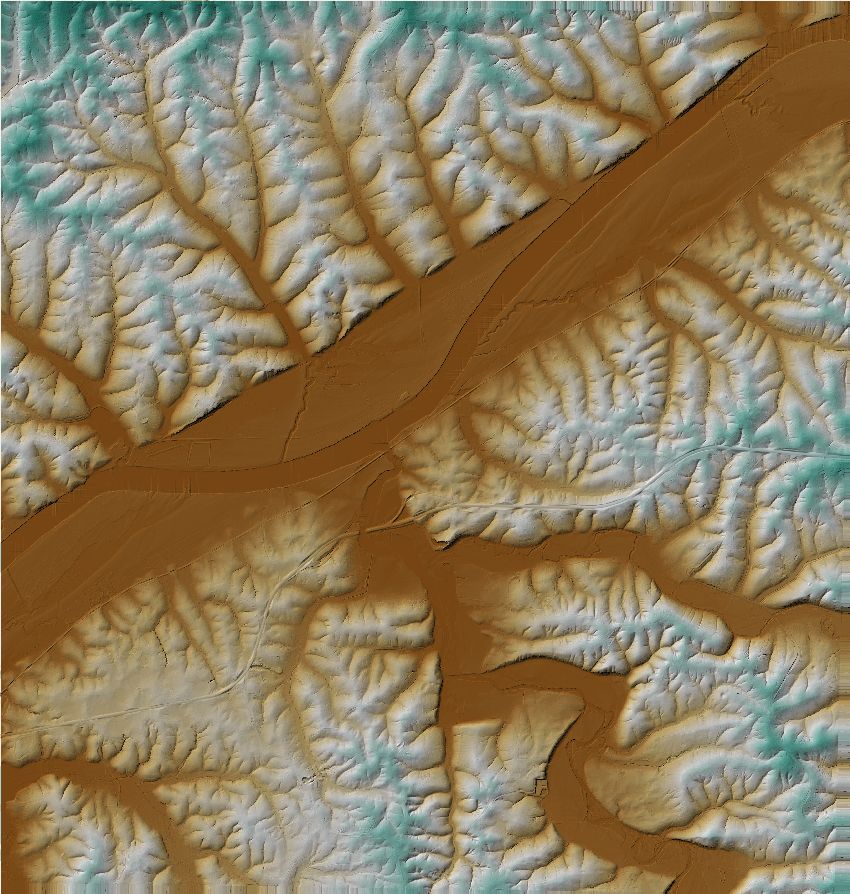
Changing the symbology for DEM
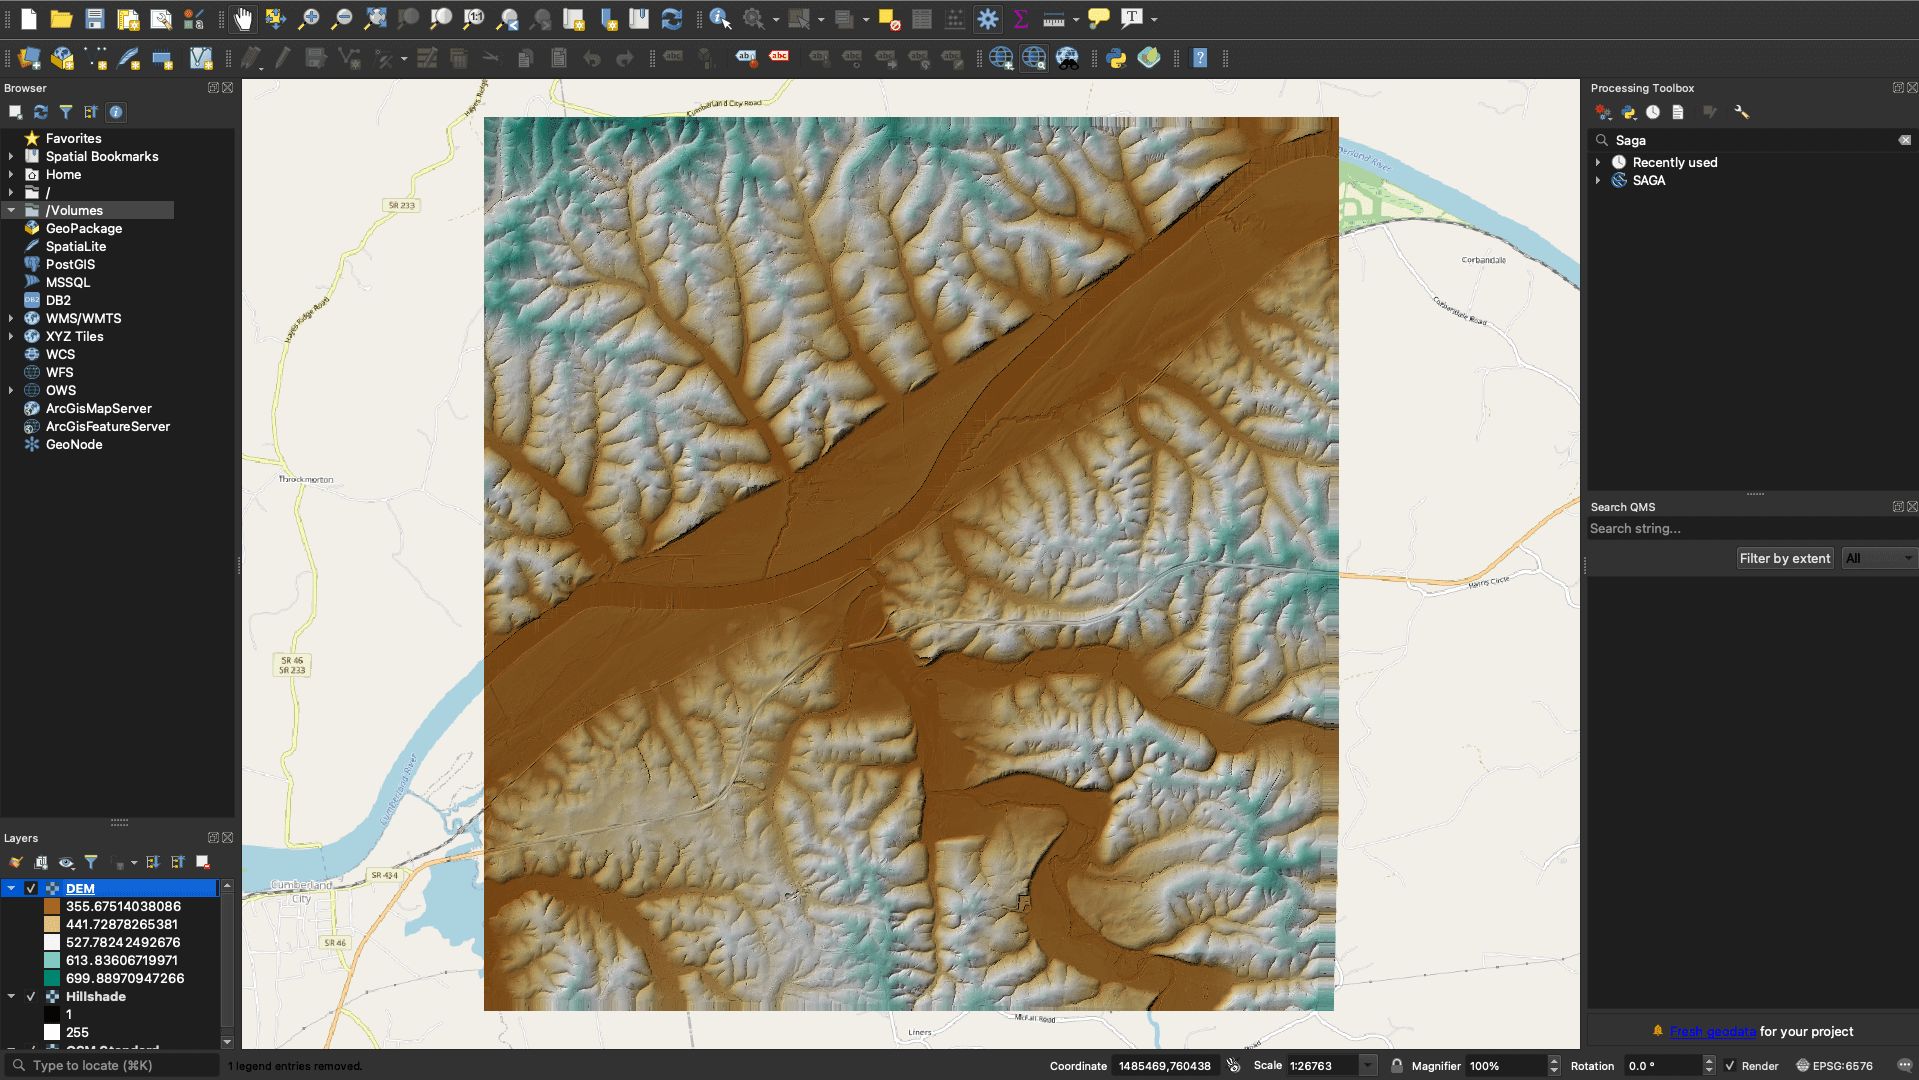
Before and After adjusting the symbology
Done!
By now you should have your Hillshade! We hope this helped, and feel free to take a look at some of Equator’s other blogs and “How-to tutorials”!