How to Create a Surface in Autodesk Civil 3D from a LiDAR Point Cloud
In this article you will learn how to create a 3D surface in Autodesk Civil 3D.
To follow along you will need to use: Equator, Autodesk ReCap Pro and Autodesk Civil 3D.

Video:
Watch the video tutorial below or follow along with the written tutorial.
Step 1: Generate a Point Cloud in Equator
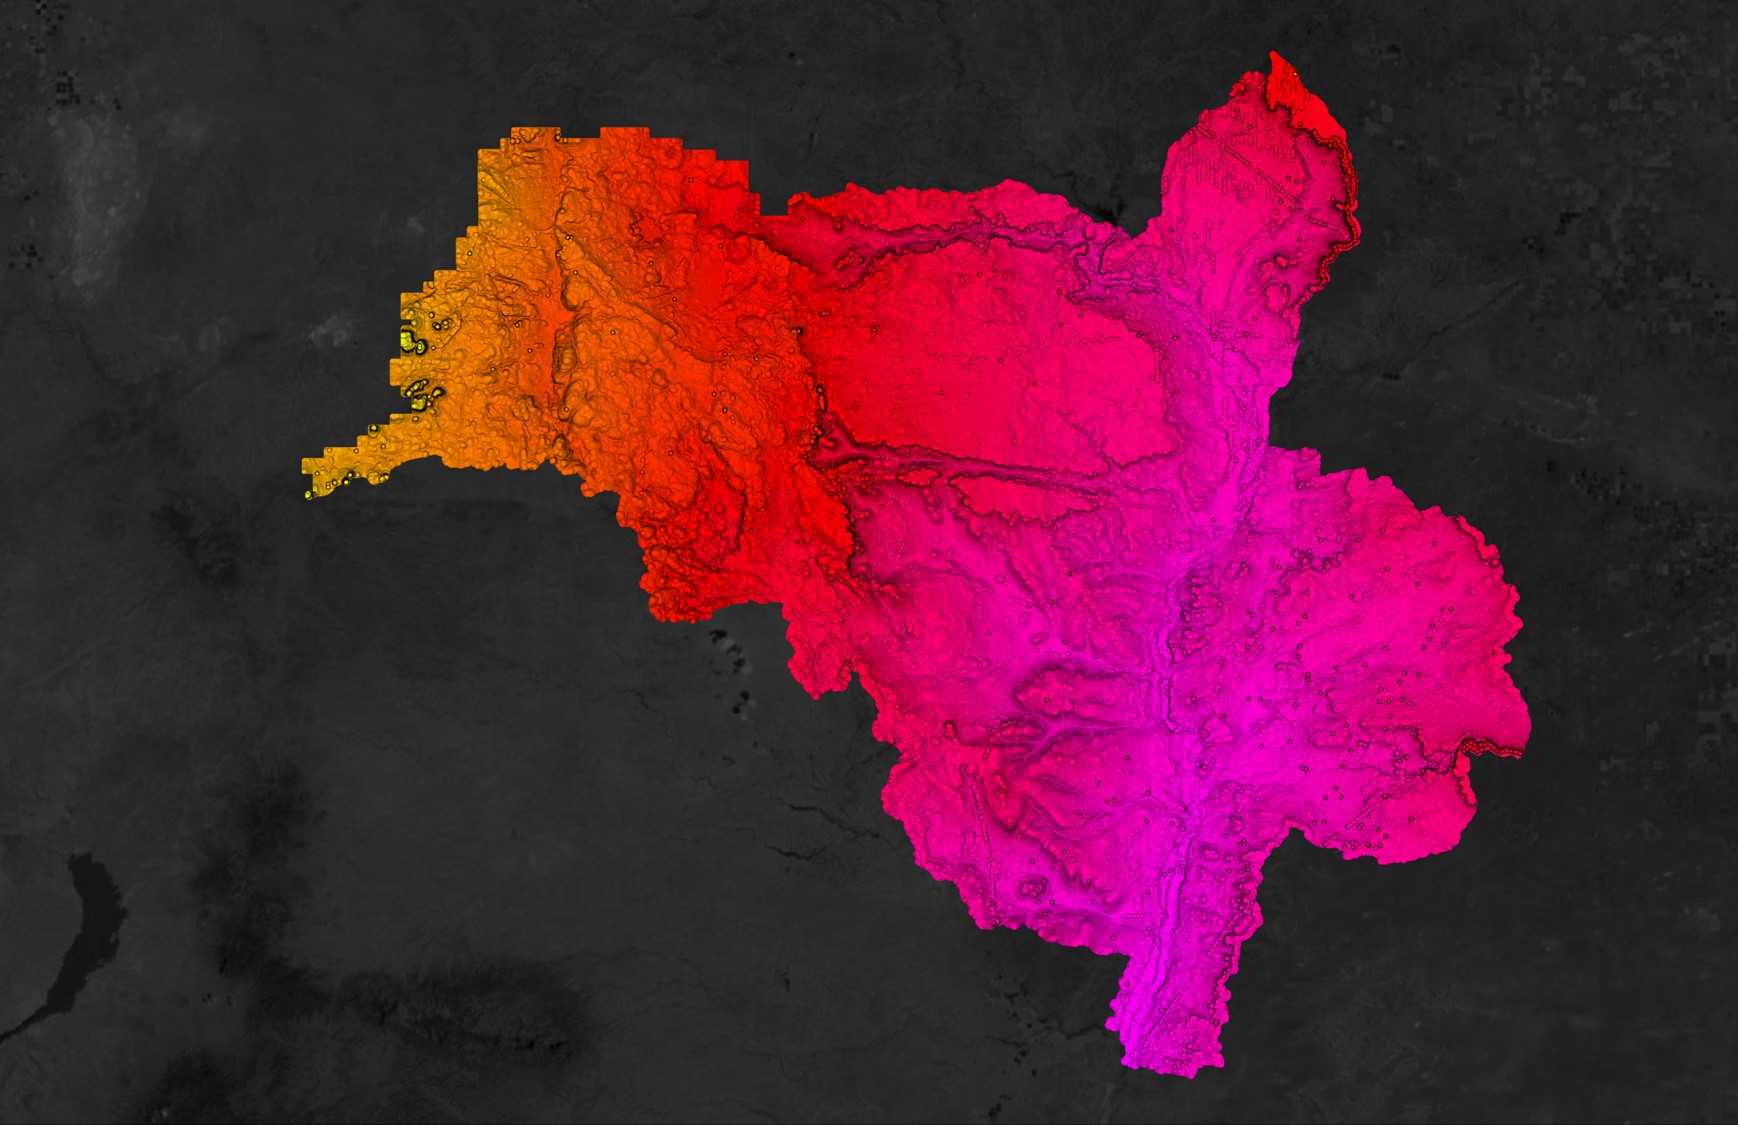
In Equator, locate a site where you would like to generate your 3D surface. Once you’ve located the area, click + New Site in the bottom left (shown below in red).

Next, make sure the site box is over the area you would like to export data from and click Okay (shown below in red).

In the Data menu that appears on the left, scroll down until you see ‘Point Cloud’ (shown below in red). Click on it.

In the next menu that appears, click Generate.

After your point cloud has loaded in, open the Layers menu on the left. Then, click the download button on your point cloud (shown below in red). This will open another menu. In this menu, ensure the format is ‘LAZ (Ground)’ and click Process. After a short period, your point cloud will be downloaded to your computer.

Step 2: Converting the LAZ file in Autodesk ReCap Pro
Next we are going to bring the LAZ file we generated in Equator over to Autodesk ReCap Pro to convert it into a file type that can be used in Civil 3D. First, open ReCap Pro. Then, create a new project (shown below).

Then, click Import.

After naming your new project and clicking Proceed, click ‘select files to import’ (shown below). Select the .laz file that we export from Equator in the previous step.

Then, click import files (shown below). This could take a few minutes.

Once the point cloud has loaded into ReCap Pro, all that’s left to do is export it. To do this, locate the button (shown below) or use the hotkey Ctrl + E. Your data should export in a .rcs file.

Step 3: Creating a 3D surface in Autodesk Civil 3D
In Civil 3D, open the Insert menu and click Attach (shown below). Navigate to your .rcs file and click Open.

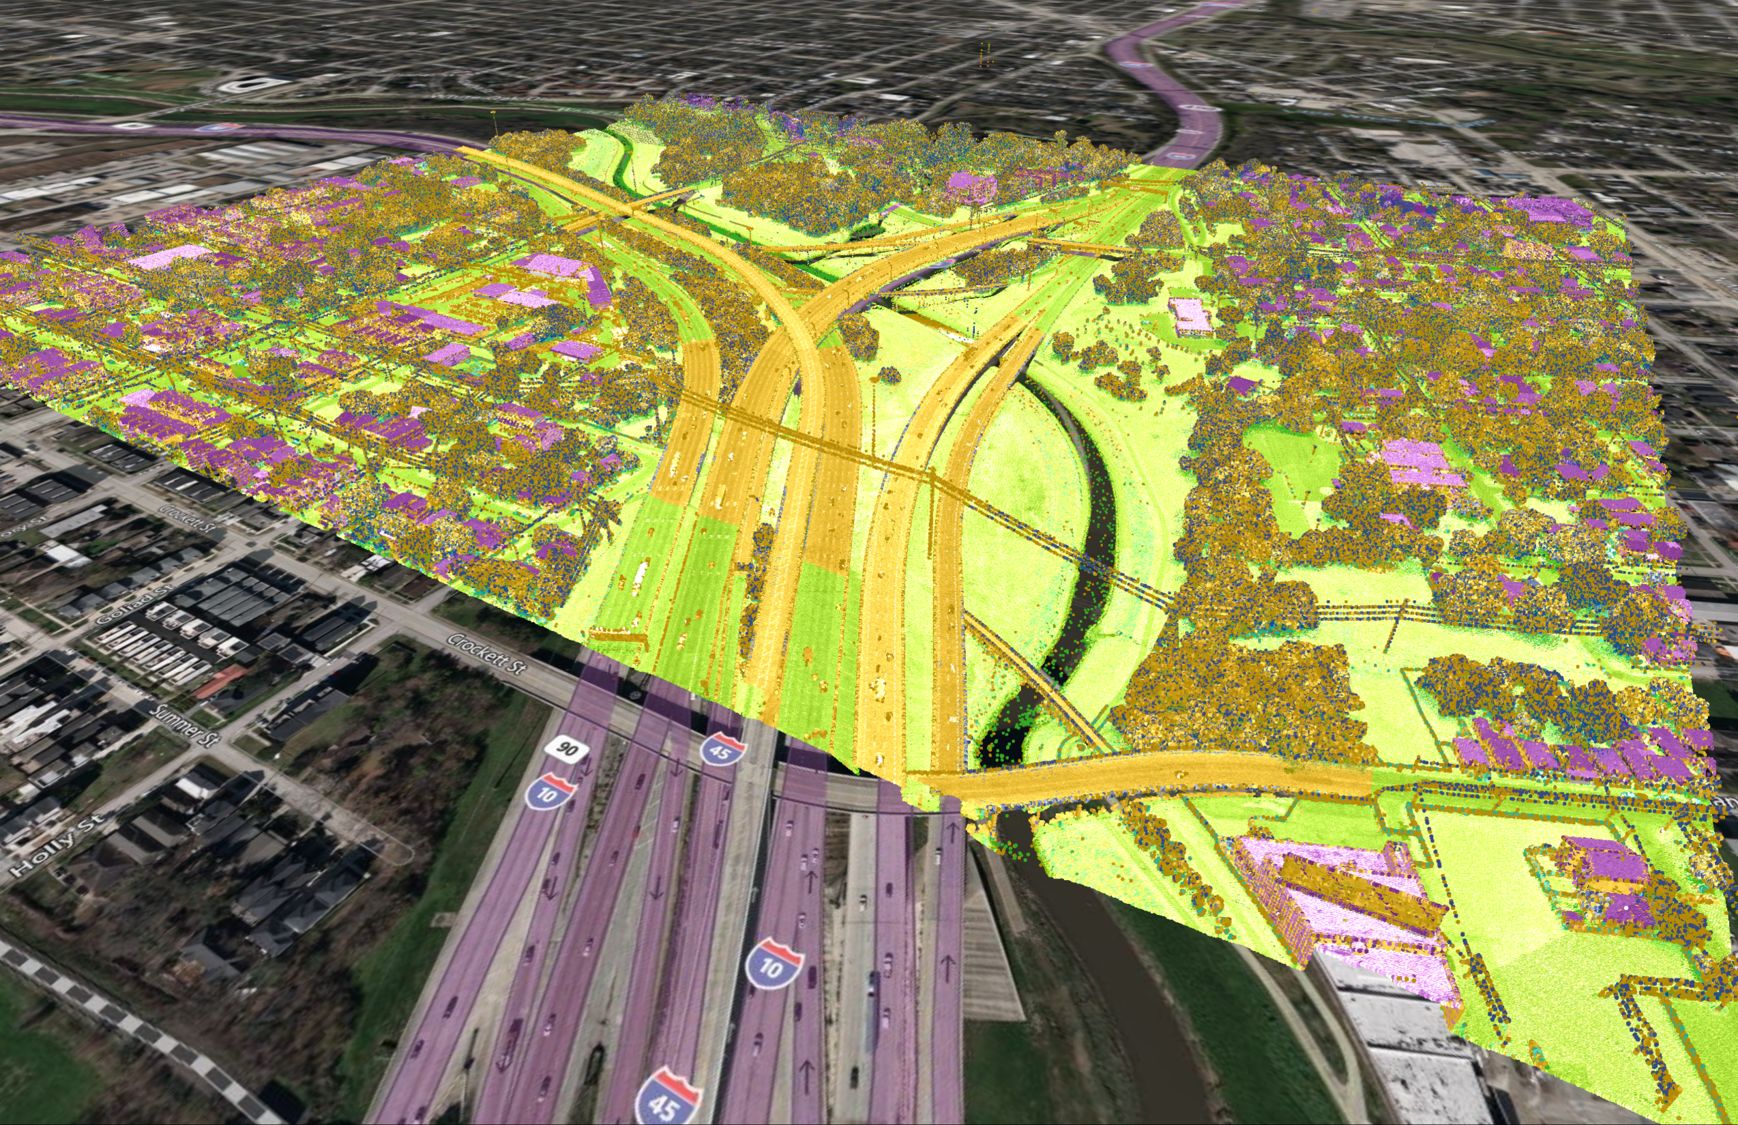
In the top left, you can drag the ‘Level of Detail’ slider to increase the level of detail. This will make the point cloud appear on your screen.

Once you can see the point cloud, click Create Surface from Point Cloud (shown below).

In the following menu, navigate to ‘on-Ground Point Filtering’ on the left and ensure ‘no filter’ is selected. Then, click Create Surface at the bottom.

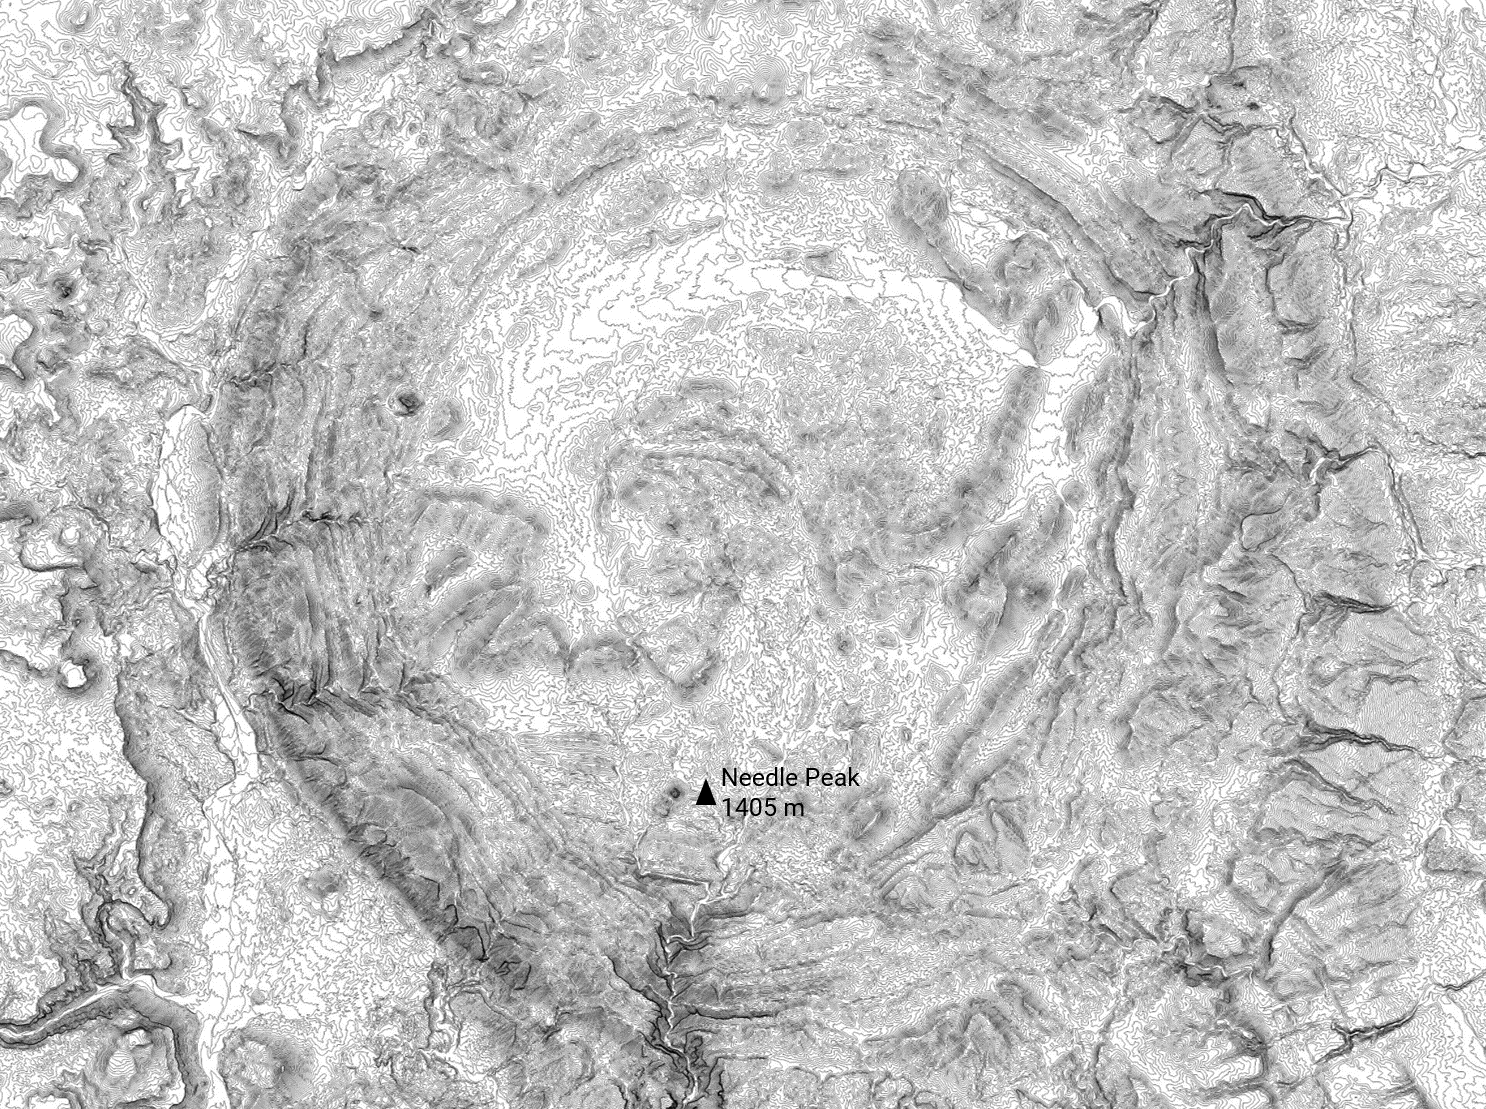
Finally, once the surface has been created (this can take a few minutes), you will be able to zoom in and see the contours in Civil 3D.

Congratulations! You have created a surface for use in Civil 3D using Equator!
For this tutorial we use high-quality LiDAR data from Equator