How to Create Contours in 3 Steps:
- Upload DEM Data
- Fill Sinks
- Generate Contours

Step 1
Upload DEM Data
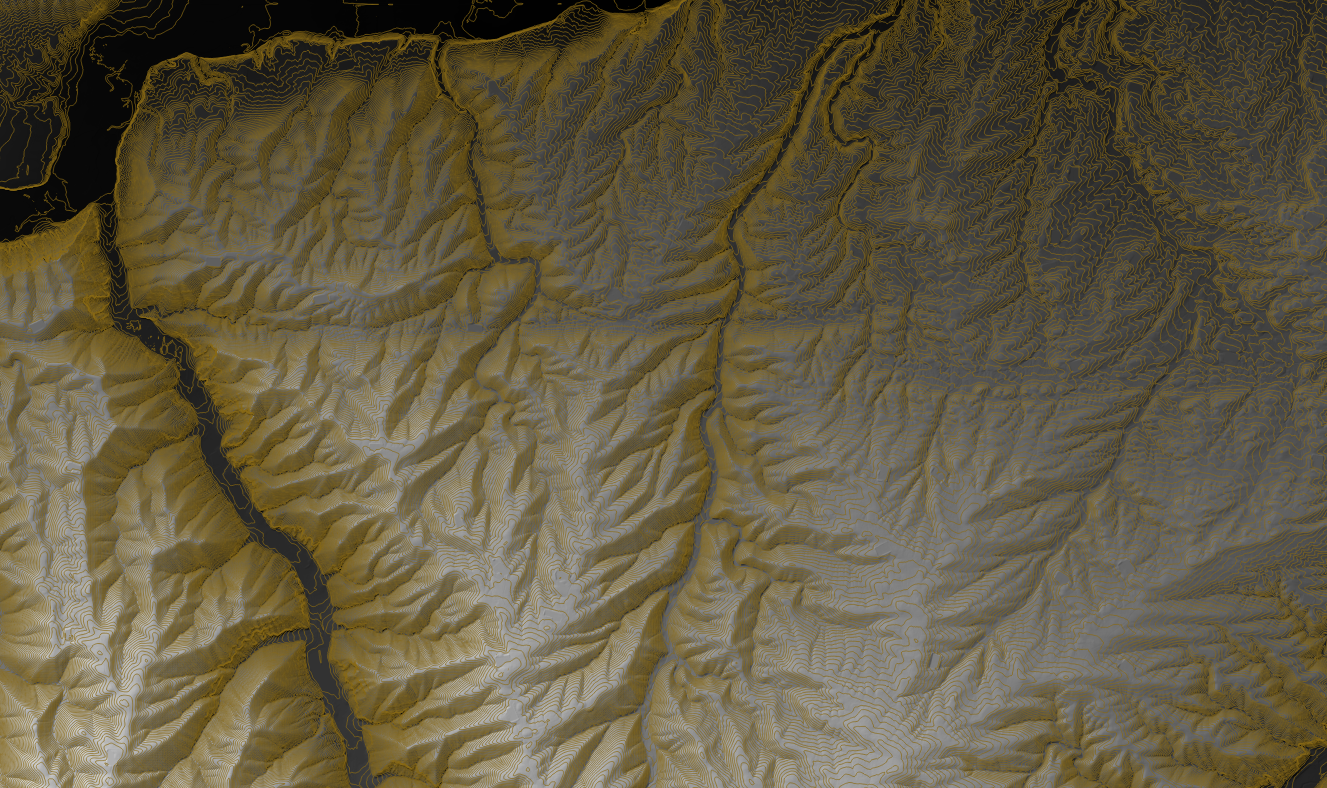
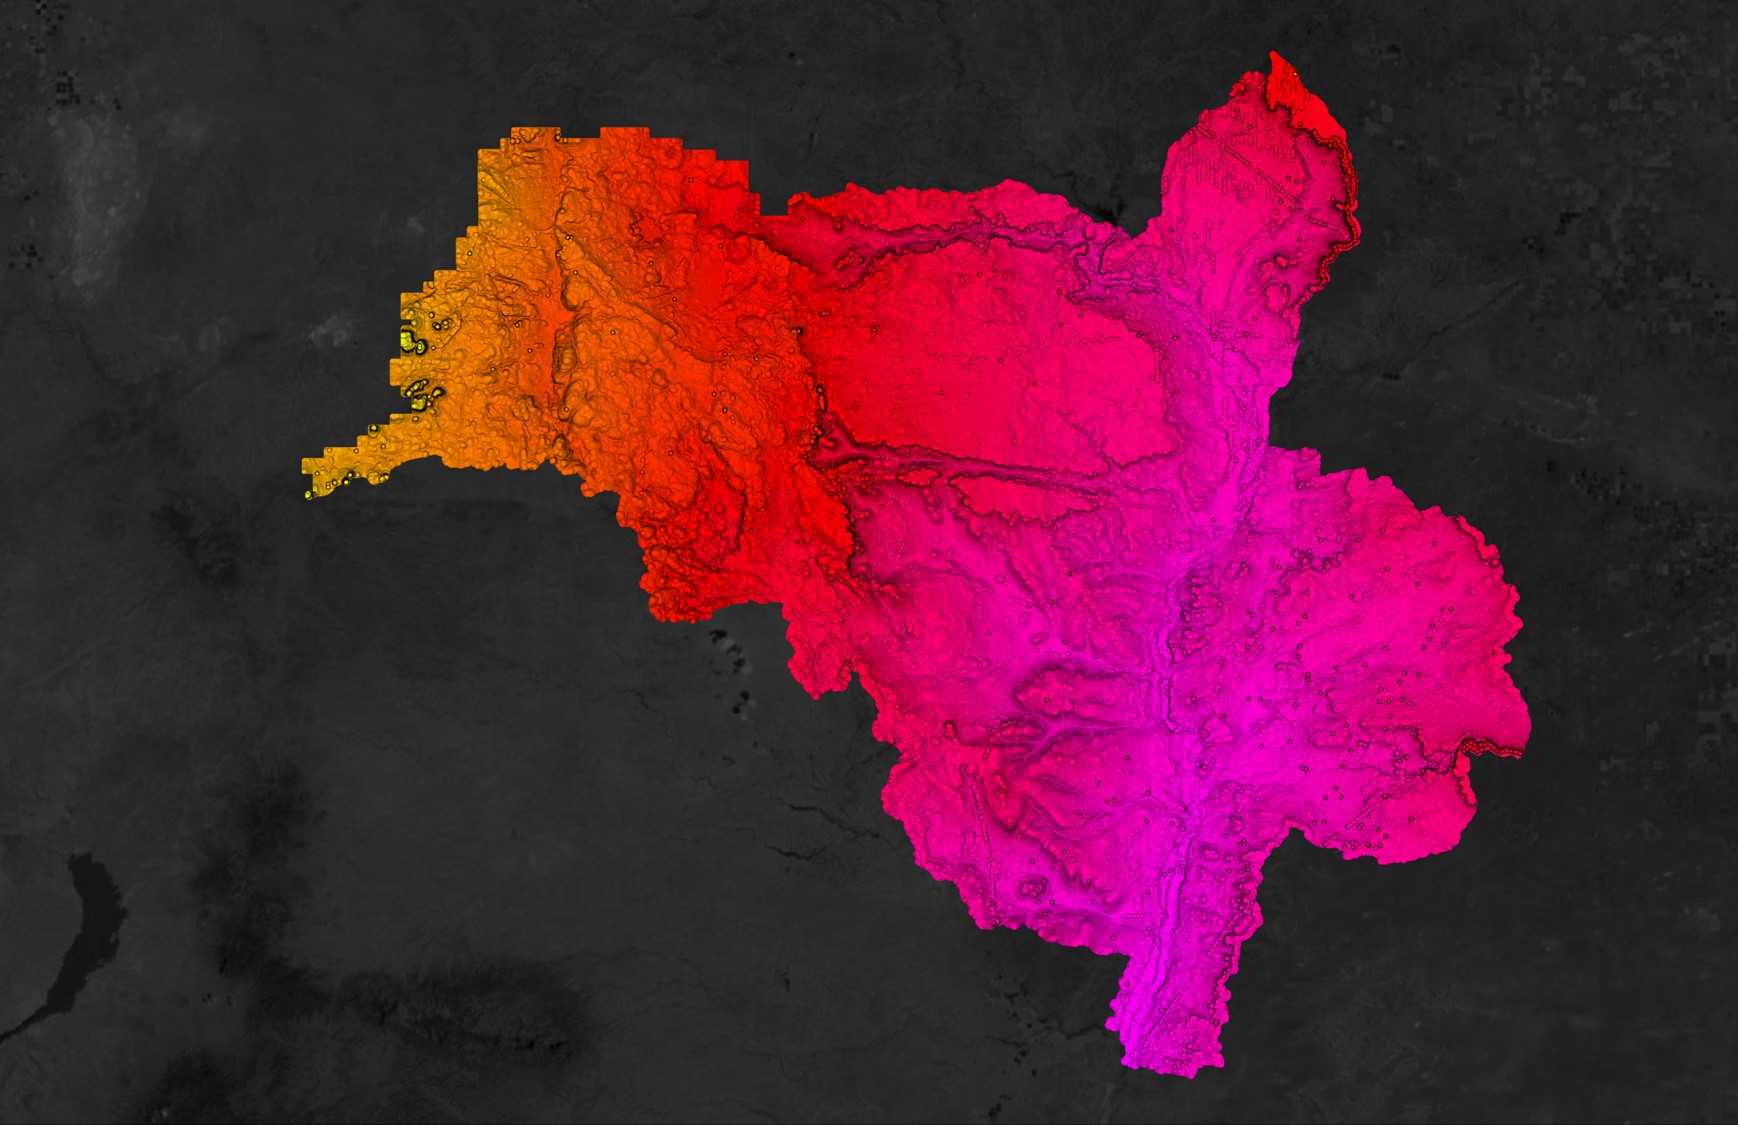
Before we can create contours, we need data! We begin by uploading our DEM (Digital Elevation Model) from the Equator Site Builder. We use Equator’s Site Builder as it provides us with a plethora of high-resolution elevation data, with advanced features to enhance our project. Particularly, if we extract our data from the Site Builder, we won’t need to re-project our data into QGIS as the Site Builder already projects the data into the appropriate projected coordinate system. However, if you choose to extract your DEM from another source, then be sure to re-project your DEM to the appropriate coordinate system within QGIS. This tutorial will outline how to generate contours within QGIS, but you can skip the process of this entire tutorial by extracting your contours directly from the Equator Site Builder, along with your DEM!
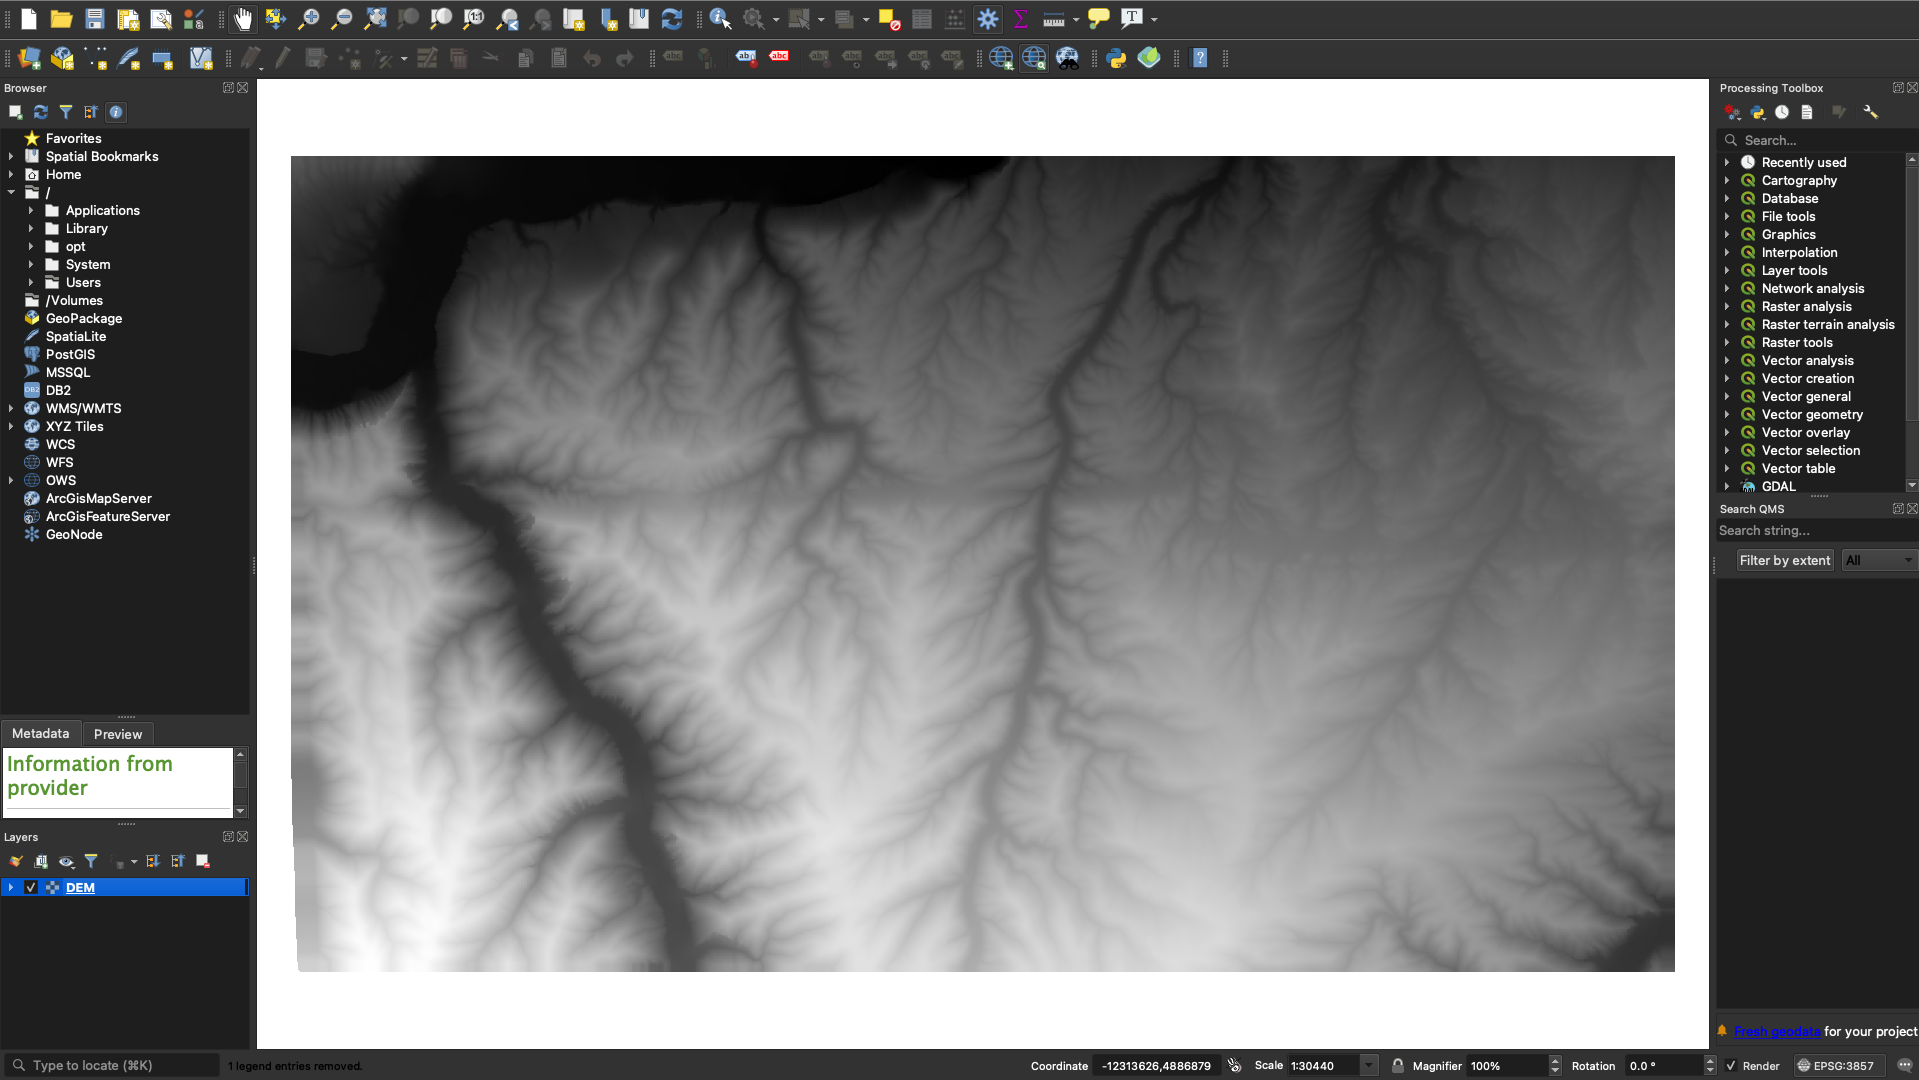
Image of our uploaded data from the Equator Site Builder
Step 2
Fill Sinks
Next, we will fill in the sinks, using Fill sinks (wang & liu) tool:
Processing Toolbox → SAGA → Fill sinks (wang & liu)
Be sure to select Filled DEM as your only Output File as we will use a different tool to generate our Flow Direction with the new Filled DEM output.

Fill Sink with the correct input and outputs
Step 3
Generate Contours
Almost done! Now we will generate contours using the Contour tool:
Raster → Extraction → Contour
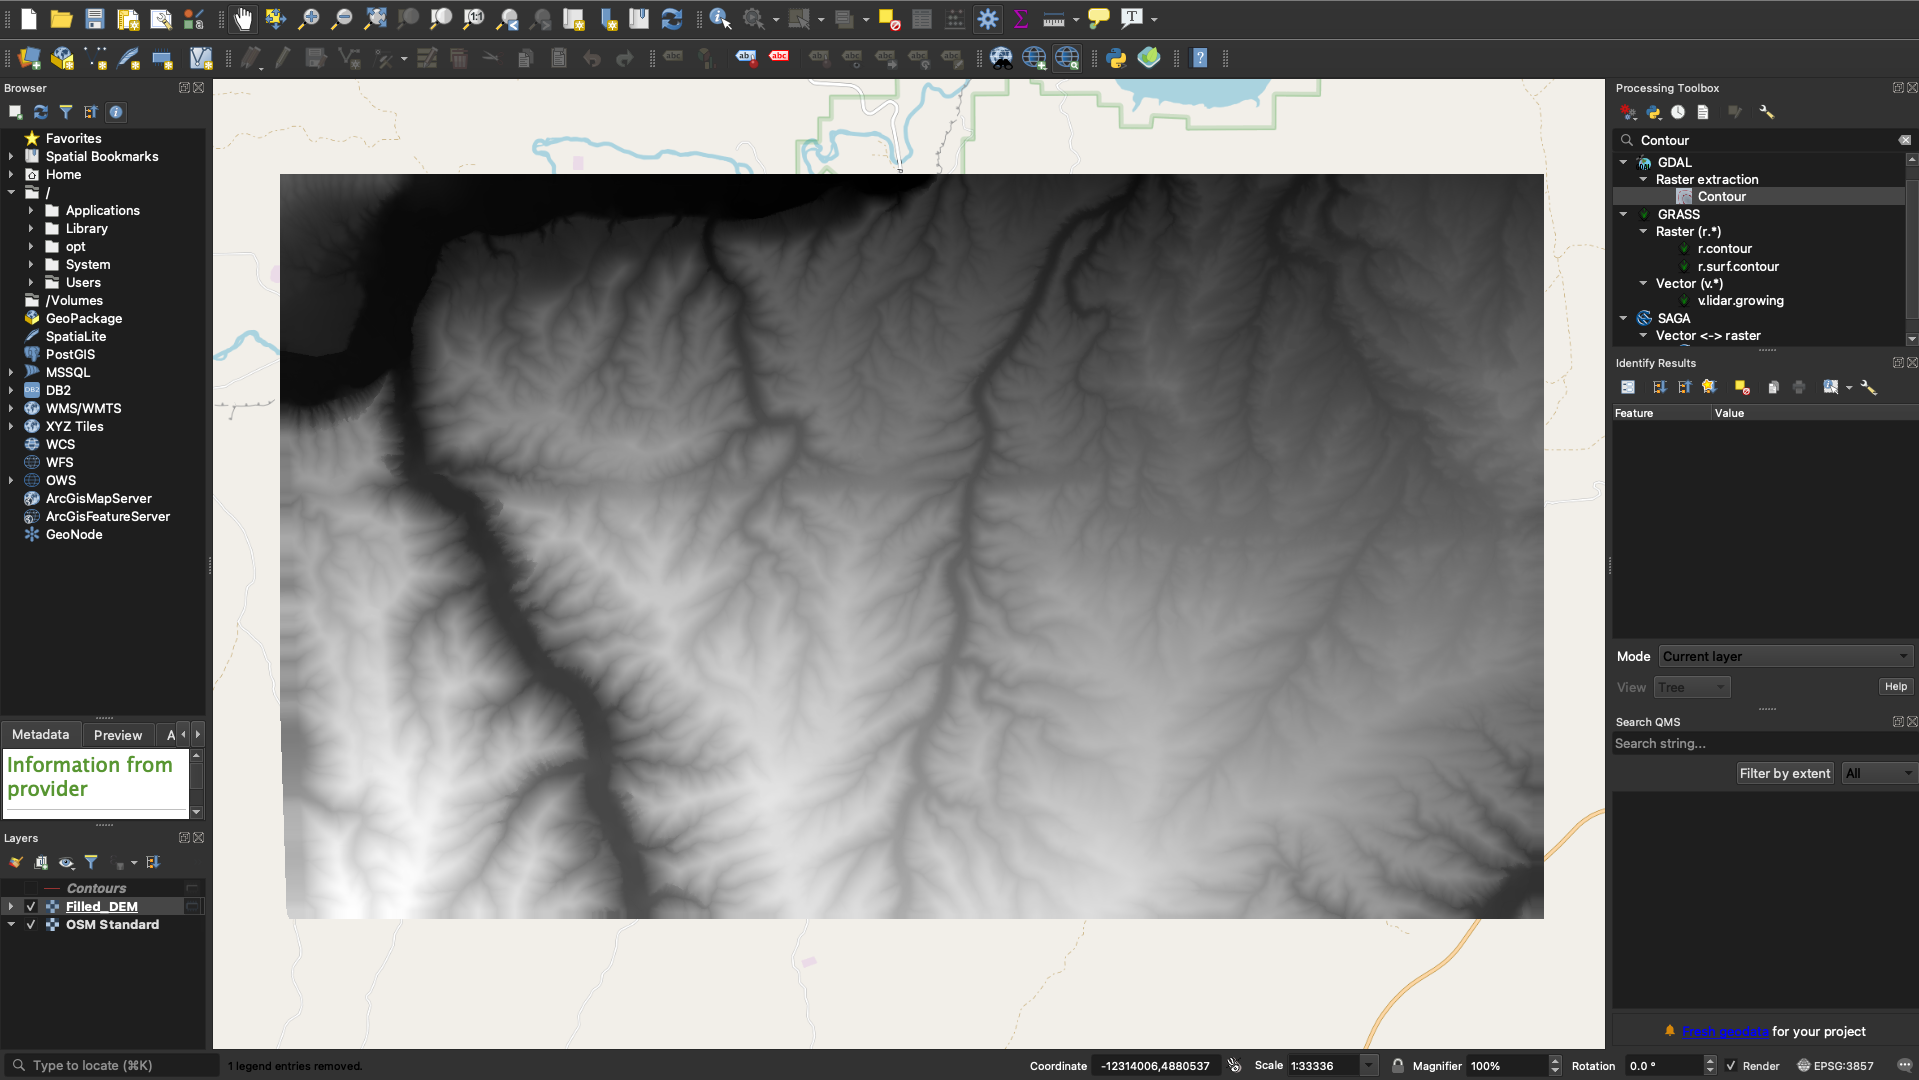
Once again, your input settings will differ from ours in accordance to your needs. In this tutorial, we elected to leave the default settings. Just be sure to select the correct DEM for your Input Layer (in our case this was our Filled_DEM).

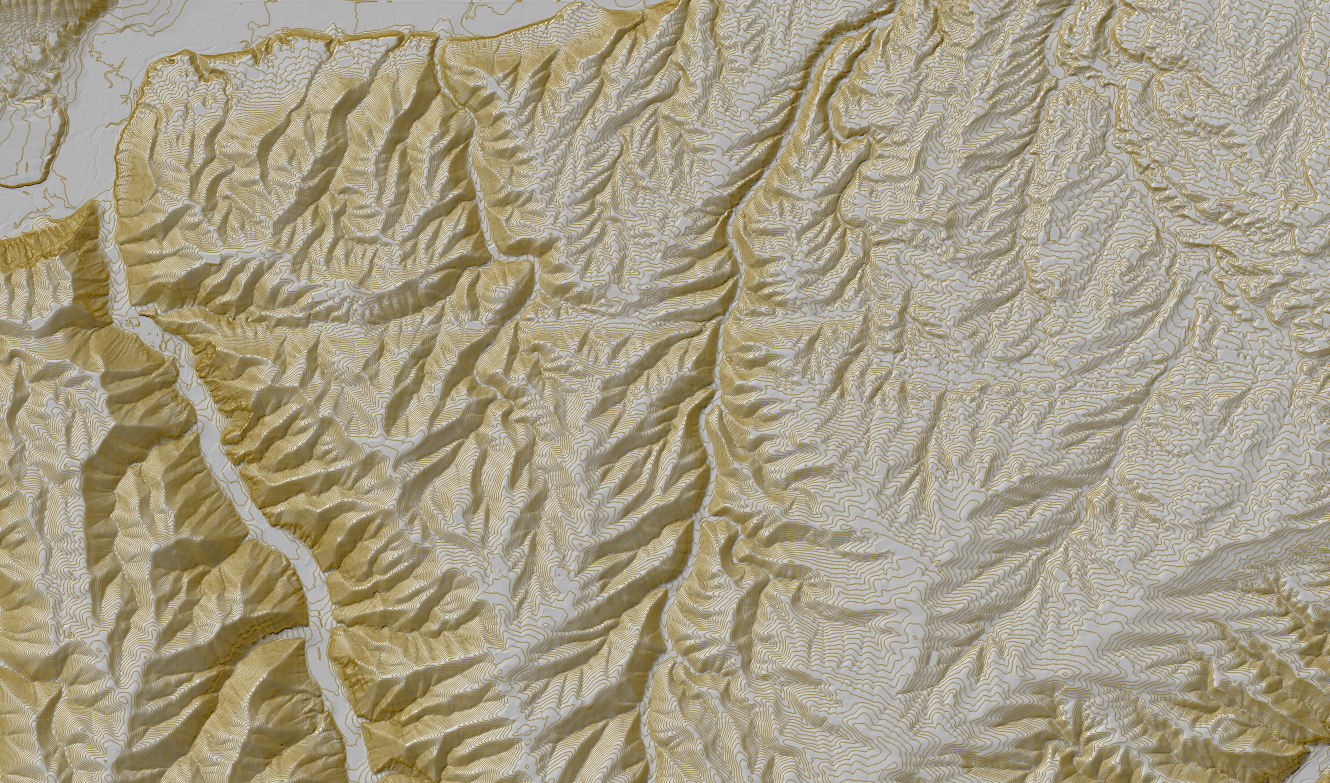
Contour tool with default inputs and outputs
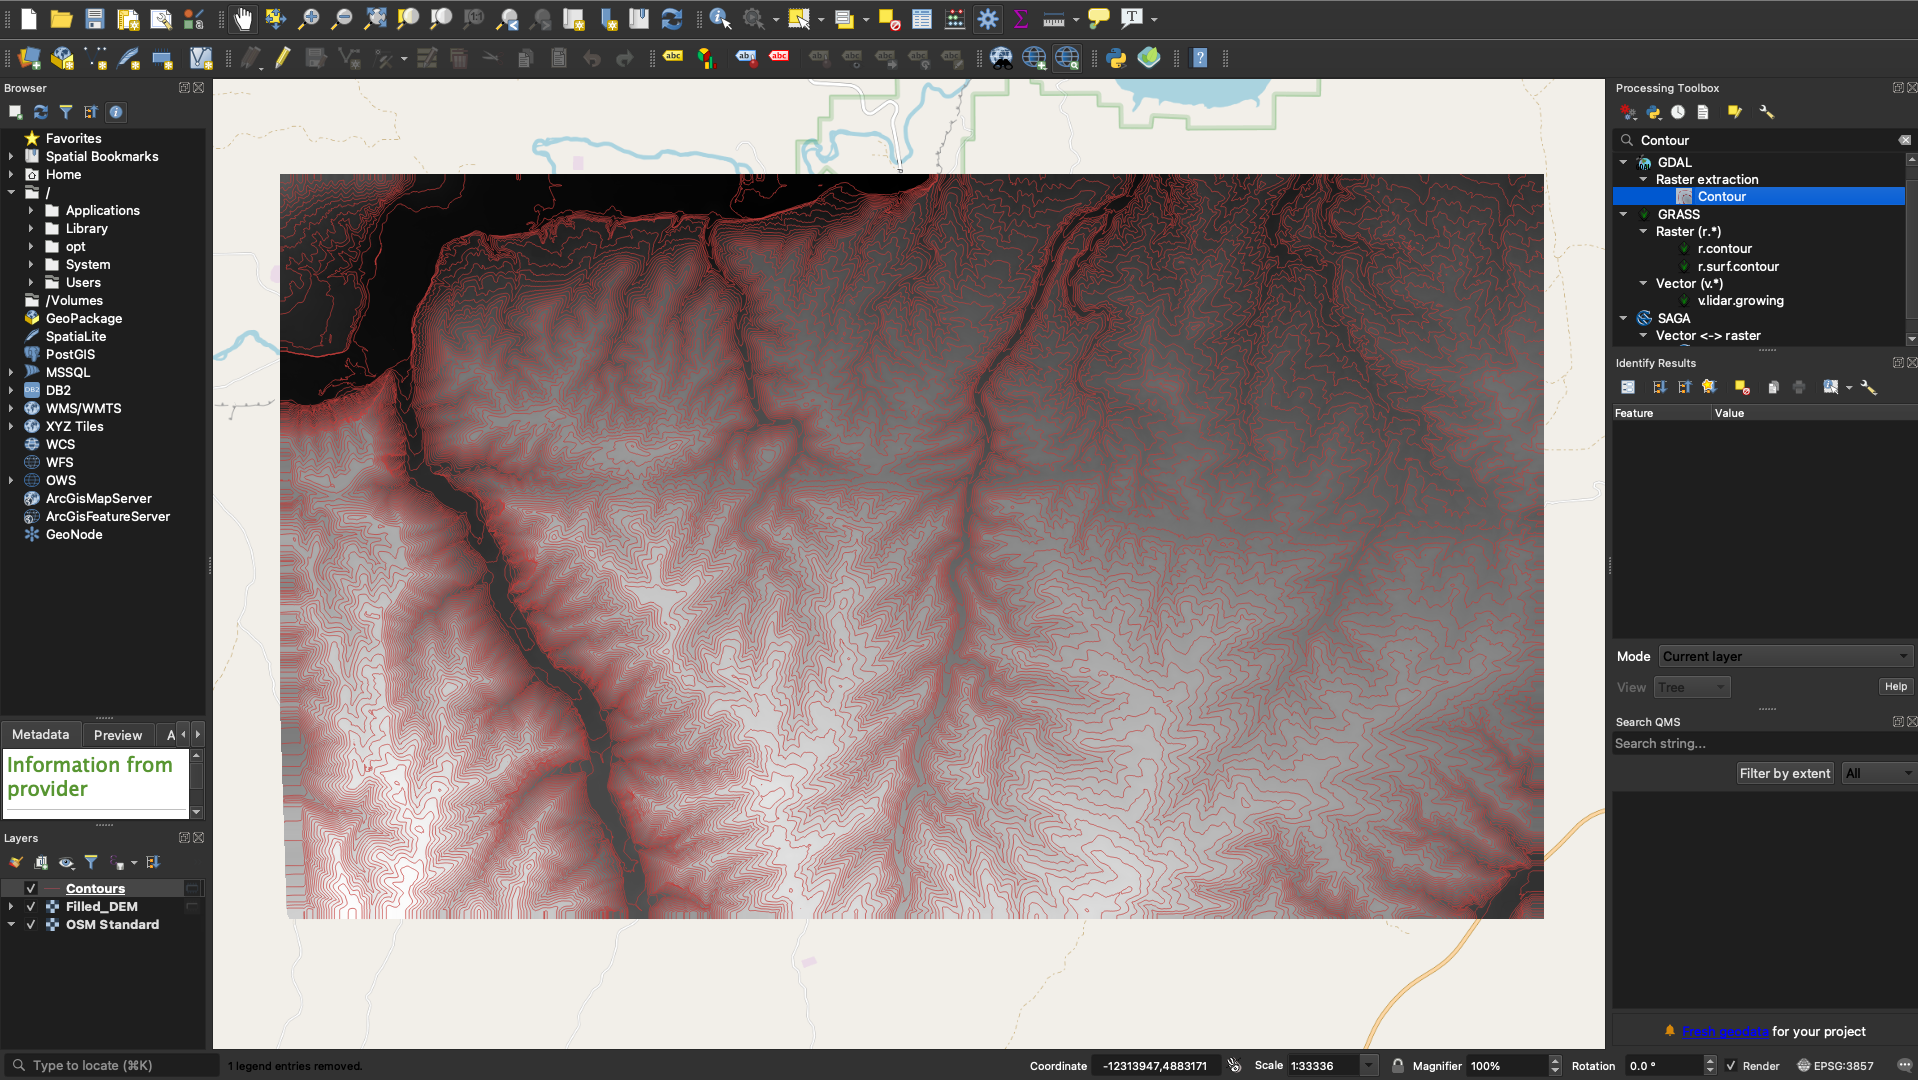
Before and after projecting Contours
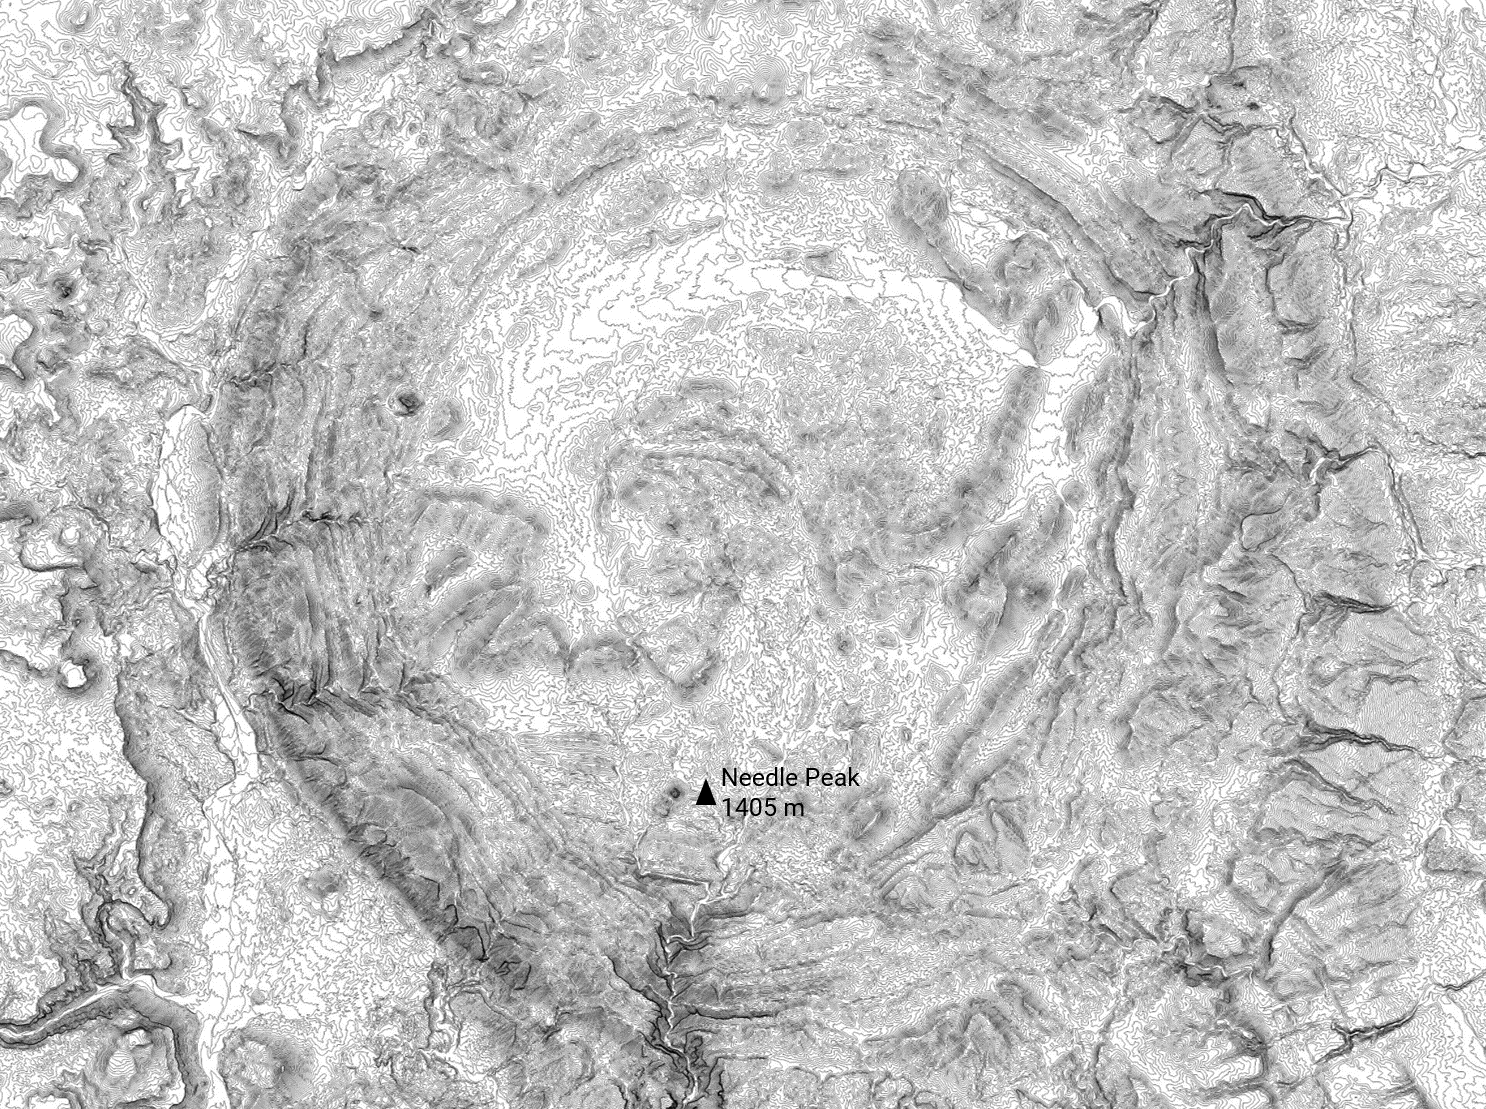
Done!
By now you should have your Contours! A suggestion moving forward is to play around with the symbology and review what your needs are. In this tutorial, we left the default values for the contour tool, but you may very well need to adjust the input settings in accordance to the data you are trying to project. We hope this helped, and feel free to take a look at some of Equator’s other blogs and “How-to tutorials”!