Making your own 3D printed topographic maps is easy with Equator!
Want to learn how to make your own 3D printed Christmas gifts? Follow this tutorial to learn how!

How to download and 3d print really detailed maps
Step 1: Open the online Equator platform
Click here to open the Equator platform online.

Image of the Equator online platform
Equator is mapping and design software with thousands of built-in data (like high-resolution elevation data). Equator is used by civil engineers, architects, and designers around the world to find, build, and share topographic maps and designs instantly.
Step 2: Find your site
Use the “Search” menu to find the location you want to print, or the scroll wheel on your mouse to zoom in and out.

Image of the “Search” menu and Little River, New Zealand
For this tutorial, we picked Little River New Zealand because the topography looks amazing and there is high-resolution elevation data in that area. We were excited to create physical terrain maps for this area.
Step 3: Choose high-resolution or low-resolution 3D topography
In the Data menu, click ‘Global Lidar Availability’.
Click ‘+ New Site’ in the bottom left and find a colored polygon (these shapes show high-resolution coverage areas). If your site is not covered by a colored polygon, you can choose to work with low-res topography or pick a different location.

Image of a dark grey polygon covering Little River New Zealand, indicating high-resolution topographic maps in this area.
Equator includes high-resolution elevation data from LiDAR (accurate to a few centimeters) in parts of Canada, the US, and New Zealand. If you are working in other areas, you can still generate 3D print-ready terrain, but it is created from low-resolution elevation data (accurate to roughly 30 m).
Step 4: Identify the site that you want to 3D print
Zoom in and out until you are happy with the site boundary and then click “ADD A NEW SITE HERE.” This boundary will be used to crop the 3D topography.
Note: Some of our UI has been updated. Click here to view an updated video guide on how to extract data from Equator.

Image showing the site selection window in Equator
When you generate 3D printable files using Equator, we convert data from a LiDAR point cloud into a 3D mesh that can be modified for printing. When you select your site, it lets Equator know what boundaries it should crop your file to.
Step 5: Turn high-resolution elevation data preview on and off (optional step)
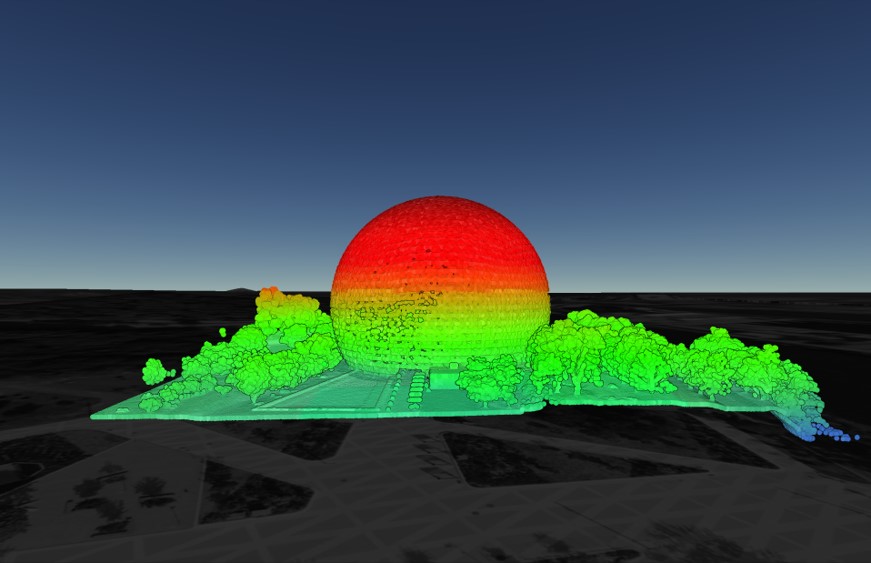
Click on a shaded polygon and click “VIEW NOW” to preview the LiDAR point cloud. To turn off the preview, visit the “Layer” menu and use the eye icon.

Image of the “View Now” button in Equator that previews the entire point cloud data
When you click “View Now,” the source LiDAR data points are turned on. This is the detailed lidar scan that we build our topographic maps from!
Step 6: Select the printable mesh product
In the Data menu on the left, scroll down until you see “Printable Mesh (STL).” Click the green “+” button next to Printable Mesh (STL).

Image of the topographic Data menu
Step 7: Generate a 3D printable terrain file (STL)
Enter a scale factor of 0.1-2. Start with 1.0. You may need to experiment with different values here if your export has too tall of a base. Click “Generate” when you’re ready.

Image of the printable mesh generation menu
In this step, our goal is to only ensure that that the base of the model is the right thickness. In step 9, we discuss exaggerating the vertical scale of the terrain.
Step 8: Open your 3D printed topographic map file
Import this STL file into your 3D printers slicing software, in this example we’re using Chitubox and printing with a Creality LD-002R

Image of Chitubox software
Step 9: Customize your 3D terrain for print
Rotate and scale the print to fit your 3d printers print bed. You may need to adjust the Z scale of your print separately, we are still fine-tuning our exporter and some areas require tweaking.

Image of Chitubox software, changing the Z scale
When creating raised relief maps, it is common practice to modify the vertical (z) scale to customize the look of the map. In areas where the terrain is fairly flat, it is common to exaggerate the vertical scale to better illustrate what the ground looks like. Inversely, when creating beautiful maps of 3D mountains, you may want to reduce the vertical scale.
Step 10: Preparing to print – slicing
Click slice to process the STL file into a 3D printable format (gcode, ctb, etc)

Image of the “slice” button in Chitubox software
Step 11: Preparing to print – saving
Once the slicing has finished, click “Save” and save the file to a USB drive

Image of the save button in Chitubox software
Step 12: Preparing to print – saving
Place the USB drive into your 3d printer and start the print

Image of the printer menu
Step 13: 3D printing the topography
Because these topographic slices are only a few centimeters high, they take 20-60 minutes to print on most resin 3D printers.

Image of the 3D topographic map during the printing process

What else will you make with Equator?
Click on your use case below to start building a custom map right now.