How to Make 3D Terrain in SketchUp using Topographic Data
Create smooth, accurate SketchUp terrain in 3 easy steps:
- Source Topographic Data
- Bring Topography into SketchUp
- Generate 3D Terrain
Step 1: Source Topographic Data
When referring to topographic data, we are primarily interested in the elevation or contour data. You might have topographic maps somewhere (either hardcopy or digitally) or you might have had someone complete a survey and provide you with elevations. If you would like to use an already created .dwg file that contains contour lines, you can skip to the next step. However, if you don’t have a recent map or survey, one really easy and quick way to get topographic data is from a platform called Equator. If you are trying Equator for the first time, use the code at the bottom of this article to get free access.
In Equator, simply zoom into your project location or use the Search button, then select + New Site button located at the bottom left of your screen. You can keep your site limits as the rectangle shown or you can select the Edit Site Bounds button to create the exact limits of your project site (Figure 1).
Once you have created your site boundaries, you will need to select the data associated with your site. For this example, we will be selecting the Contours Sources: LiDAR, DSM | DWG option, which is under the Data menu (Figure 2). Contours are one of a variety of elevation data products provided in the Equator platform.

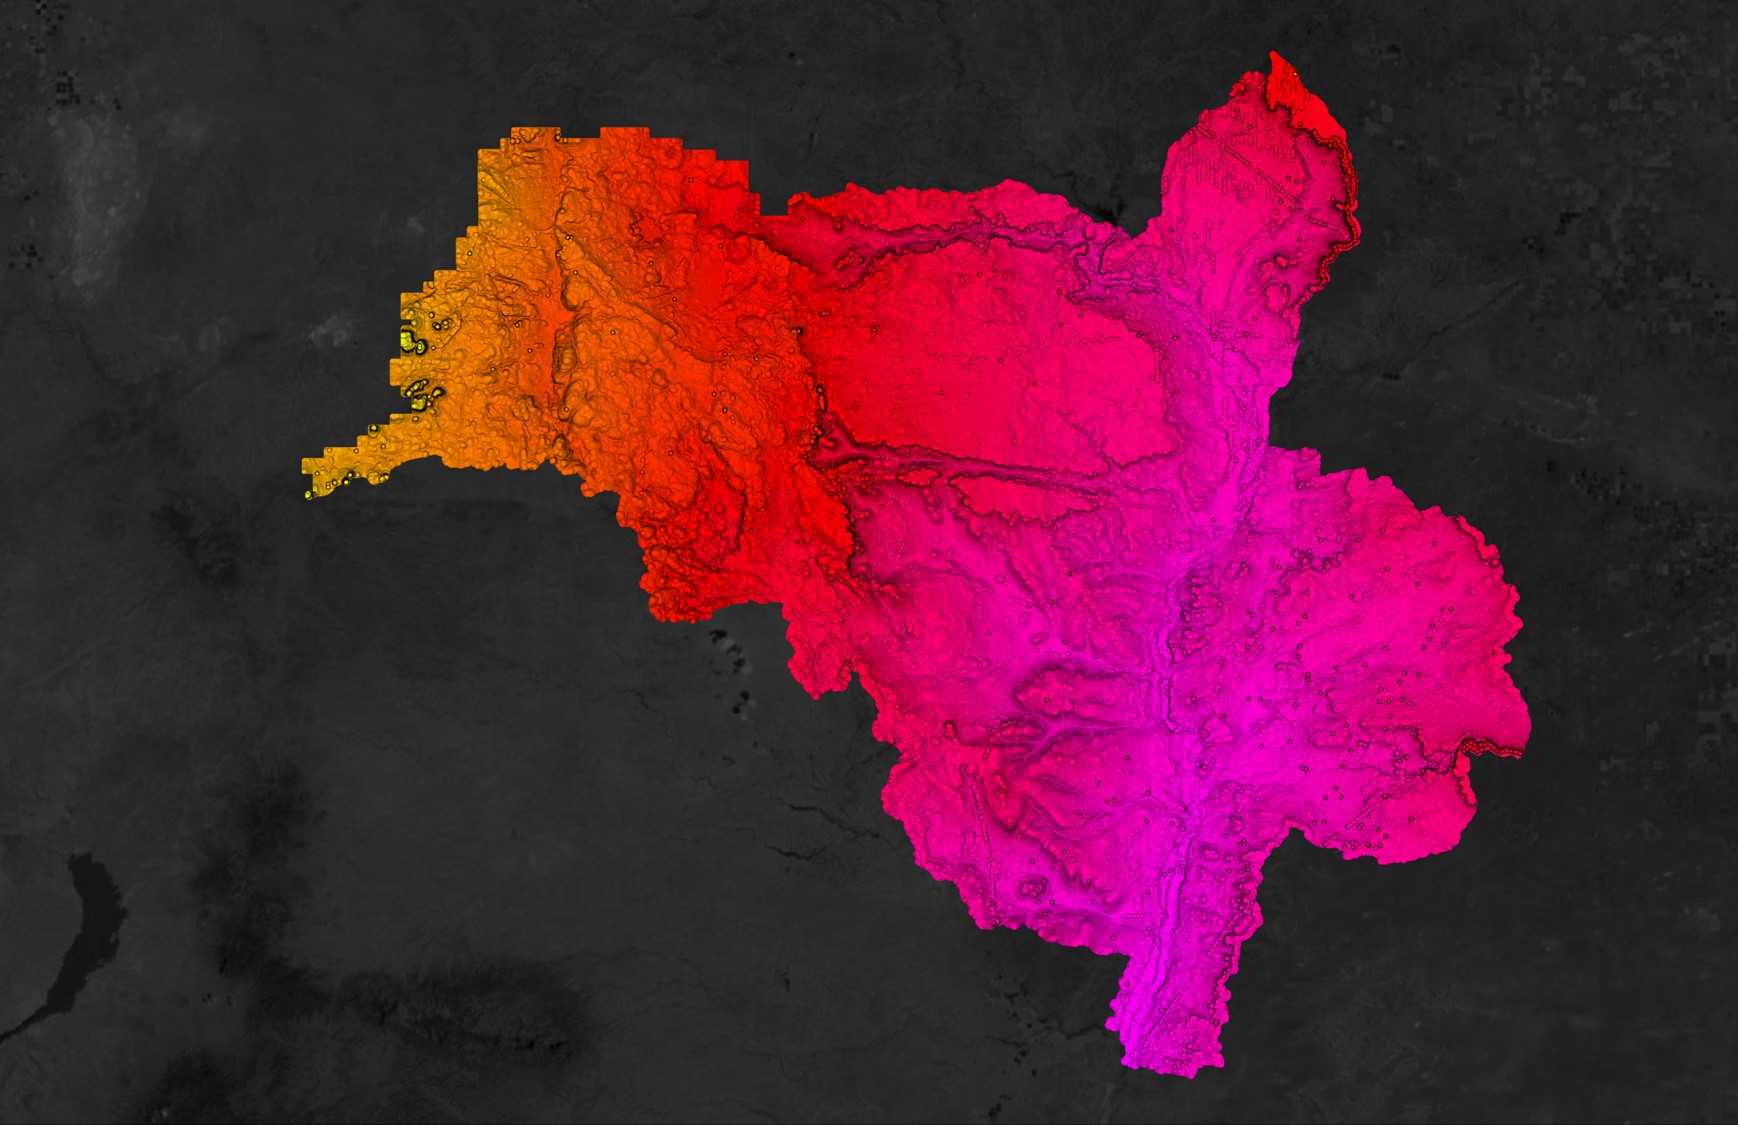
Figure 1: Set up a site in Equator where SketchUp terrain is required

Figure 2: Data menu
You will then be prompted to select which site you would like to add this contour data to, which source dataset you would like to use, your contour resolution, and your output contour interval. Remember, the smaller the interval means the greater detail and accuracy that is provided. It also means it will take longer to create the 3D terrain once we are in SketchUp. After you have chosen your ideal parameters, select Generate.
If you want to learn more about picking the right resolution or interval for your, you will find guidance in the Equator User Guide.

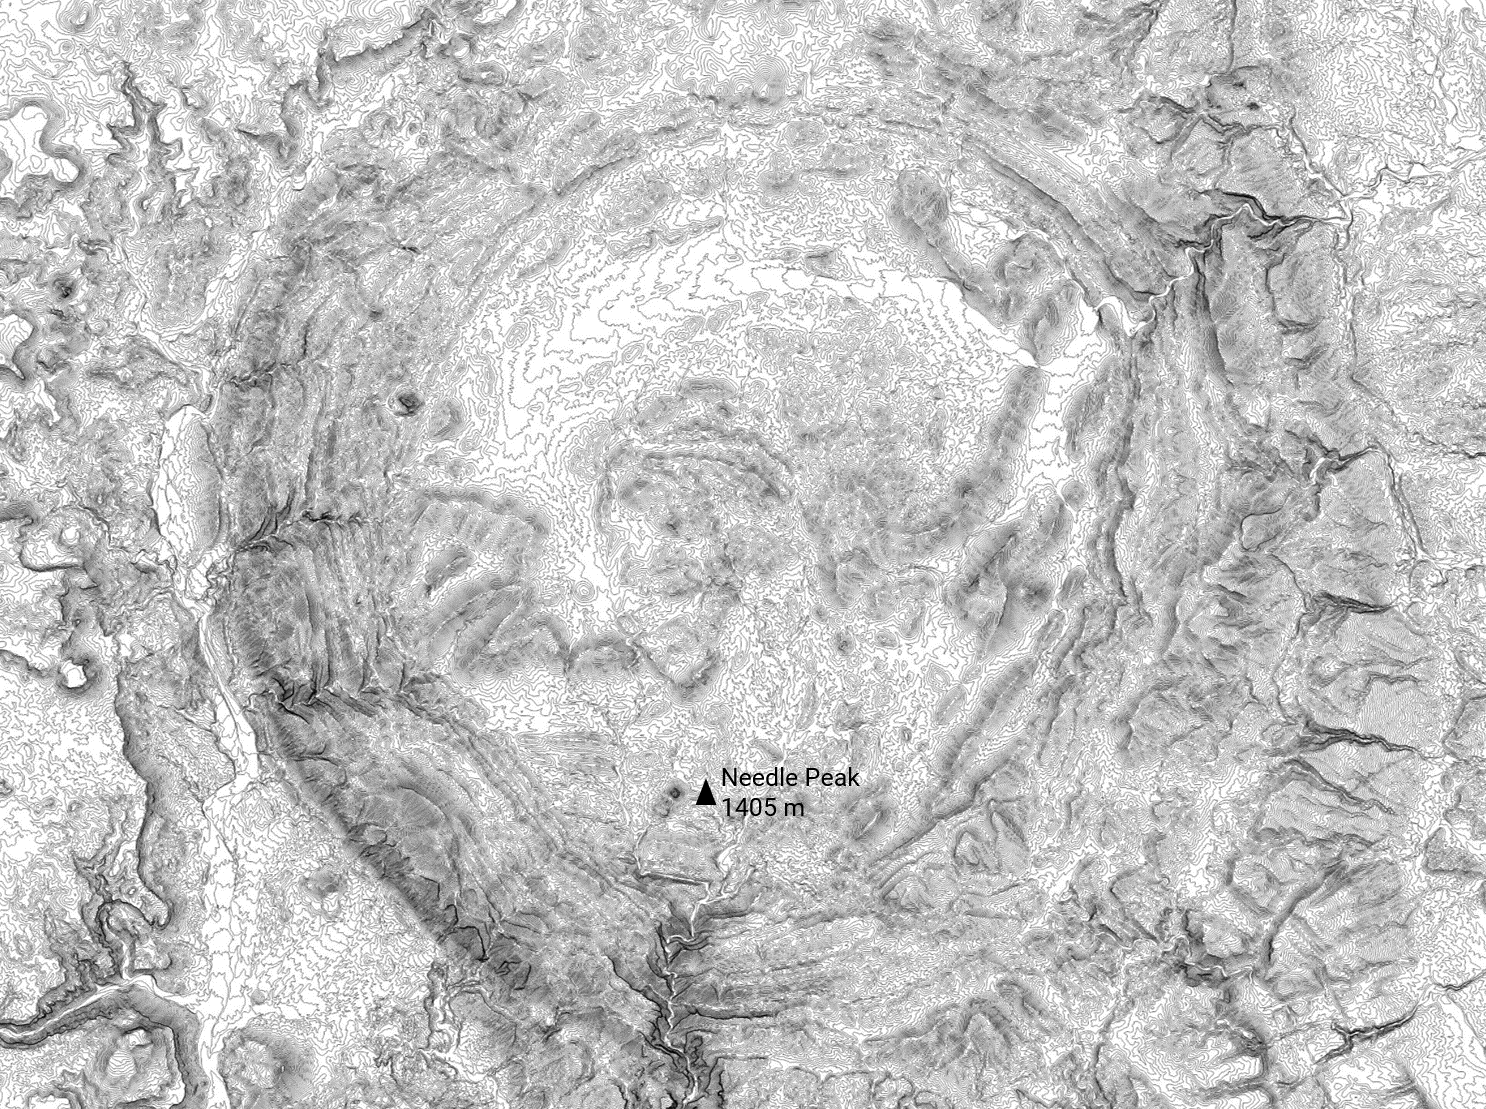
Figure 3: Topography (contours) created in Equator that can be used in SketchUp
Your newly generated contours will show up under your site limits layer, which is located under the Layers menu. To export the contours into a .dwg file, select the download arrow, customize your download by selecting DWG, the coordinate system, and the vertical unit. Then press Process. Your contour file will save in your computer’s downloads file folder as a zip file. Unzip the file and save to your project location prior to the next step.
Step 2: Bring Topography into SketchUp
Prior to importing any data into SketchUp, ensure your Tray contains the Outliner dialogue box, and be sure to turn on the sandbox extension is turned on by selecting View > Toolbars > Sandbox. If you don’t have the Sandbox extension enabled, you can add it through the Extension Manager (Figure 4). Also, ensure your units are set to the same units you exported your contour data.
To import your .dwg contour data, select File > Import. Under file type, select AutoCAD Files (*.dwg, *.dxf). If you are using SketchUp on Windows, click the Options button. If you are using SketchUp on a Mac, click the Configure button. Change your scale units from Model Units to the units (meters or feet) that you downloaded your topography from in Equator.

Figure 4: Enable the Sandbox extension in SketchUp
Step 3: Generate 3D Terrain
Zoom to your imported contours. Since you’ve imported a .dwg file, it may contain various layers or blocks, which will need to be exploded. To do this, select your layers in the Outliner dialogue box, right click and select explode. You can now clean up any contours if you need to or join any broken contour lines using SketchUp’s drawing tools.

Figure 5: Bring topography into SketchUp and cleanup using drawing tools
Once you are satisfied with your contours, it is time to create the 3D terrain.
Select all contours, then select Create terrain from a set of selected edges which is the ![]() button in the Sandbox toolbar. Your 3D terrain has now been created from your imported topographic data. You can play around with the 3D mesh by softening or smoothing the edges, changes the shadow locations or the style that the mesh appears.
button in the Sandbox toolbar. Your 3D terrain has now been created from your imported topographic data. You can play around with the 3D mesh by softening or smoothing the edges, changes the shadow locations or the style that the mesh appears.

Figure 6: Smooth topography in SketchUp from contours
Notes: This method requires the use of Equator Pro and SketchUp Pro, both of which you can sign up for free trials. This method is completed using only SketchUp’s tools and extensions. There are other similar methods to create a 3D terrain using third party tools and extensions.