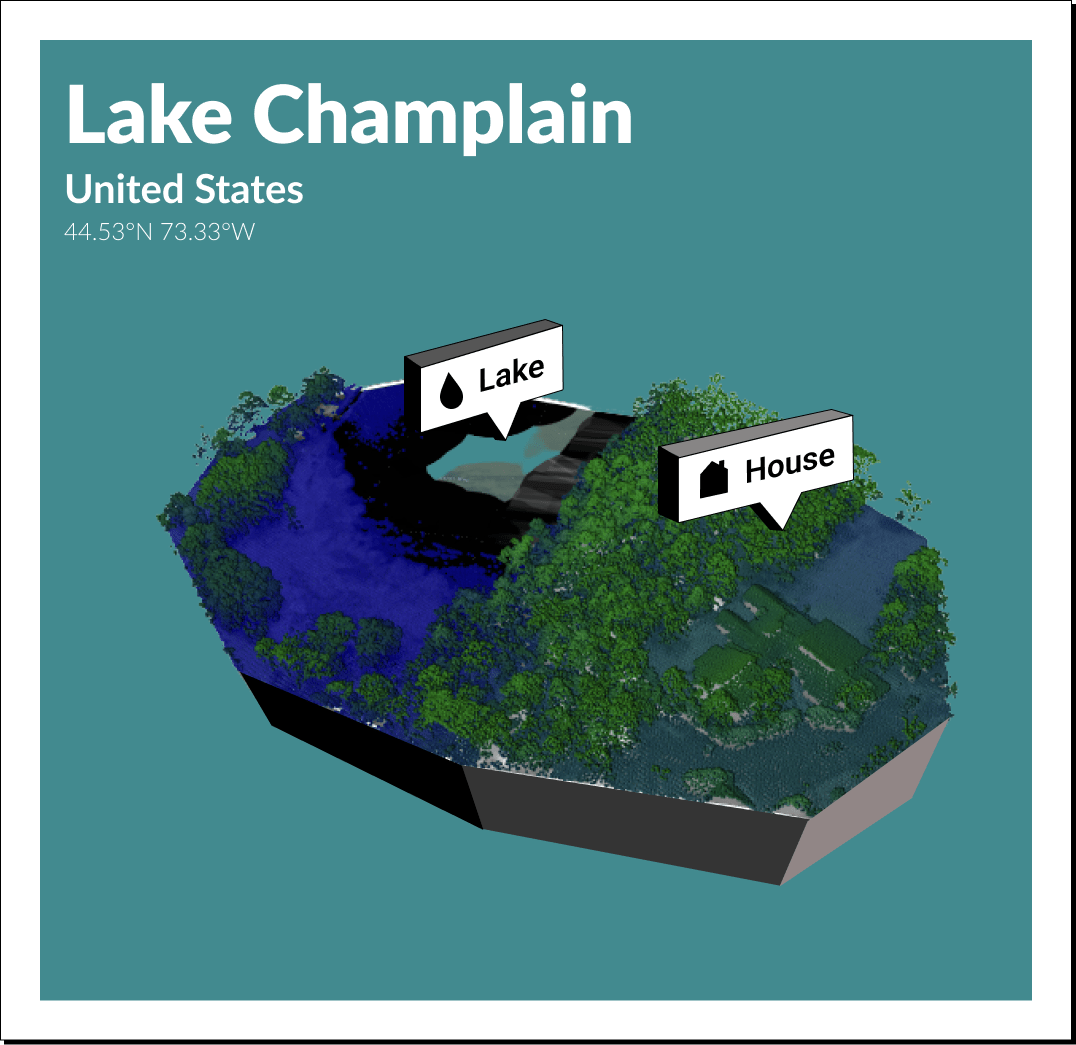
Use Equator and Figma to Create a Custom 3D Map

Begin by choosing a location for your map
Open up Equator and use the search panel to find the location you want to use to make your map. I’m going to use Lake Champlain, Vermont.
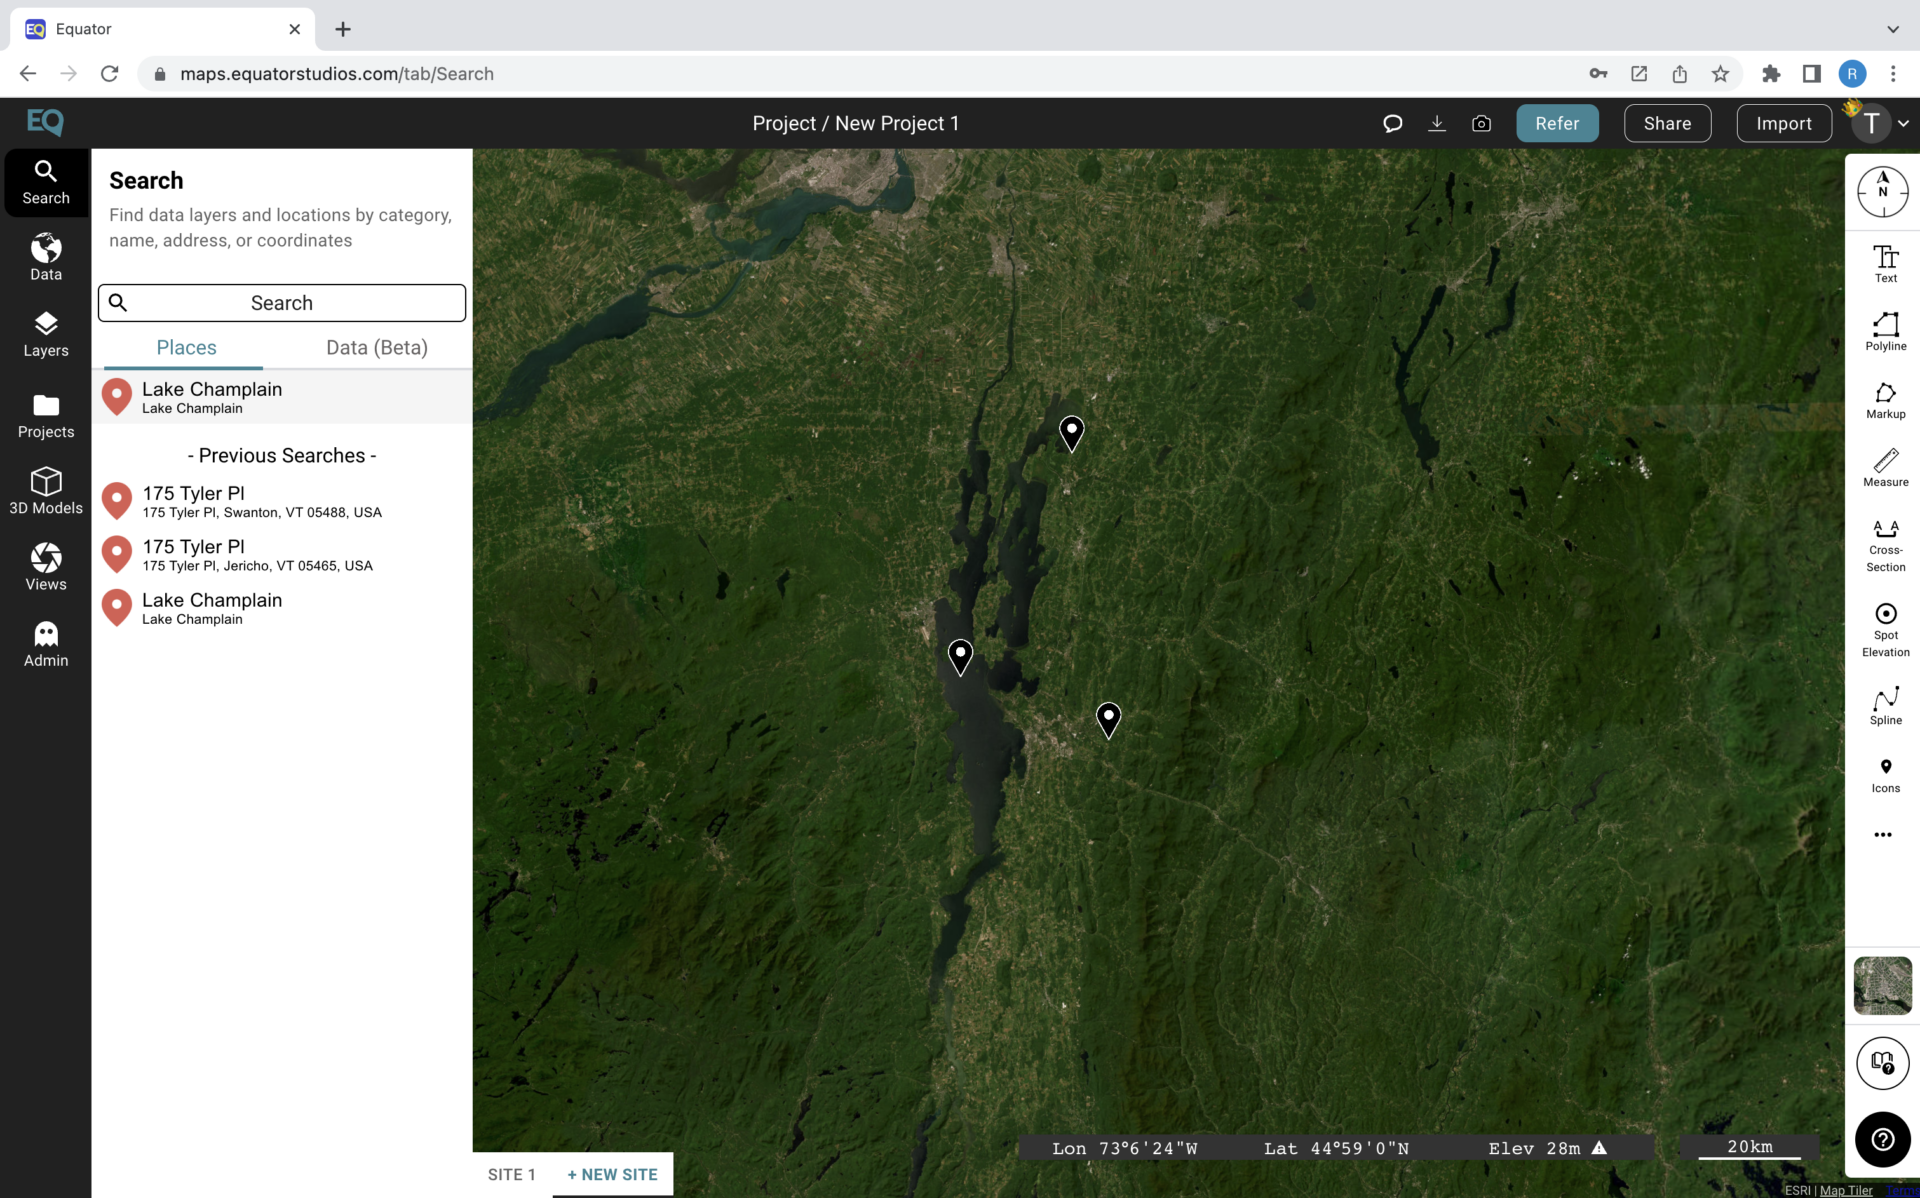
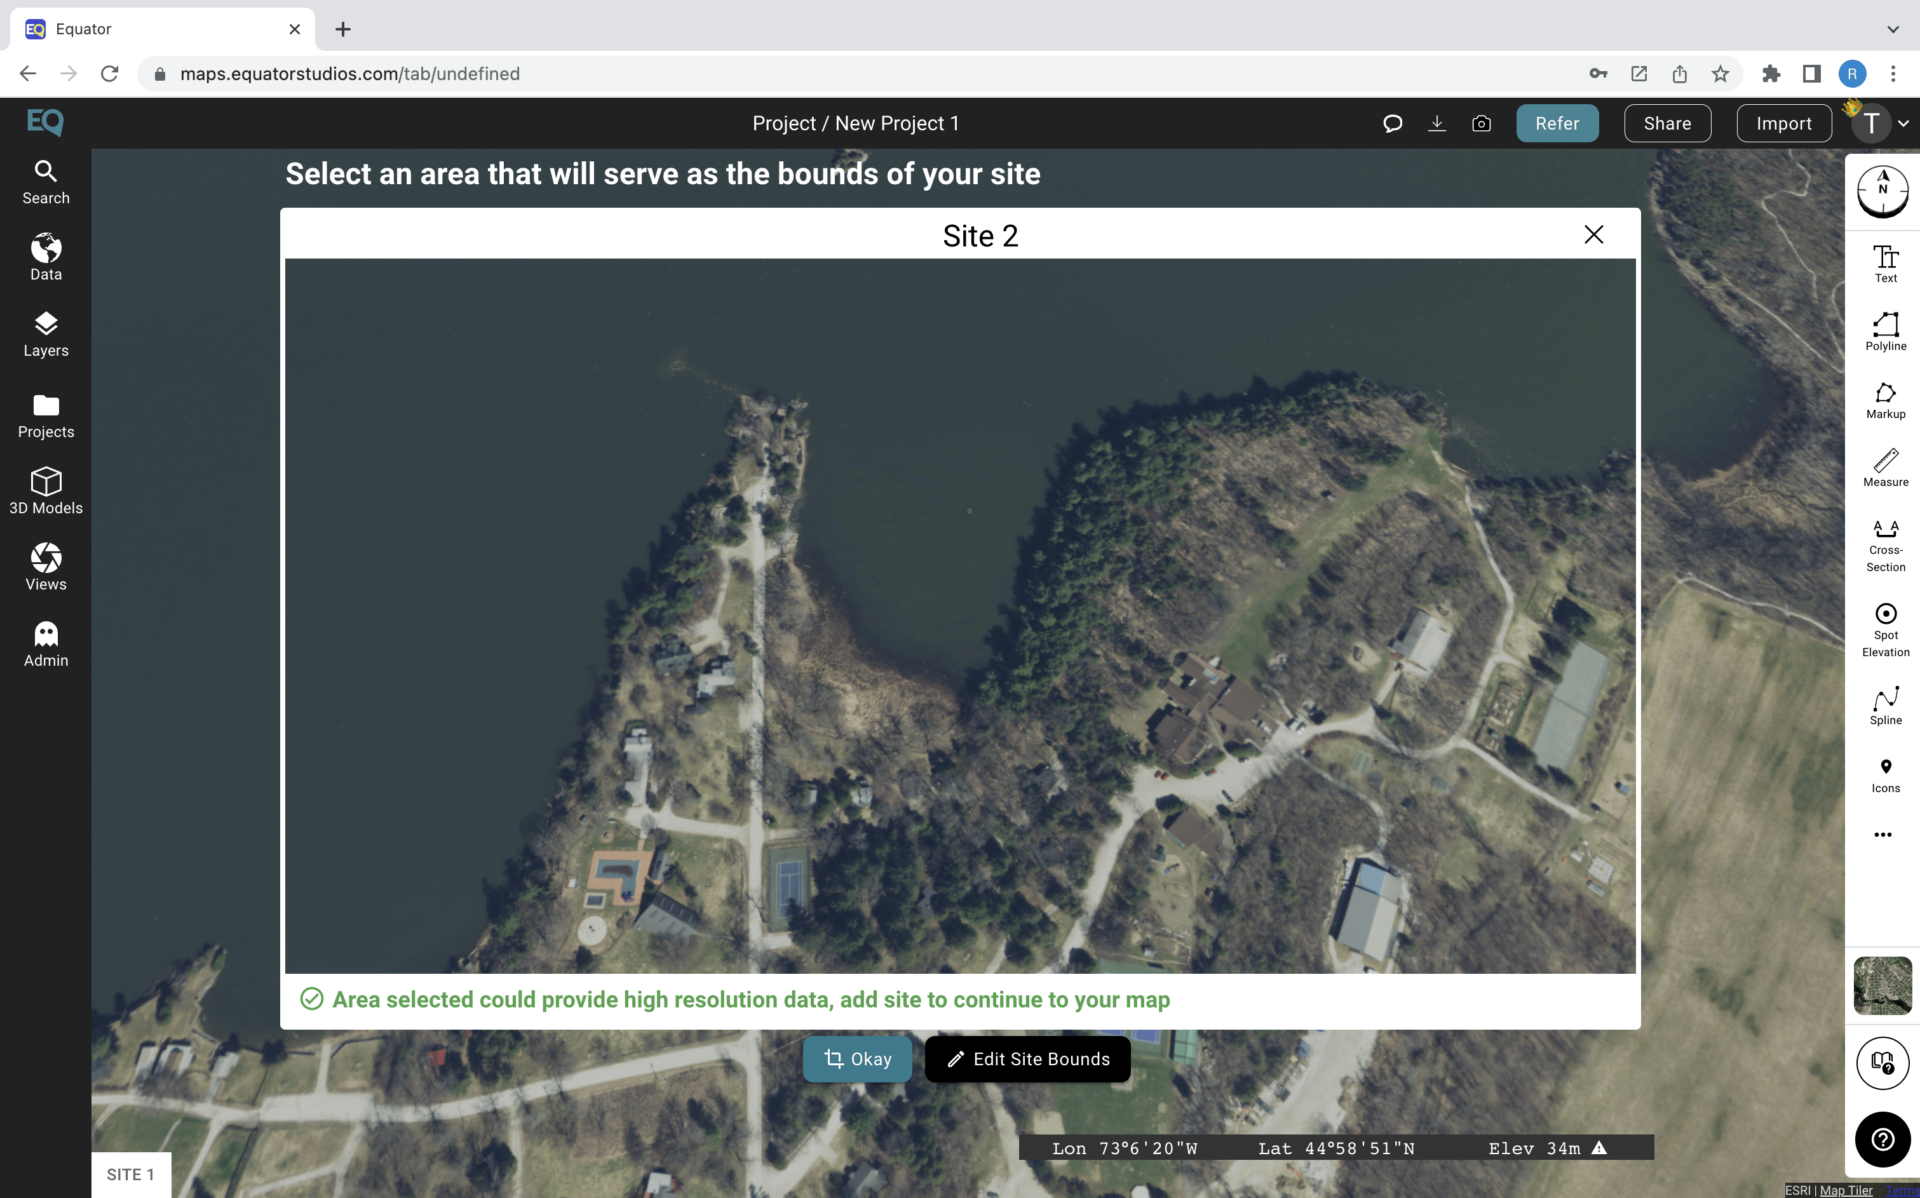
In Equator, I found the precise location and created a digital site where I’ll add data to my map. Use the location index to find various types of data in numerous locations around the world.
Next, add data to your map
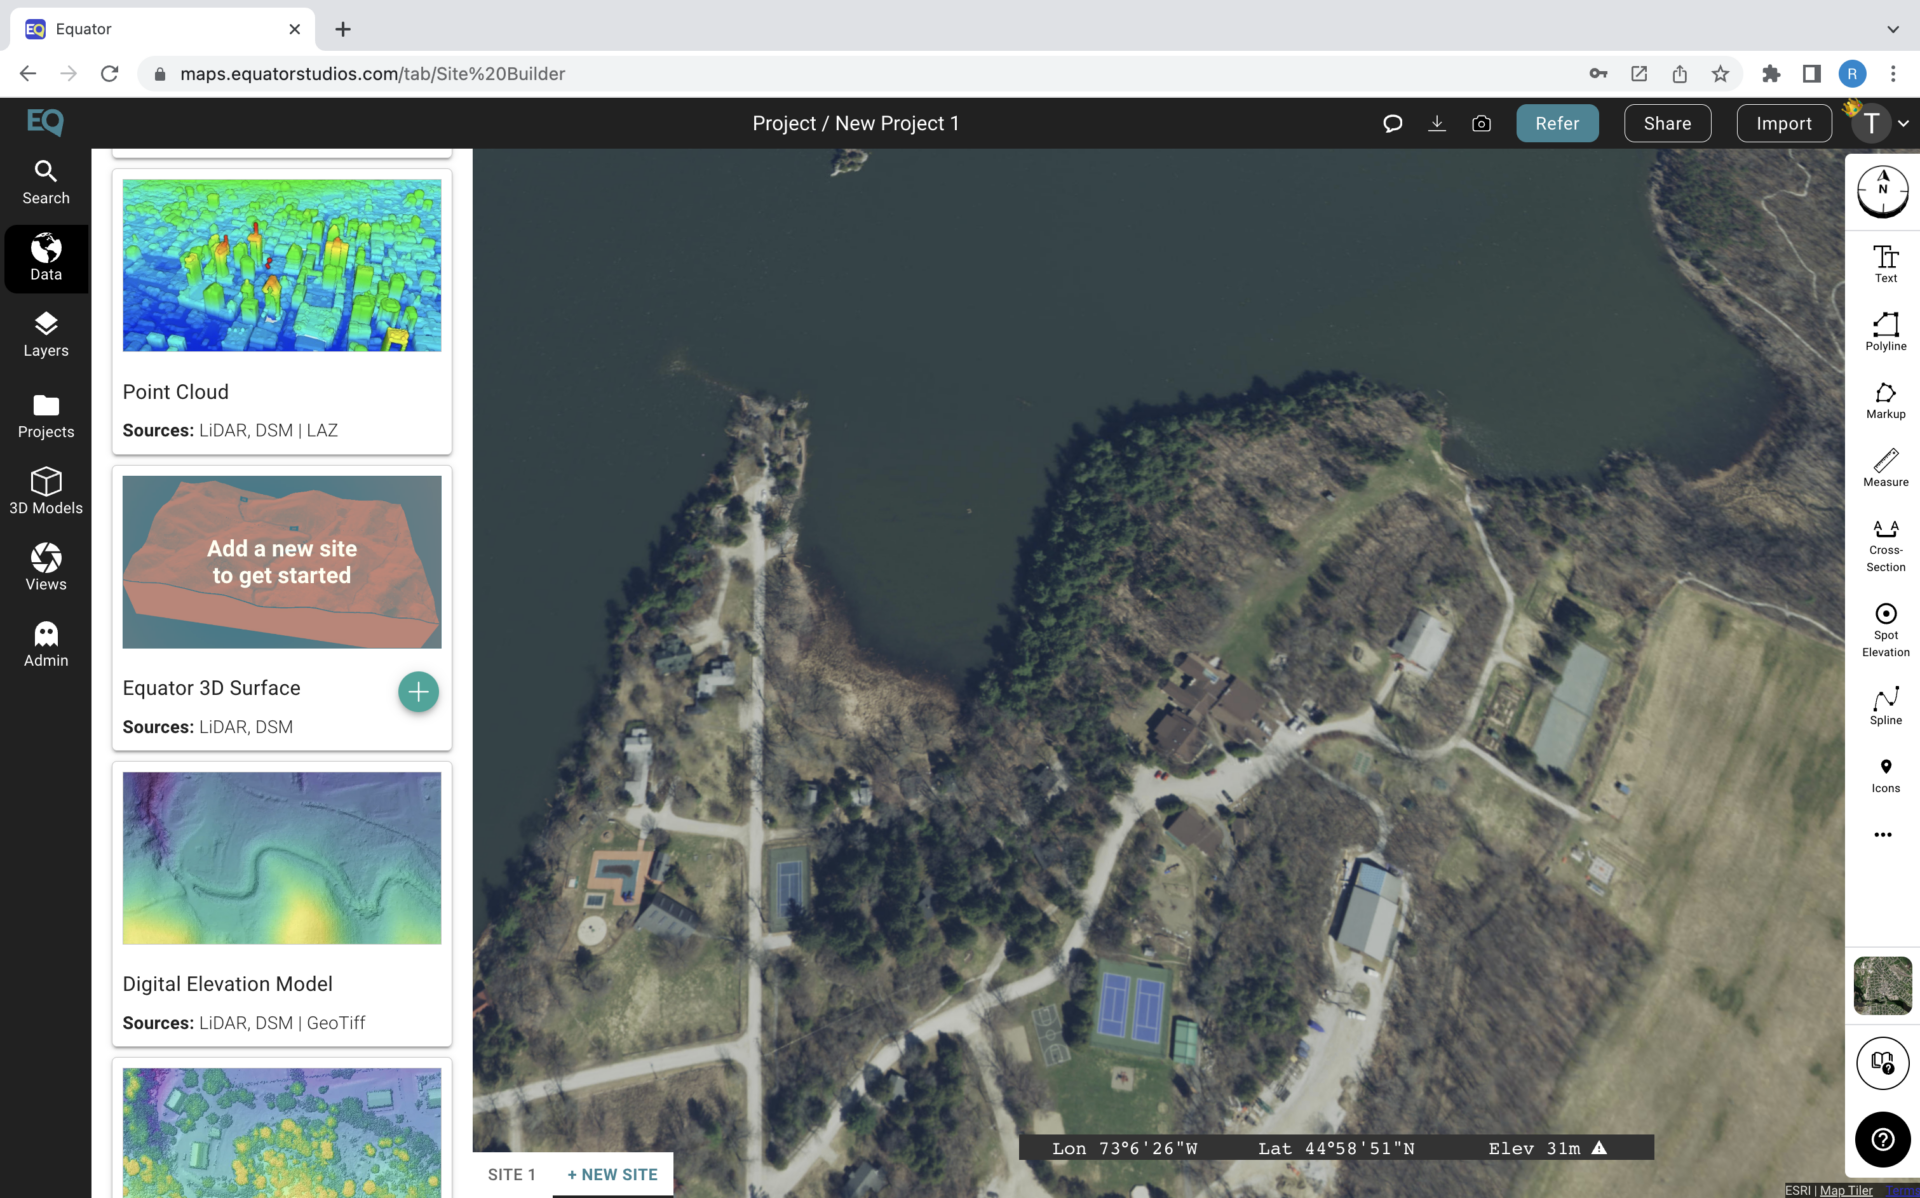
Once I created my site, I used the data menu to start building my map. I want to try and layer multiple pieces of data on to one another too see what visual effects I might be able to create and the data menu makes it easy for me to download all of these different products for one specific location on my map.
Equator has products ranging from orthoimagery to printable mesh. I’m adding Pointcloud, Equator 3D Surface, and Digital Surface model to my map. The notification in the top right let’s me know that the data is being generated and I could open up the layers panel to view my sites, data layers, markups, and other building blocks of my work.

Now, customize your data
Clicking on the pointcloud in the layers panel opens the design/styling panel, where I can adjust the point cloud classification, point style, symbology, and eye dome lighting. Equator pre-sets make it easy for me to achieve the effect I wanted, so the only edit I made in this panel was adjusting the height range under point style.
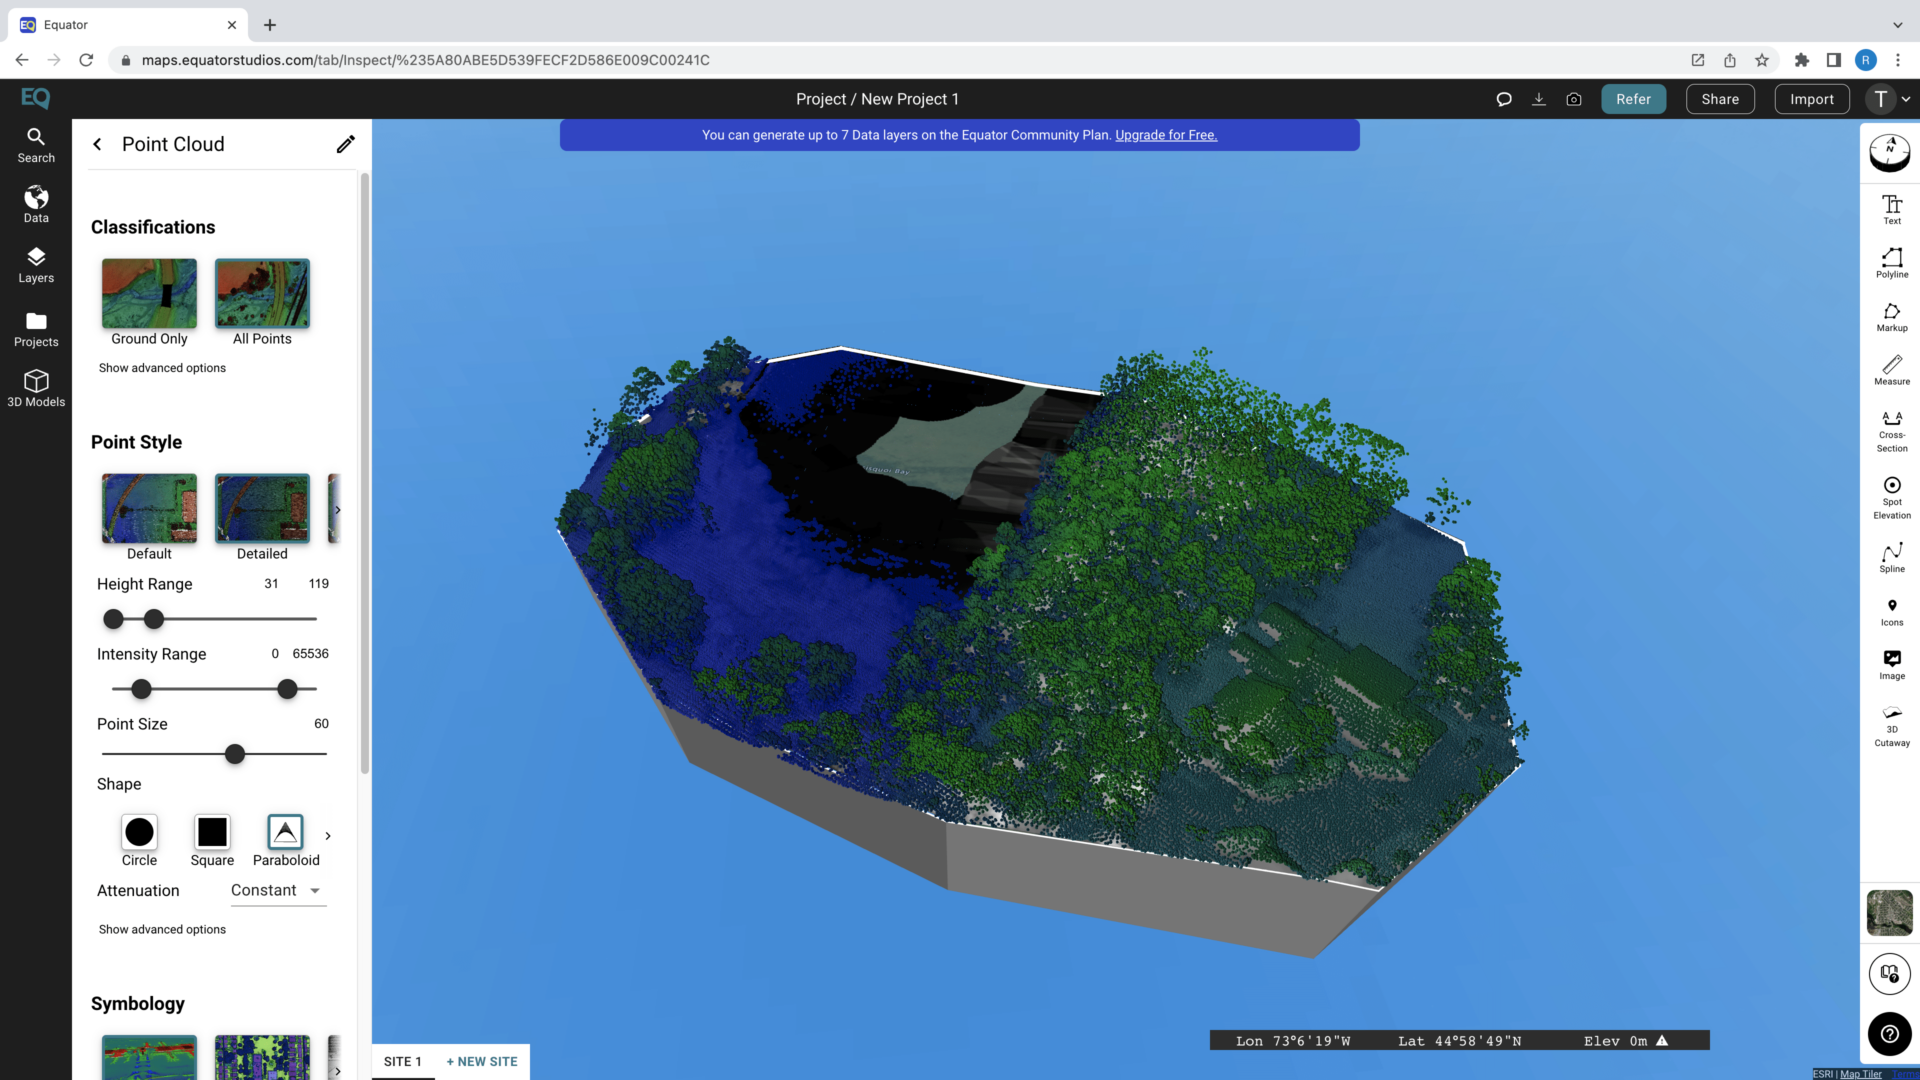
Lastly, use the layers panel to hide the basemap
I want to turn off the default base layer behind my map, so I could bring a clean image into Figma where I’ll add more design elements to my map. Clicking on the baselayer in the layers panel brings me to the base layer panel where I could make further customizations and edits. Here I clicked “solid” for the background and changed the color from black to white.
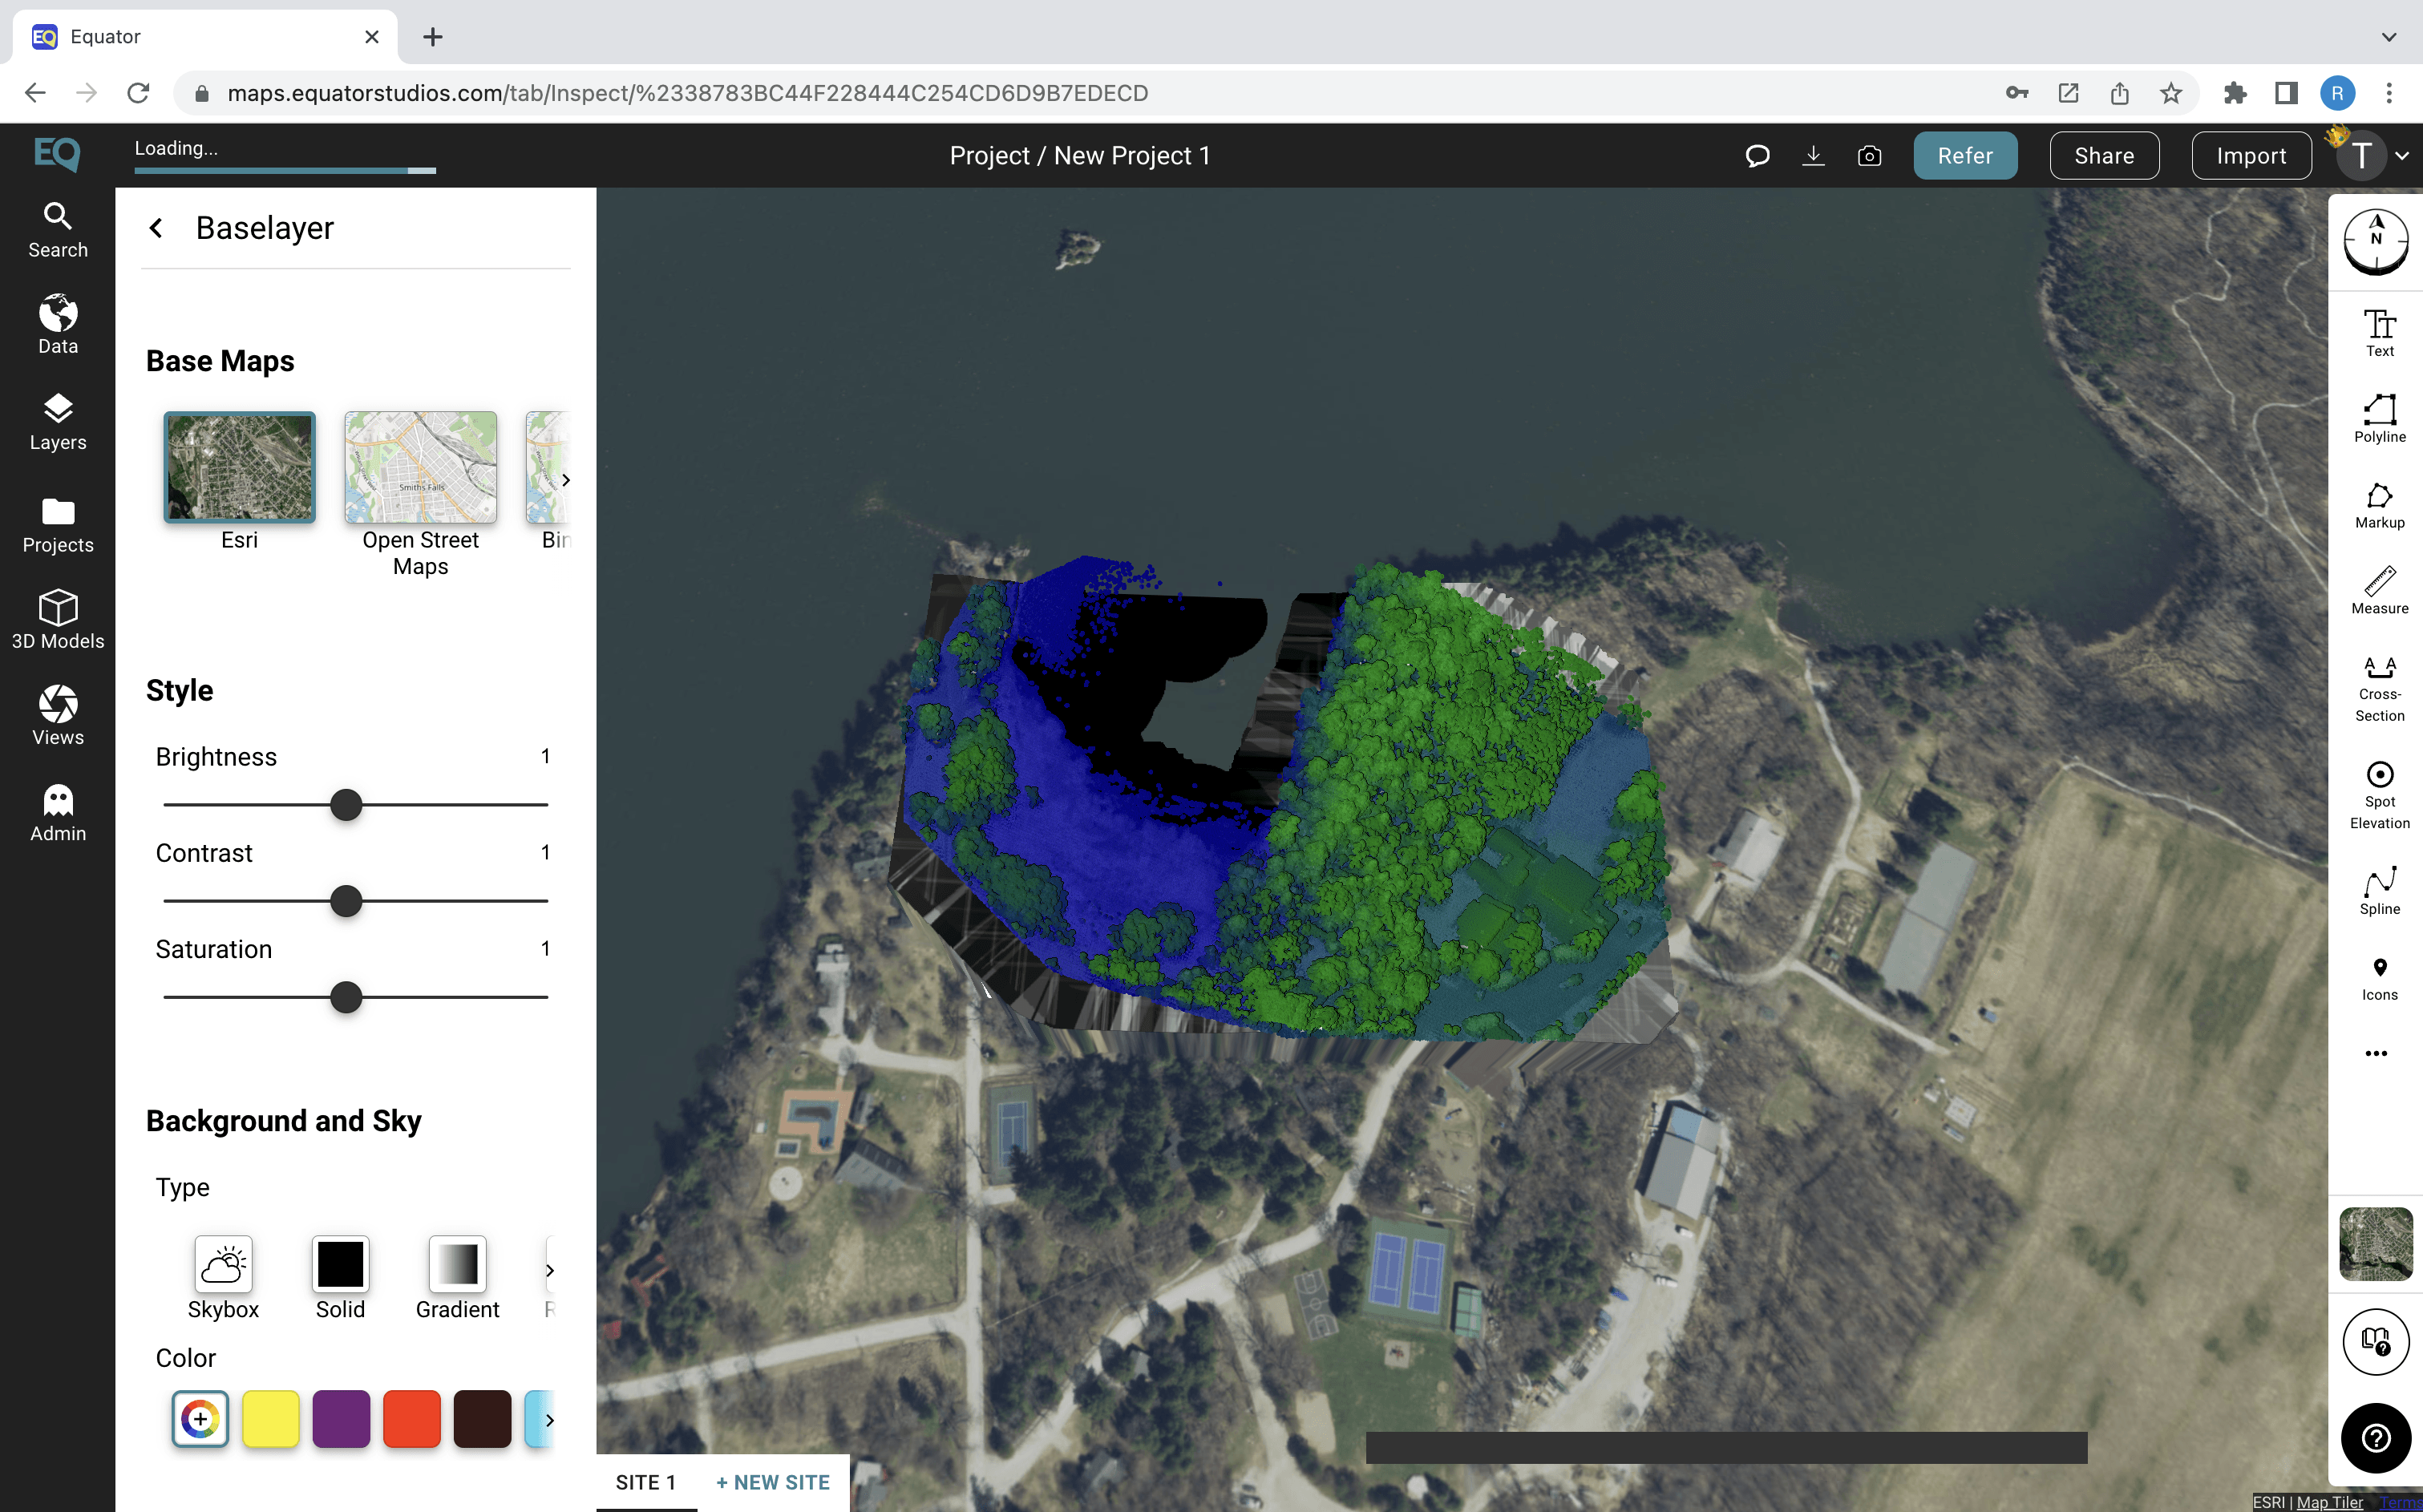
After, simply take a screenshot of your map to bring into Figma
Since I’m on a Mac, I used Shift, Command, and 5 to open the screenshot UI and take a picture of my map. You could also use the camera icon on the top right to take a screenshot right in Equator.
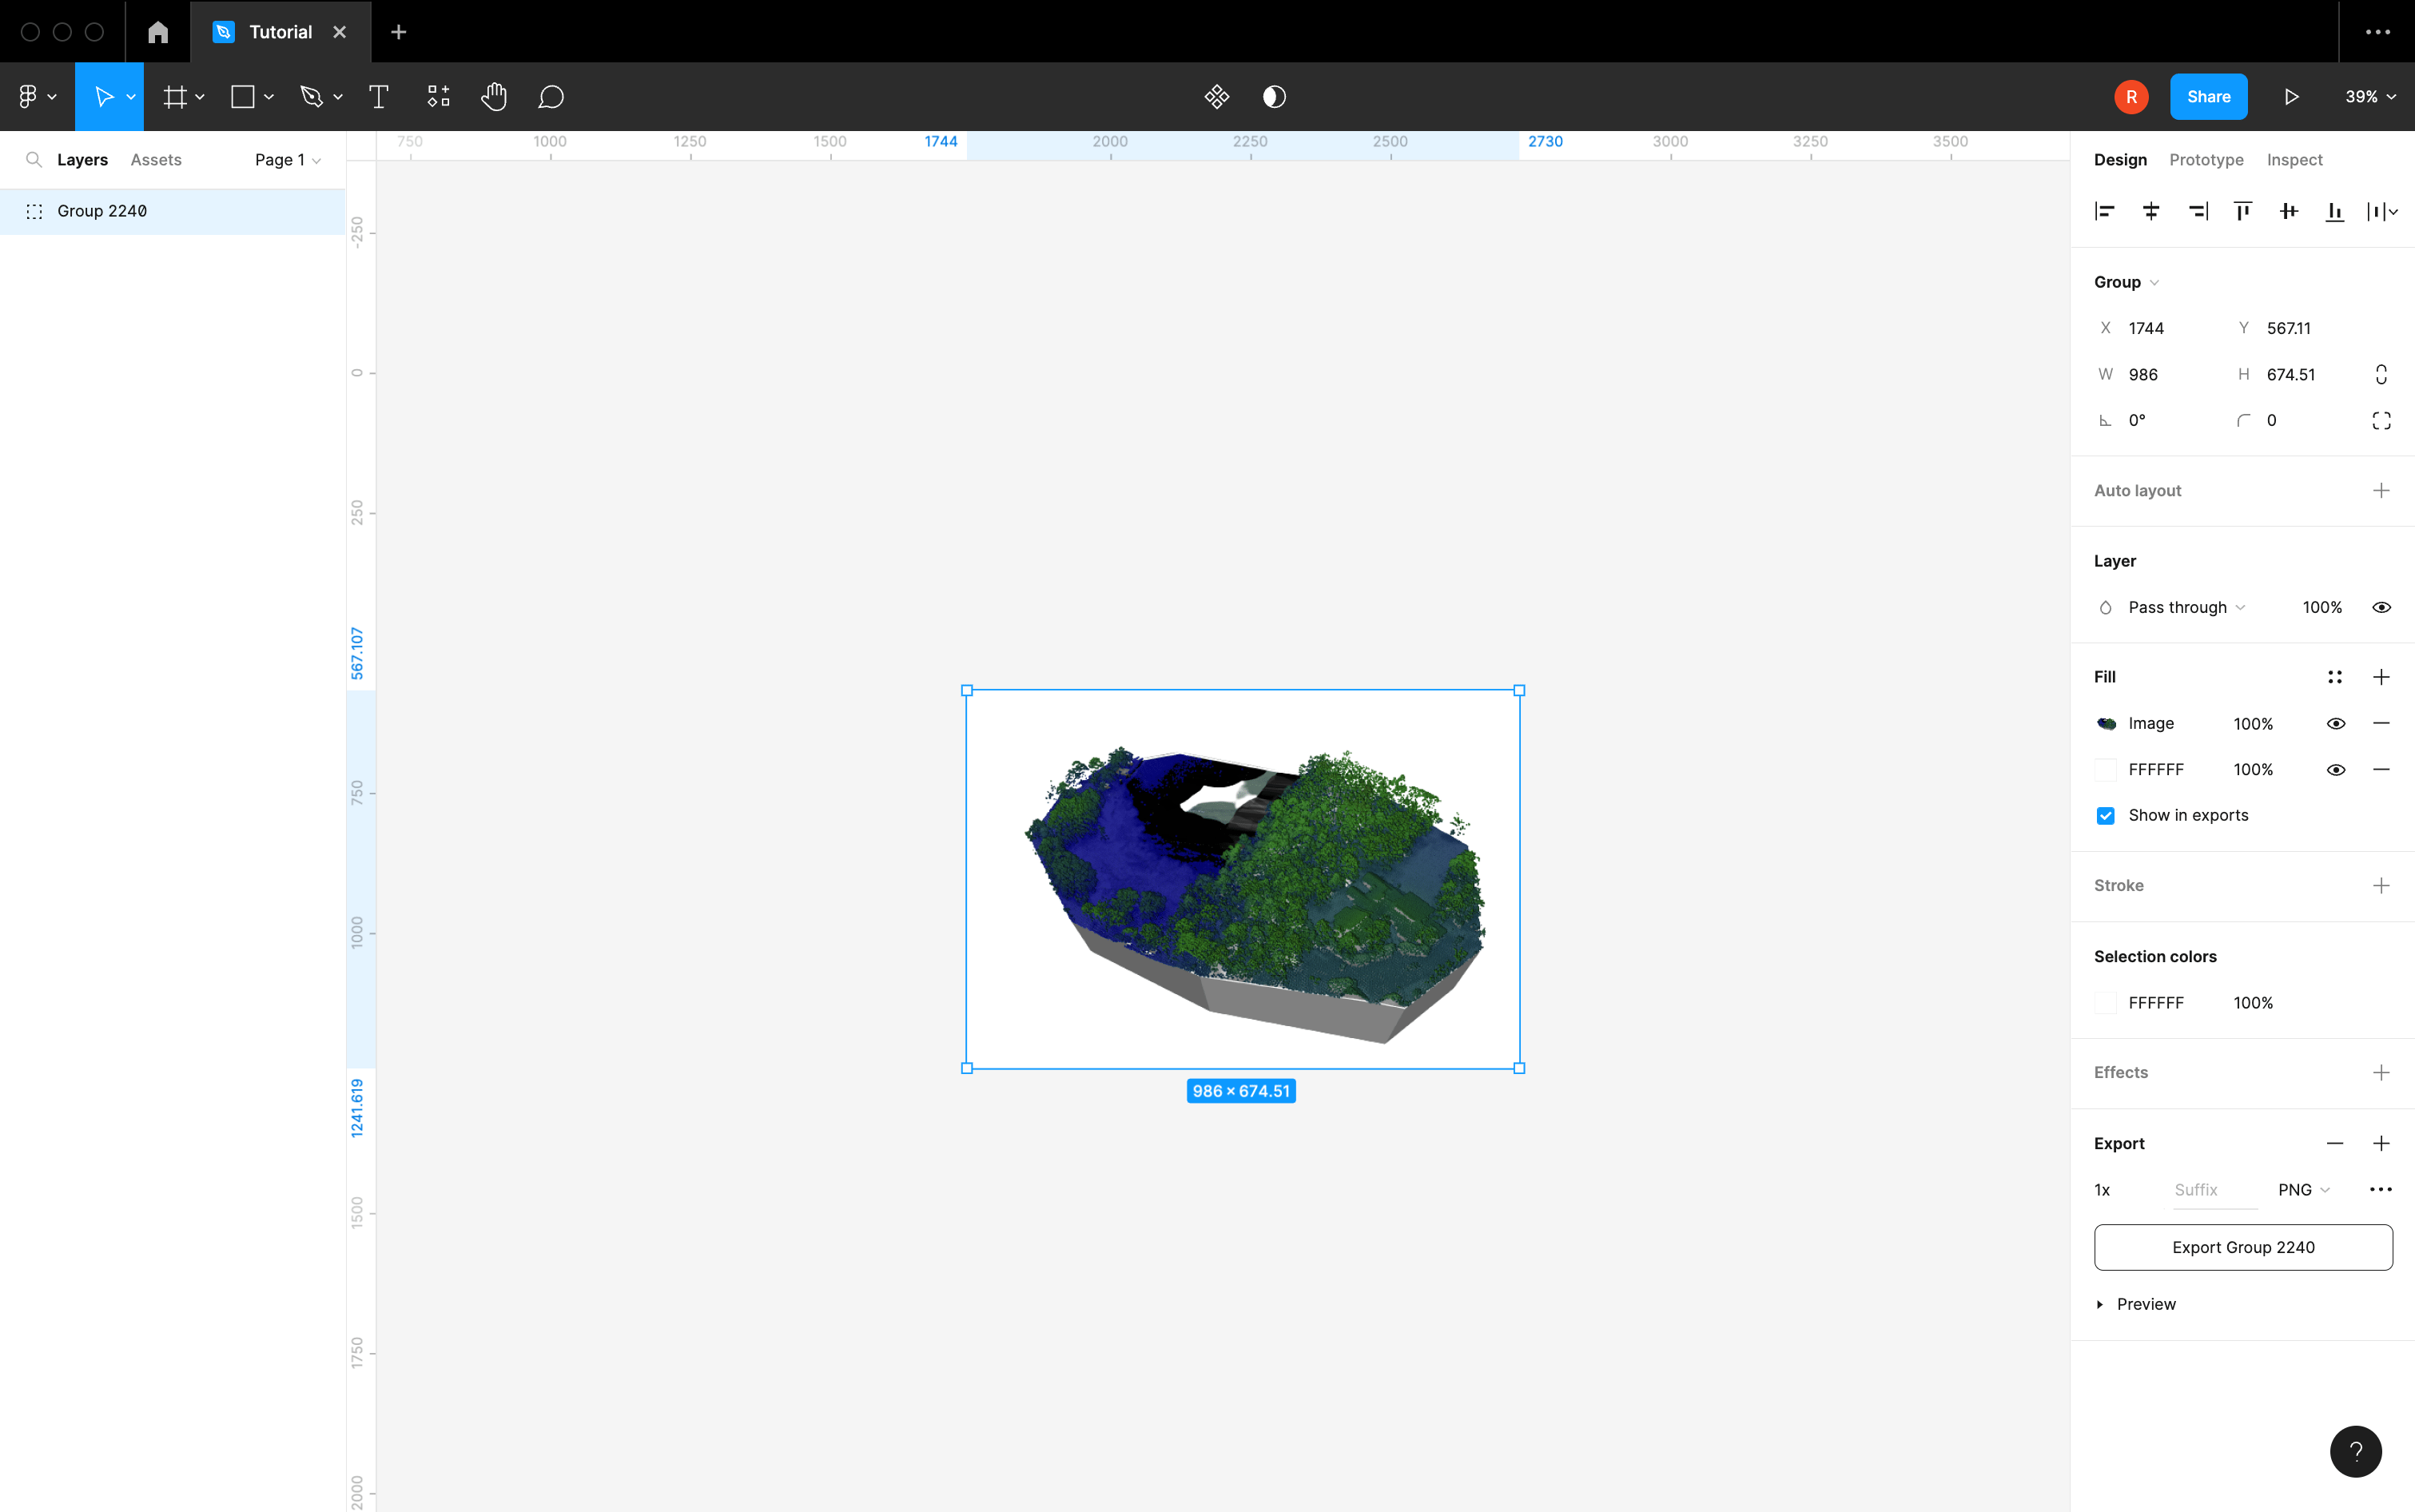
Designing with Figma
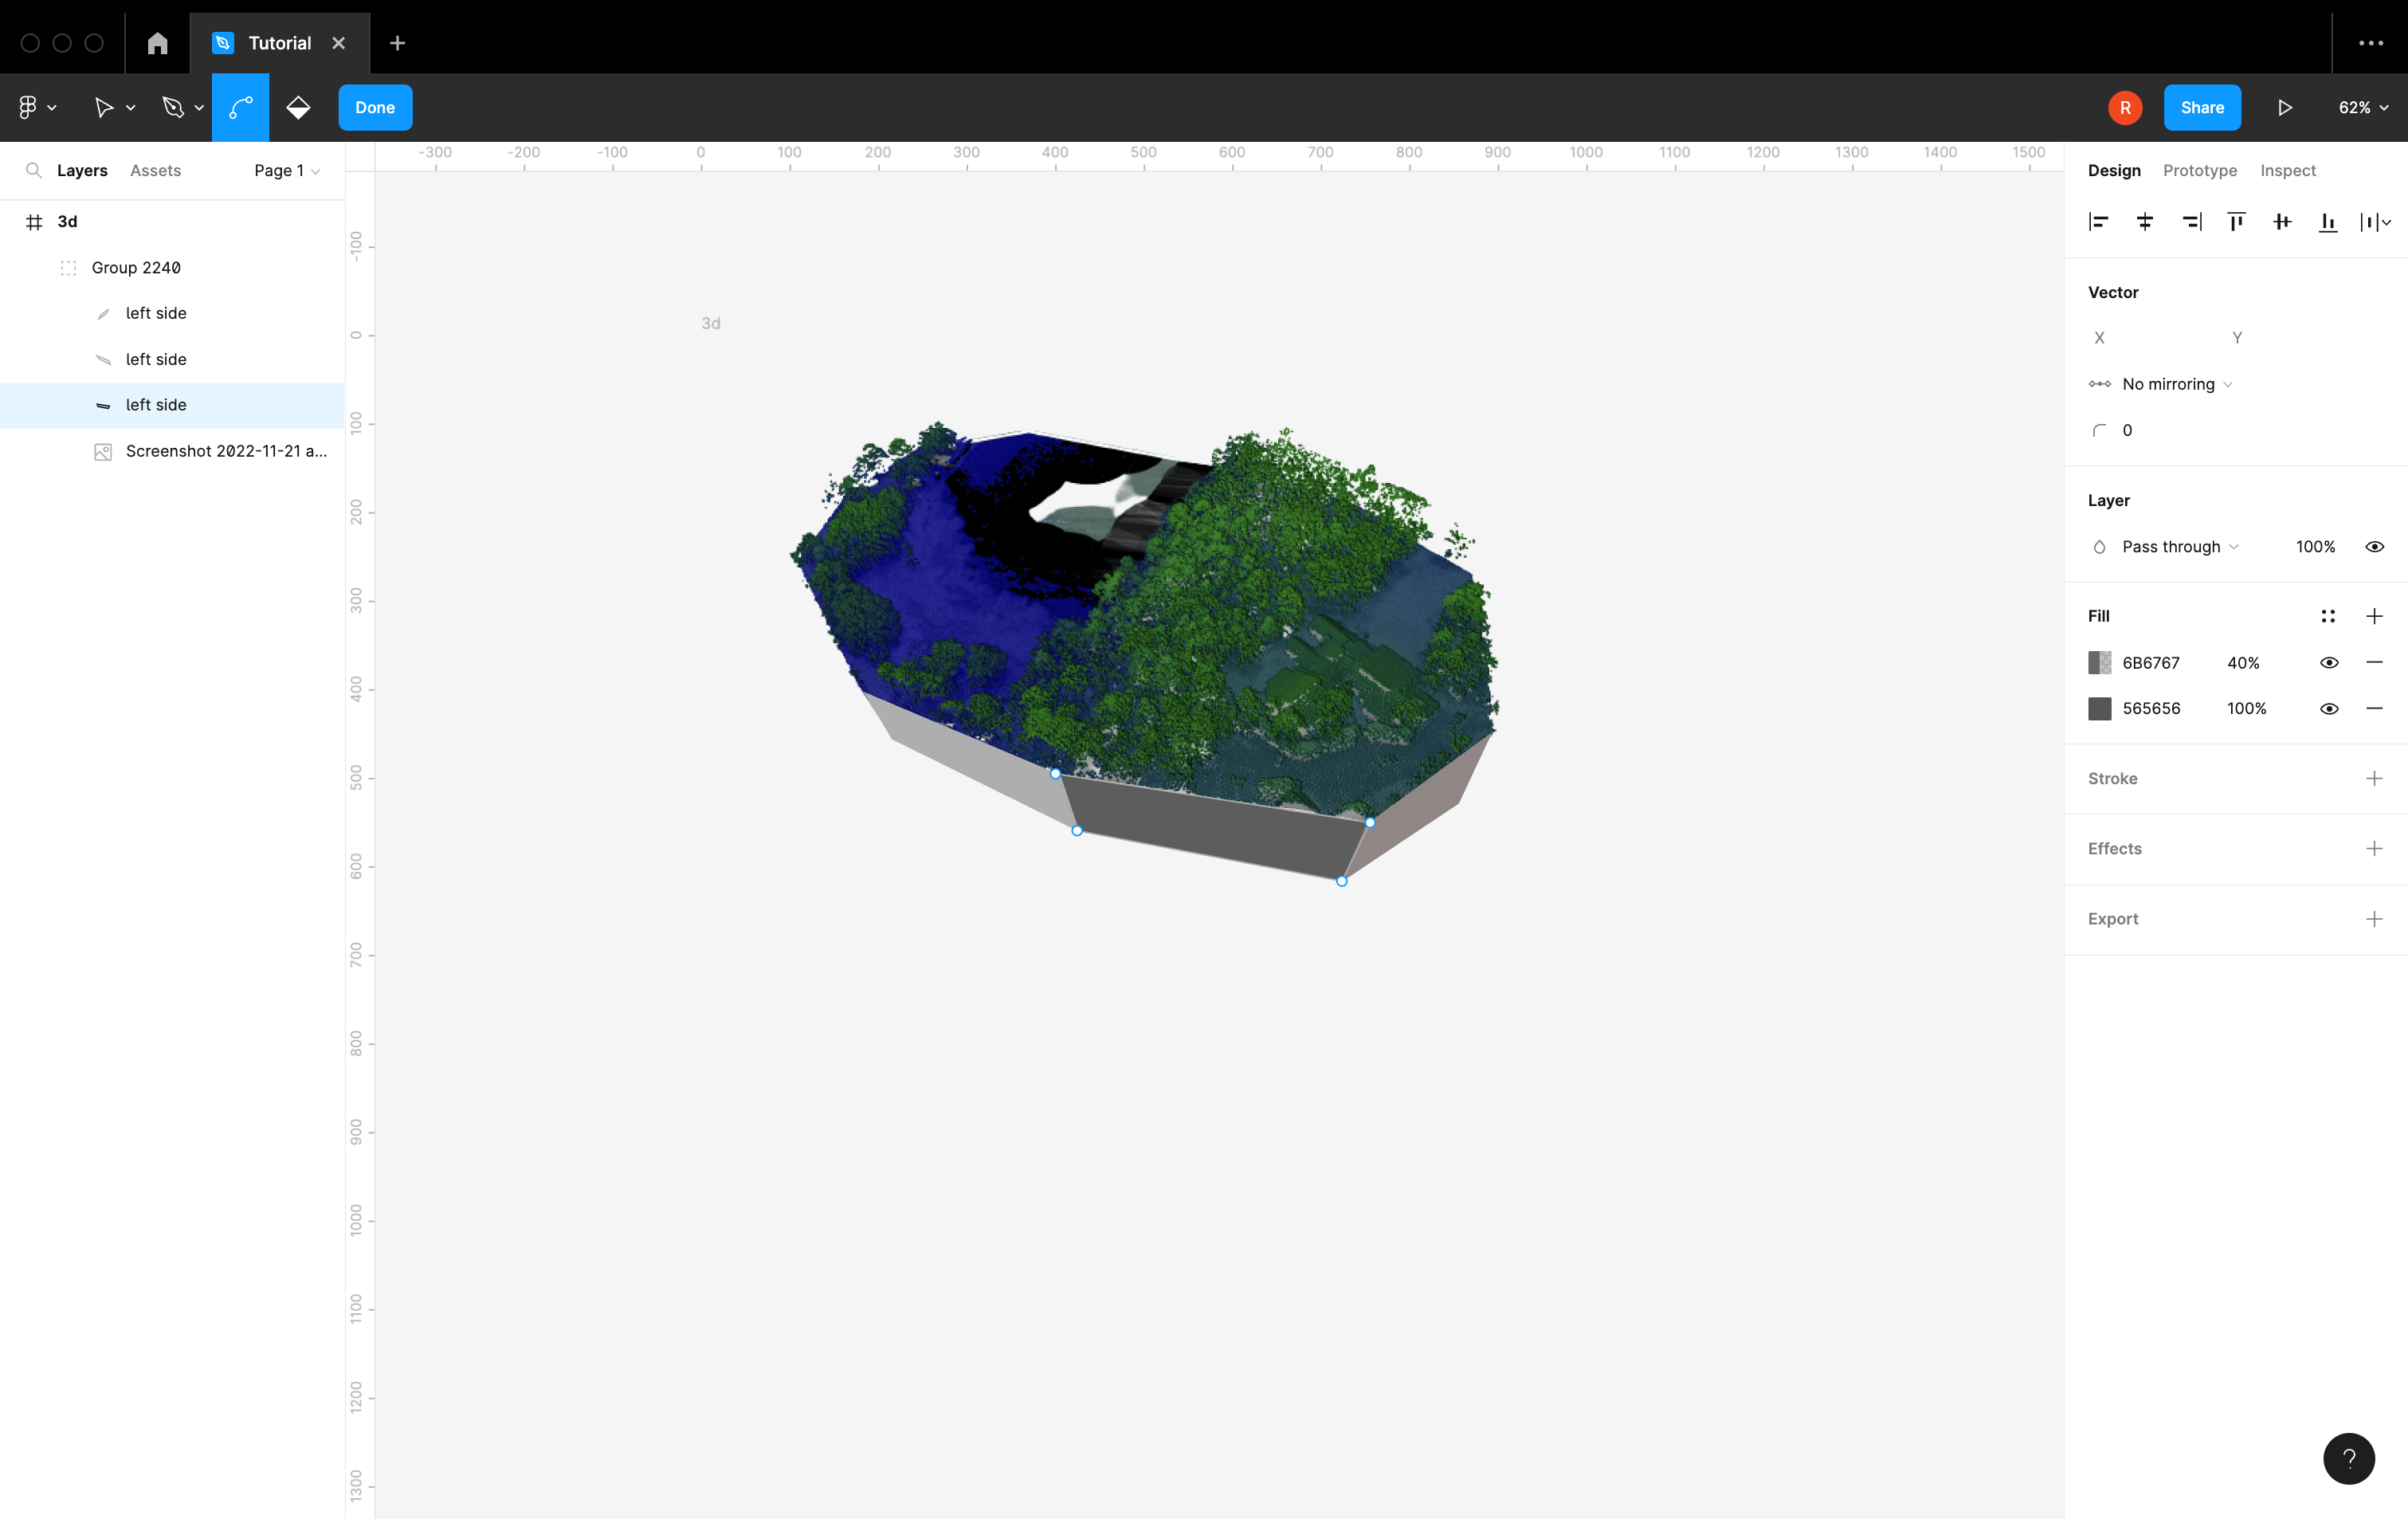
Using the polygon tool, I create shapes to form the foundation of my map.

I created some simple 3d labels by manipulating rectangles and text.
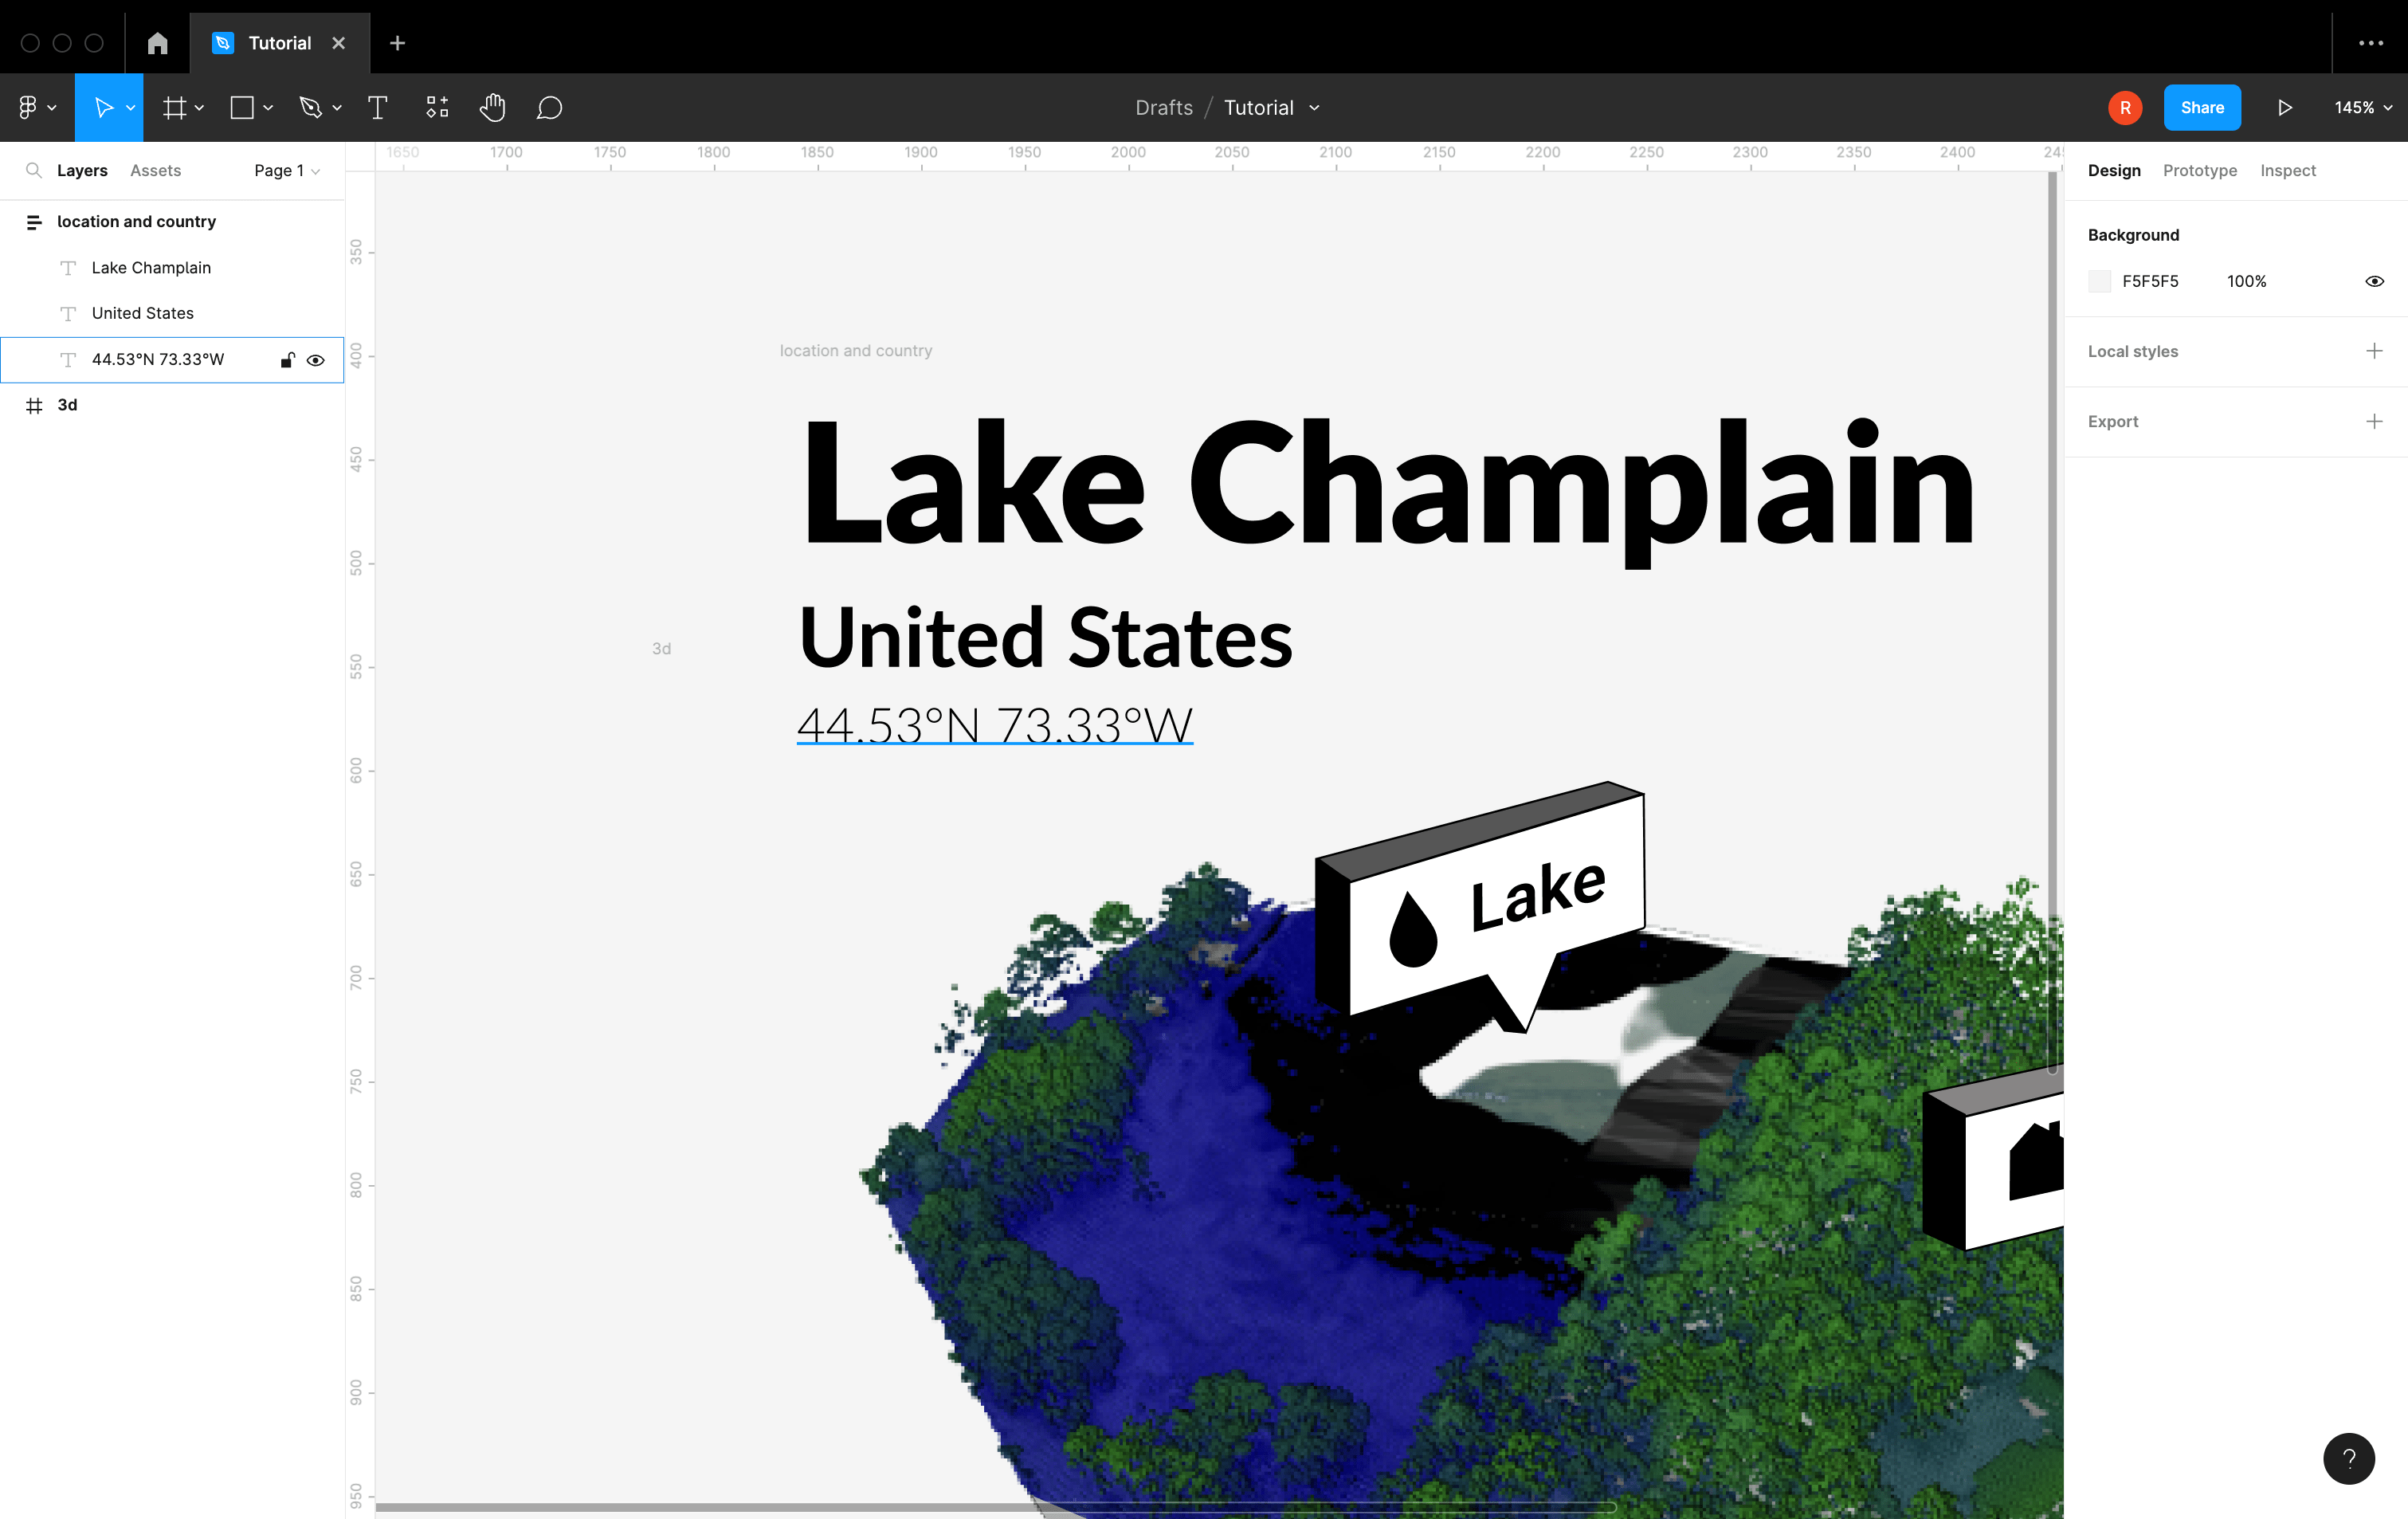
I added a title for my map using the, location, and precise coordinates.
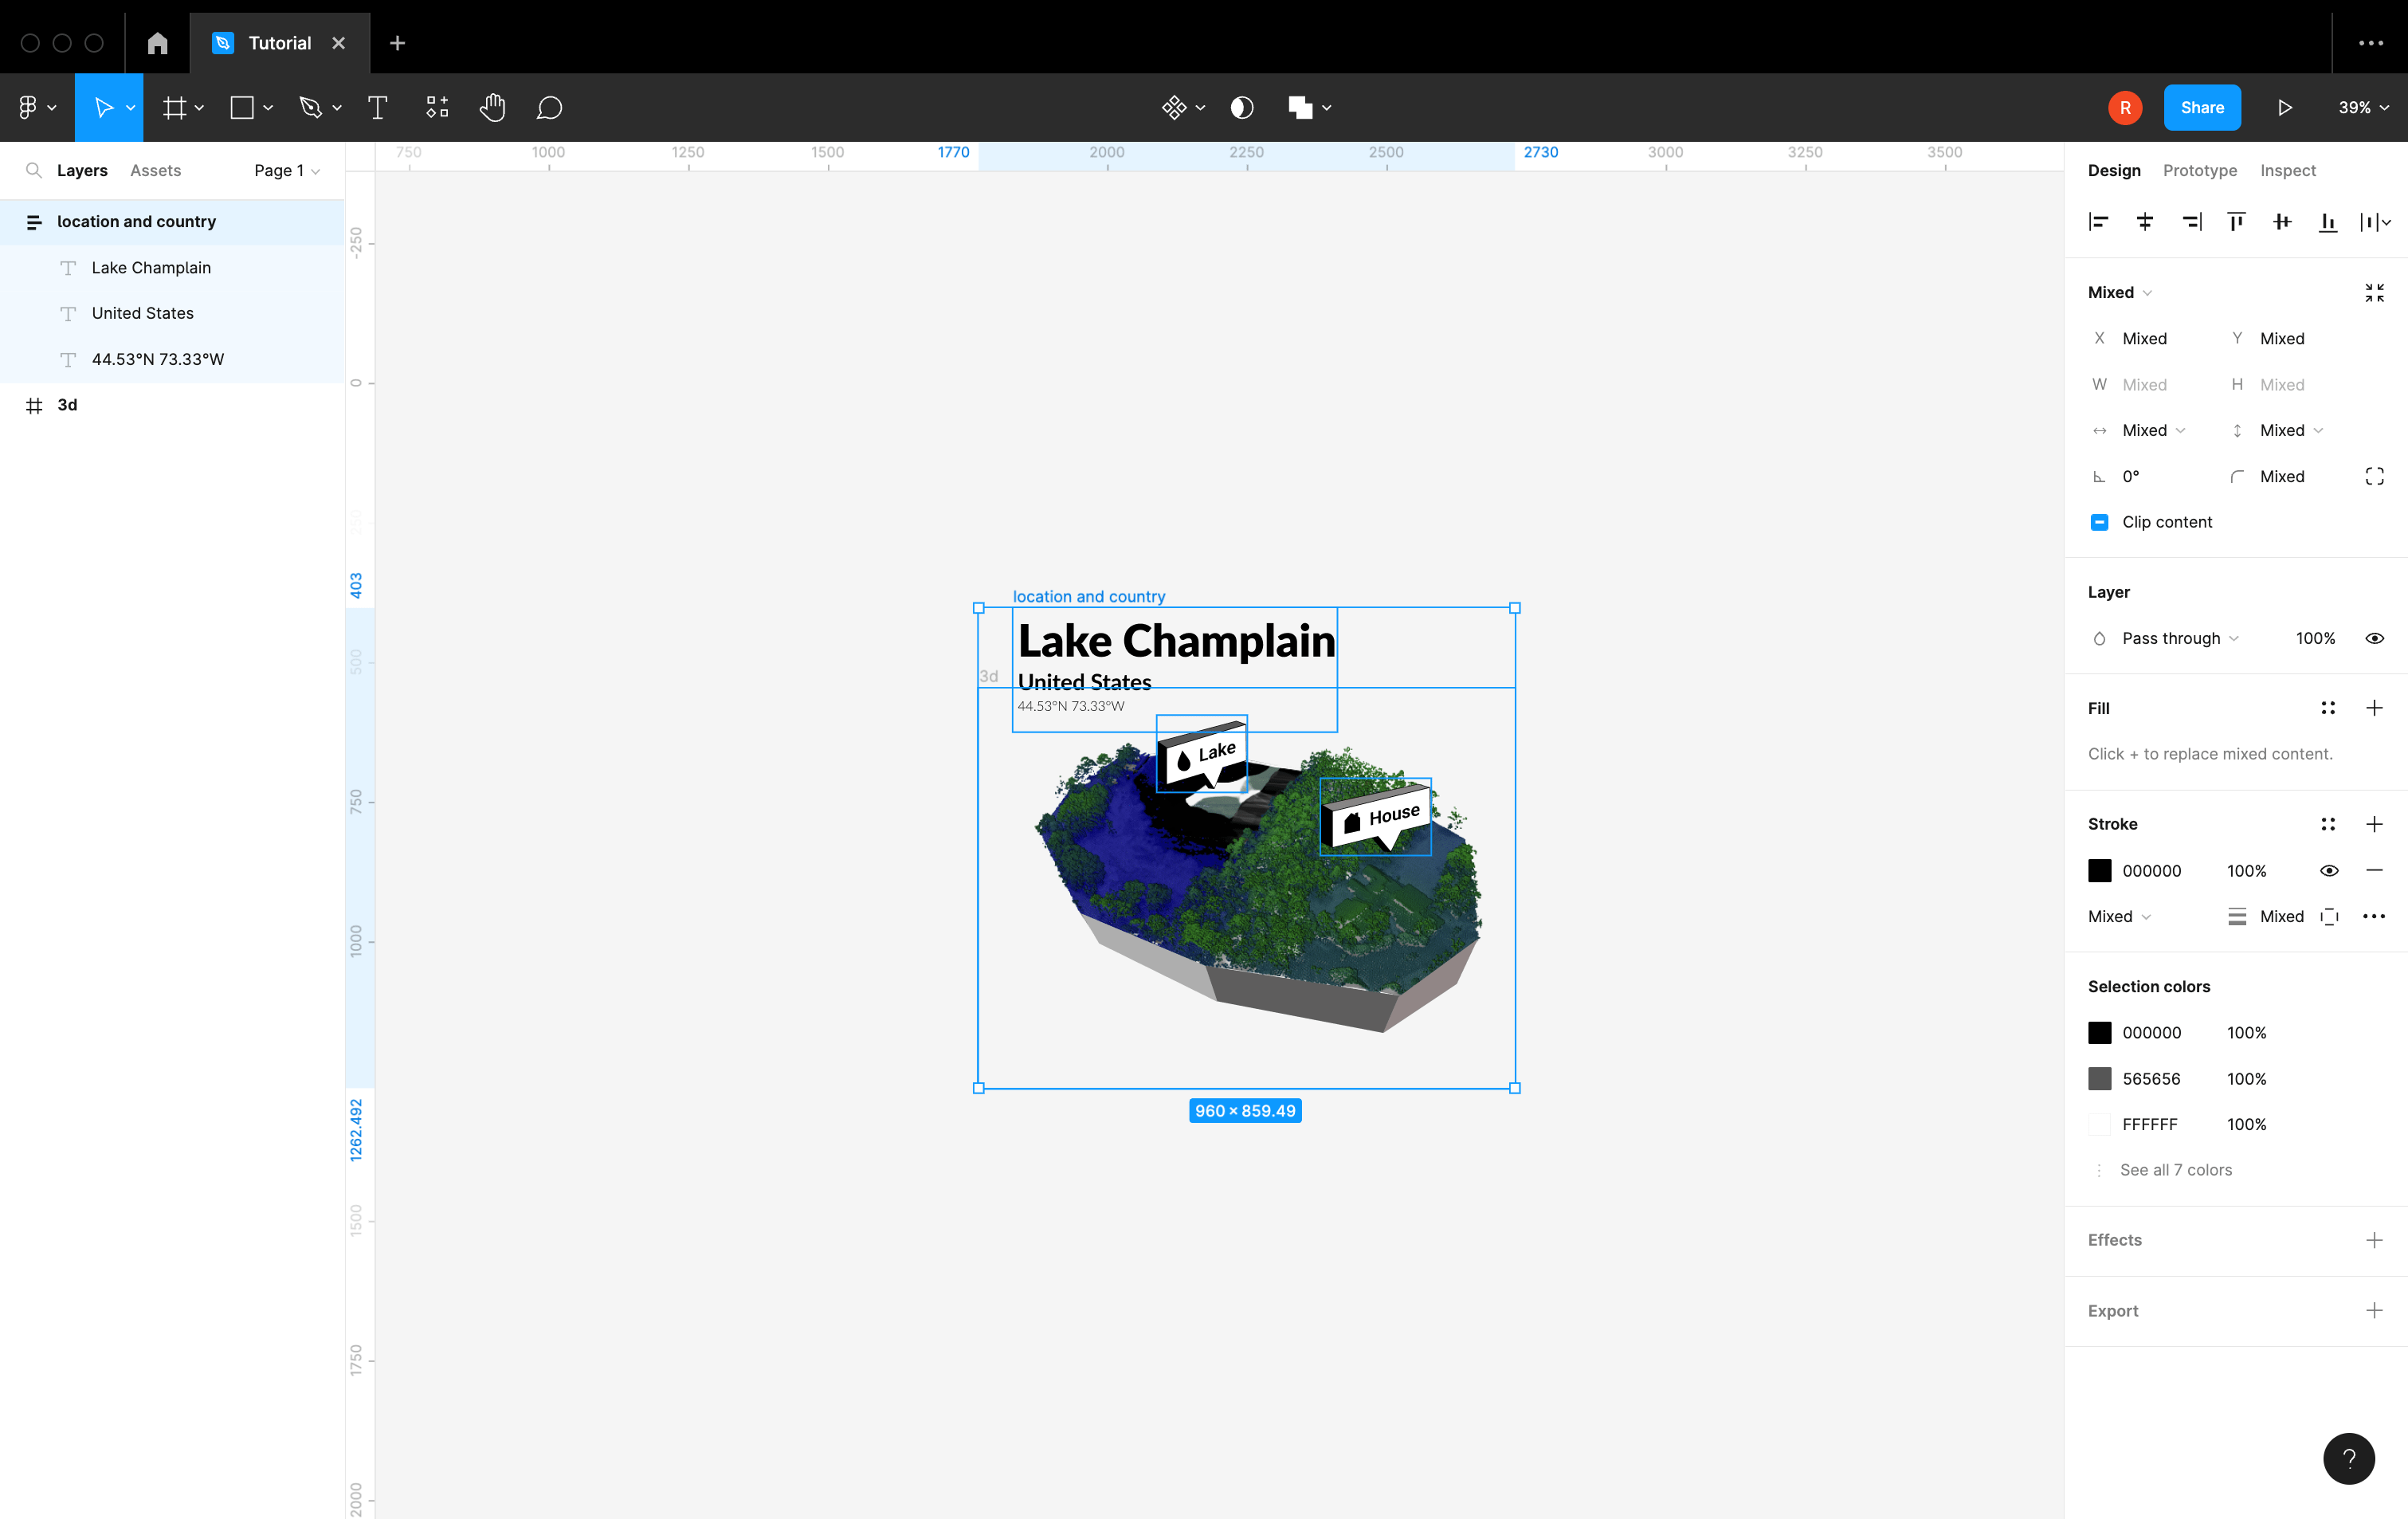
Lastly, I put all of the elements in a frame, which is easy to do using auto-layout.
Enjoy the final product
Save your work as a PNG, SVG, or JPEG and enjoy the final product.
