Step 1
Find or create an STL File
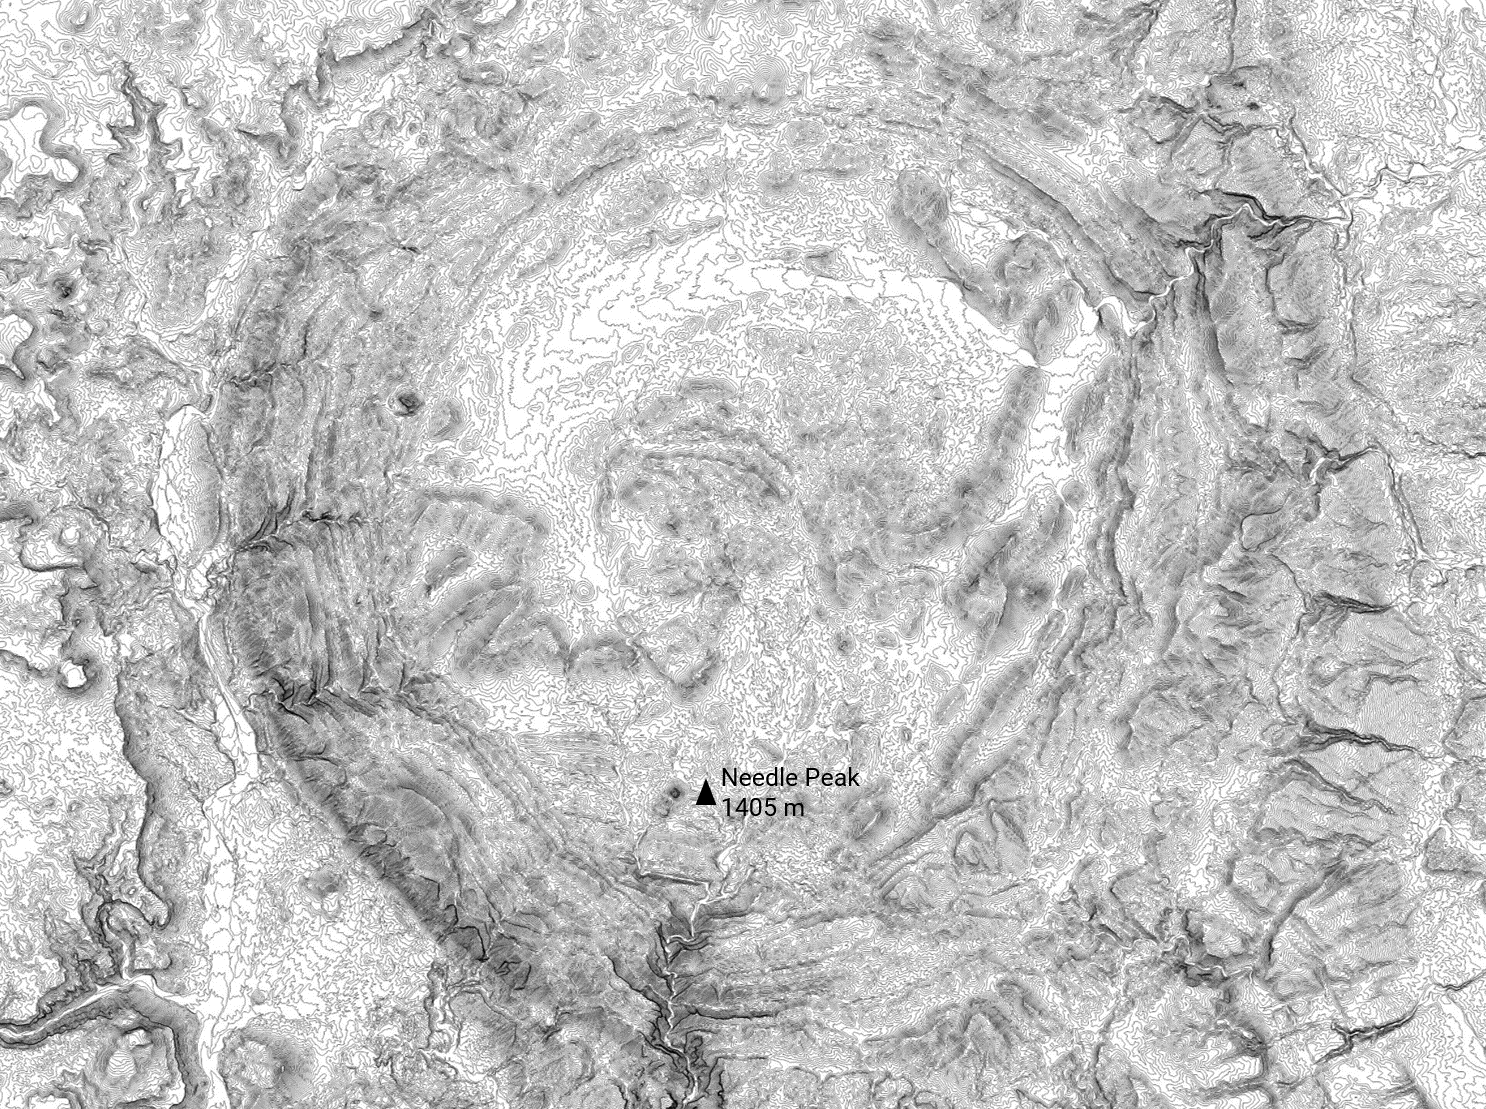
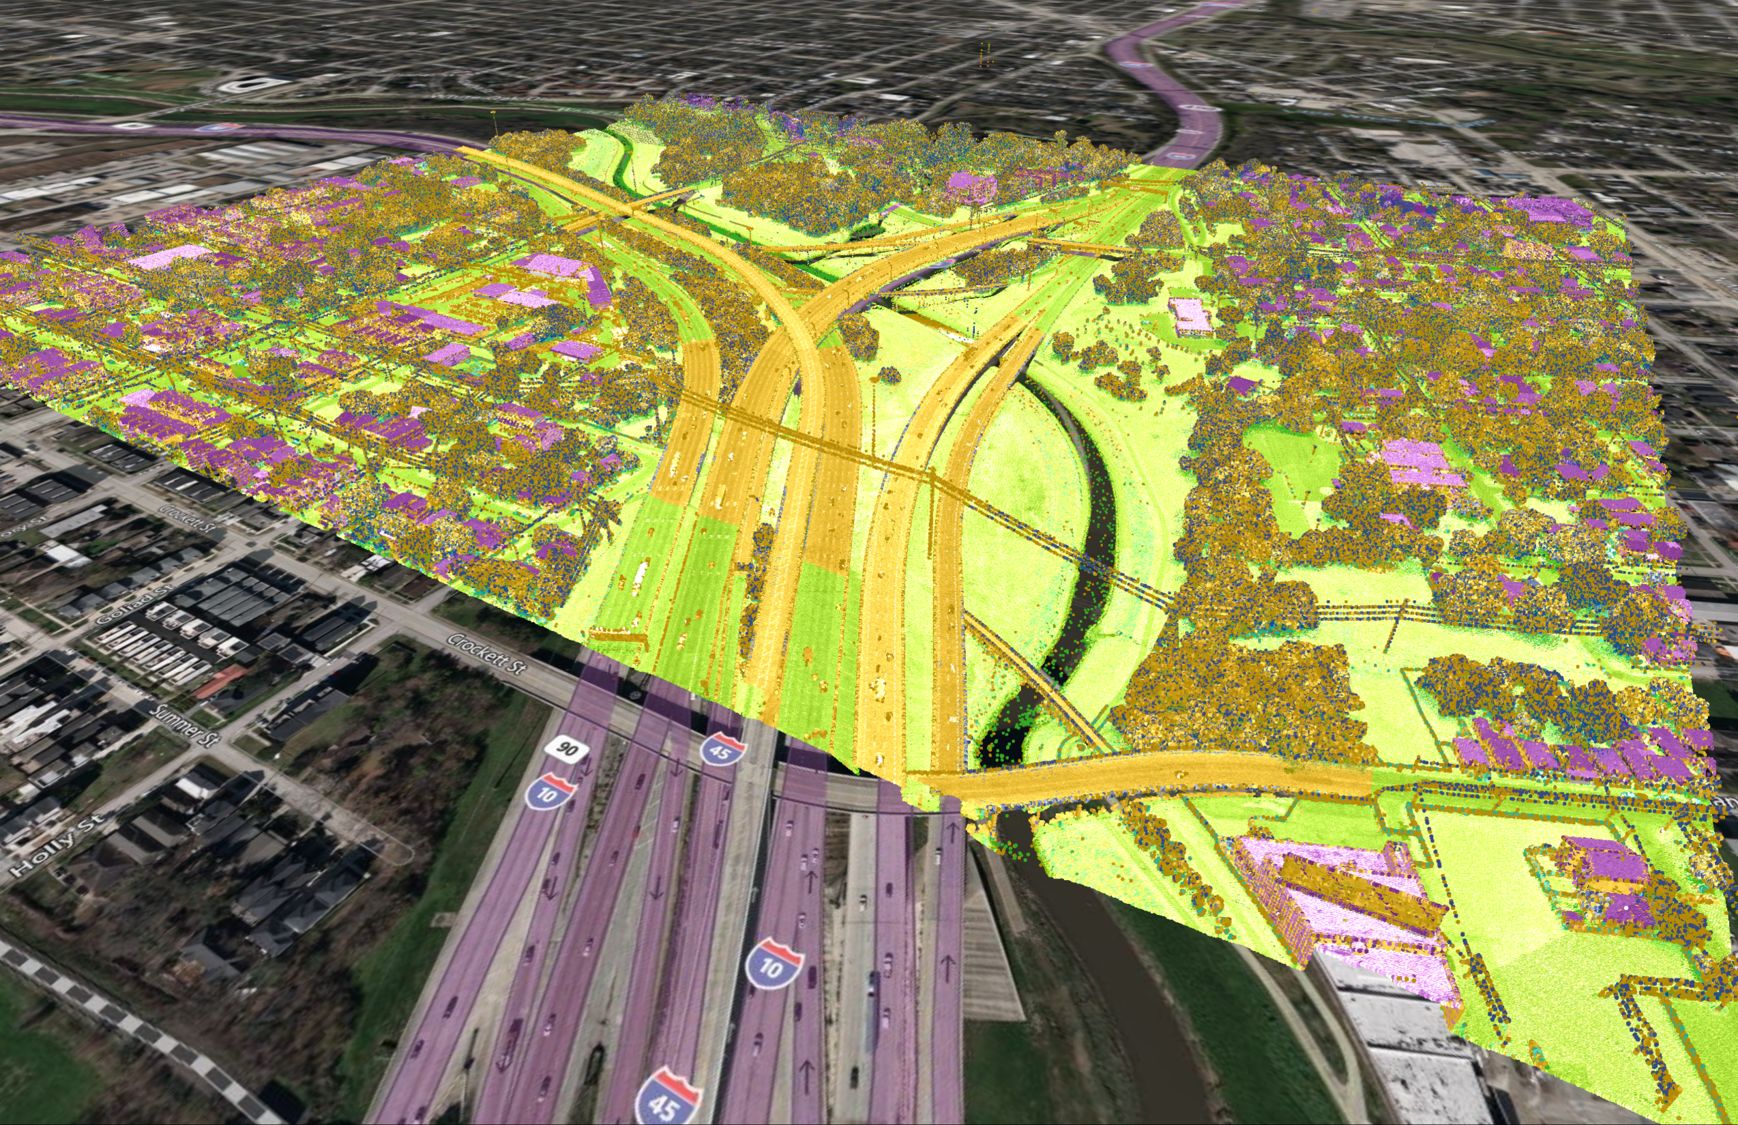
In this example, we thought it would be cool to see how Paint 3D could handle a high-resolution STL terrain file extracted from Equator. We picked a couple spots in Ontario to really feature the detailed topography well – Bronte Creek in Oakville, and Highway 407 in Durham.

Detailed STL terrain file extracted from the Equator platform
Step 2
Open the STL in Paint 3D
Right click on your file → Open with → Paint 3D
You can zoom in and out on your model using the scroll wheel on a mouse, or using the sider near the top right.
You can rotate around your model using the button directly below the model.

3D terrain file from Equator, opened in Paint 3D
Step 3
Change the model colour
Click on the Select button in the top left menu, and then click on your model to open the 3D selection menu.
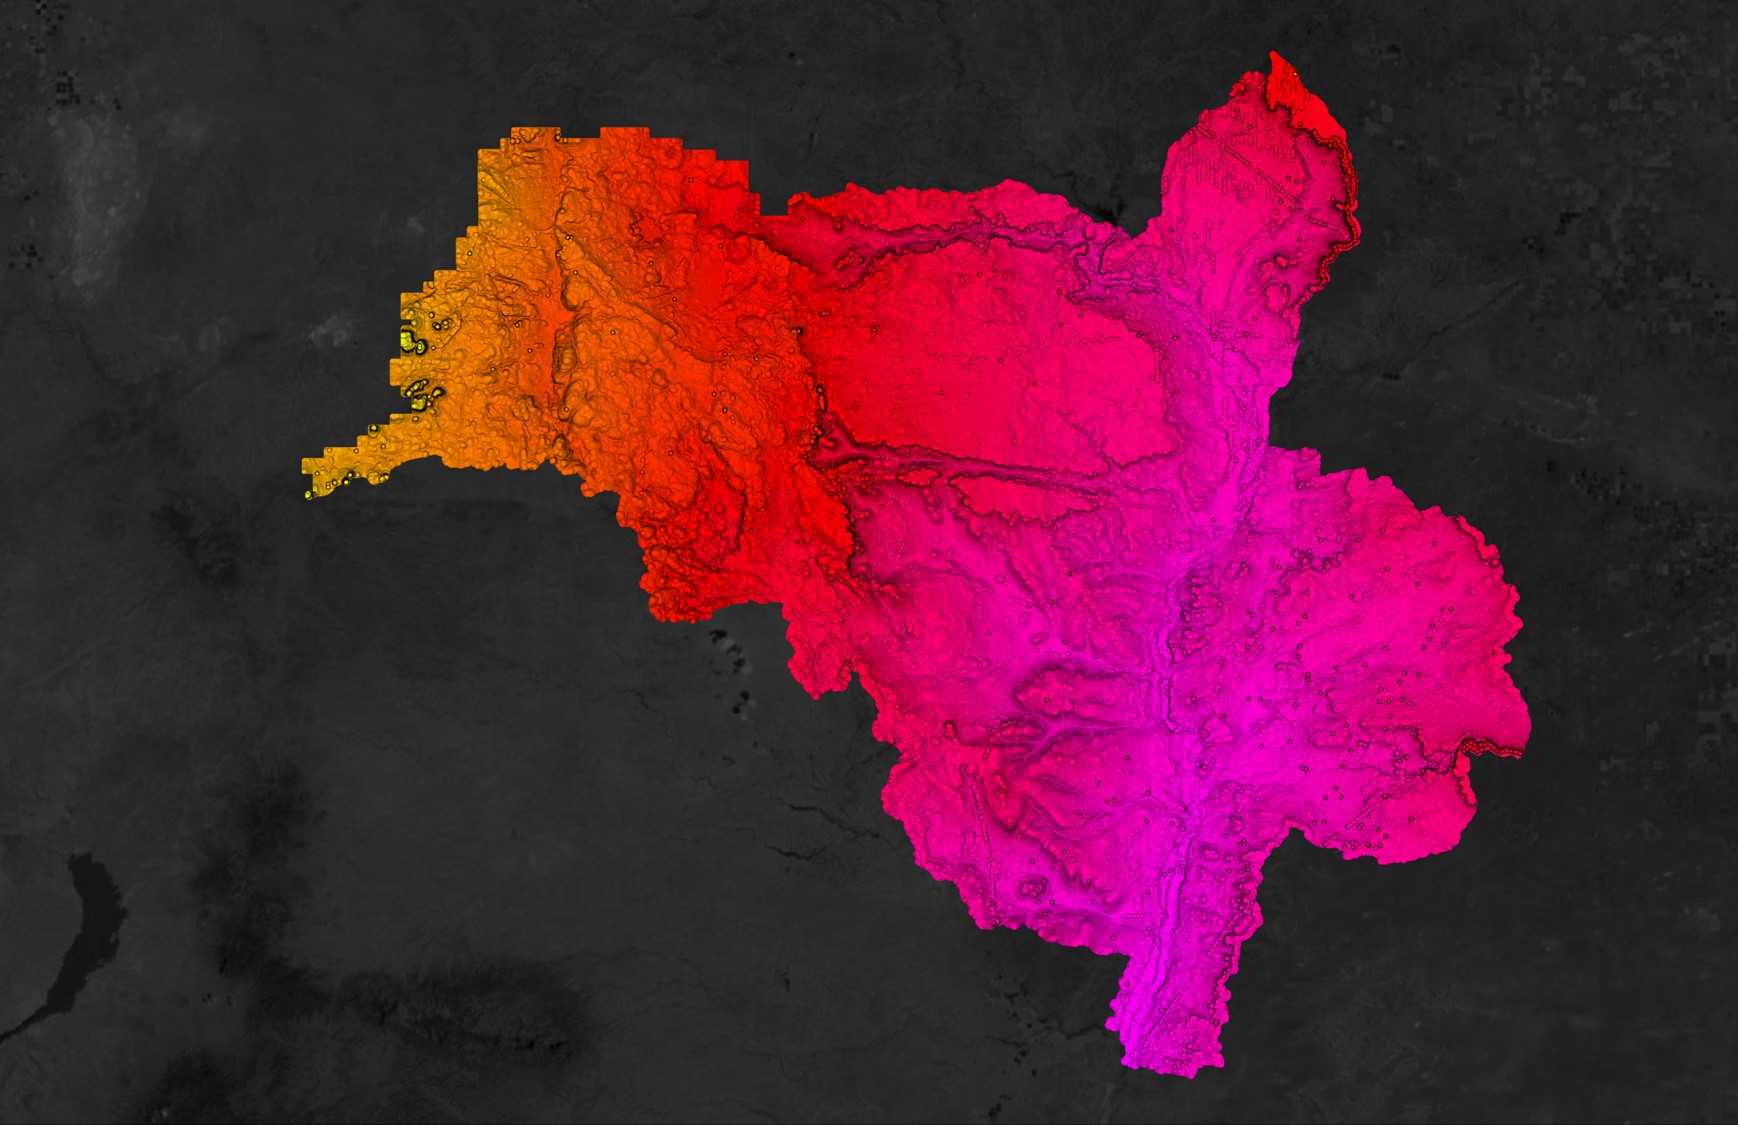
Click on the Edit colour menu to open up the colour palette. Here you can select one of the colour presets, use the dropper icon to match a colour, or click on the + button to fully customize your colour choice.

Changing the colour of the terrain model in Paint 3D
Step 4
Adjust lighting
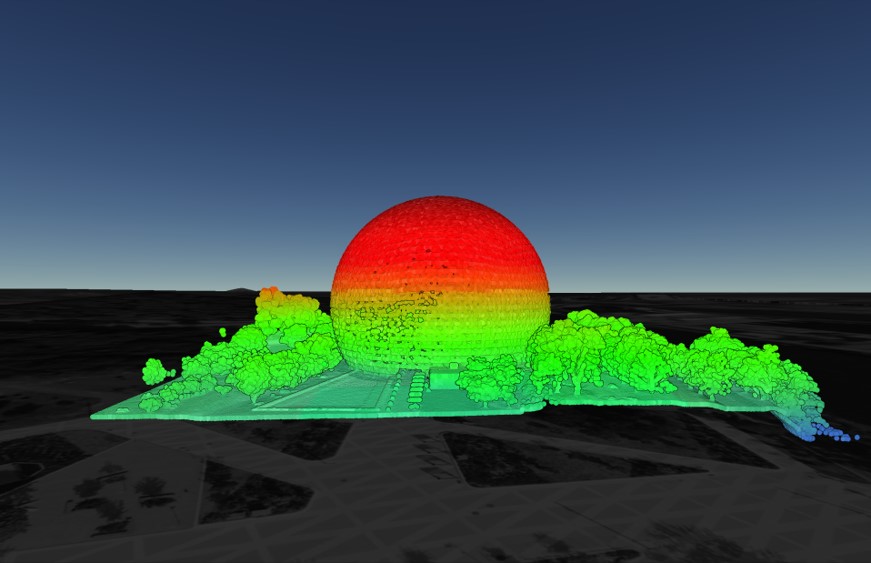
Click on the Effects button in the top menu ribbon. Adjust the filter colour and light wheel in the right menu.

Changing the lighting and filter in Paint 3D
Step 5
Capture a screenshot
Click on the image icon in the top right, select Take a screenshot. Voila! We added some additional colour, formatting and text using Figma. The final image is picture below.