Create Topography in Revit
Learn how to create a 3D Terrain in Revit using an AutoCAD (.dwg) file
Background: What is Revit and Who Uses It
Revit is a Building Information Modeling (BIM) software created by Autodesk and used by architects, engineers, and construction professionals. It is a design and documentation tool that allows you to create, review, and edit models in great detail as well as allowing for unified model between all disciplines and trades.
Tutorial: Create Topography in Revit using AutoCAD (.dwg) file
Step 1: Source Topographic Data
When referring to topographic data, we are primarily interested in the elevation or contour data. You might have topographic maps somewhere (either hard copy or digitally) or you might have had someone complete a survey and provide you with elevations. If you would like to use an already created AutoCAD file that contains contour lines, you can skip to the next step. However, if you don’t have a recent map or survey, use Equator to quickly and easily get topographic data.
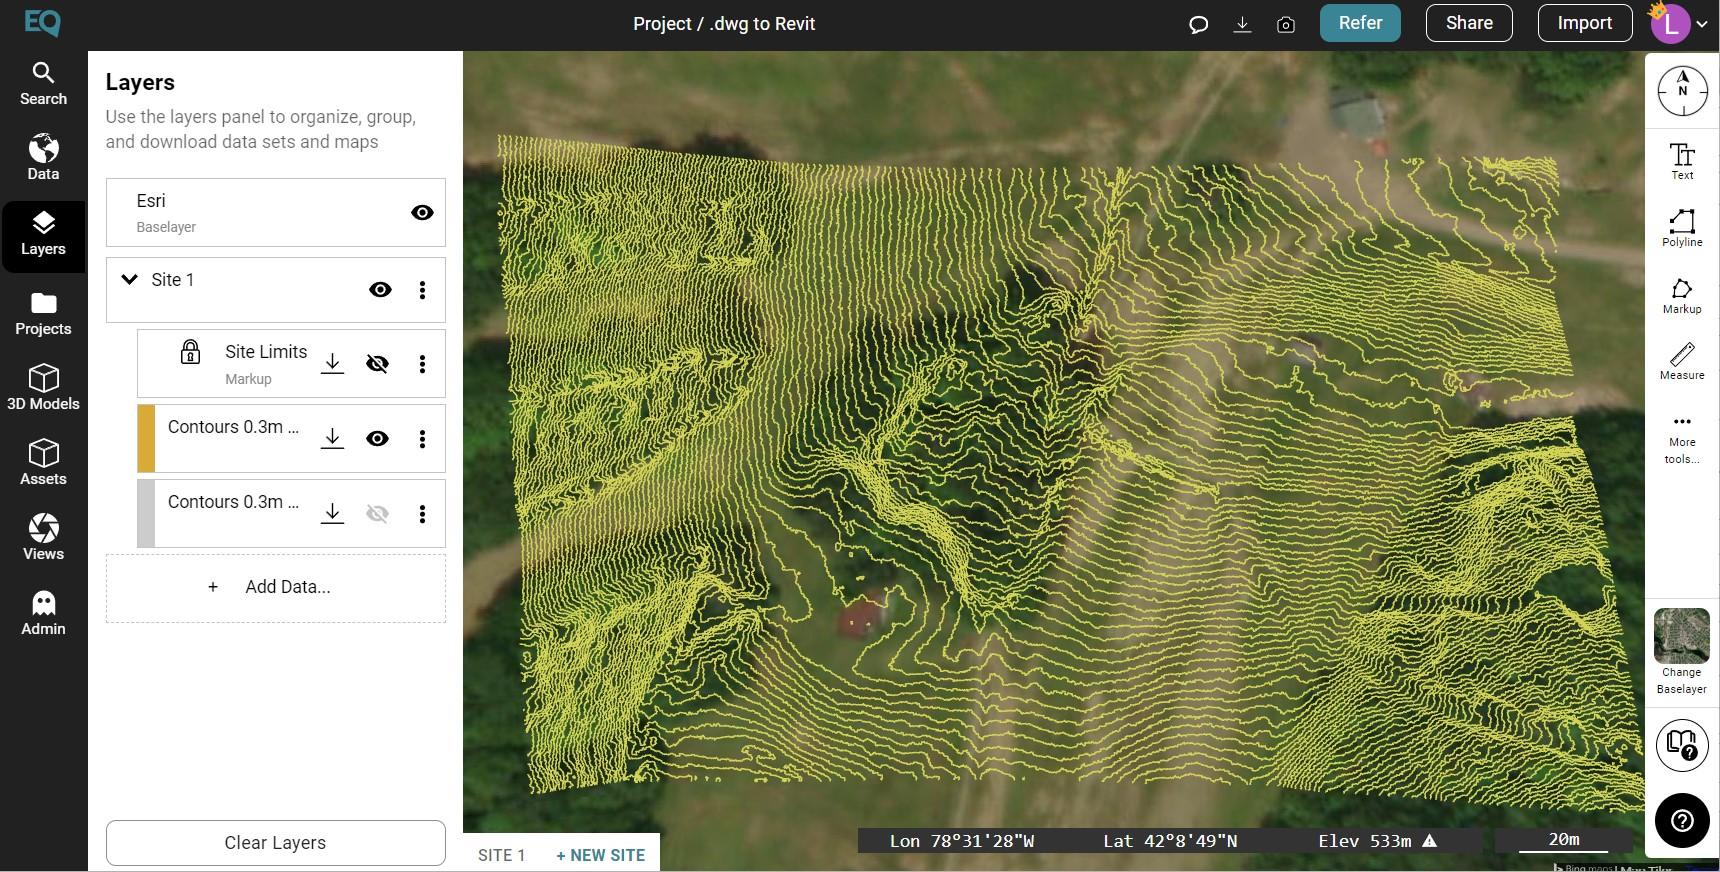
To download an AutoCAD (.dwg) file file from Equator:
- Sign in or create an account with Equator.
- Navigate to the Data tab and turn on Elevation Data.
- Search for your site, then select the +NEW SITE button at the bottom of the screen.
- Edit your site bounds and select okay.
- Navigate to the Data tab and choose ‘Contour as DWG’ option. Choose your parameters and select ‘Generate’.
- Your contours are stored in the Layers tab under your site.
- To download, select the download button (down arrow), then choose your parameters and select ‘Process’.
- The .dwg file of your site will appear in your Downloads folder (or whichever folder you have directed your downloads to go). It will be part of a zipped folder so extract the files before proceeding to the next step.
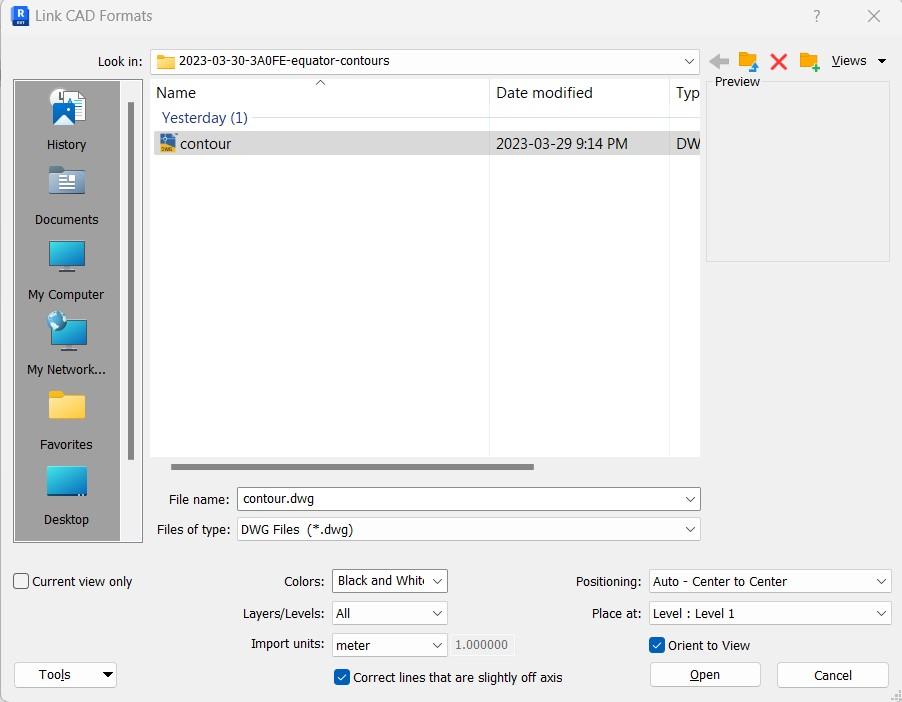
Step 2: Link AutoCAD (.dwg) file to Revit
We recommend that you link, rather than import, the AutoCAD file to Revit. By linking a file, any changes made in the AutoCAD file will automatically be updated in the Revit model. If the AutoCAD file is imported, any changes to the original file will not be carried through to your Revit model.
- Open Revit and either create a new model or navigate to an existing model. Make sure the units in your model match the units of your AutoCAD file.
- Go to the Insert tab, select Link CAD and select your .dwg file. Make sure the “current view only” is turned off as this allows the .dwg to be linked as a 3D object that includes the contour information. Also, change the input units to match the units of your AutoCAD file.
Step 3: Create Toposurface in Revit
Use the linked AutoCAD file to create a Toposurface.
- Change view to 3D view. Make sure the contour lines have a z- position and the linked contour lines are not flat. If there is no z- coordinate attached to the contour lines, you cannot create a topographic surface.
- Go to Massing & Site and select Toposurface.
-
In the Modify | Edit Surface tab, under Tools, select the Select Create from Import drop-down, and choose Select Import Instance. Select the linked AutoCAD file in the drawing area.
- The Add Points from Selected Layers dialog box appears. Choose the layers that contain the elevation (z- coordinates) and select okay. If using a .dwg downloaded from Equator, select the “Contours” layer.
- Points are created based on the AutoCAD geometry. If you need to modify the points, you can click on the points and move them. If you are happy with the surface, click the green check mark.
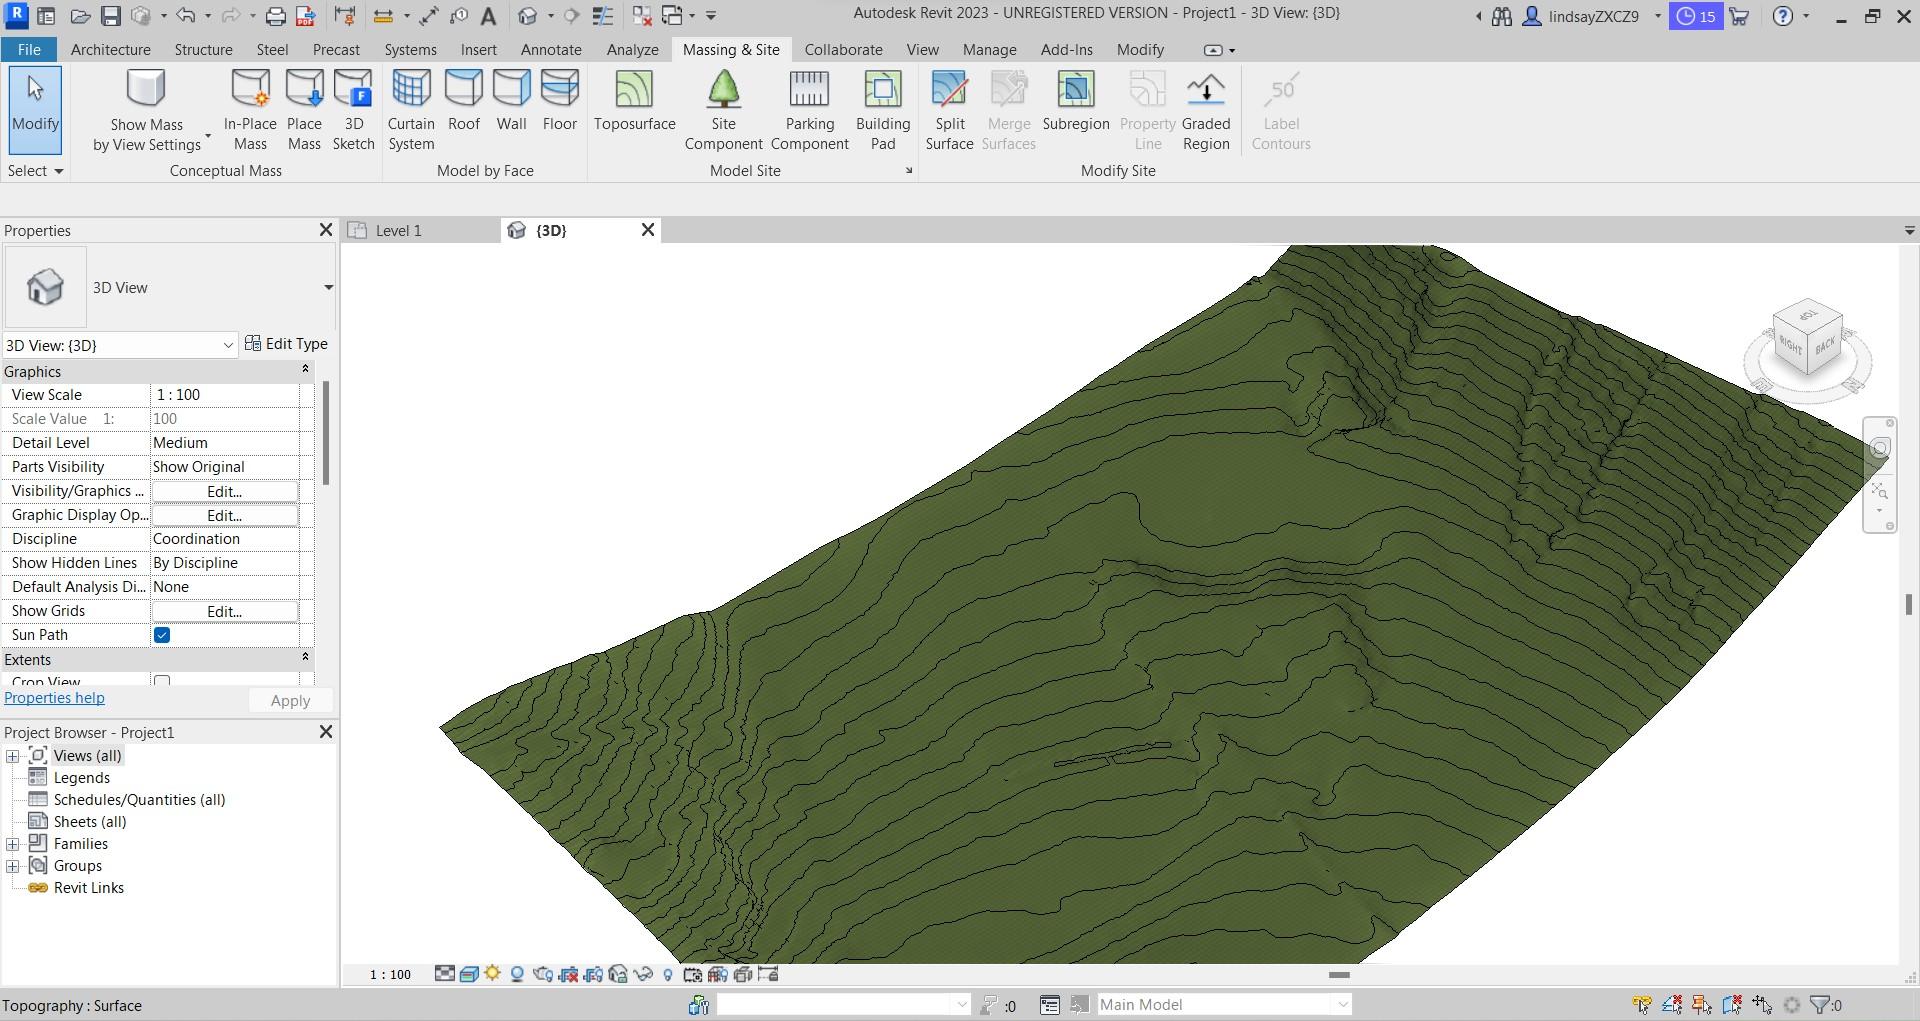
How to Add Contour Labels to Revit Toposurface
Once you have created a toposurface from your linked .dwg file, you can add contour labels to the site plan.
- Open a 2D view such as site plan.
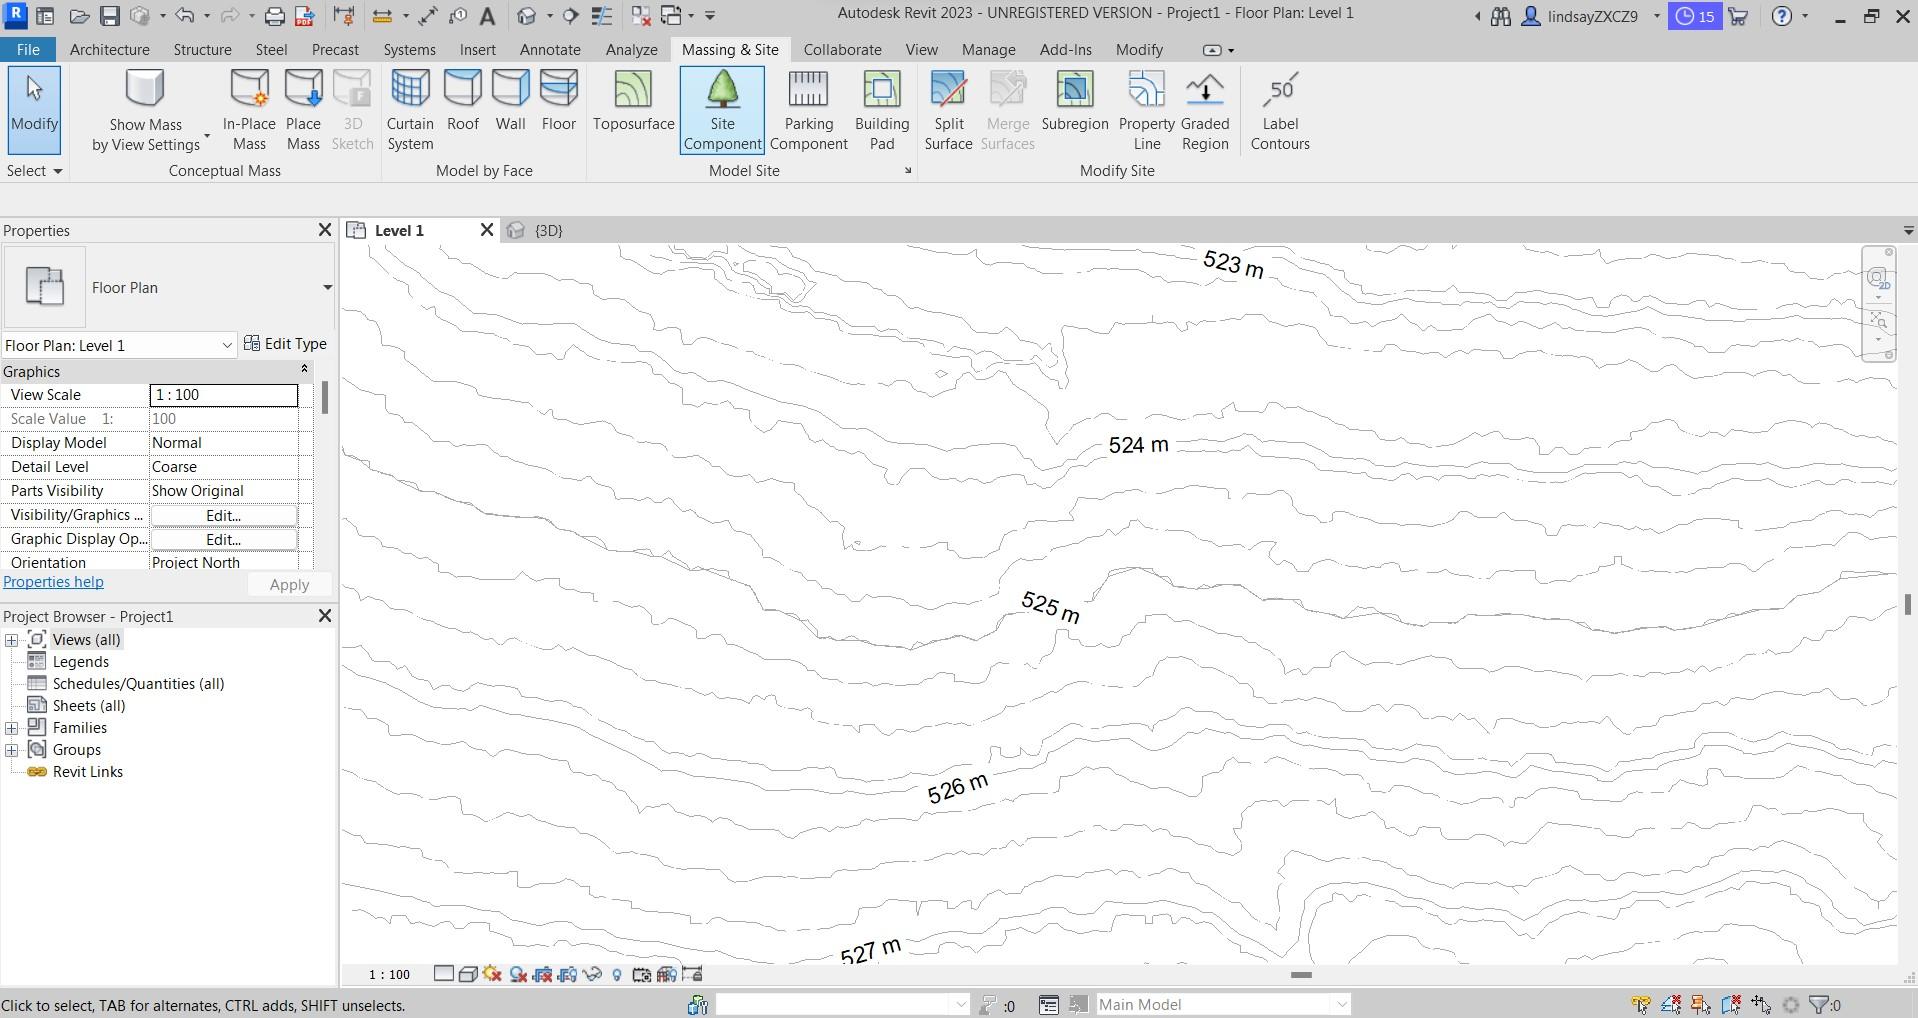
- Go to the Massing & Site tab, and select Label Contours, which is under the Modify Site panel.
- Draw a line that intersects at least one contour line.
- The labels will appear on the contour lines. To change the appearance of the labels such as colour, text, or size, or to change the units that are appearing, go to the Contours property bar and select Edit Type. The Type Properties dialog box will appear and any parameter can be changed here.
