User Guide / Using the Drawing Tool
Using the Drawing Tool in Equator
The drawing tool is useful for when you want to create a closed markup with specific dimensions.
Creating a drawing
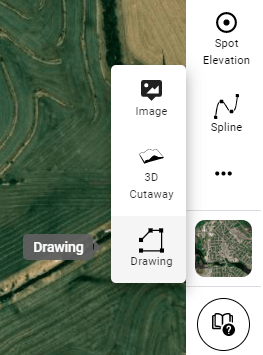
Start by clicking the Drawing Tool on the right tool bar, and clicking your starting point on the map.

Type in the length you want the first segment to be, then press Tab and type in the angle you want the segment to be at from the starting point. Press Tab again to add a new segment and repeat inputting the length and angle. Once you have your desired drawing, press c to finish. If you do not do so yourself, finishing the drawing will automatically close the shape by connecting the last segment to the starting point.

Editing a drawing
Inspect the drawing by clicking on it in the Layers menu.
Under Geometry, you can move the entire drawing by adjusting its coordinates.

You can also move it faster but less accurately by clicking Move Origin. The drawing will now follow your cursor at the drawing’s starting point. To place it down at a new location, click with the mouse.

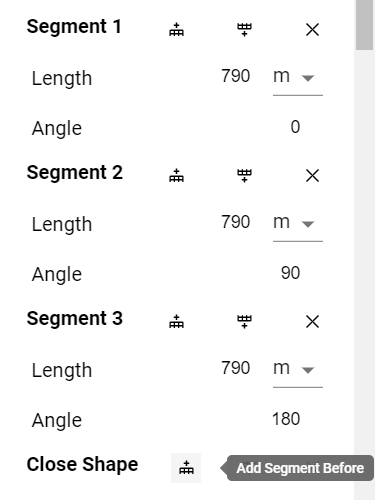
The lengths and angles of individual segments can also be adjusted. While doing this, the rest of the segments may change in length or angle as well to accommodate the adjusted segment.

Any given segment can be removed by clicking the X in line with its name, or have a new segment added before or after it. A new segment will start from the end point of the segment before it, and its length and angle must be typed in the respective boxes.

Under Total Measurement, you can find what the perimeter of the drawing measures to, and how much area it covers.
Customizing a drawing
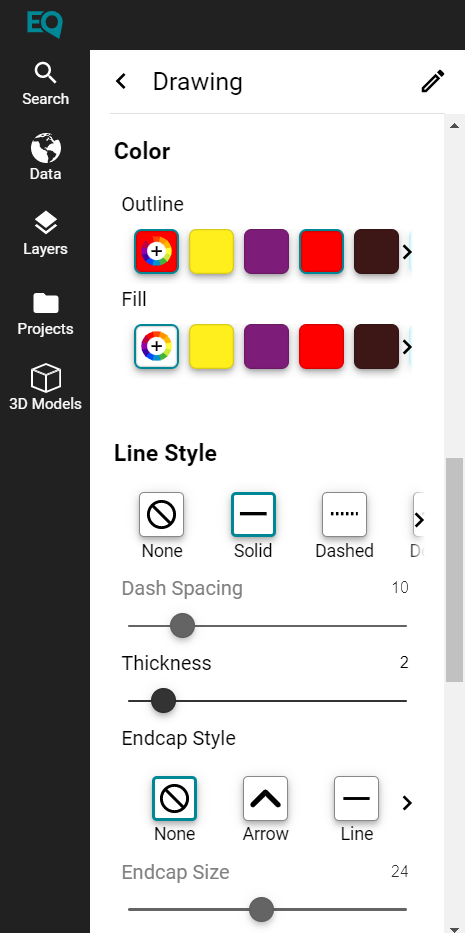
You can change the line colour, style, and thickness, as well as fill in the drawing, and add a label to the drawing.
