User Guide / Adding Images
Adding Images to the Map in Equator
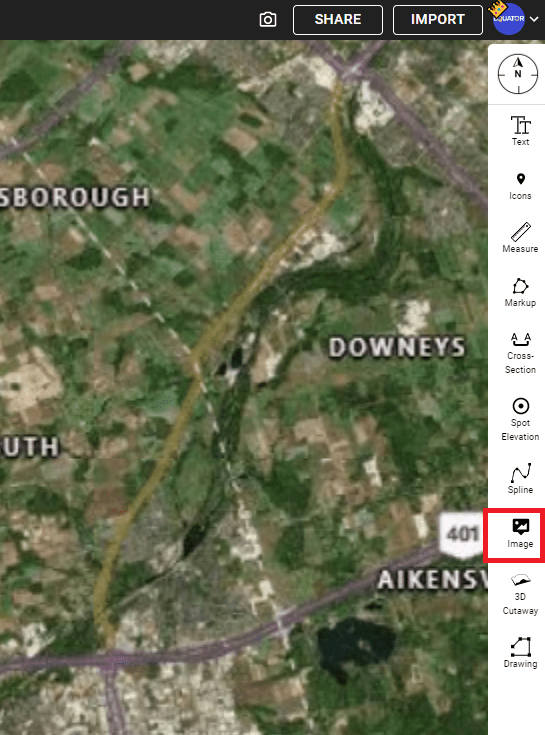
Selecting the Image Tool
First, select the image tool from the right-hand sidebar (shown below in red).

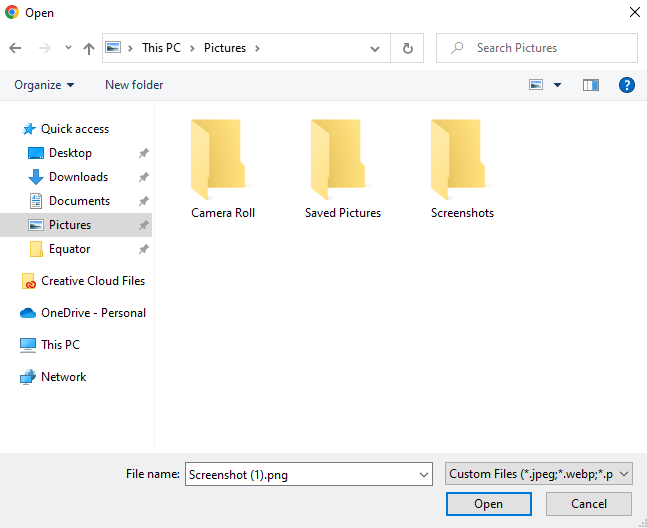
Selecting an Image
After selecting the image tool from the sidebar your File Explorer will appear on-screen. Select the image from your computer that you would like to bring onto the map and click ‘Open’.

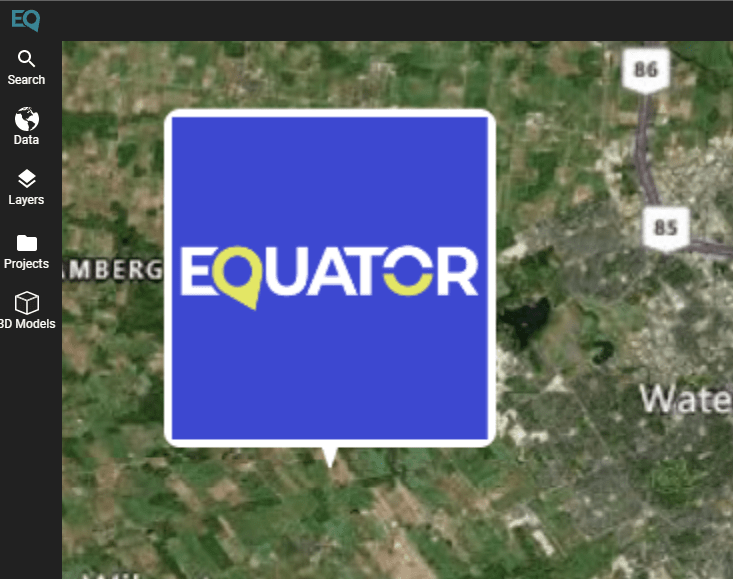
Placing the Image
After you’ve selected the image, the chosen image will follow around your cursor on the map. To place the image, simply click in the location you would like to place the image.

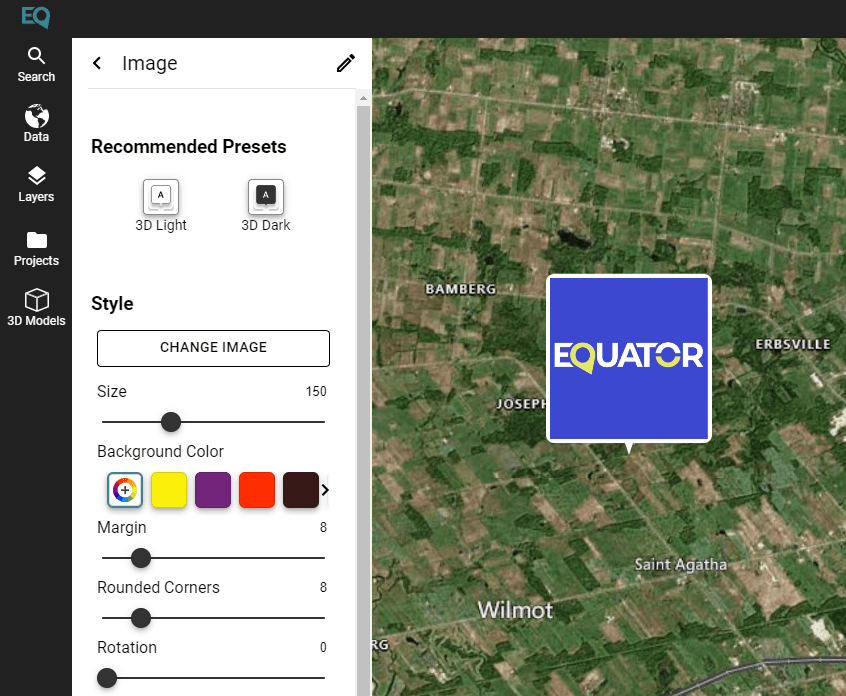
Customizing the Image
After placing the image a menu will appear on the left that gives you options to customize the image. Here you can change the size, rotation, replace the image and much more.
