Tutorial: Attaching a RASTER (Orthoimage) to a MicroStation Project File
In this tutorial, learn how to attach an orthoimage (GeoTIFF file exported from Equator) to a MicroStation project file
Step 1: Source and download your orthoimage
Step 2: Open MicroStation project and attach GeoTIFF Raster

Attach an orthoimage (GeoTIFF Raster File) of your project site to your MicroStation project file
Step 1: Source and download your orthoimagery
If you already have an orthoimage saved as a GeoTIFF file, you can skip down to Step 2. If you need an orthoimage, follow the steps below to generate a GeoTIFF file using Equator.
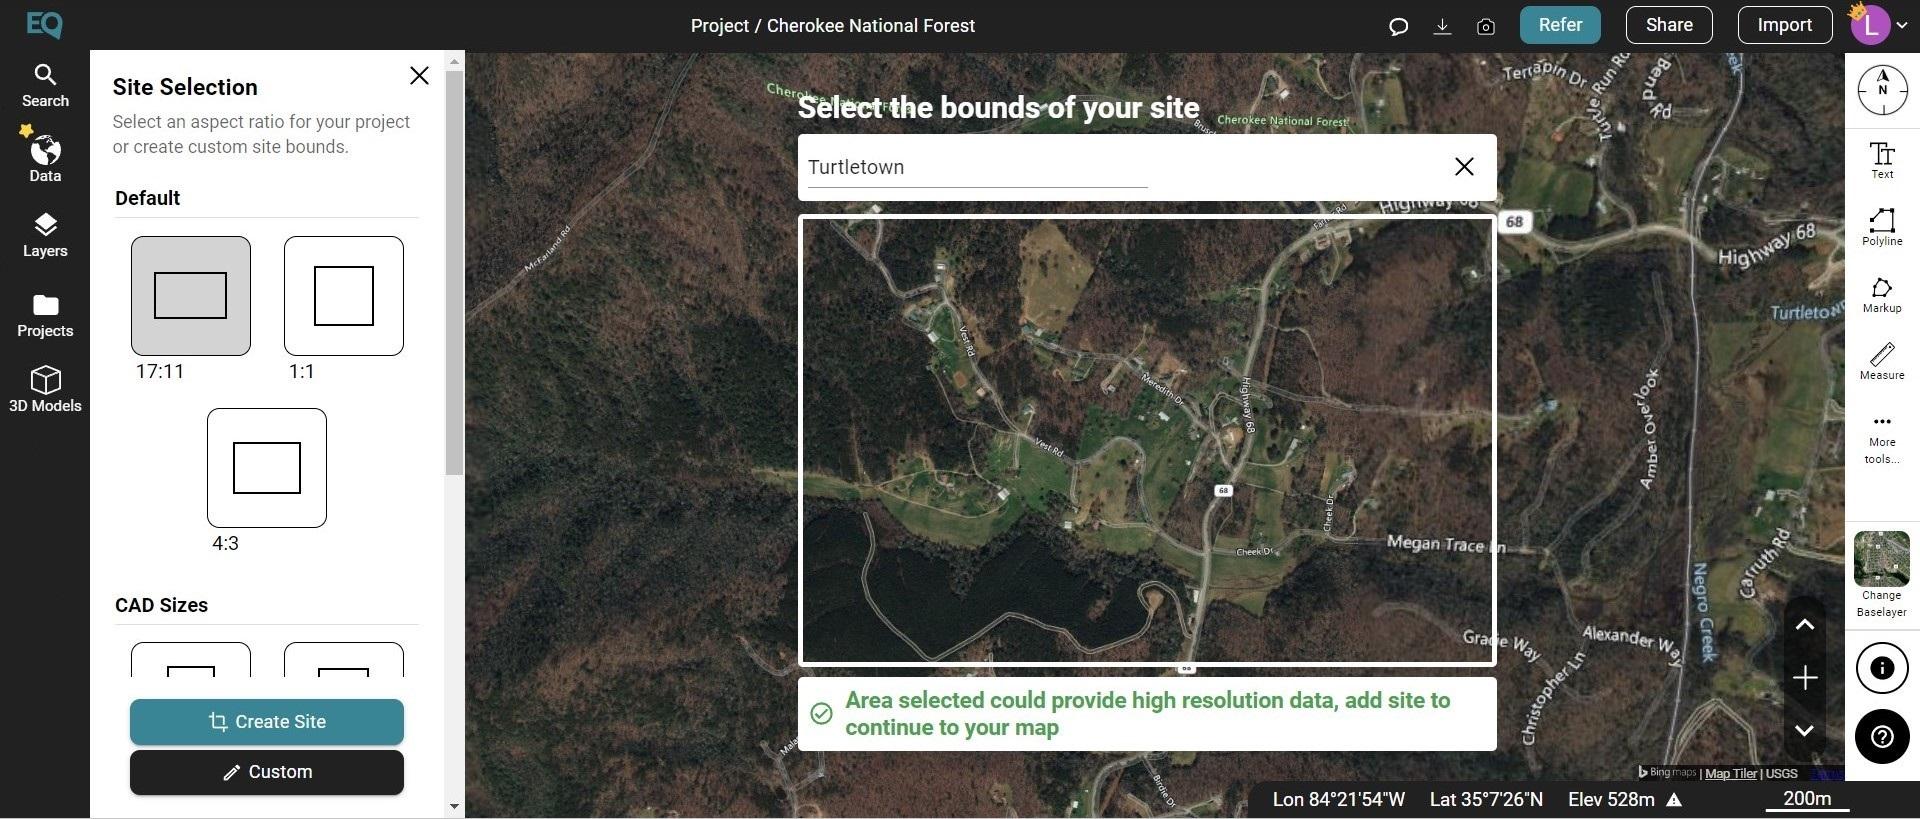
- Locate your project site by using the Search tab or simply zooming into your site.
- Create your site boundaries by clicking on the +NEW SITE button on the bottom left of the screen. Use one of the predefined boundary boxes or create a custom boundary. Don’t forget to name your project site.
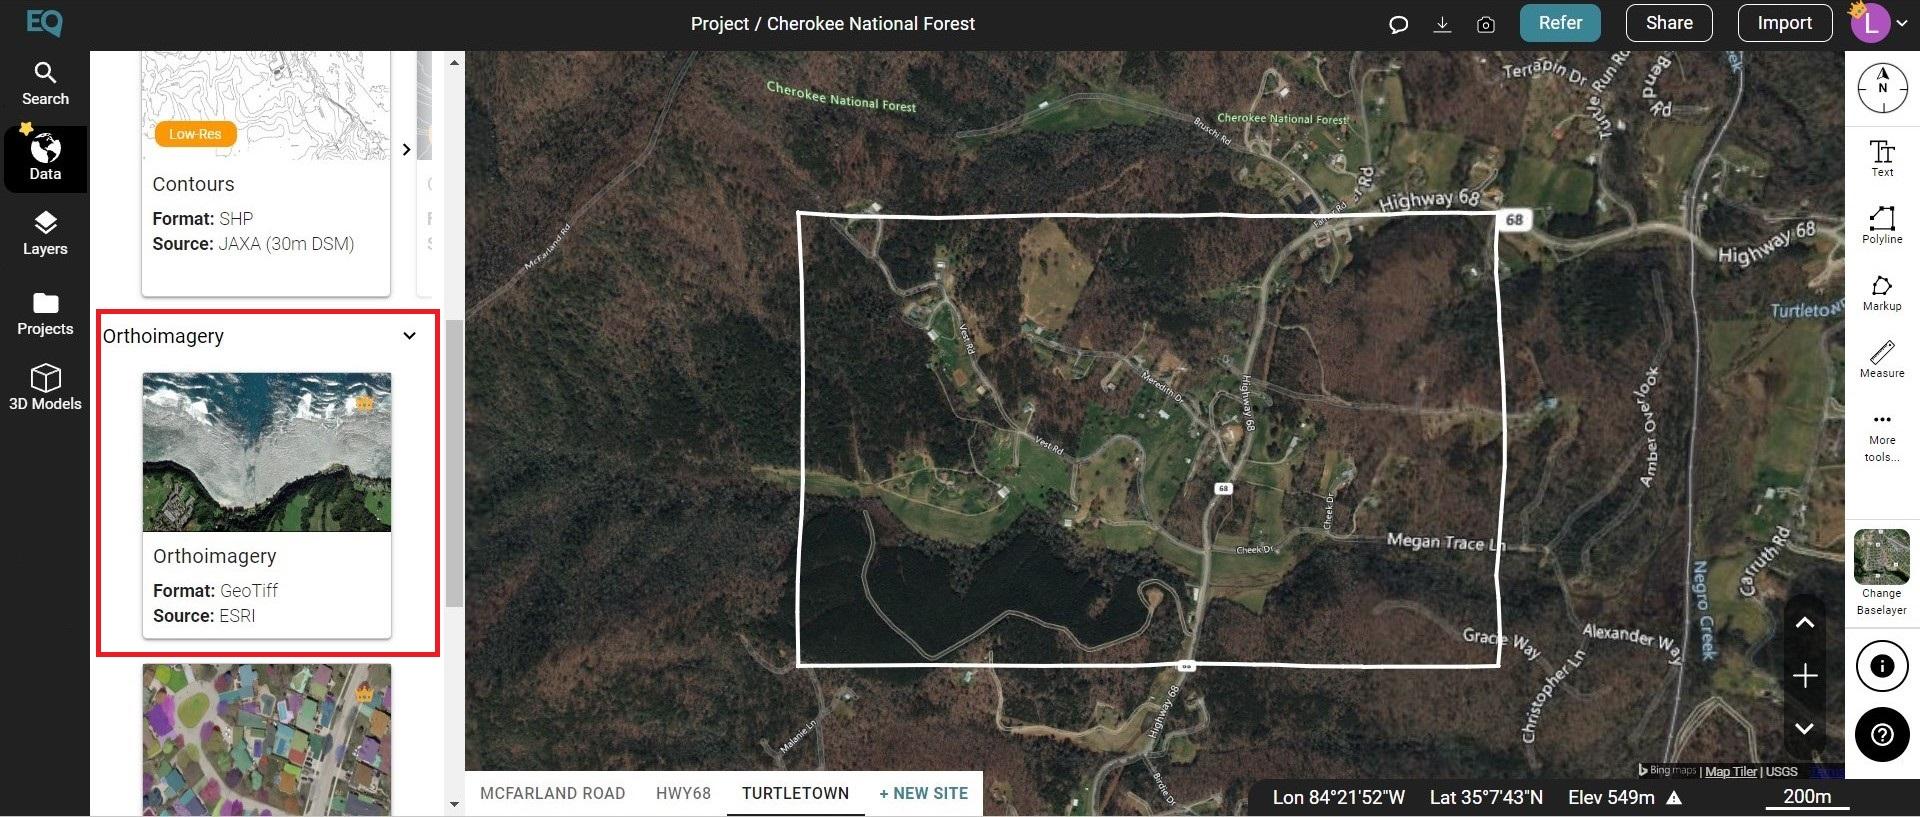
- Under the Data tab, click on the Orthoimagery (GeoTIFF) option.
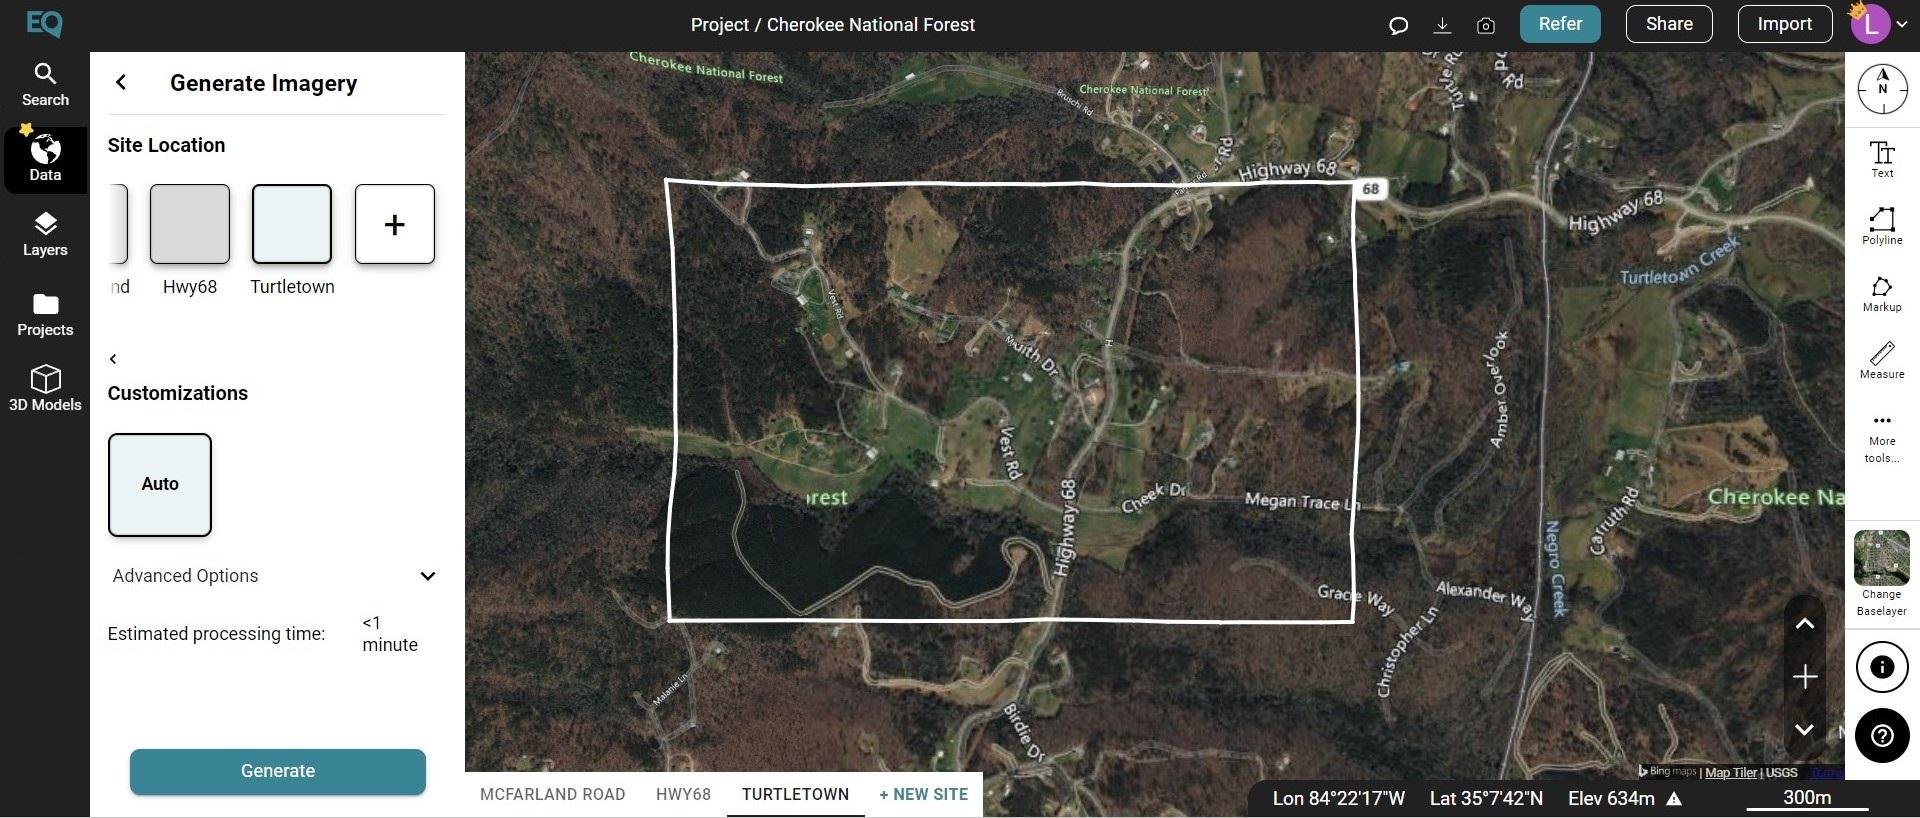
- The Orthoimagery dialog box will appear. Select your project site and any customizations. Then click Generate.
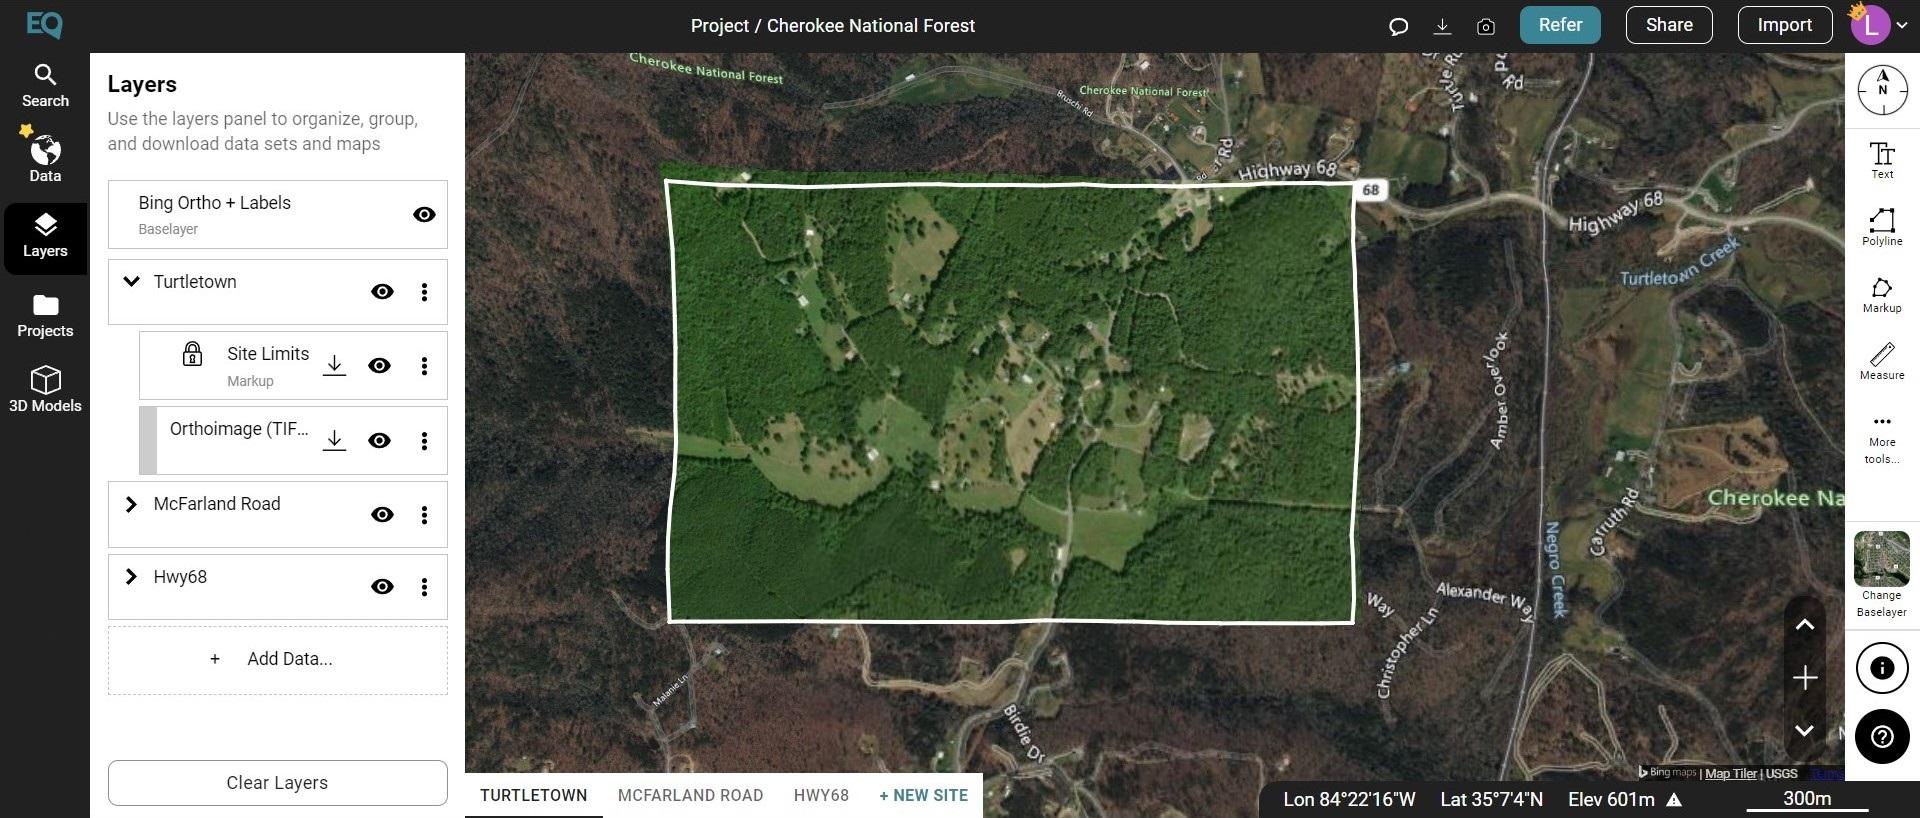
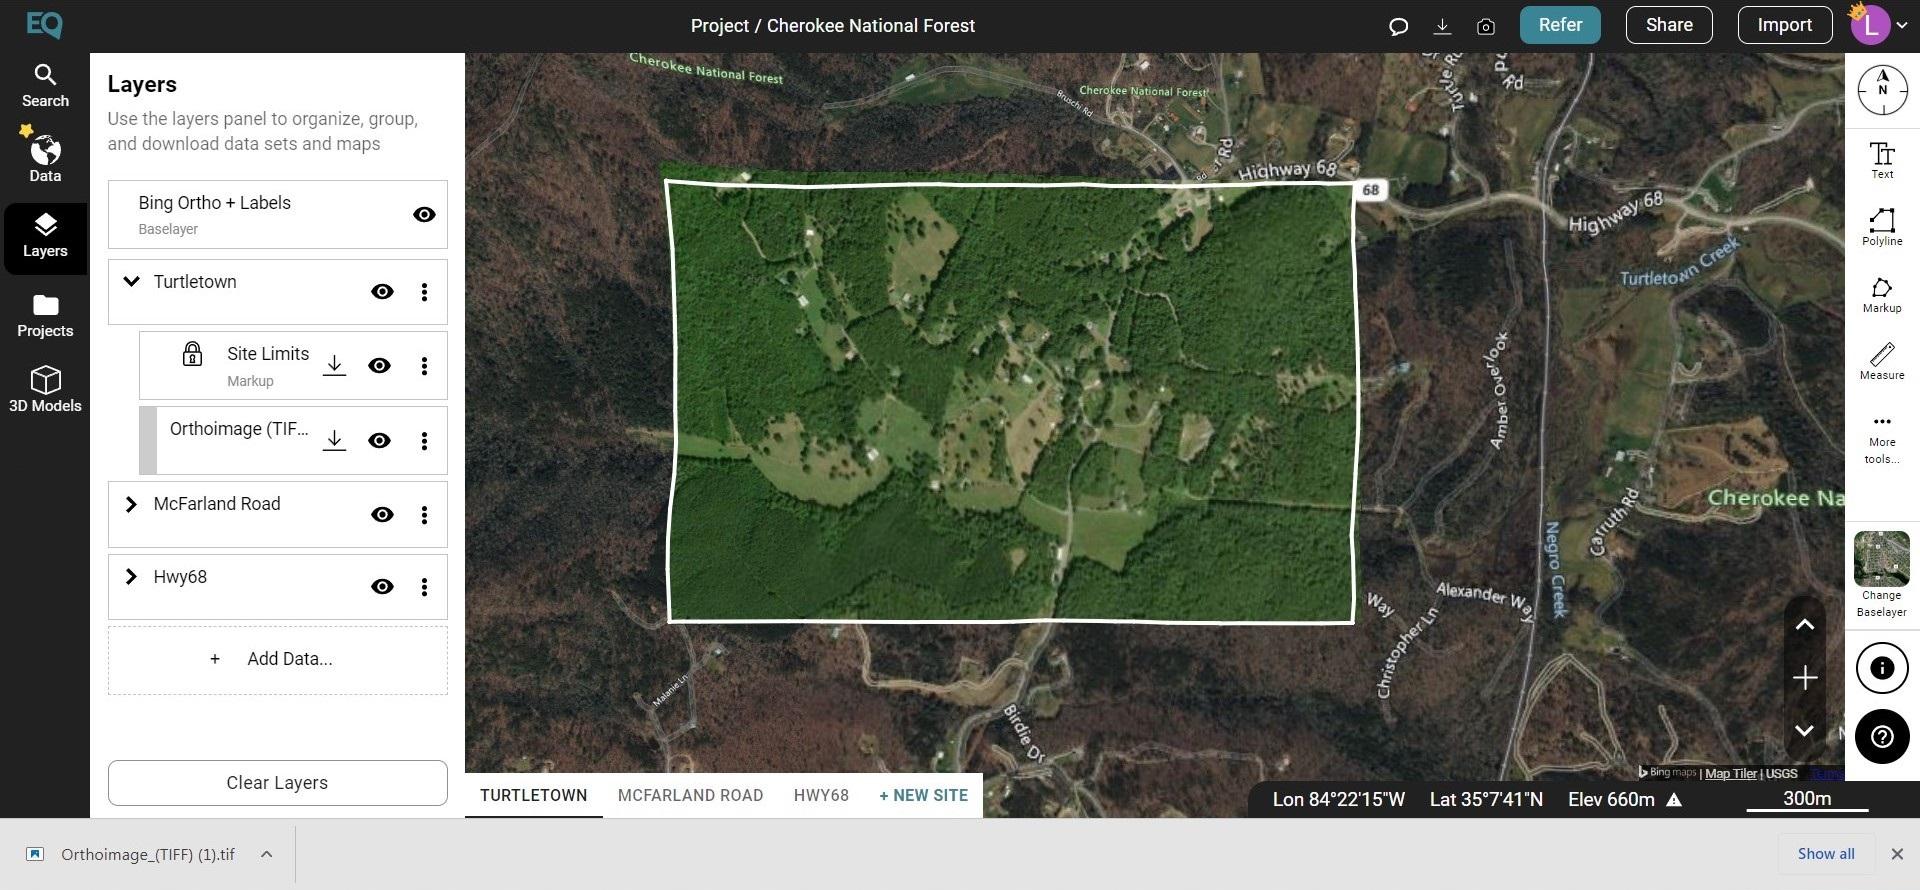
- The orthoimage for your project site will appear within the site boundary.
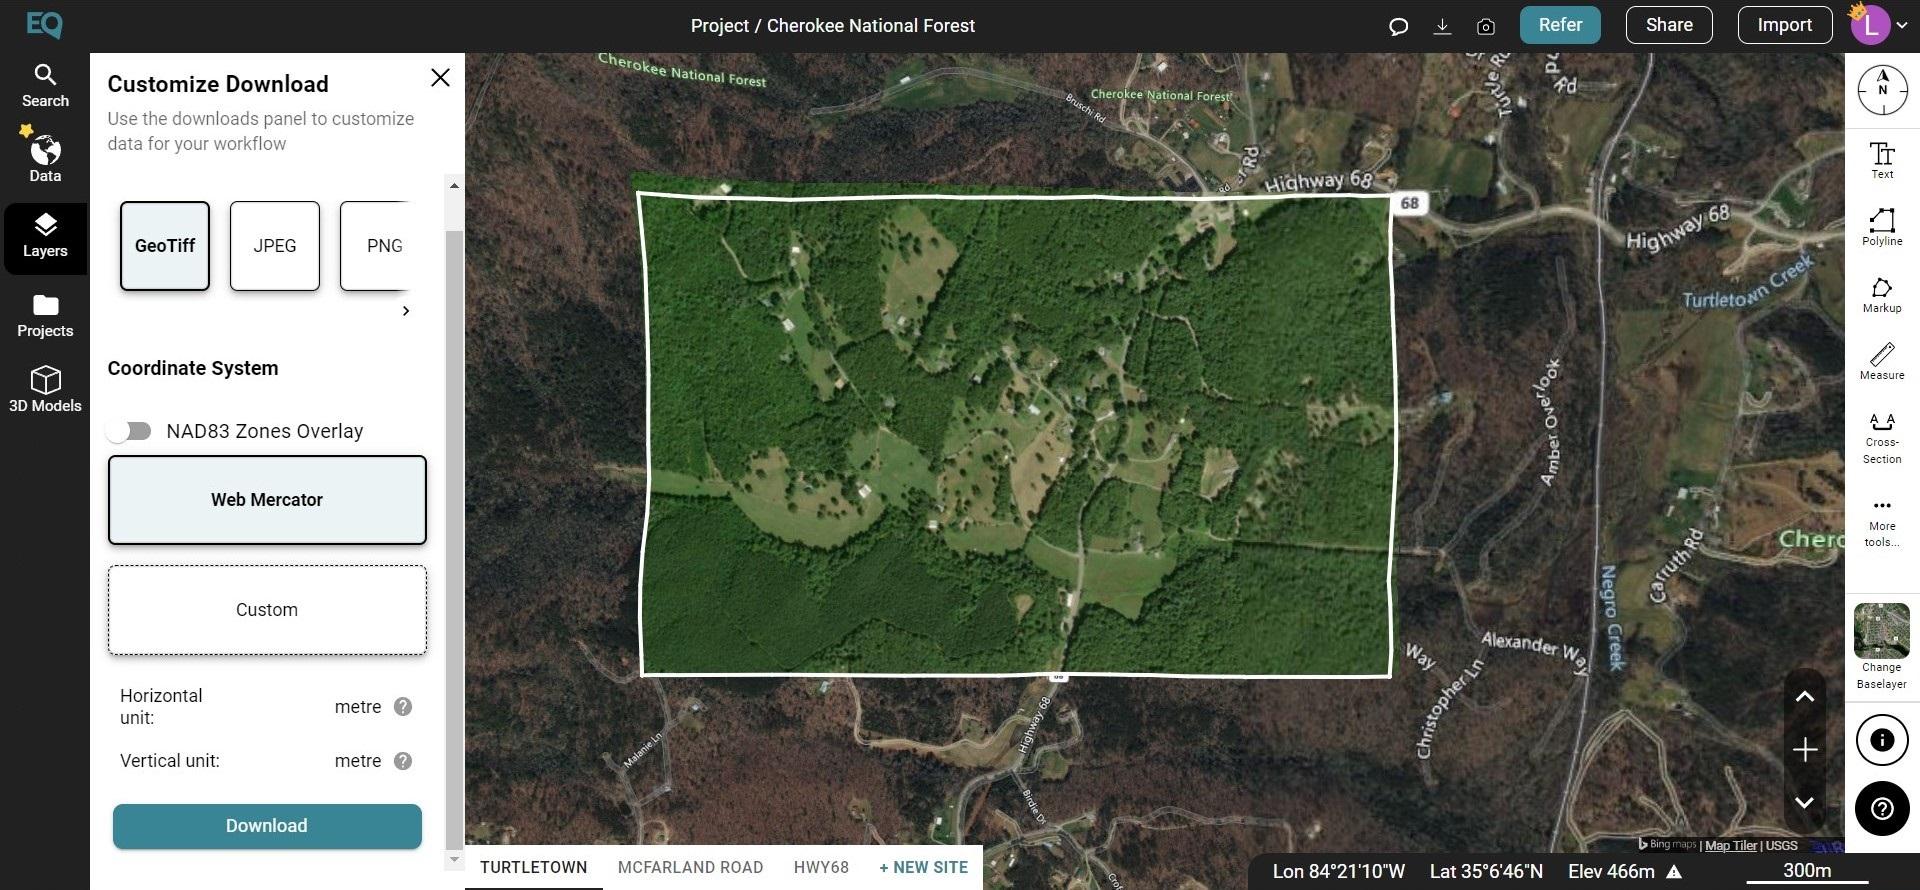
- To export the orthoimagery out of Equator, go to the Layers tab and click the download button beside the orthoimage layer.
- The Customize Download dialog box will appear. Select GeoTIFF as your format, set your coordinate system, and press Process.
- Your orthoimage (GeoTIFF file) will download into your Downloads file.
Download your othoimage (GeoTIFF File) from Equator, steps 1-8
Step 2: Attach a GeoTIFF to your MicroStation Project
Note: This tutorial is created using MicroStation 2023 (version 23.00.00.108)
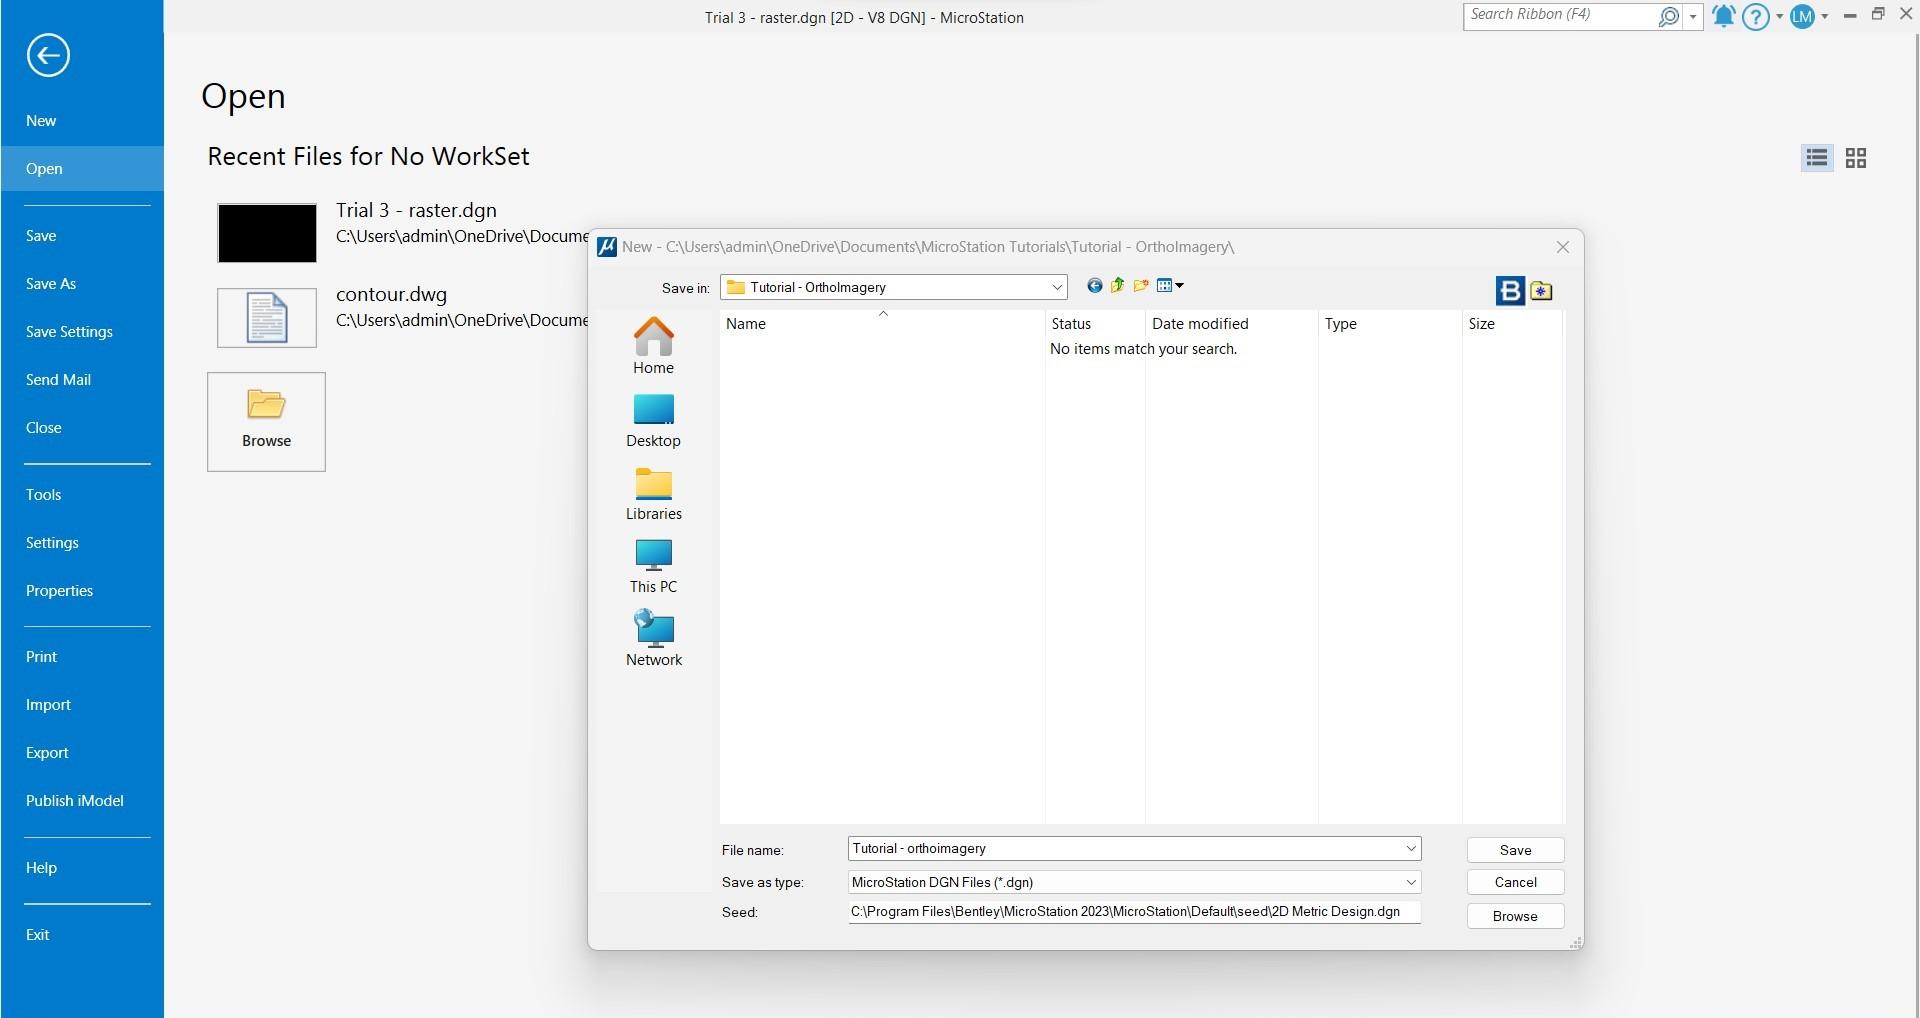
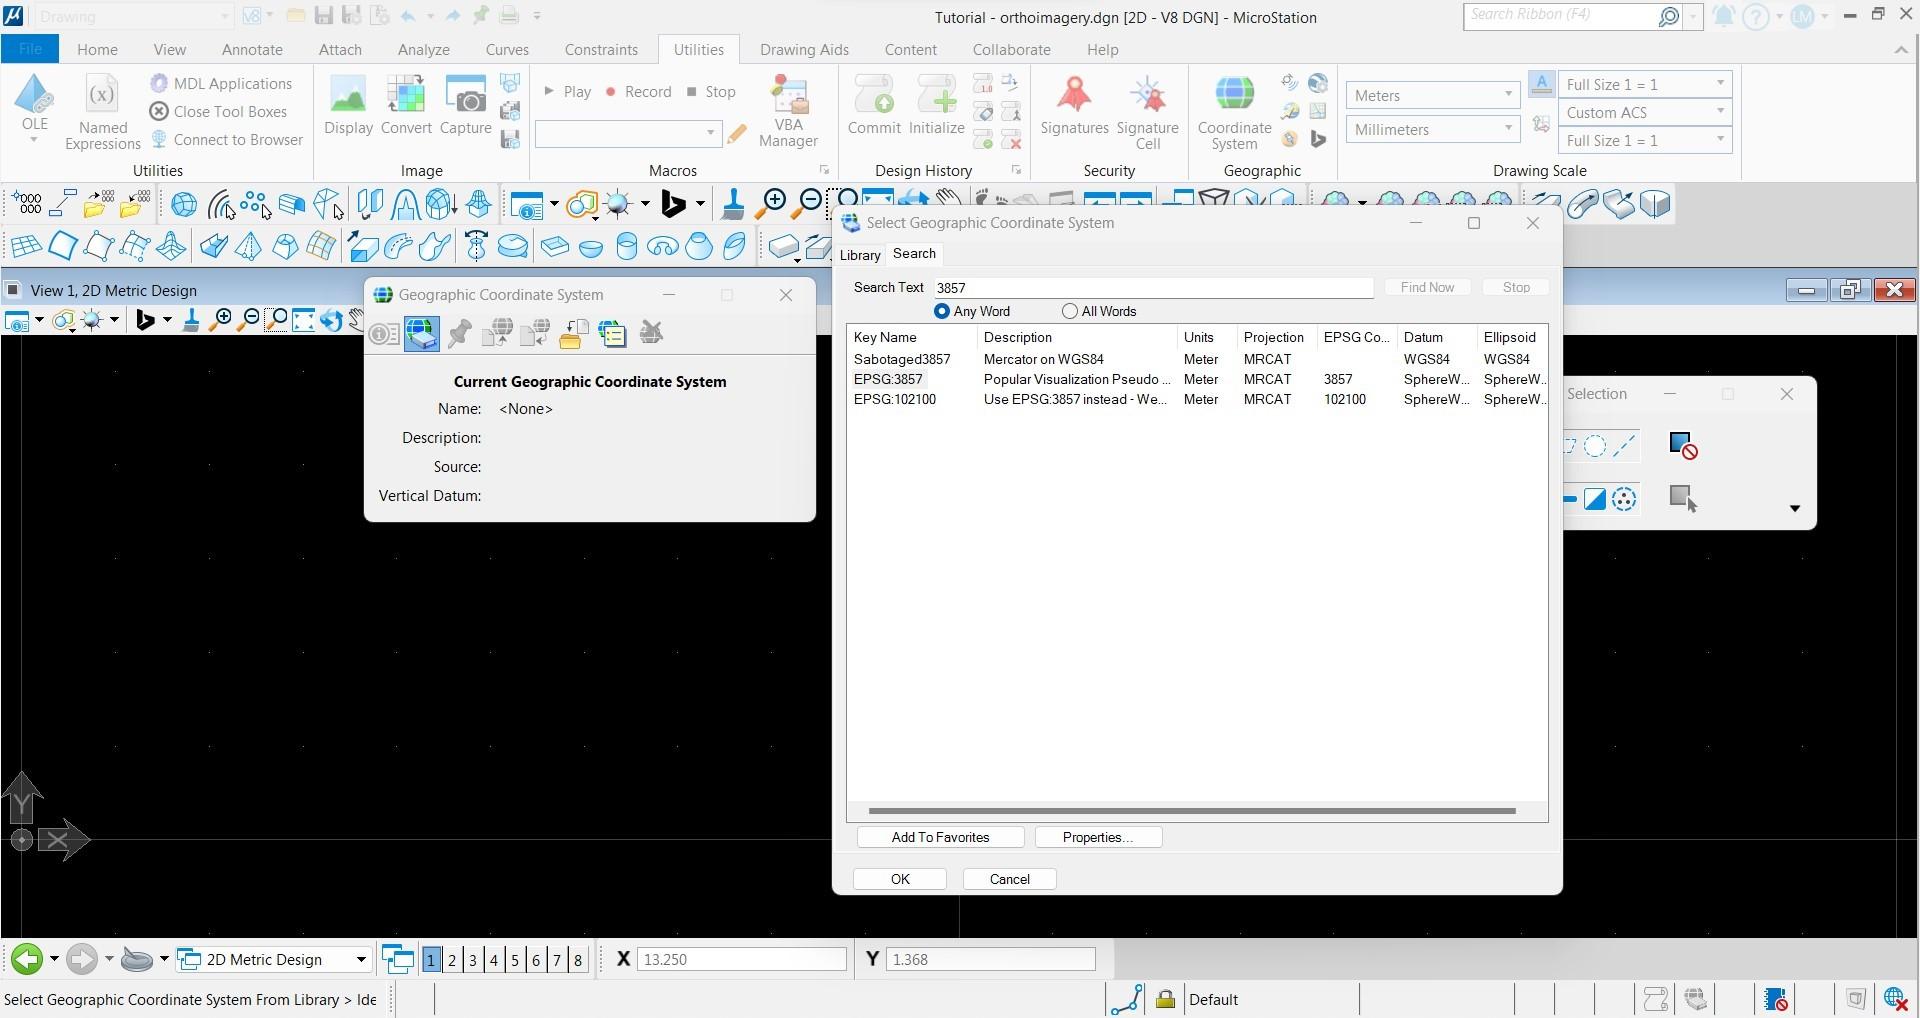
- Open your drawing and ensure the coordinate system is set. The coordinate system should match that of the orthoimage that you have downloaded.
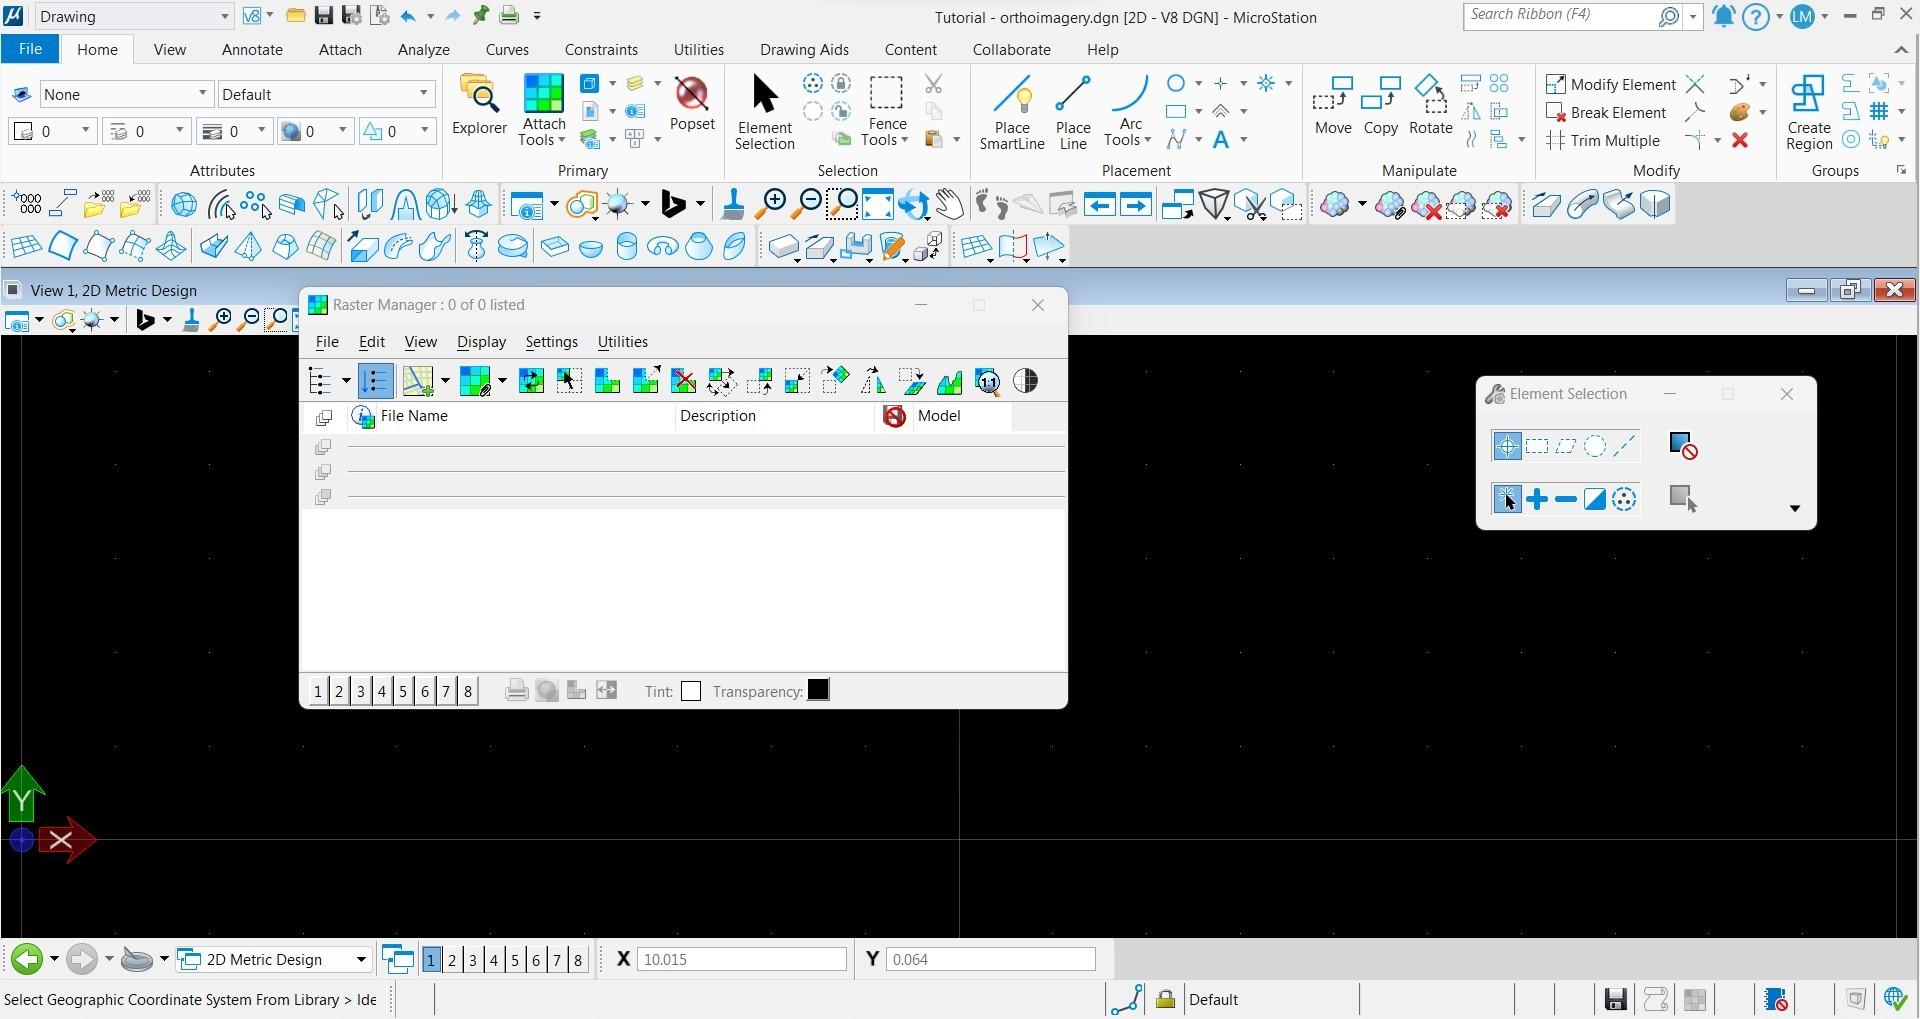
- Go to Attach Tools > Reference Manager
- The Raster Manager dialog box will open. Go to File > Attach Raster
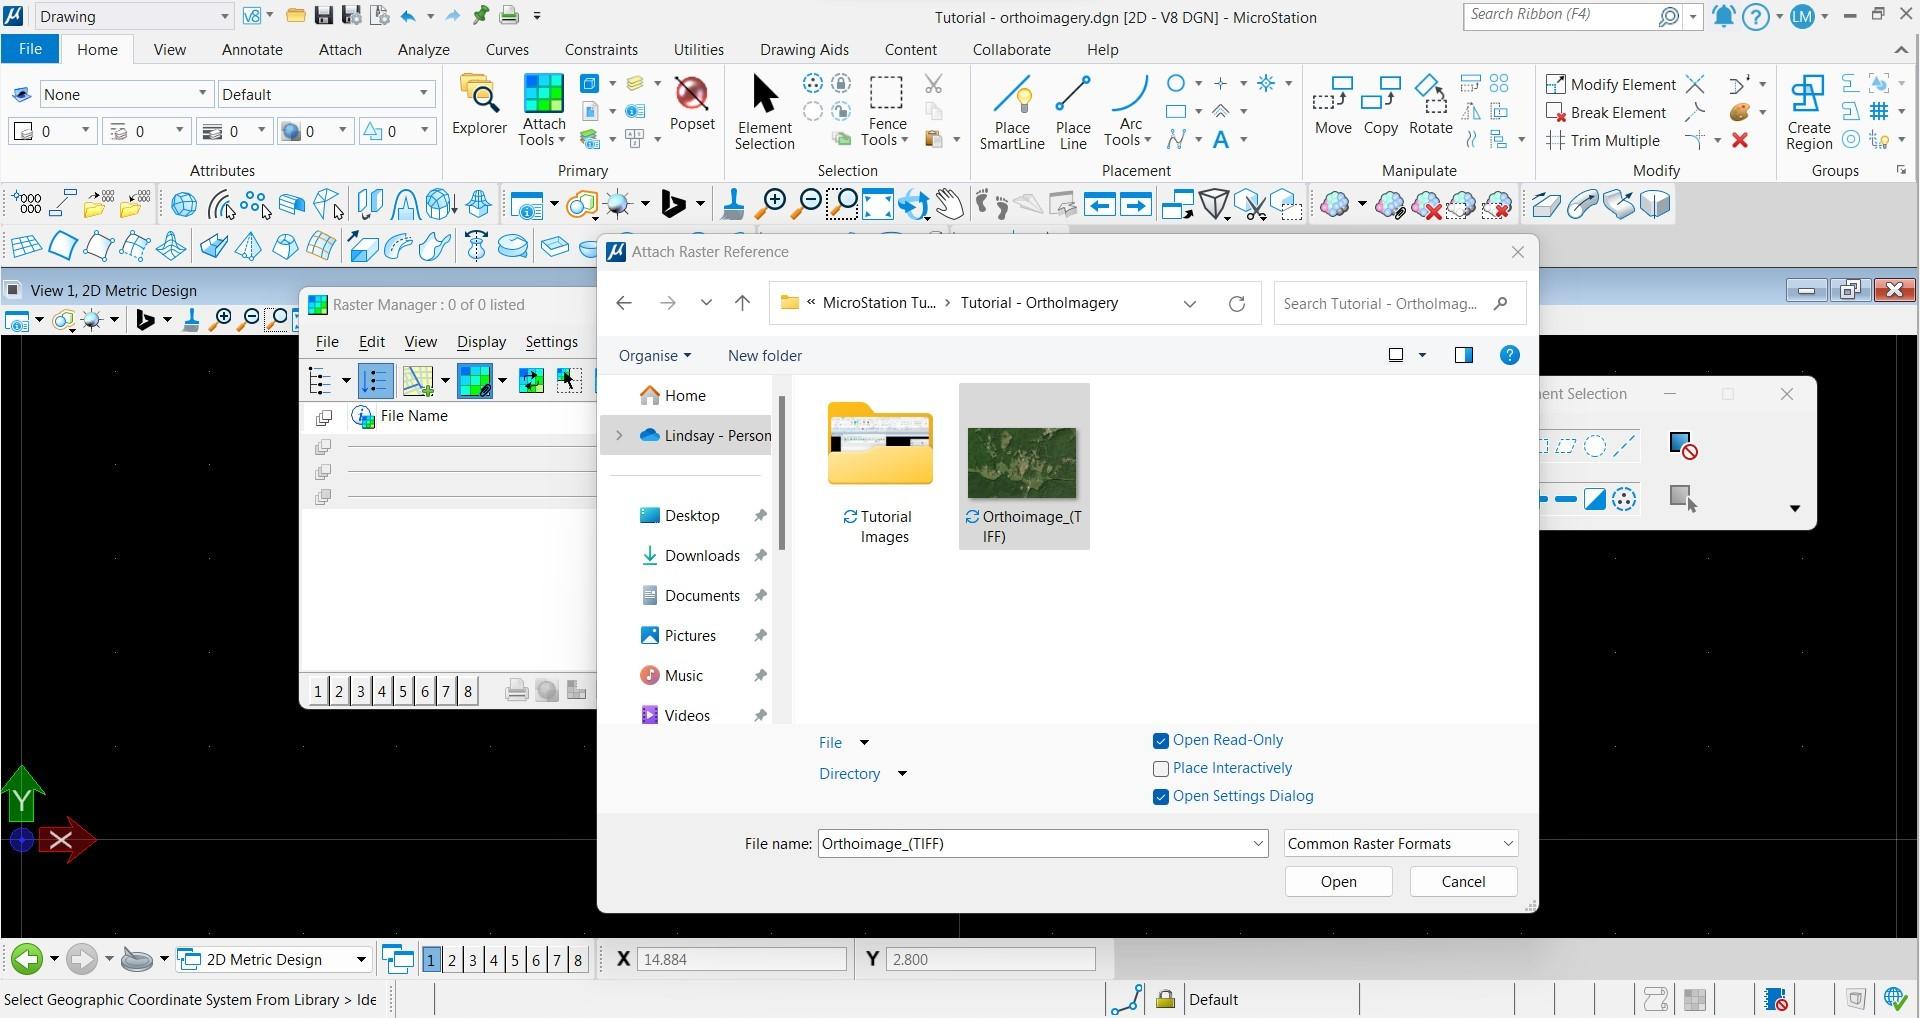
- Once the Attach Raster dialog box opens, change the File Type to GeoTIFF. Leave the default boxes checked or unchecked. Select the GeoTIFF file you would like to attach to your project file.
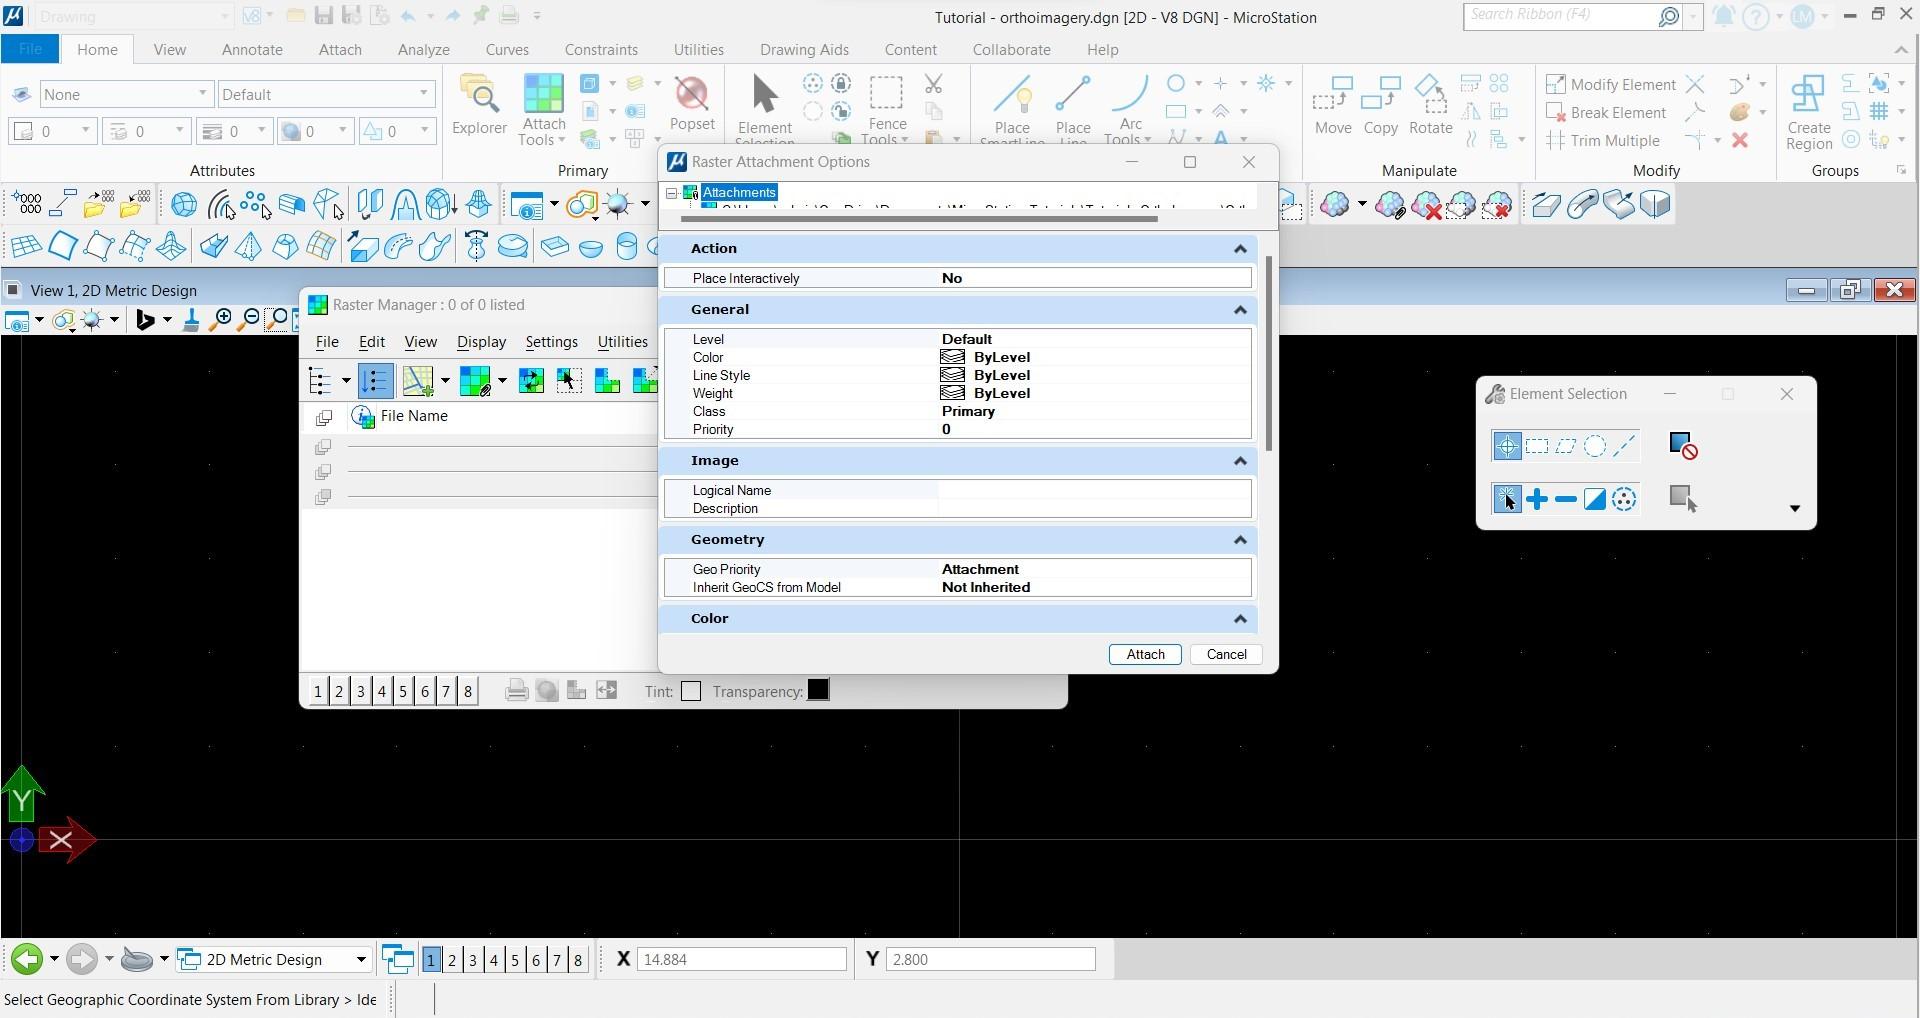
- The Raster Application Options dialog box will come up. Since a GeoTIFF image is georeferenced, set the Place Interactively option to No. Select the Level (layer) that you want the image to be attached to. The remaining options can stay as default. Click Attach.
- Your orthoimage should appear in the correct georeferenced location.
Attach a RASTER GeoTIFF File to MicroStation Project File, Steps 1-6