Tutorial: Creating a 3D Mesh from a Point Cloud in Bentley MicroStation
In this tutorial, learn how to create a 3D surface mesh in MicroStation from a LiDAR point cloud (.laz file) exported from Equator
Step 1: Source a LiDAR Point Cloud
Step 2: Import LiDAR Point Cloud (.laz) into MicroStation and Create 3D Mesh
Part 1: Set Up MicroStation Workspace
Part 2: Import LiDAR Point Cloud
Part 3: Create ASCII (.xyz) File
Part 4: Create 3D Mesh Surface

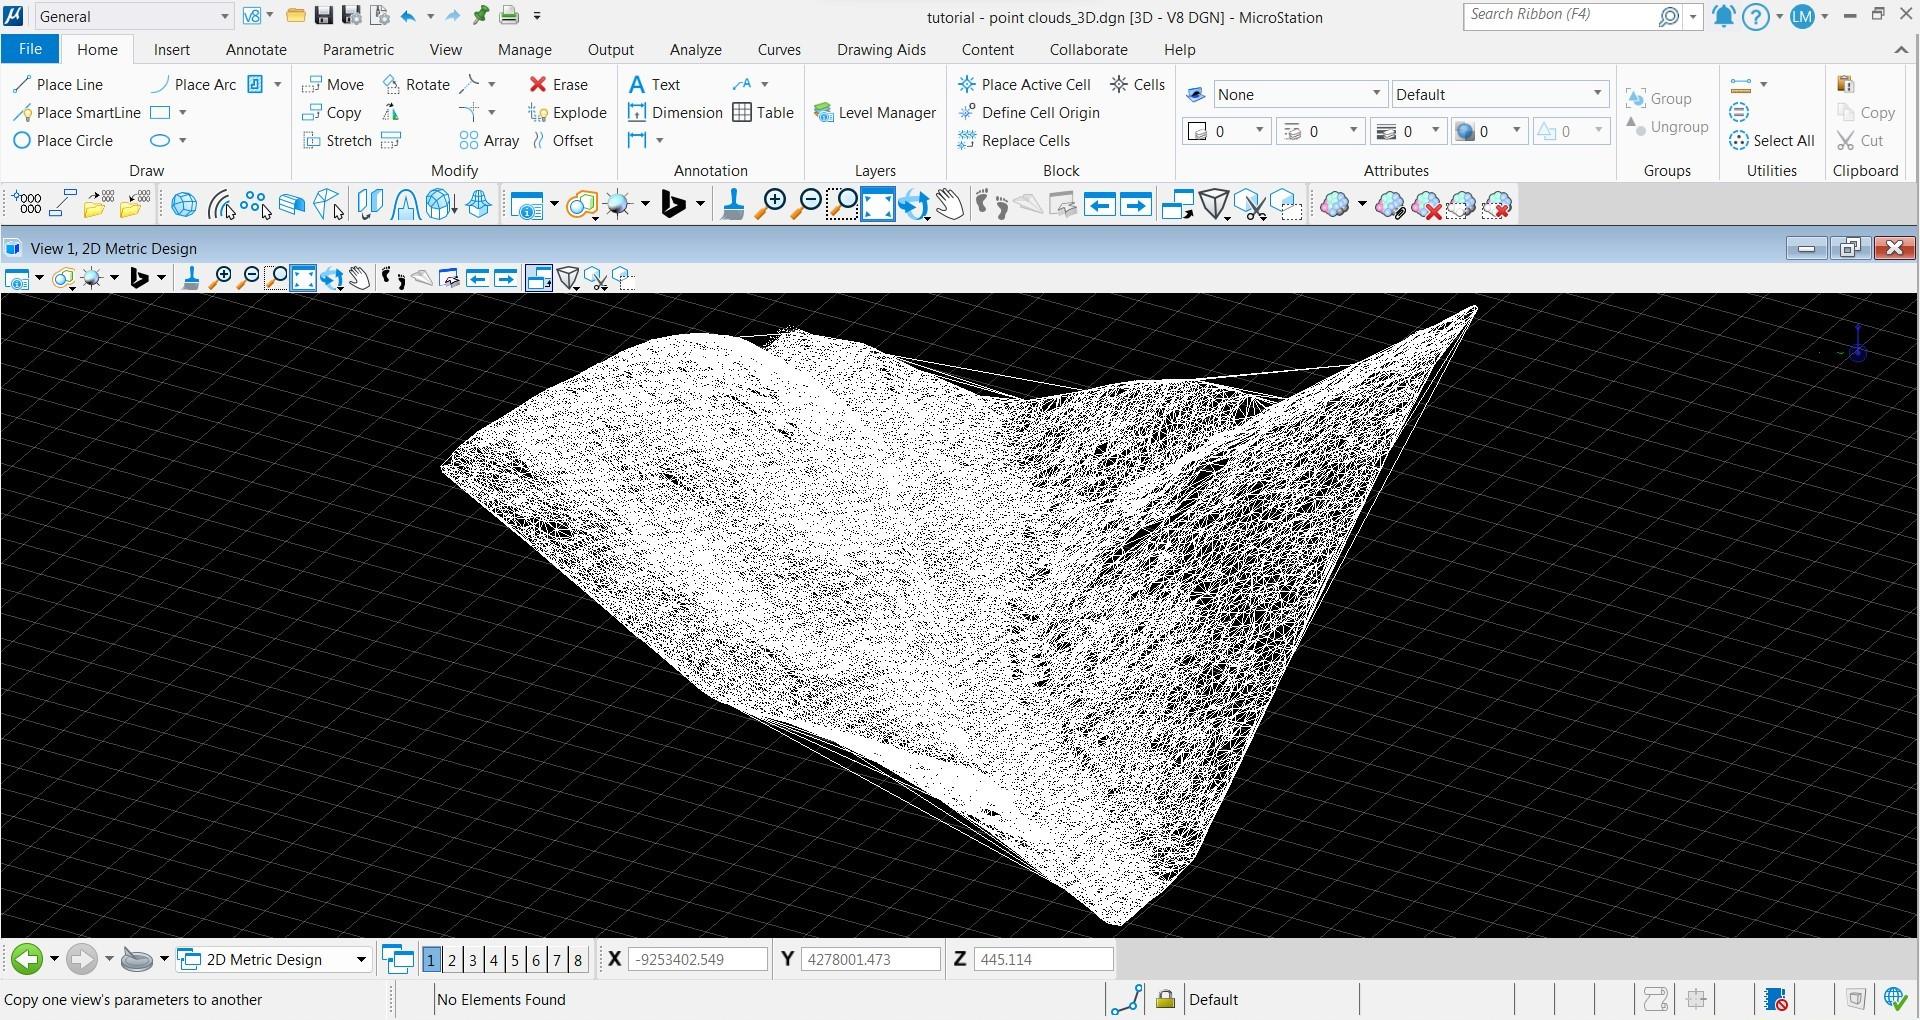
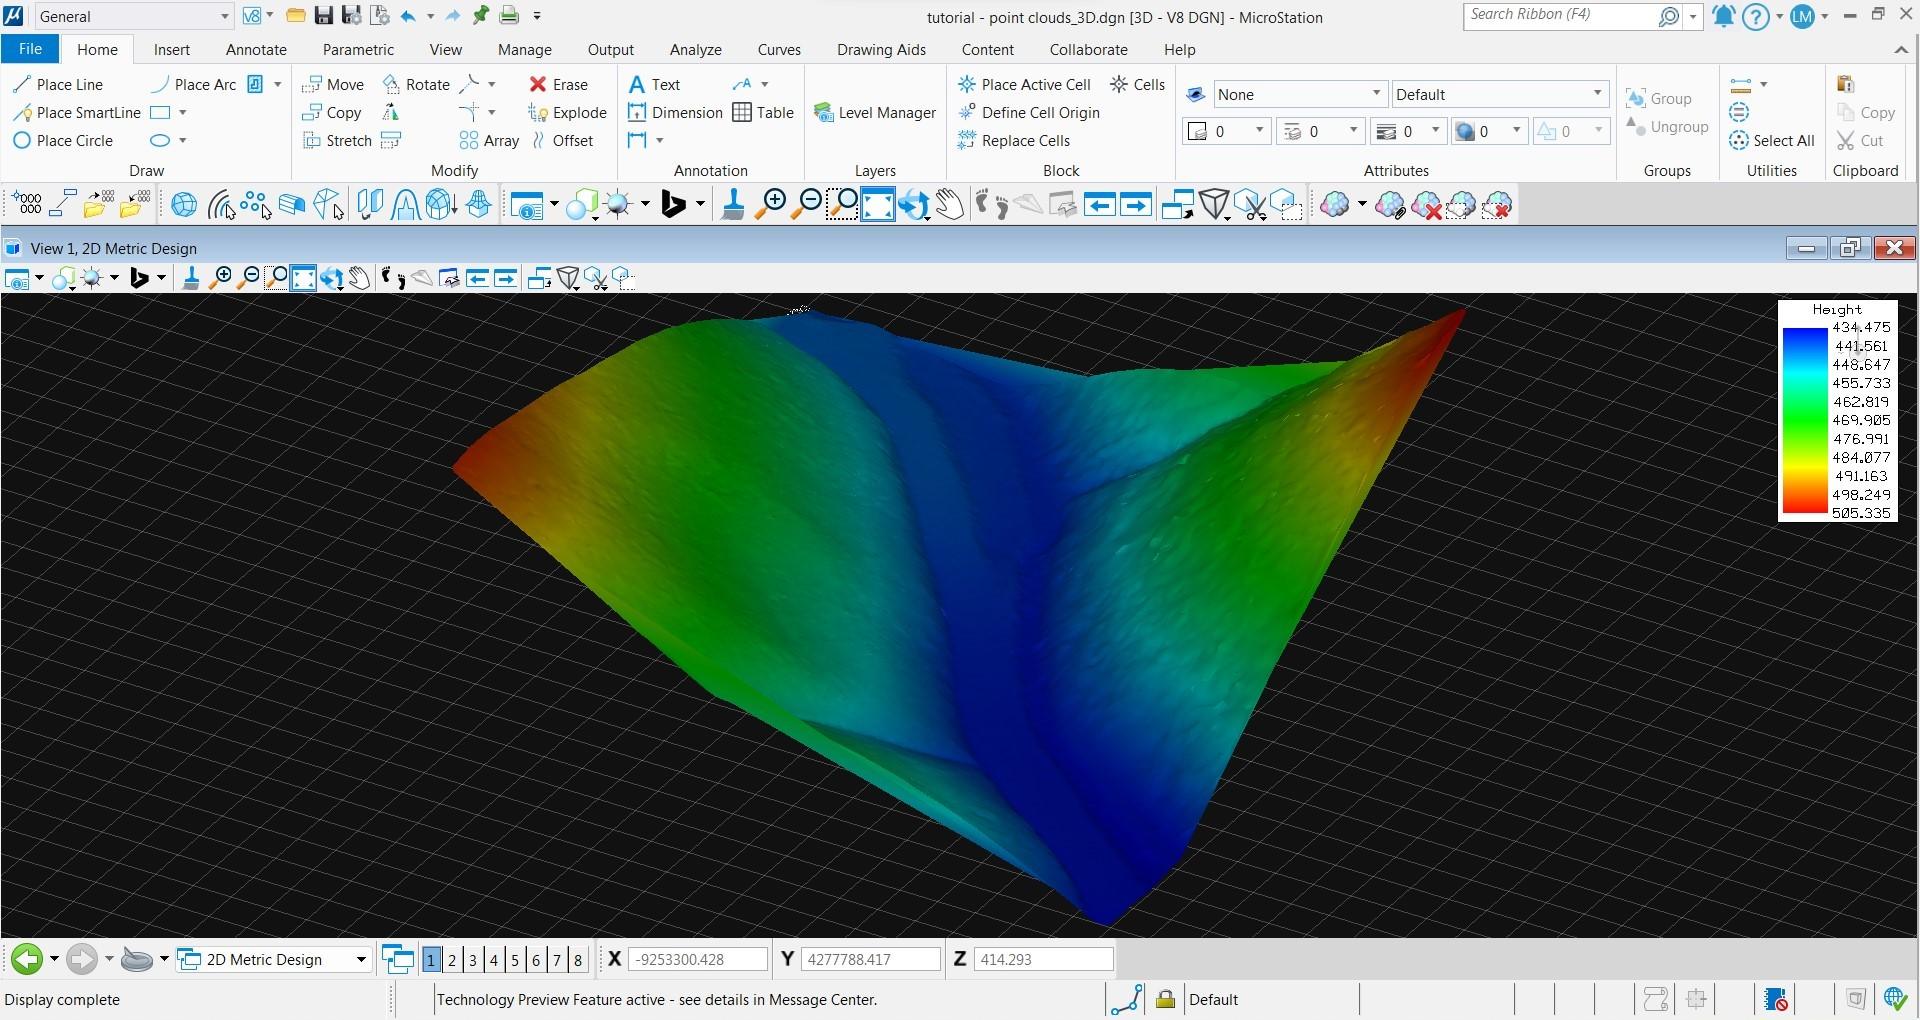
3D Mesh Created in MicroStation from a LiDAR Point Cloud Exported from Equator
Step 1: Source LiDAR Point Cloud
If you already have a LiDAR point cloud, you can skip down to Step 2. If you need a LiDAR point cloud, follow the steps below to generate a .laz file using Equator.
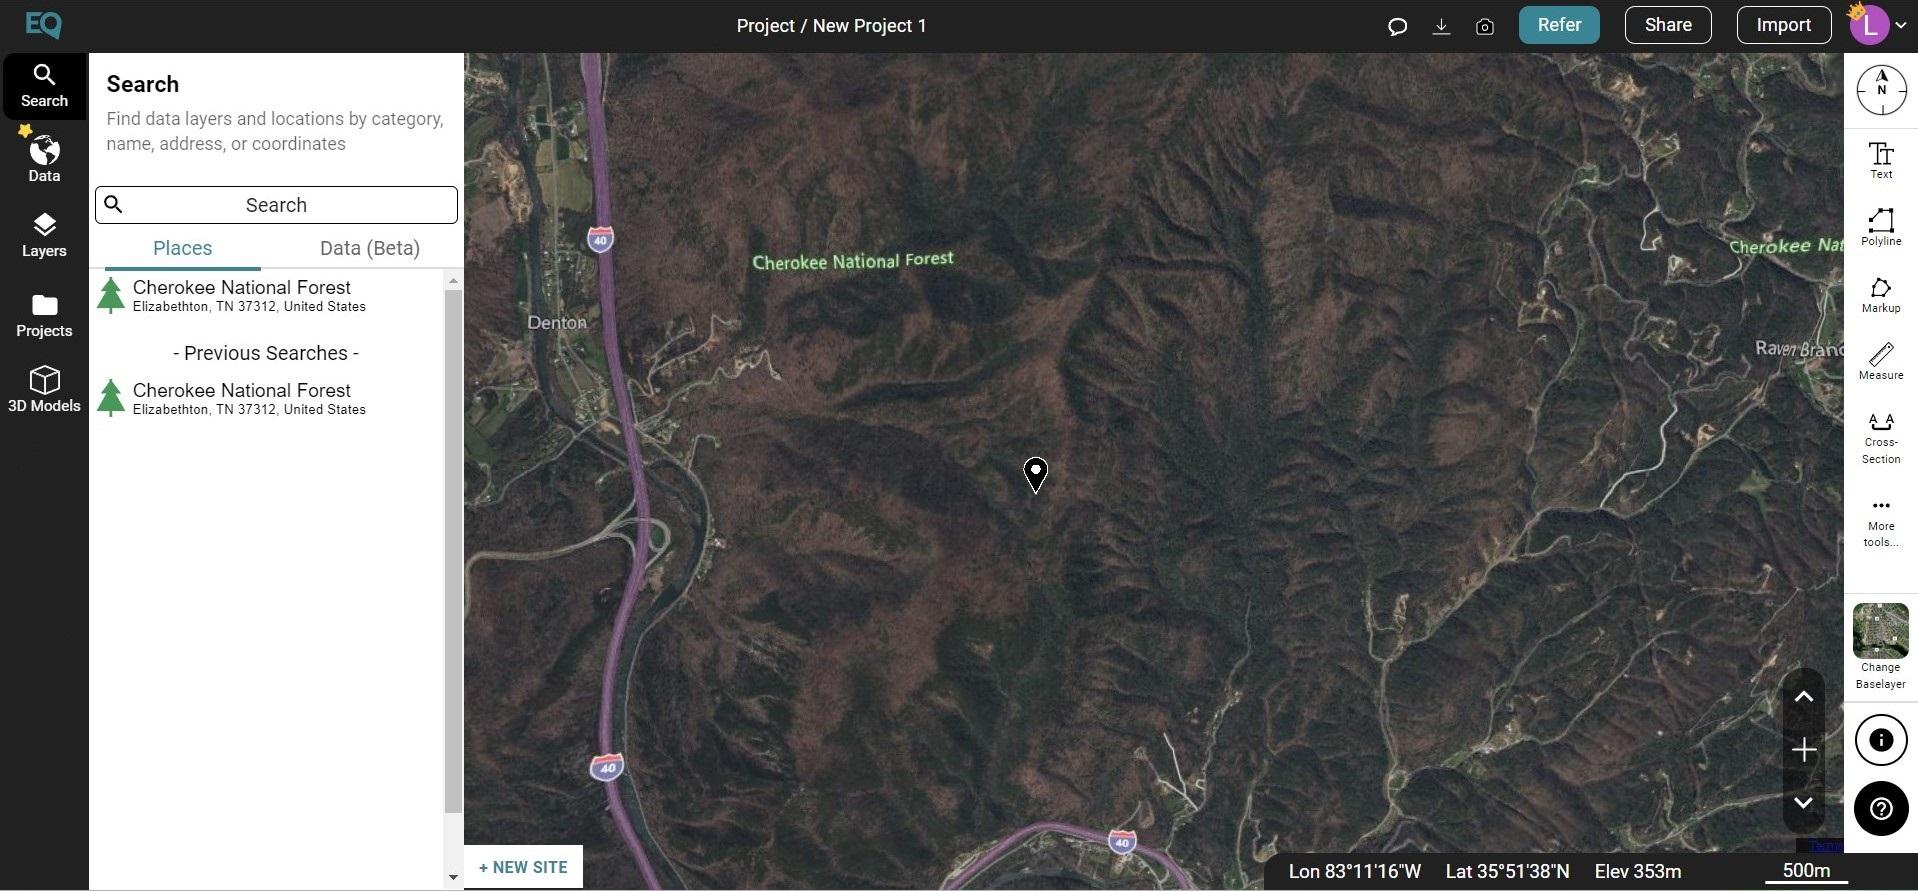
- Locate your project site by using the Search tab or simply zooming into your site.
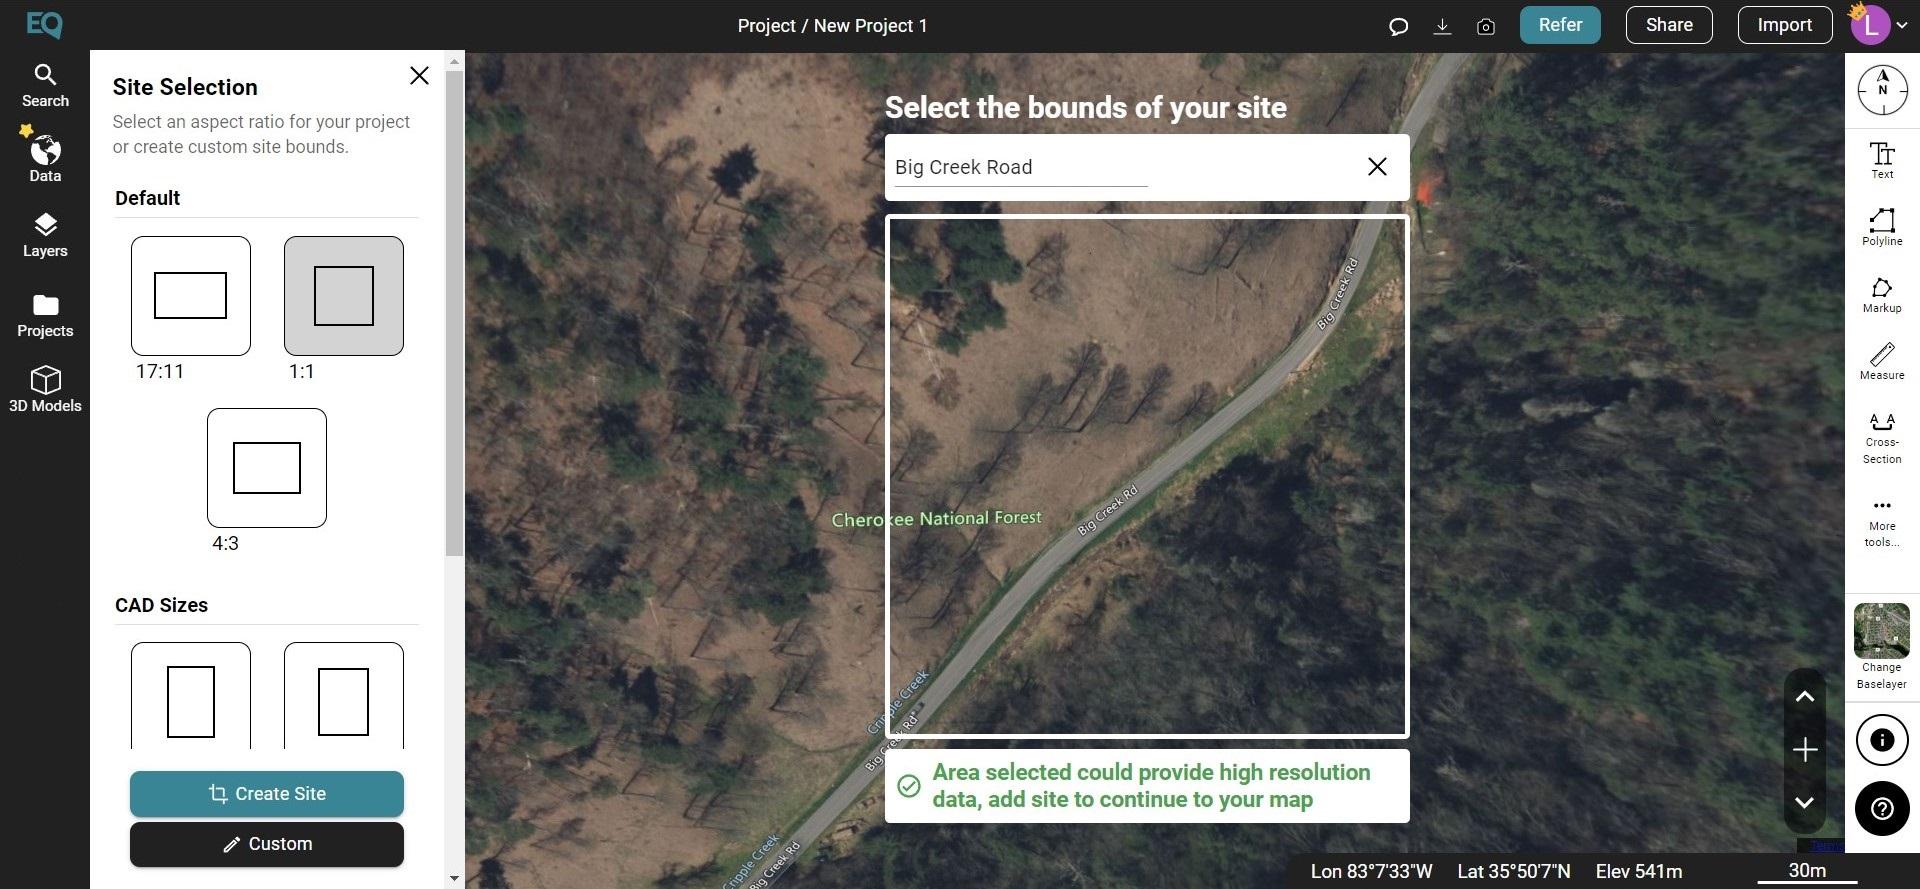
- Create your site boundaries by clicking on the +NEW SITE button on the bottom left of the screen. Use one of the predefined boundary boxes or create a custom boundary. Don’t forget to name your project site.
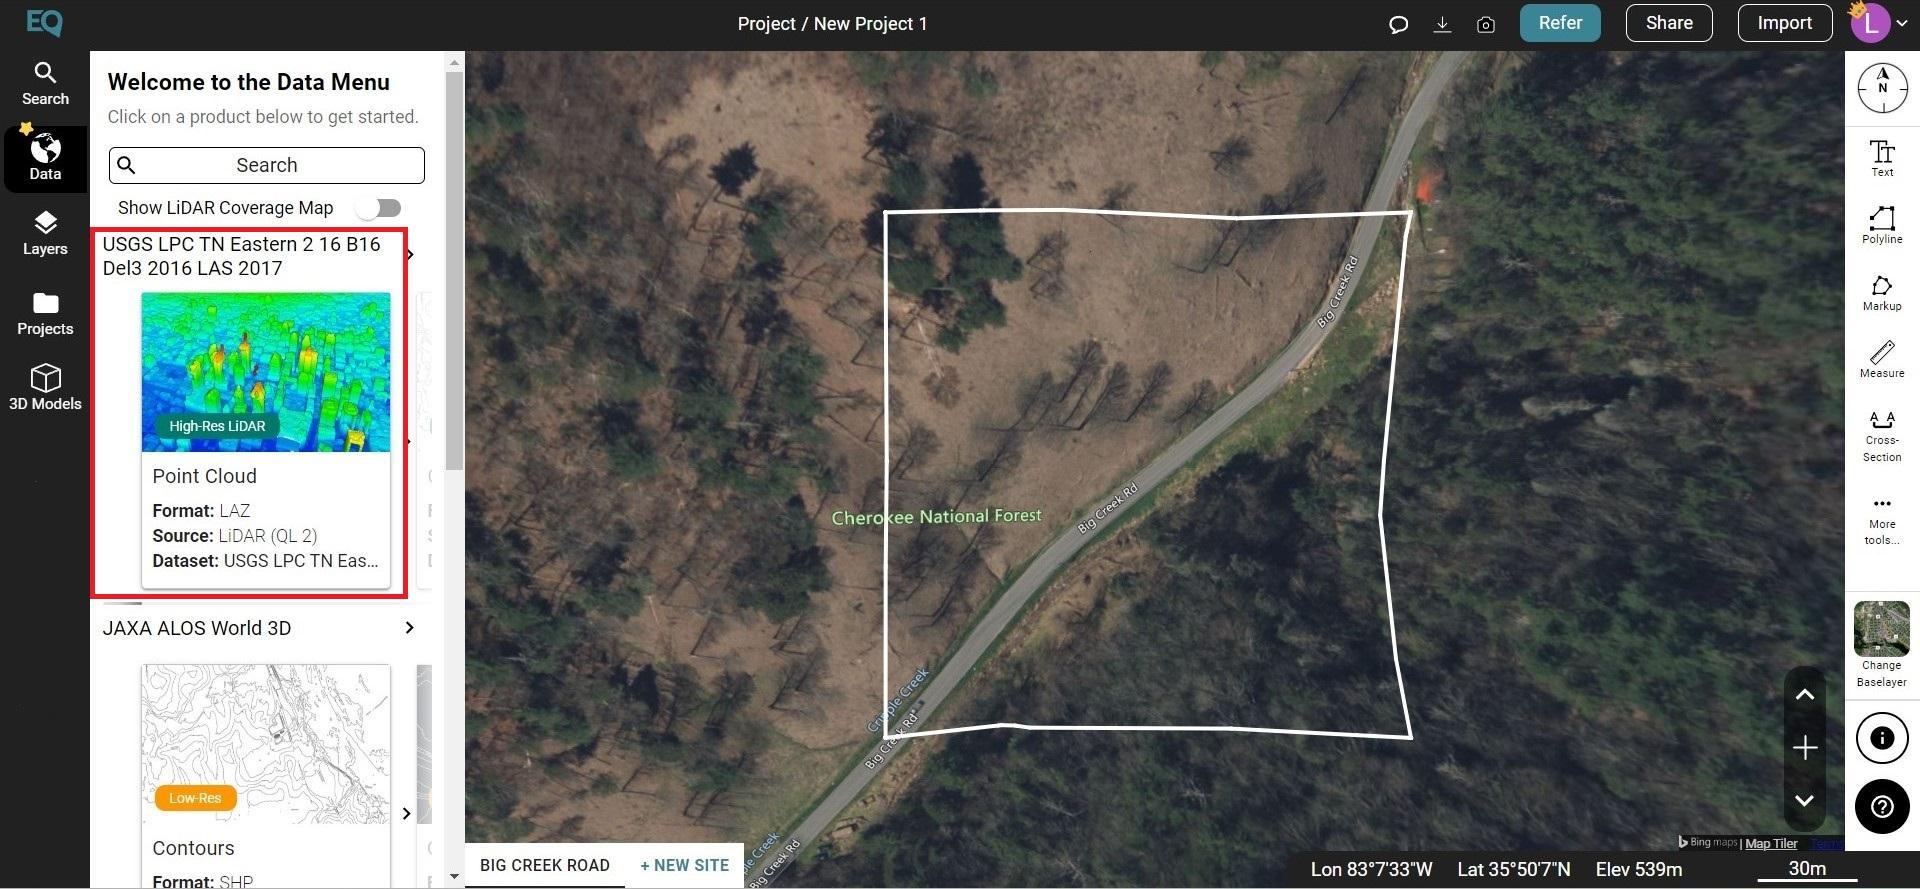
- Under the Data tab, click on the Point Cloud option.
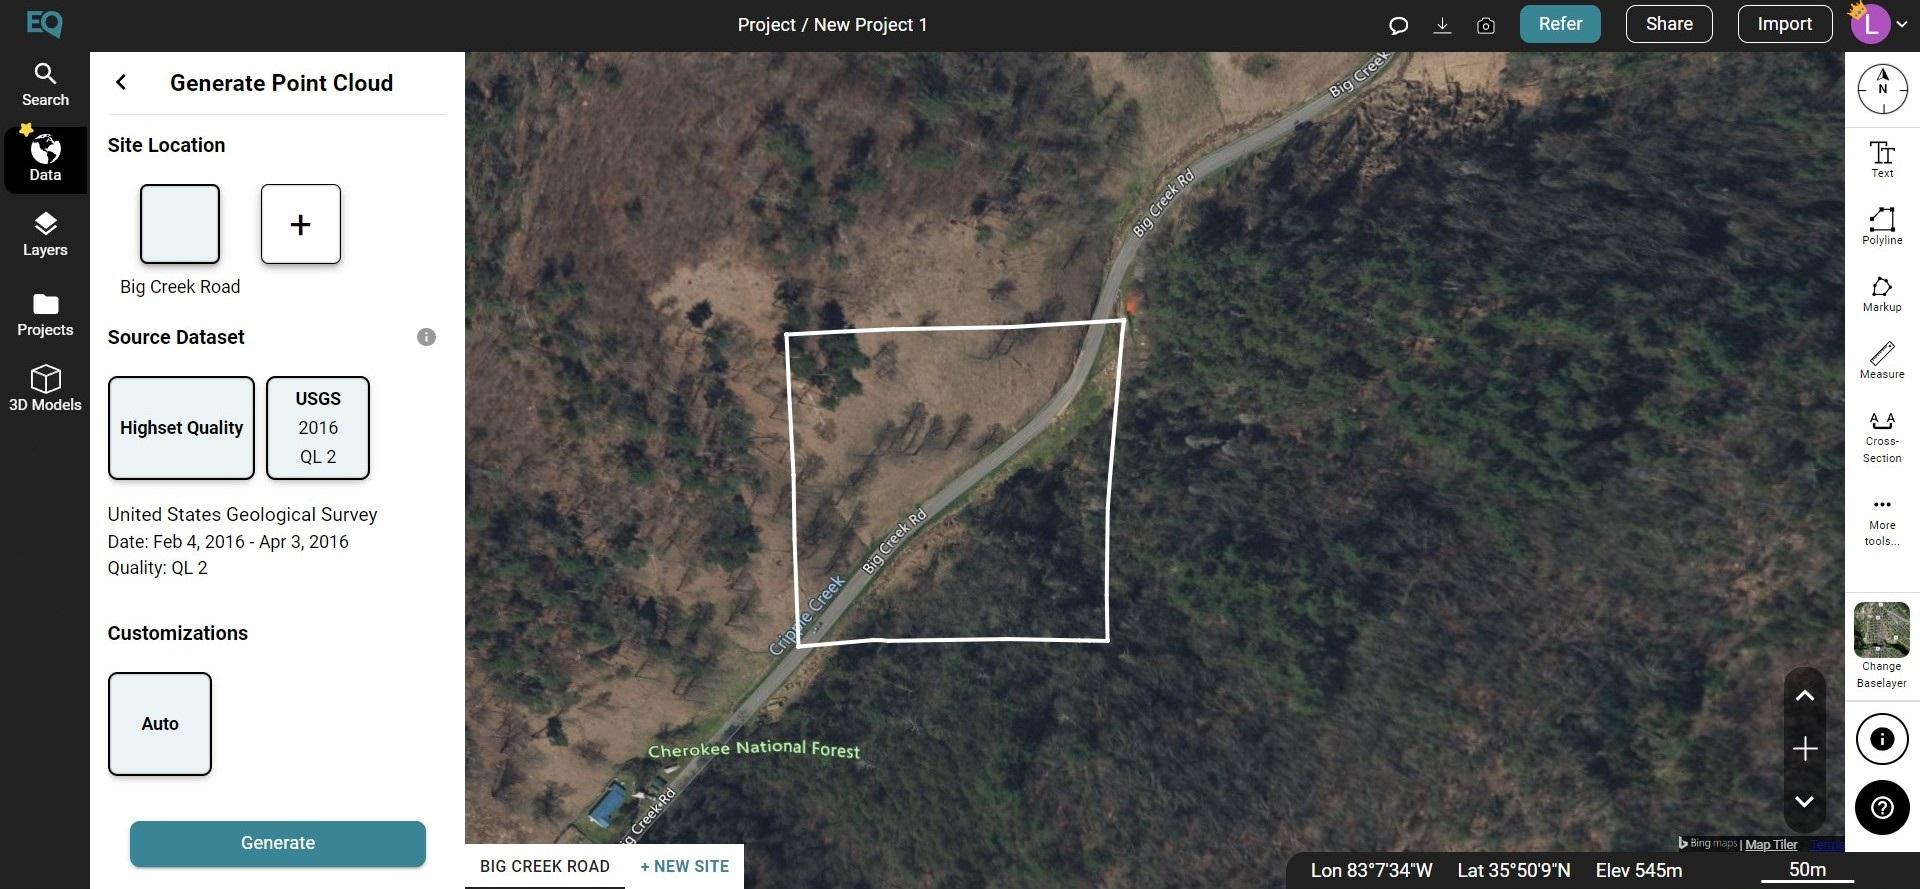
- The Point Cloud dialog box will appear. Select your project site, source dataset and any customizations. Then click Generate.
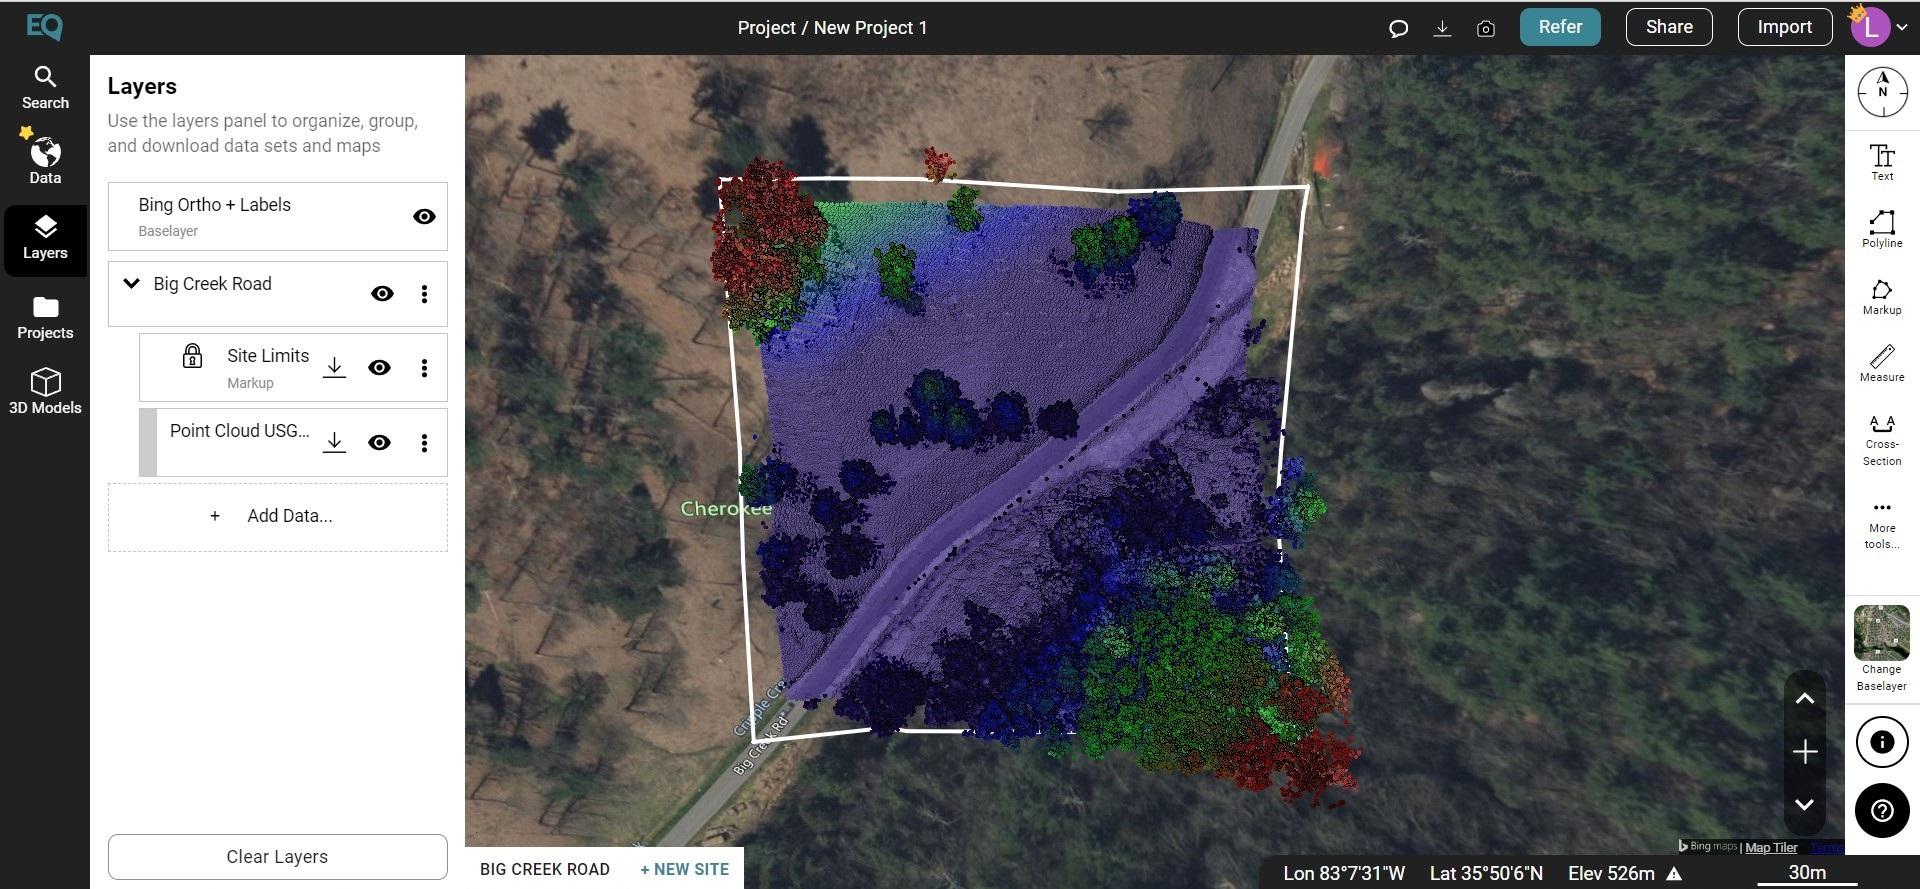
- The point cloud for your project site will appear within the site boundary.
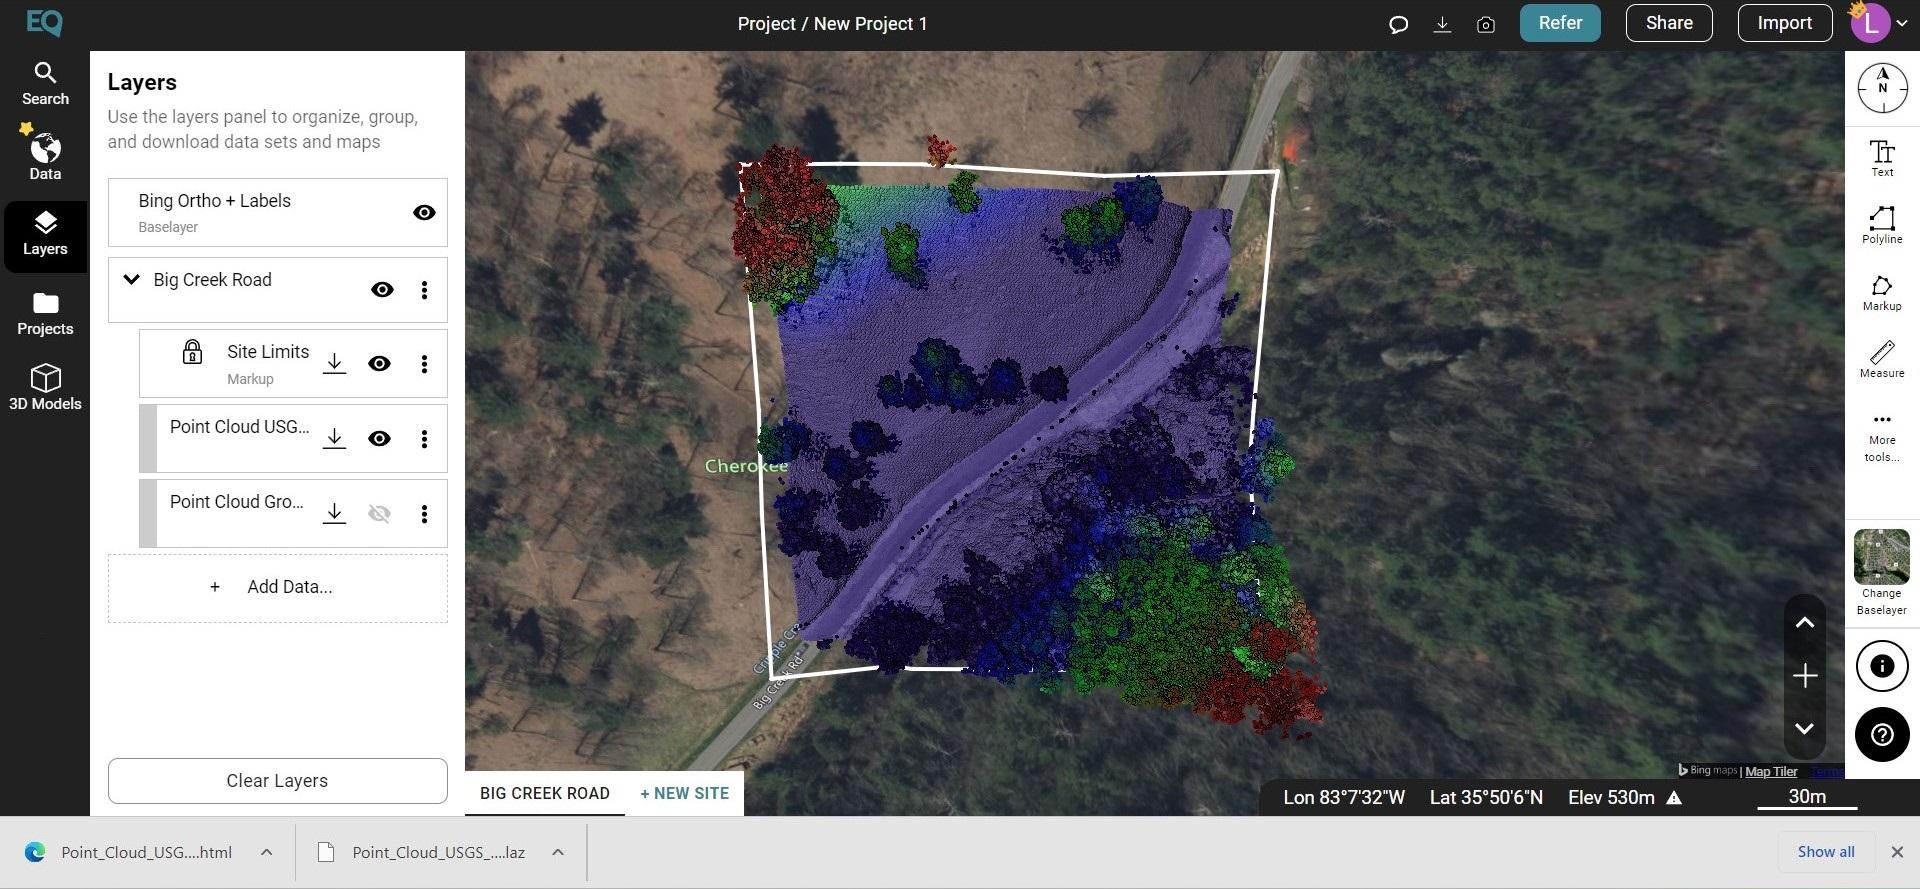
- To export the point cloud out of Equator, go to the Layers tab and click the download button beside the point cloud layer.
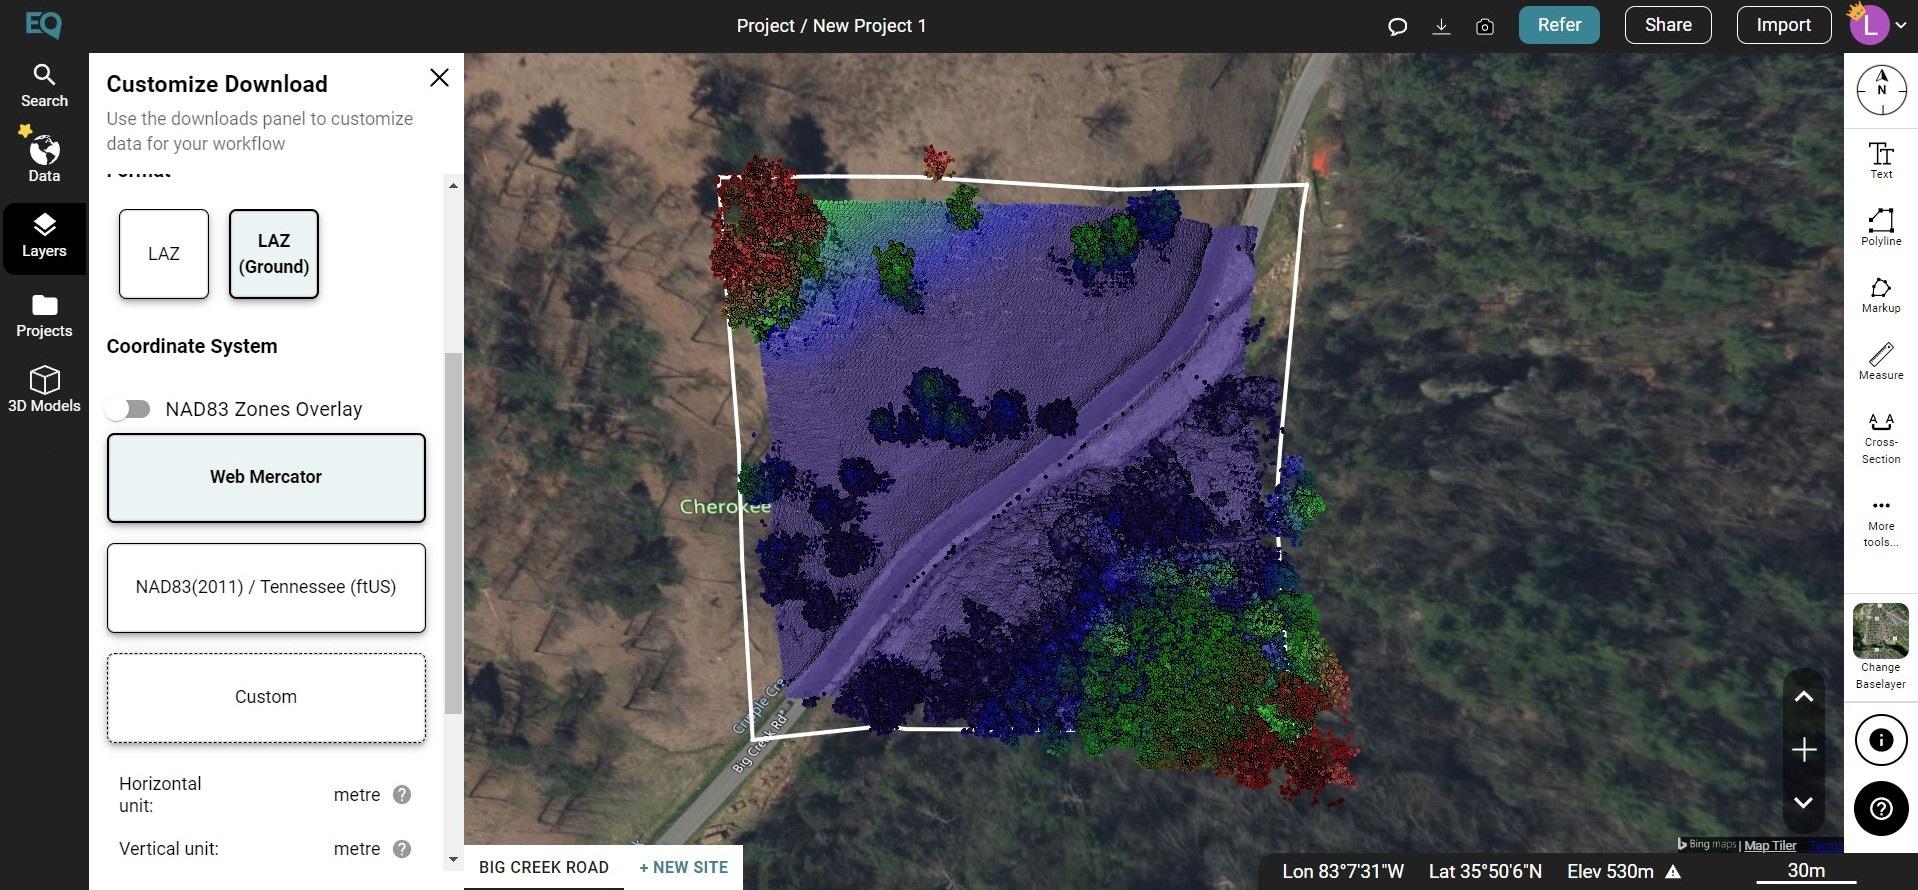
- The Customize Download dialog box will appear. Select LAZ (Ground) as your format, set your coordinate system, and press Process.
- Your LiDAR point cloud (.laz file) will download into your Downloads file.
Download LiDAR Point Cloud from Equator, Steps 1-8
Step 2: Import LiDAR Point Cloud (.laz) into MicroStation and Create 3D Mesh
Note: This tutorial is created using MicroStation 2023 (version 23.00.00.108)
Part 1: Setting Up Your 3D Workspace in MicroStation
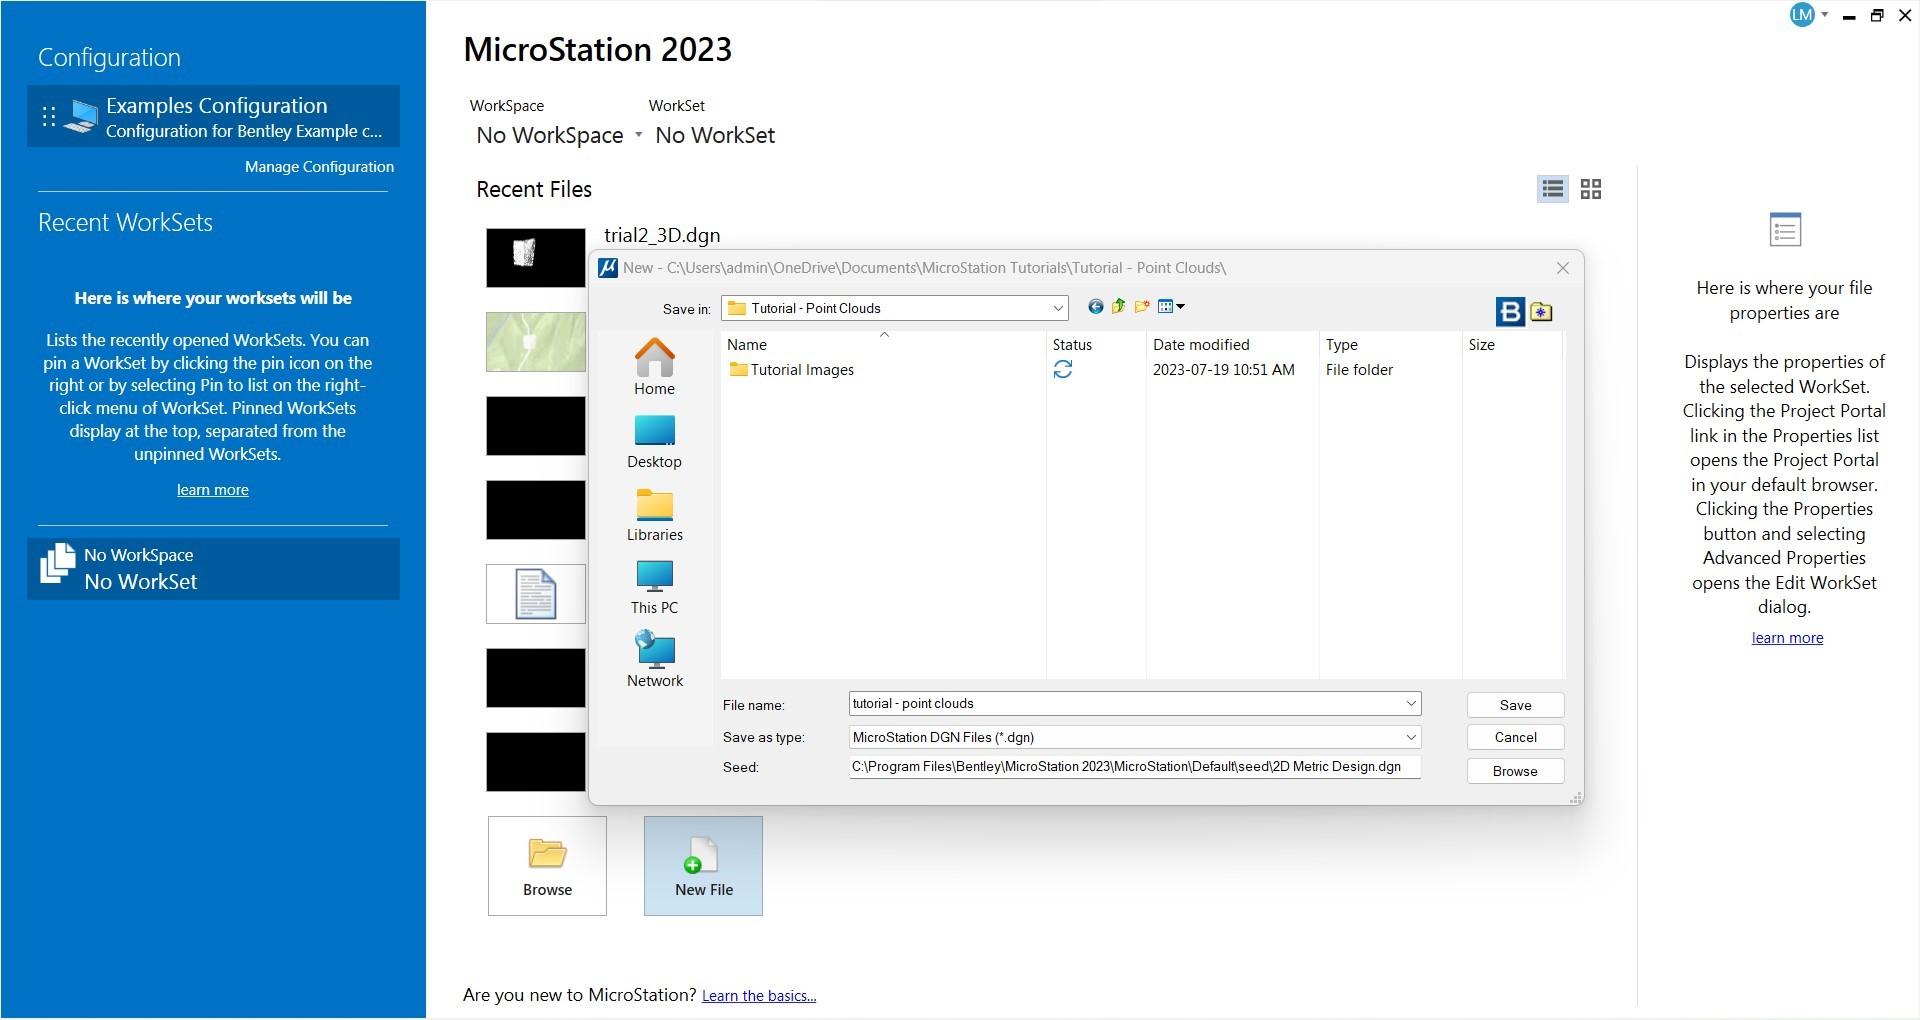
- Create a new drawing in MicroStation (File > New > name drawing and save as a .dgn). If you have an existing 3D drawing that the point cloud will be importing into, skip down to step 5.
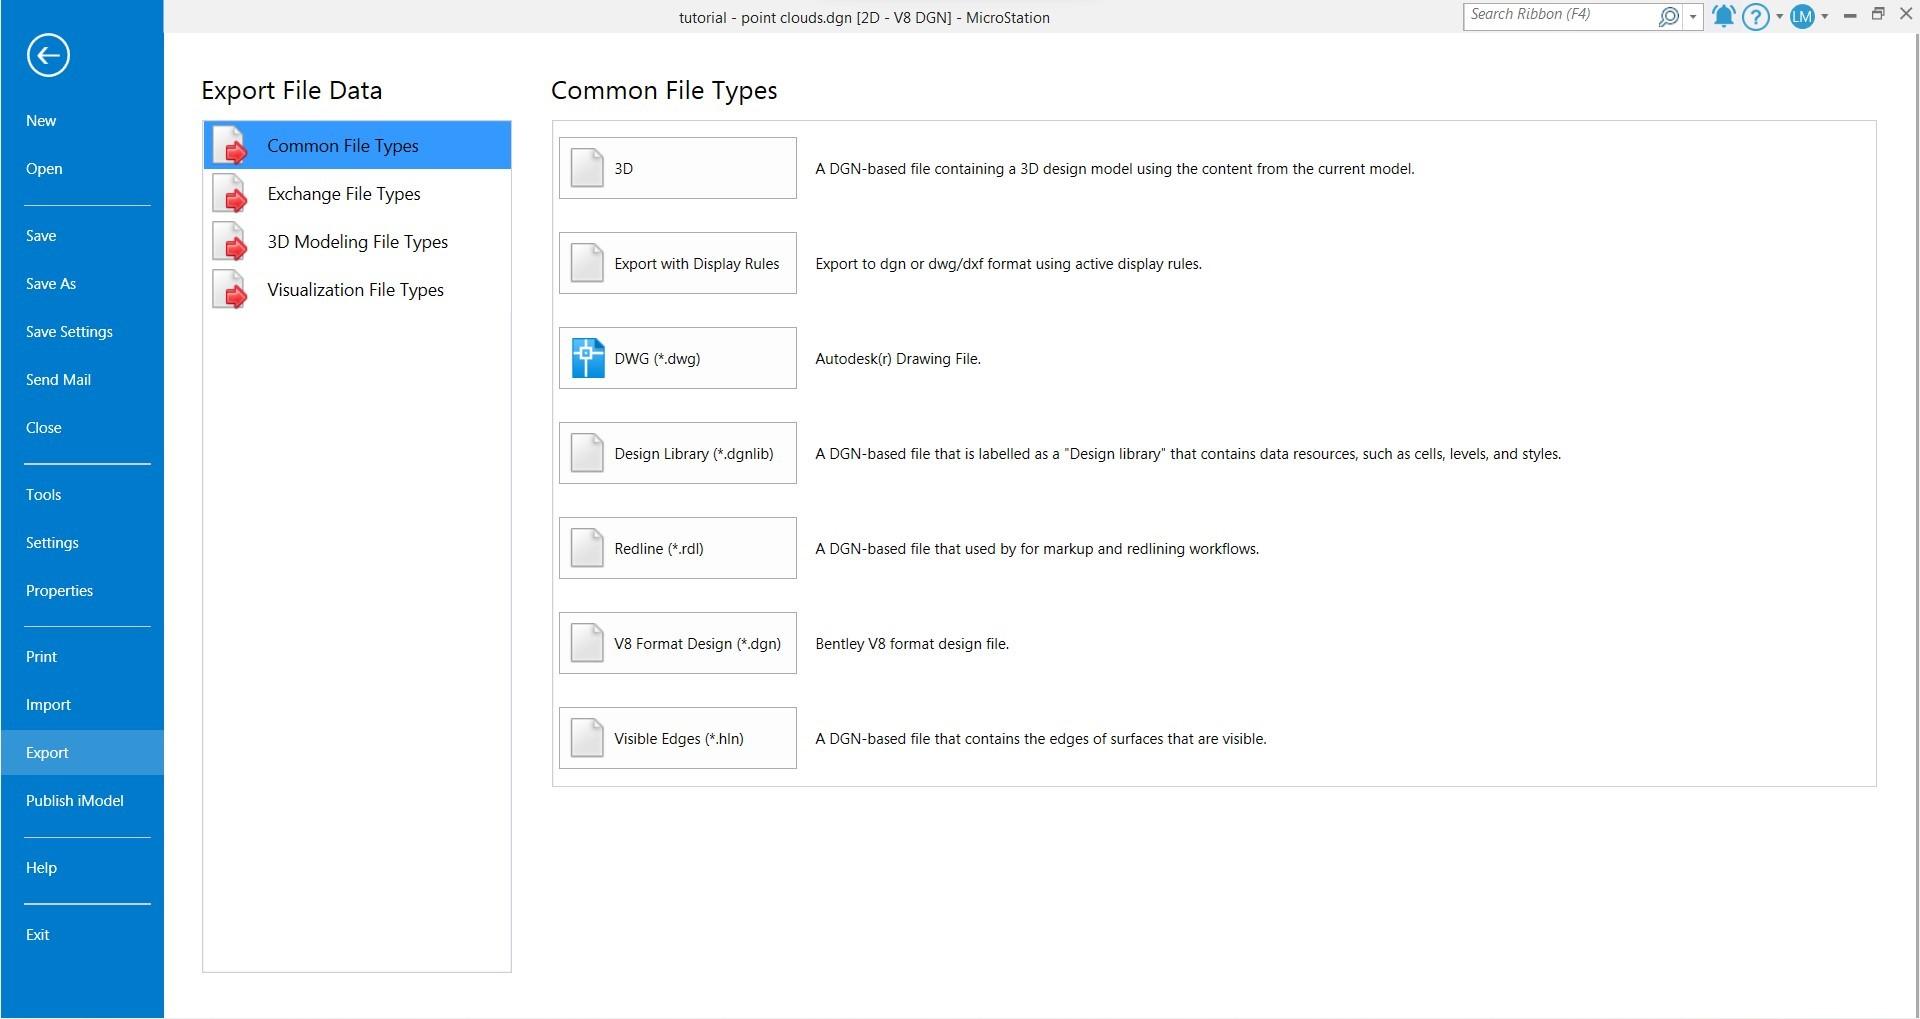
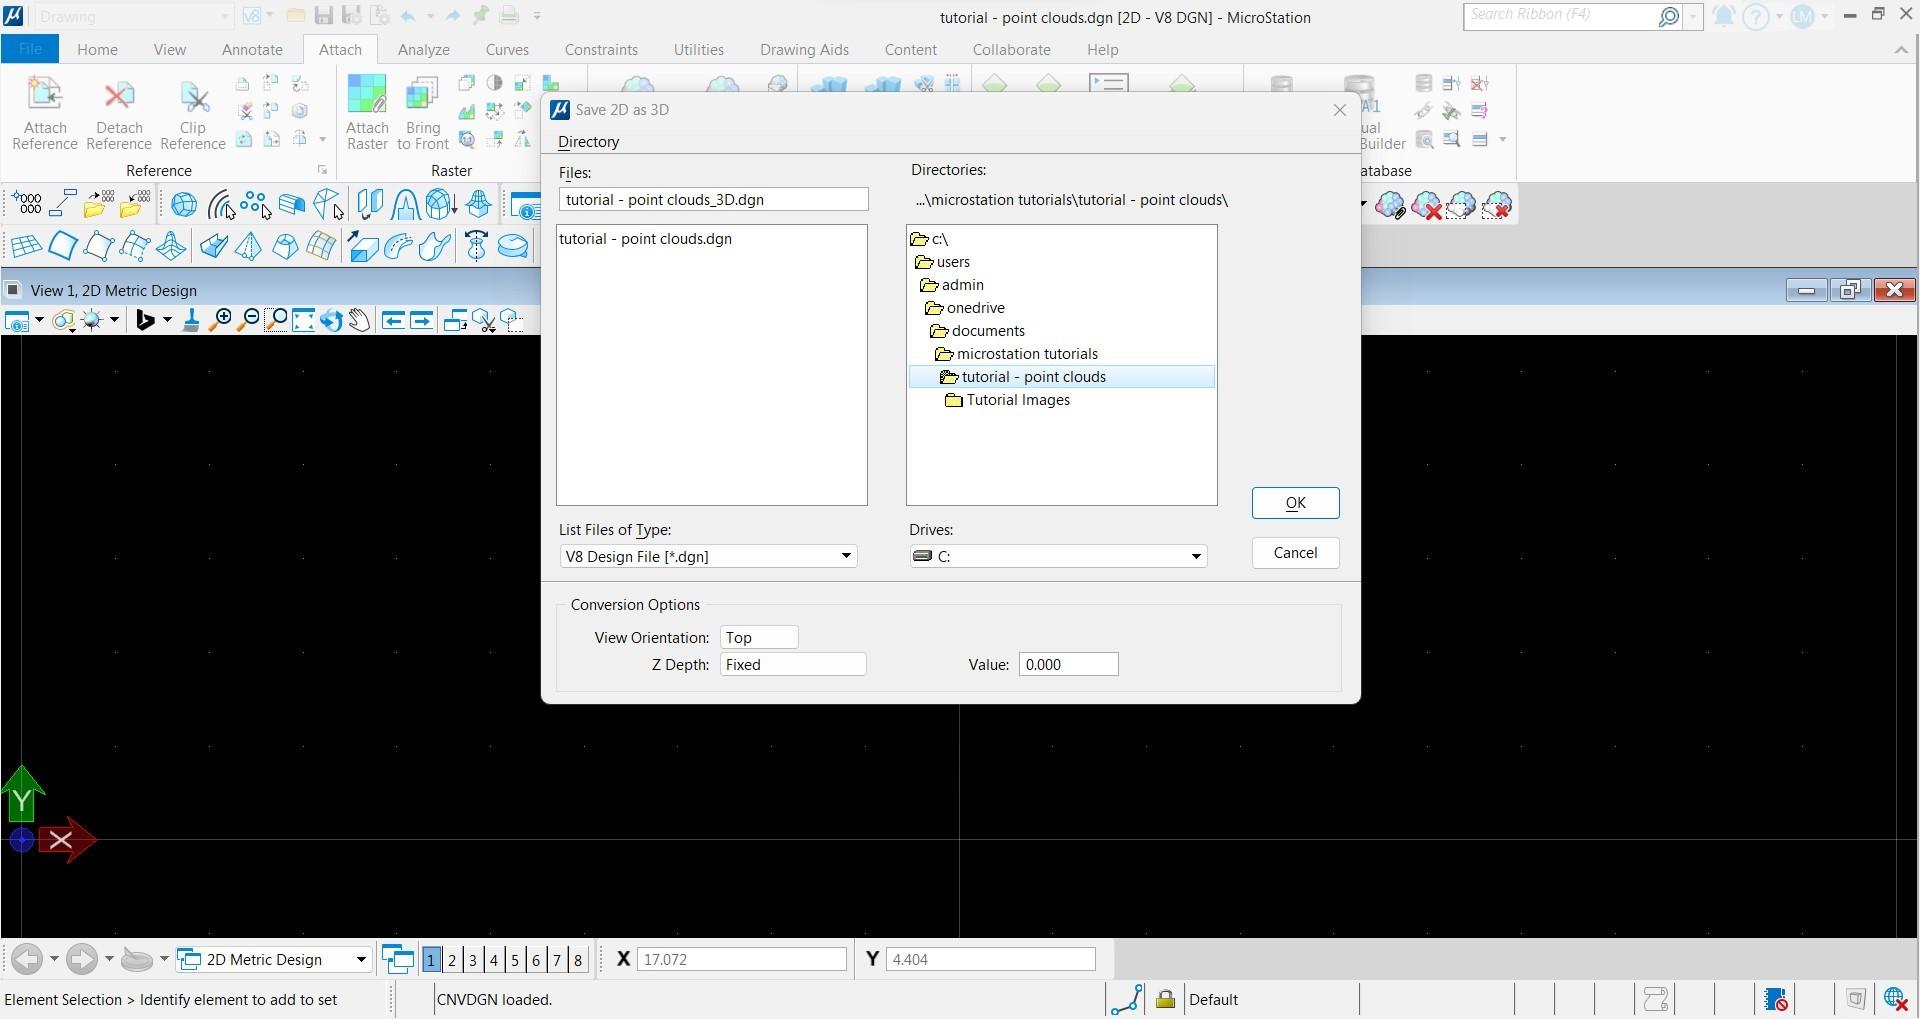
- Since a point cloud has x, y, and z coordinates, a 3D file needs to be created by going to File > Export > 3D > name file and click OK
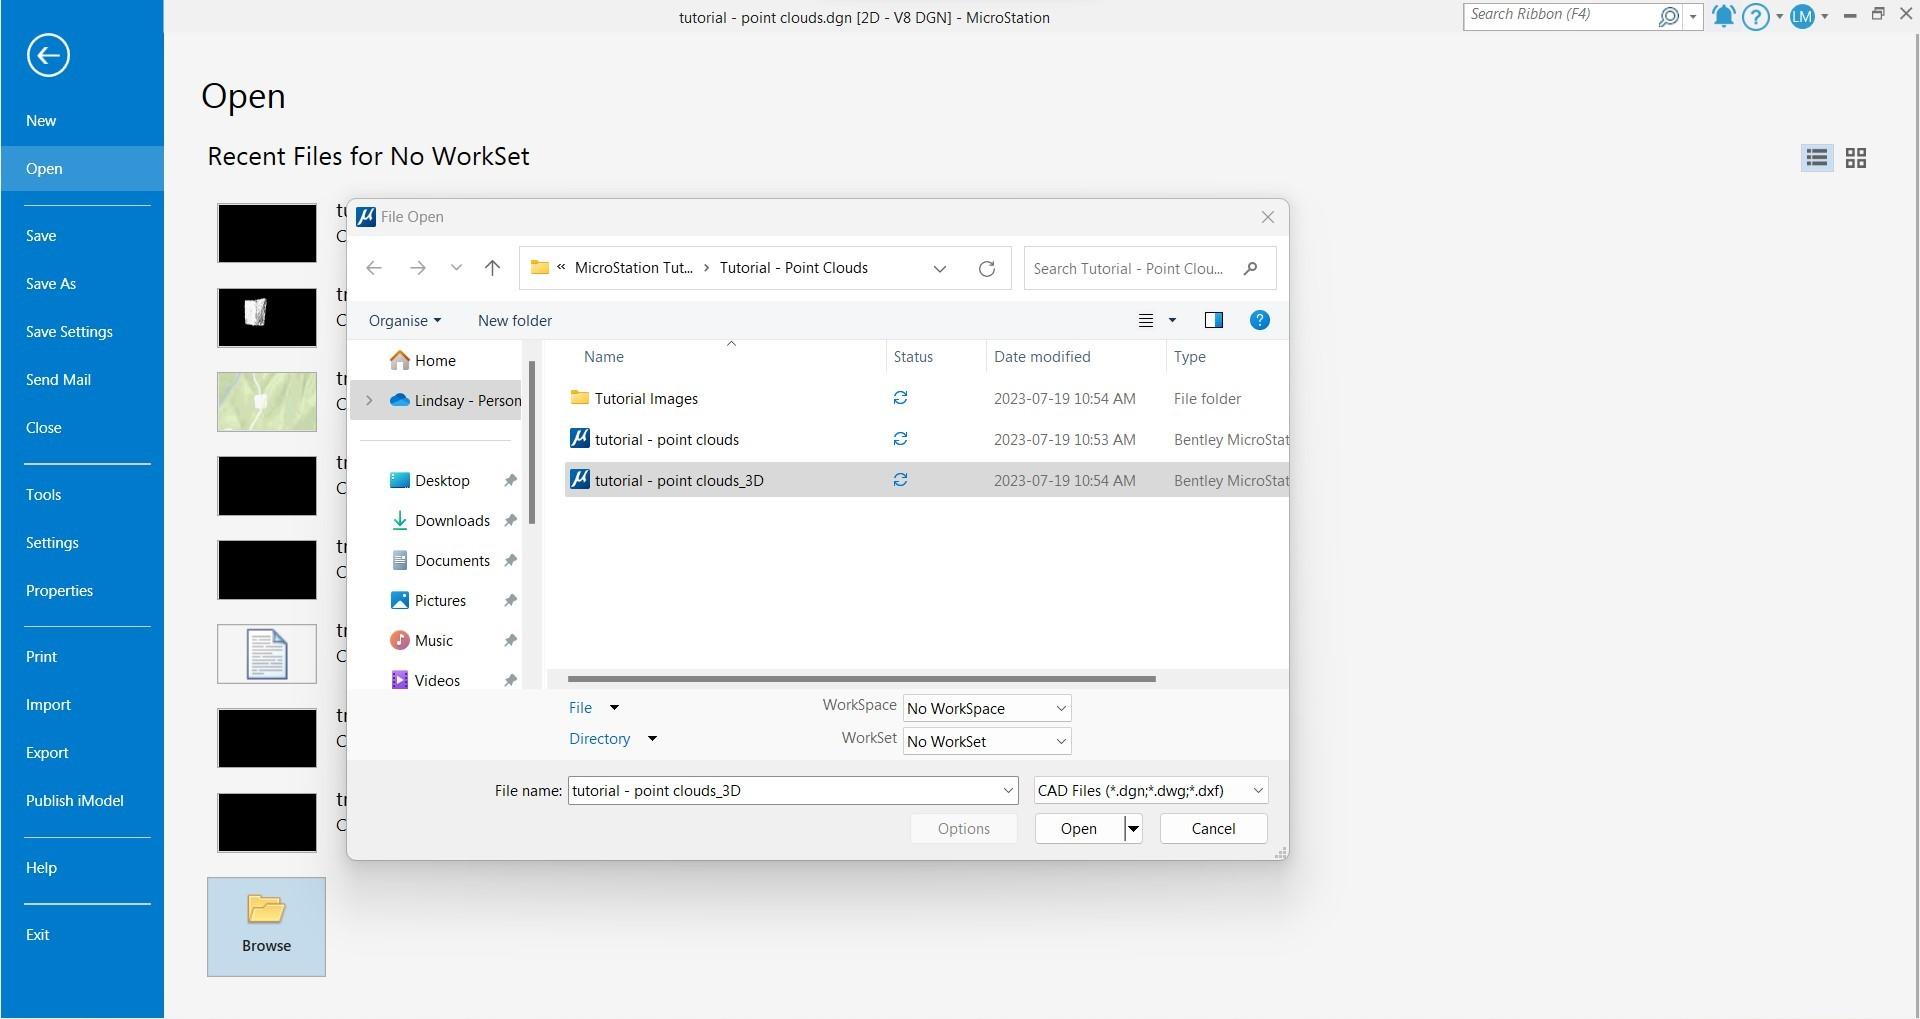
- Now open your newly created 3D file by going to File > Open > your new 3D drawing file
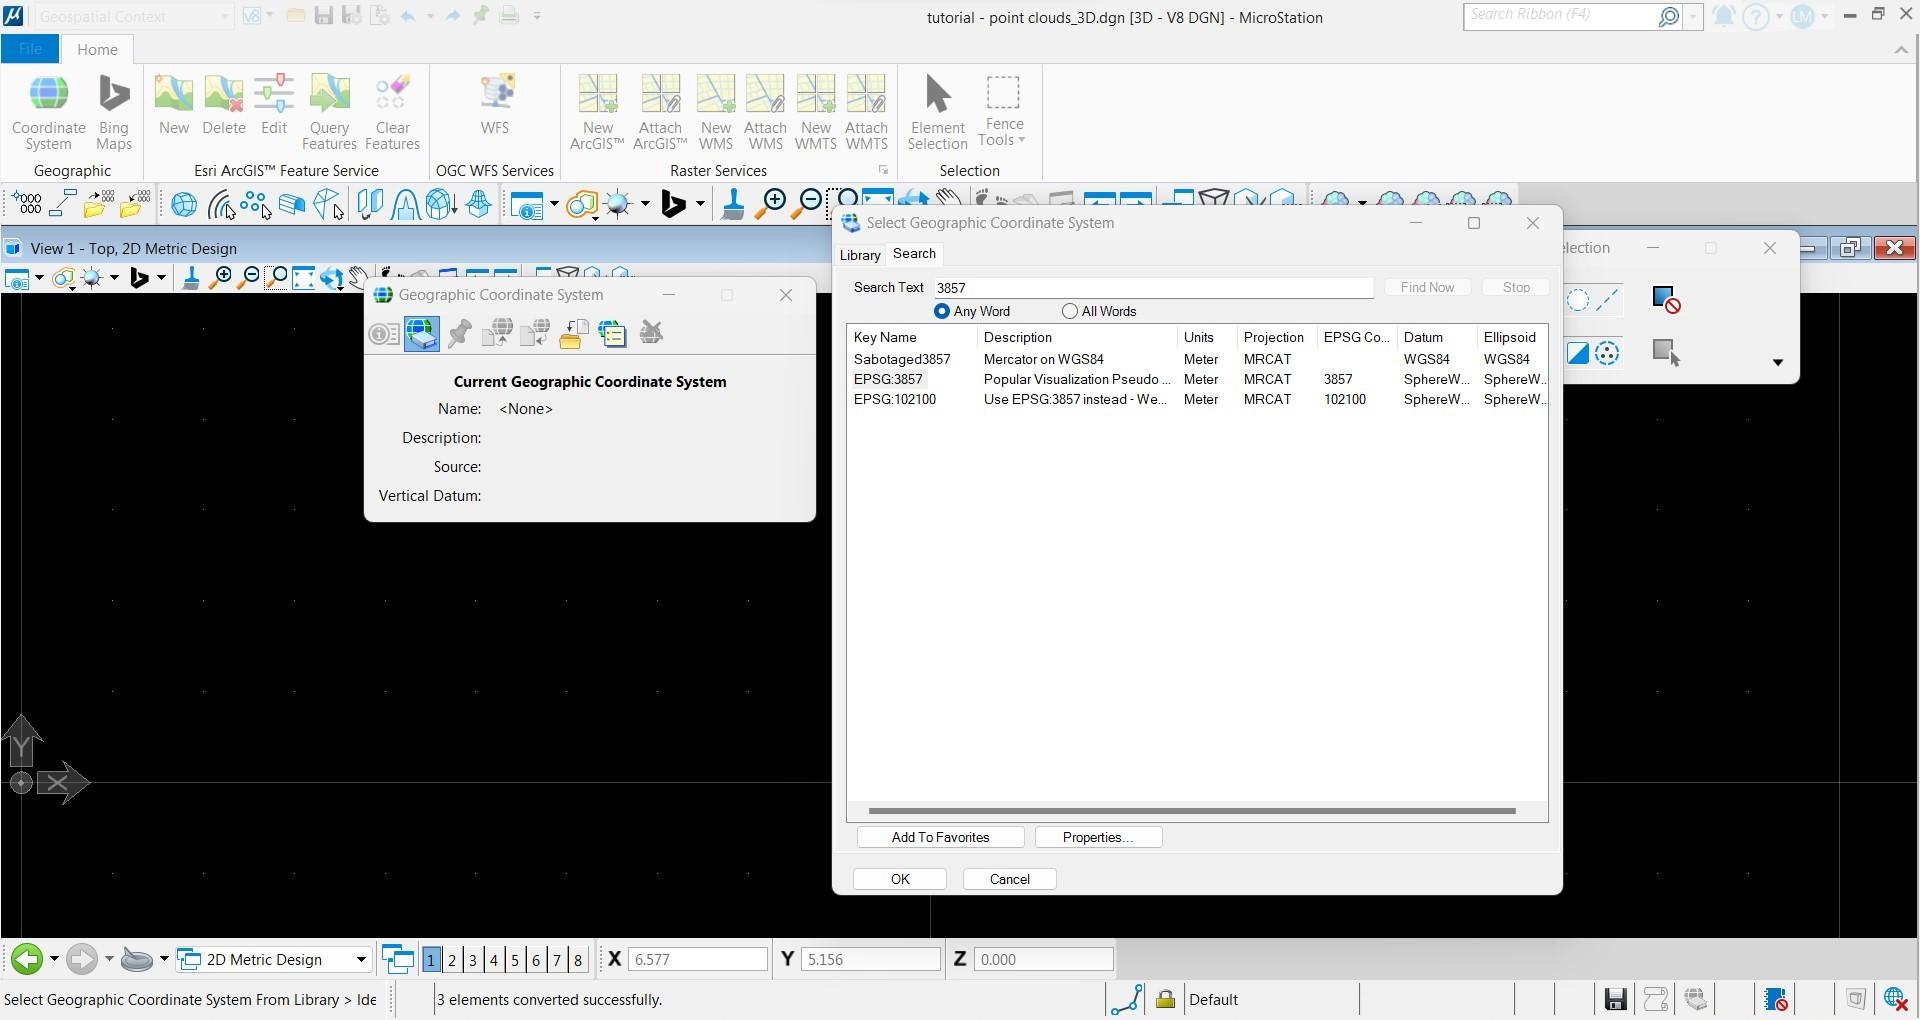
- Set coordinate system based on the point cloud by going to Coordinate Systems > from Library > Search and enter the EPSG that you downloaded your .laz file in from Equator.
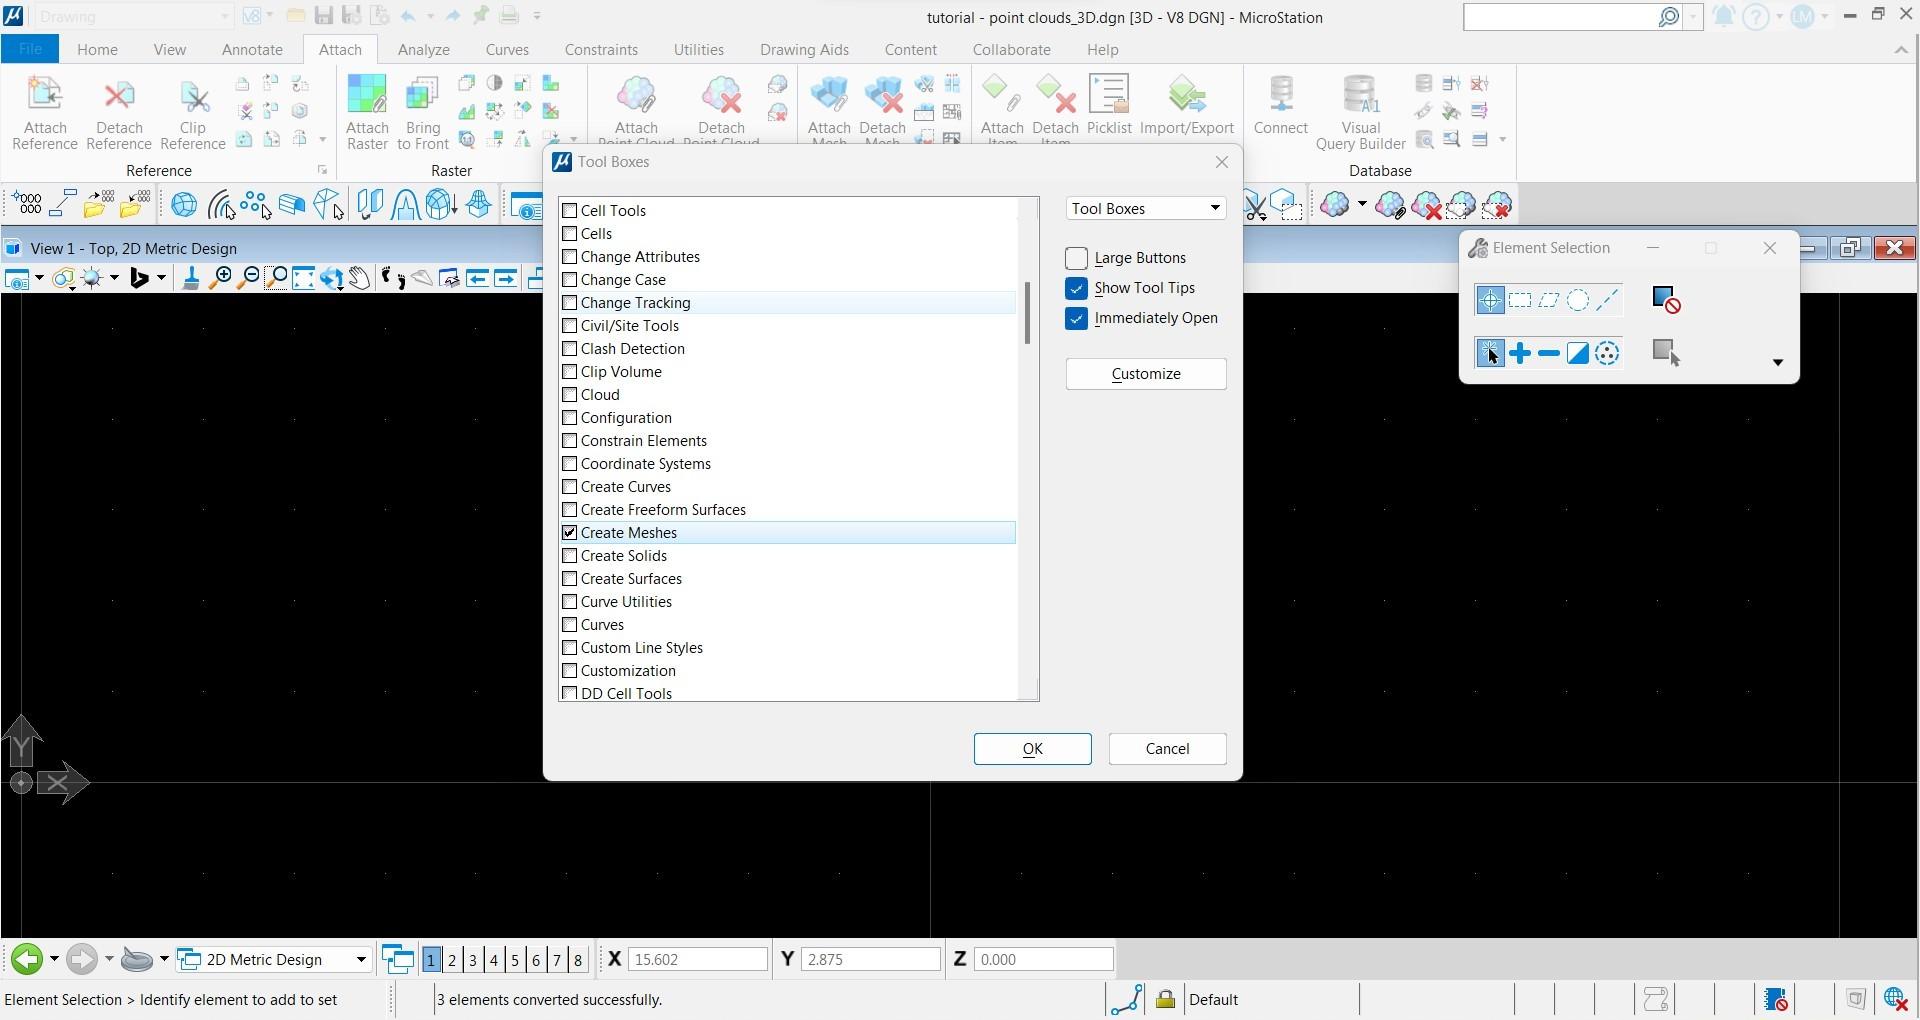
- Make sure the Point Cloud and XYZ Text tool boxes are visible. To open these, go to Tool boxes (type this into the search menu), turn on Point Clouds and XYZ text.
Part 2: Import Point Cloud File
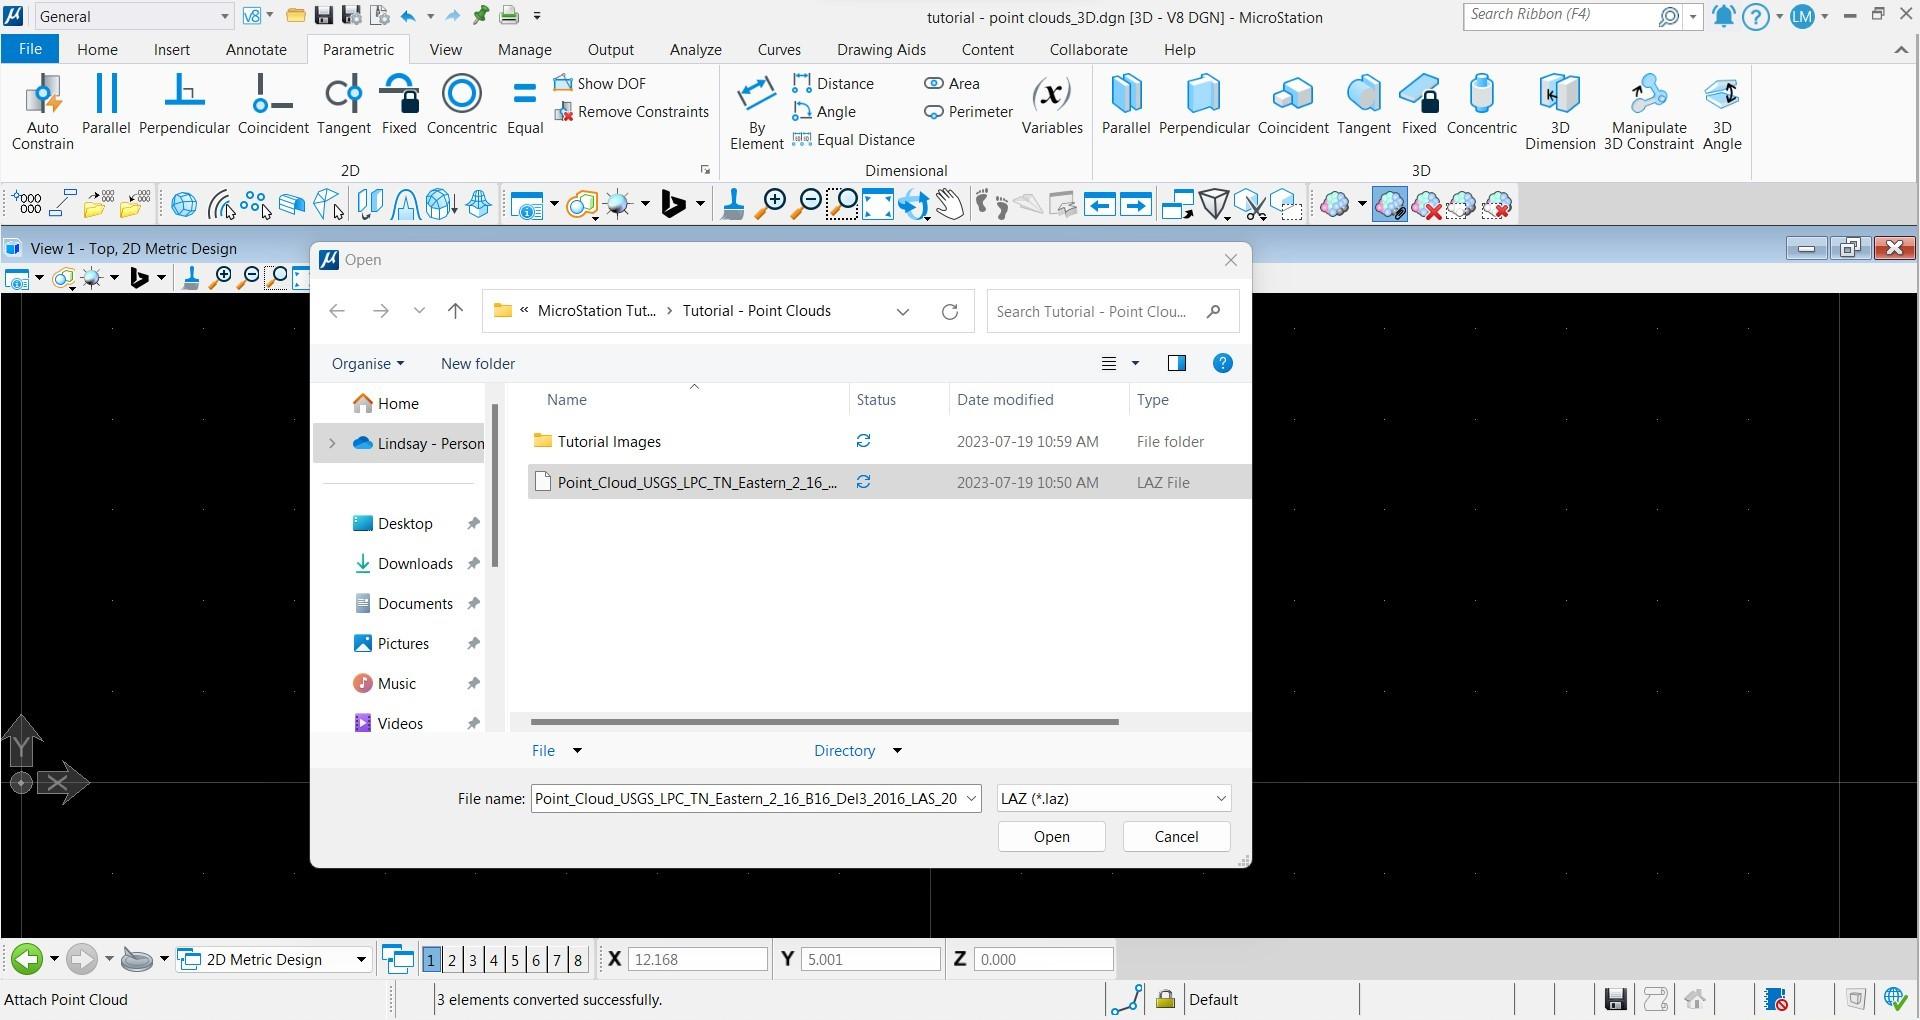
- In the Point Cloud dialog box, select attach point cloud, the change the filetype to .laz and select the downloaded lidar point cloud. Press OK
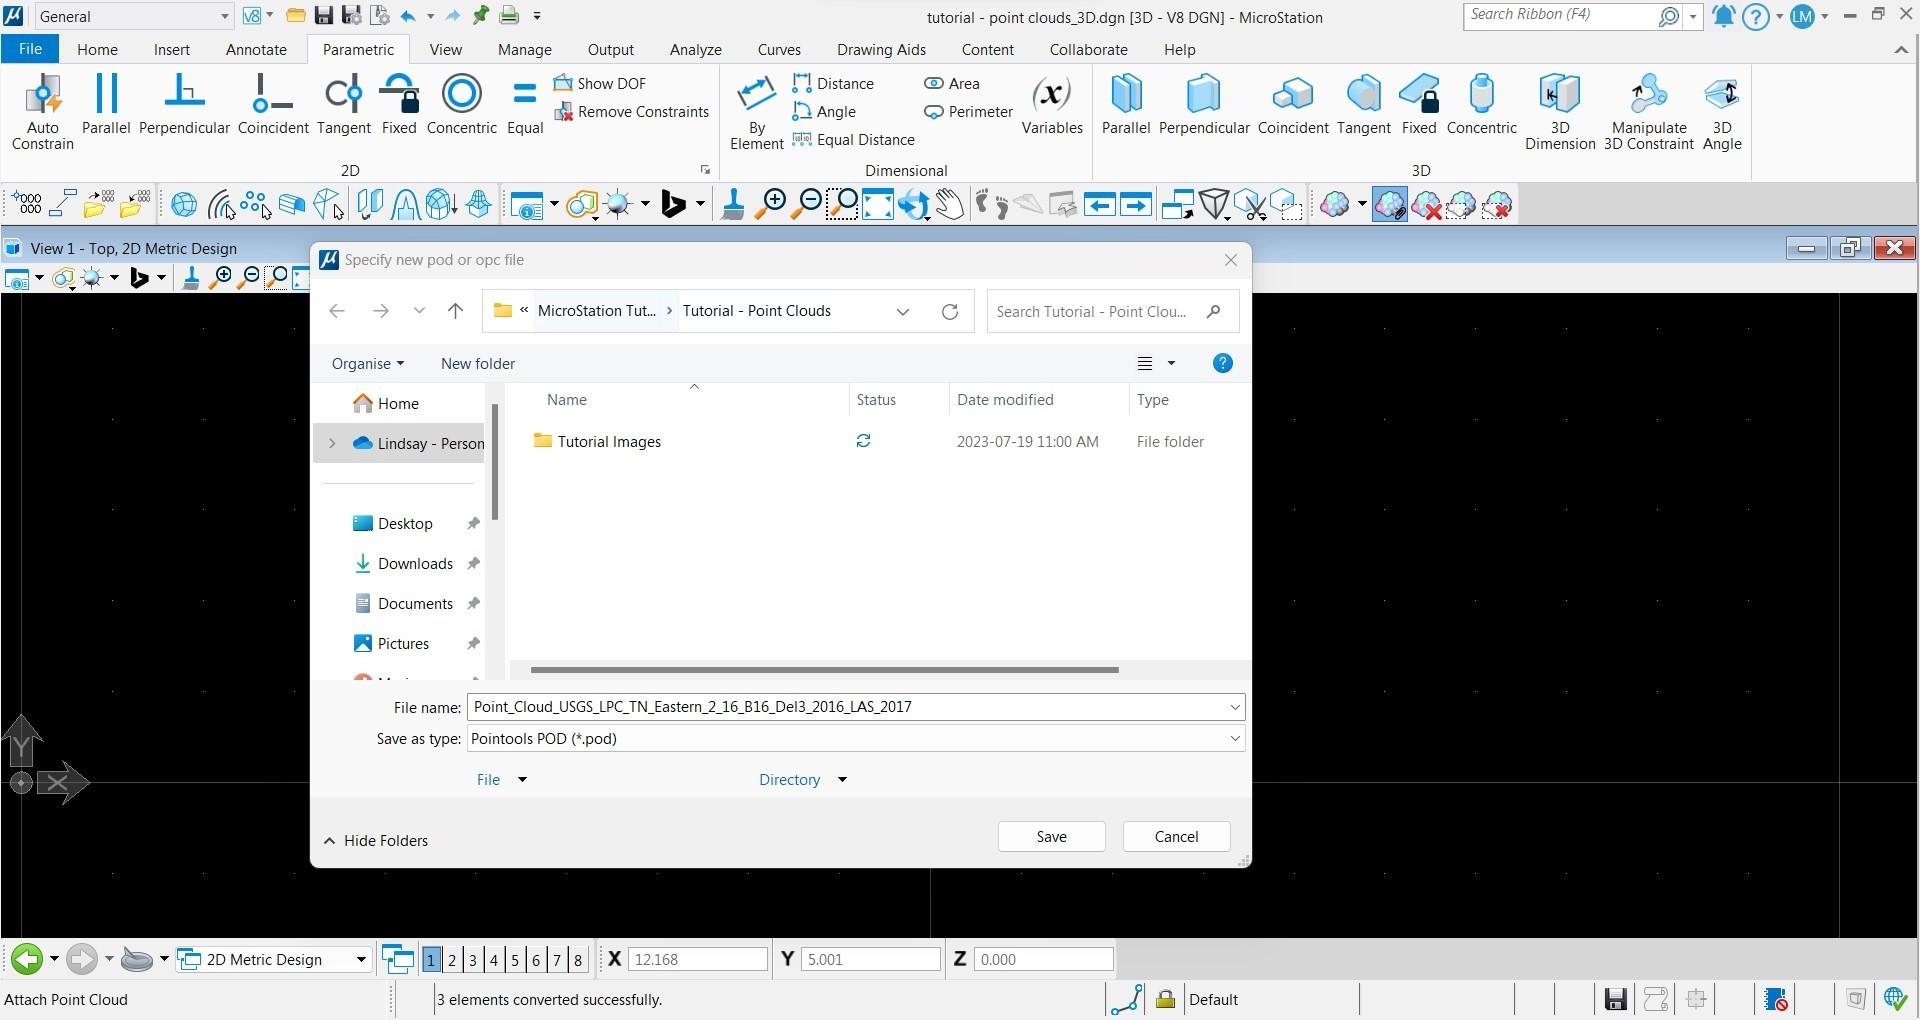
- The .laz file will need to be converted to a .pod file for MicroStation. It will do this automatically. A dialog box will appear asking you to convert to a .pod file. Click Save.
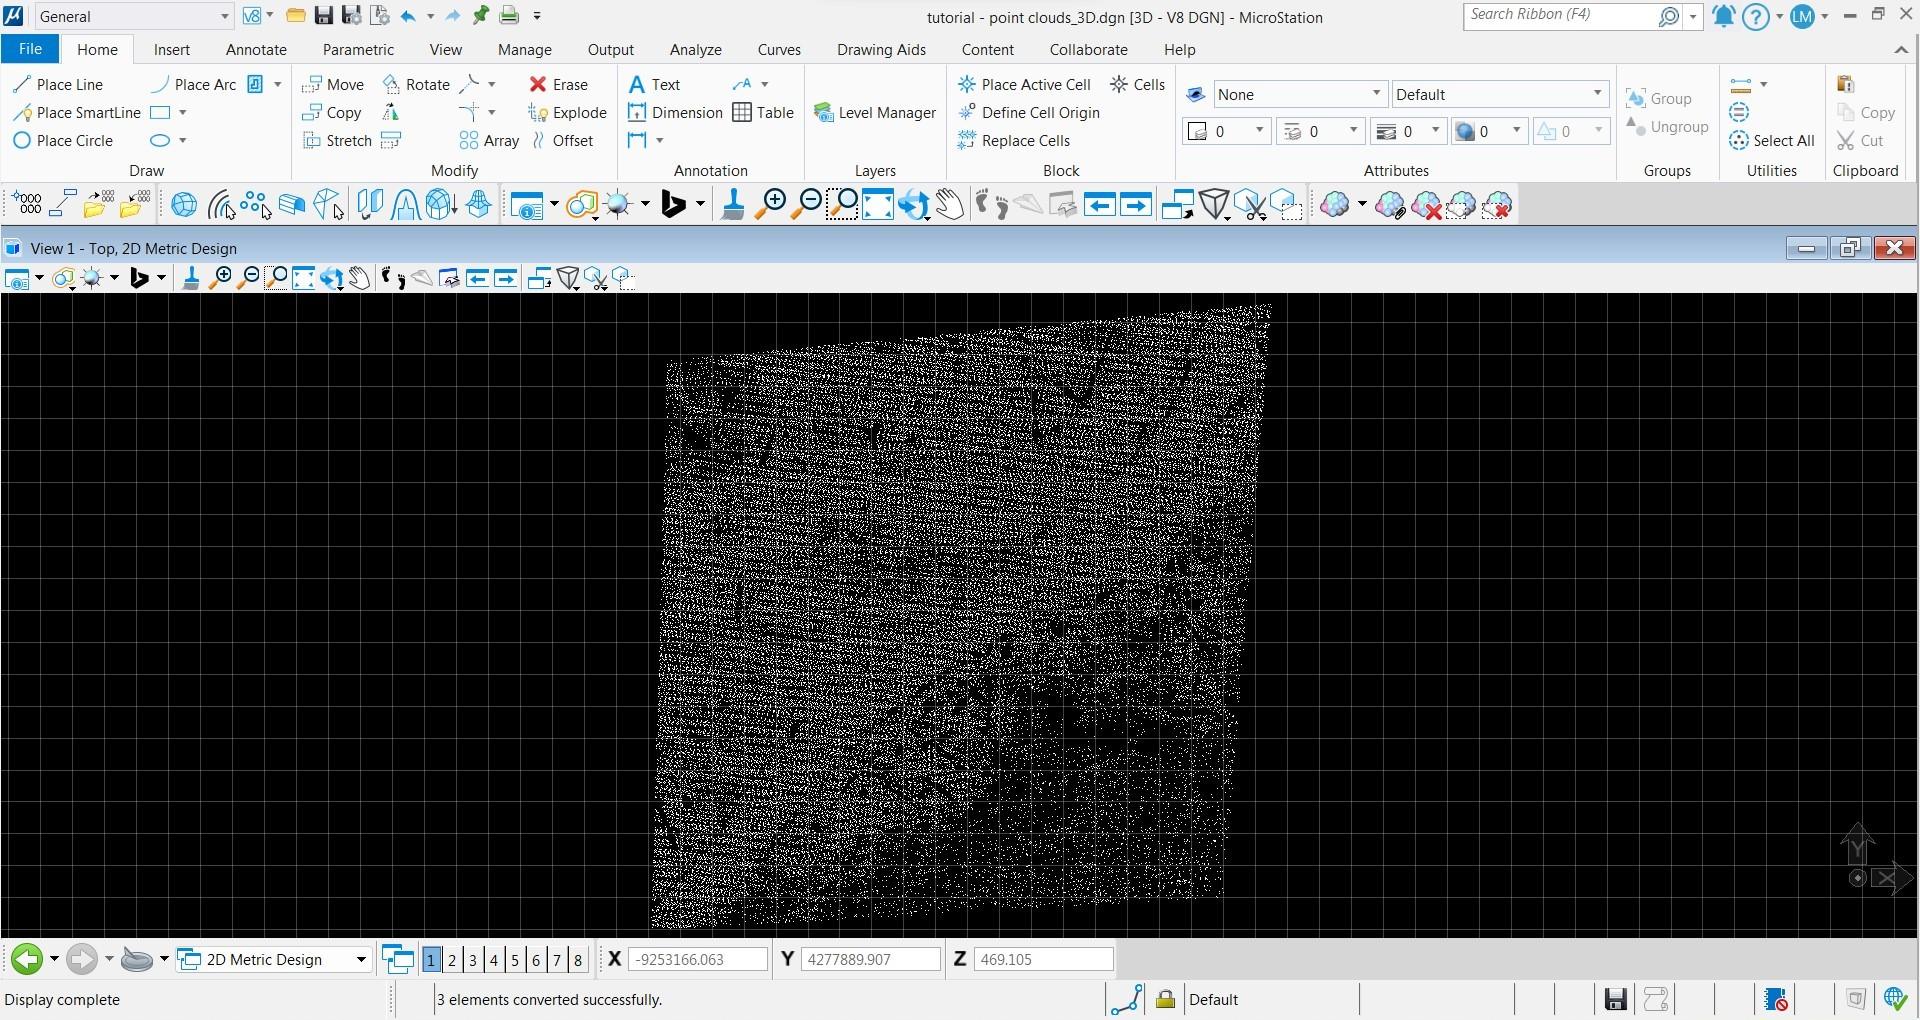
- If your point cloud is not in view, select View > Fit View
- If you would like to check to make sure your file loaded in the correct spot, you can attach a Bing map to the background. Go to Attach Raster > Bing Map.
Part 3: Create ASCII (.xyz) File
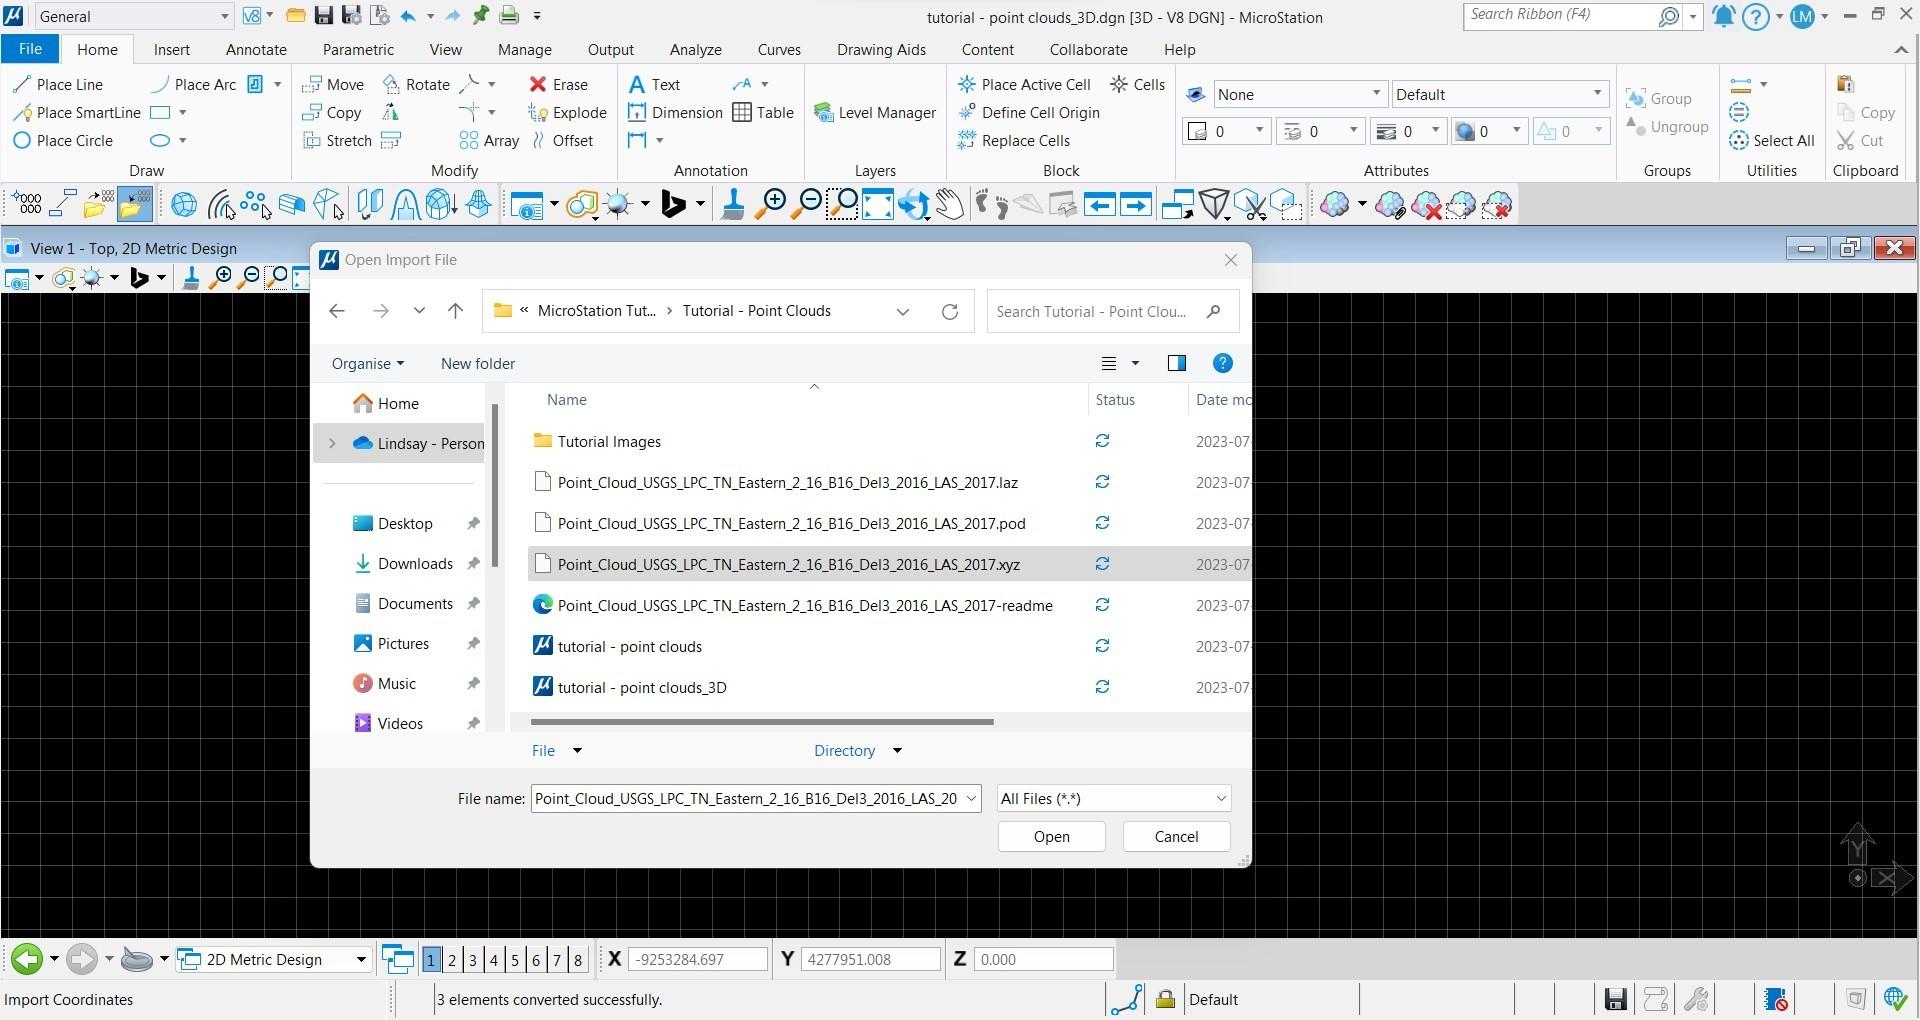
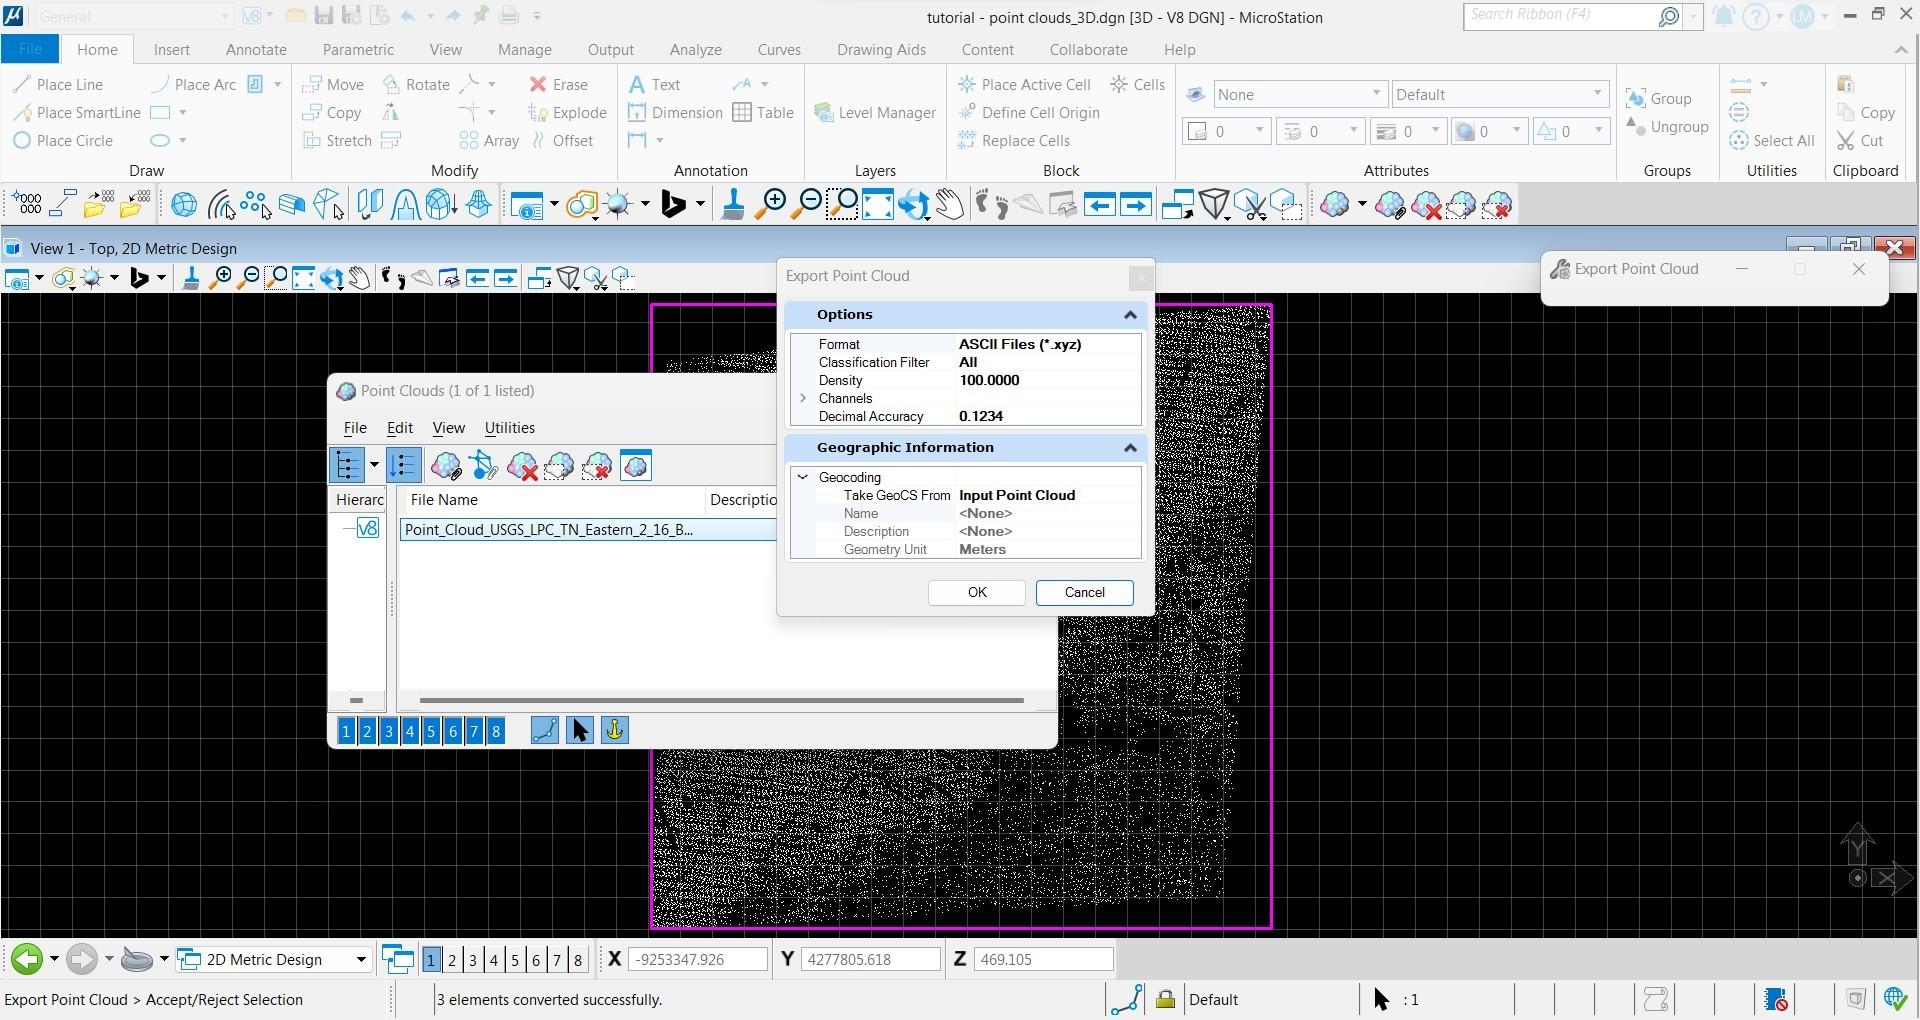
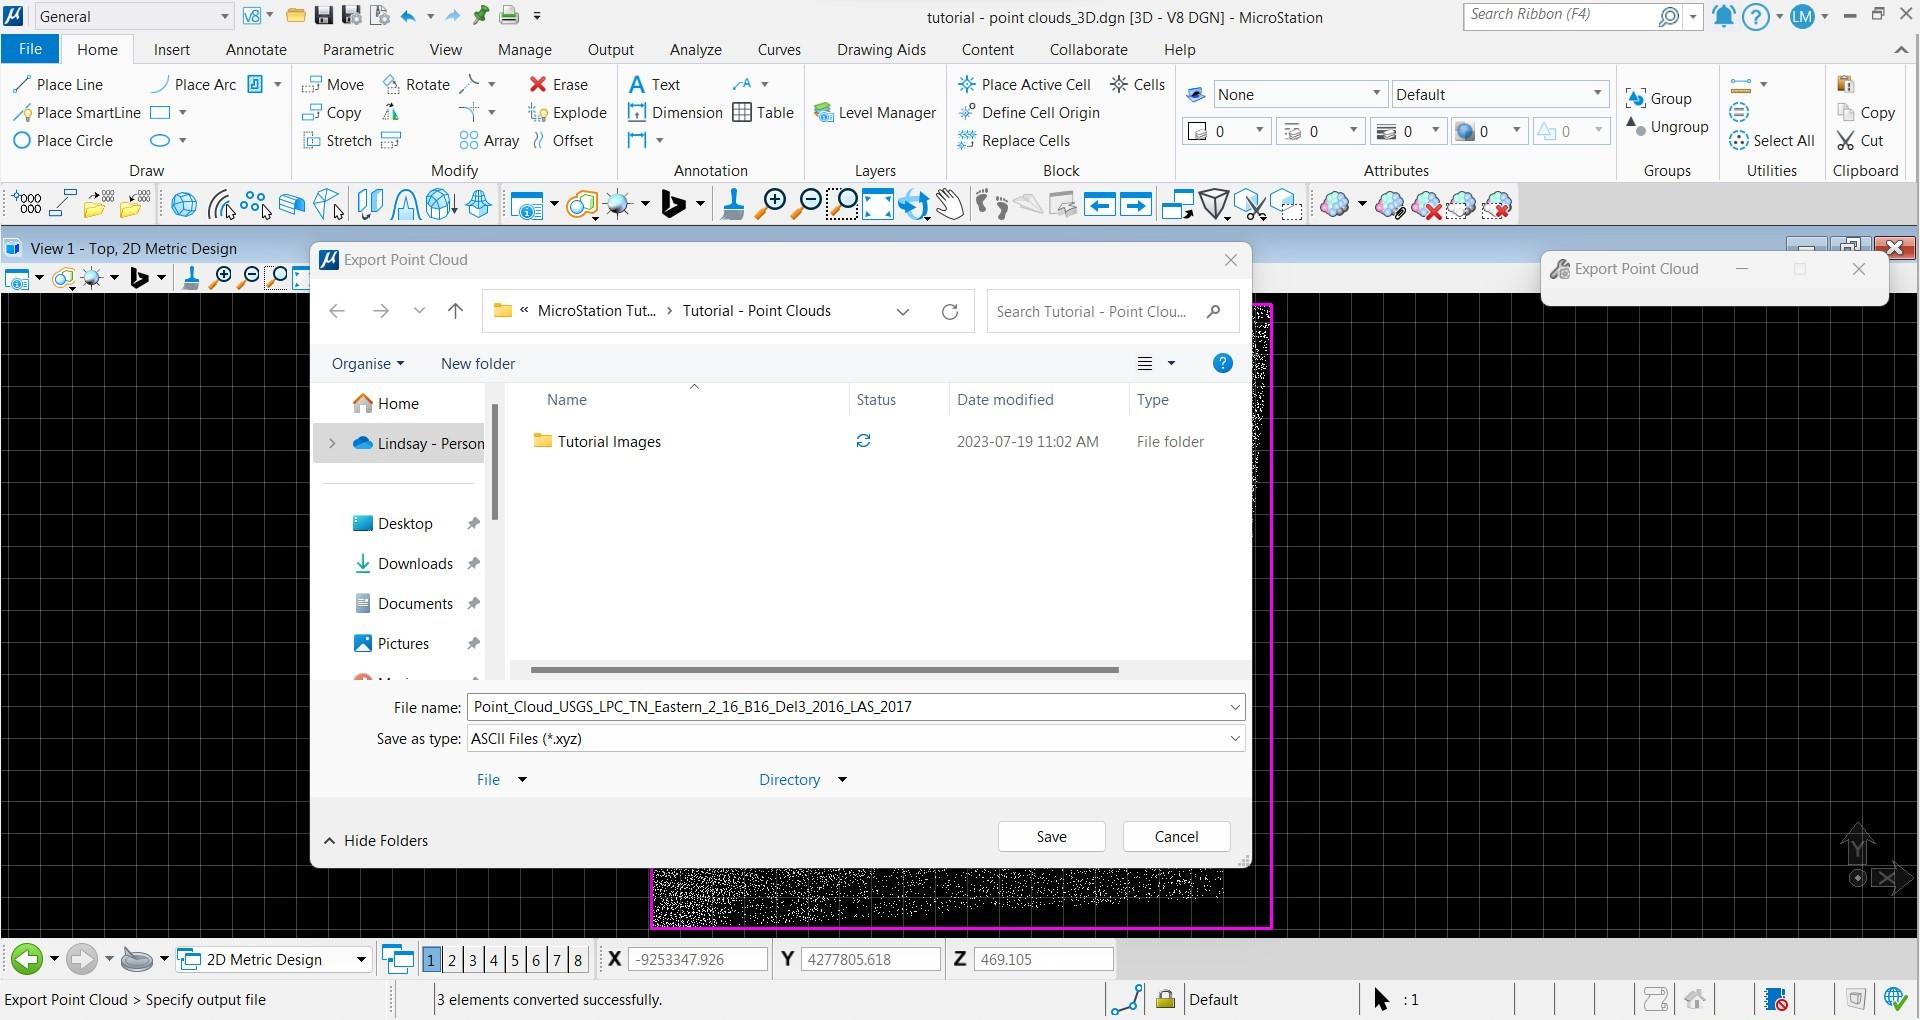
- Open the Point Clouds dialog box. Select attached point cloud, then go to File > Export > set format to ASCII Files (.xyz) and select OK to save.
- Now you can detach the .laz file. Do this by right clicking on the file in the Point Clouds dialog box and selecting Detach.
Part 4: Create 3D Mesh Surface
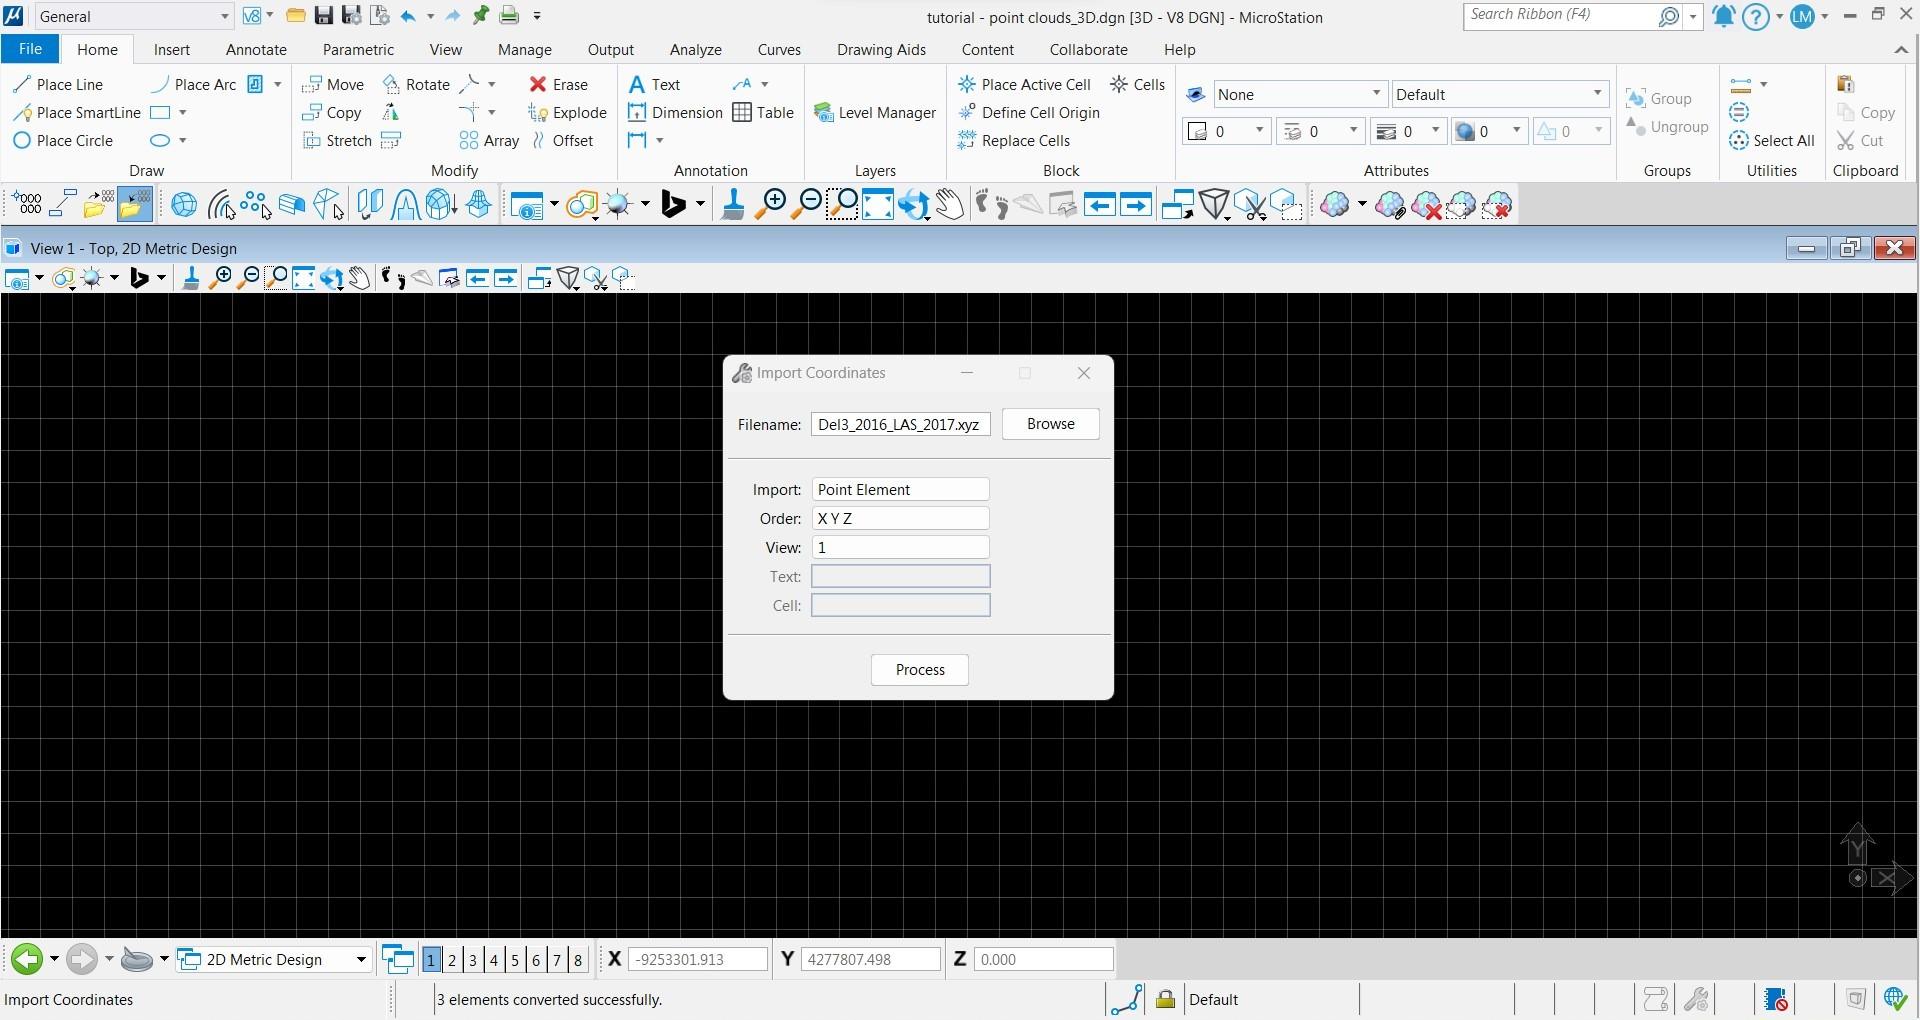
- In the XYZ coordinates tool box, select Import Coordinates. Find the ASCII file that was just created and change Import to Point Element. Click Process.
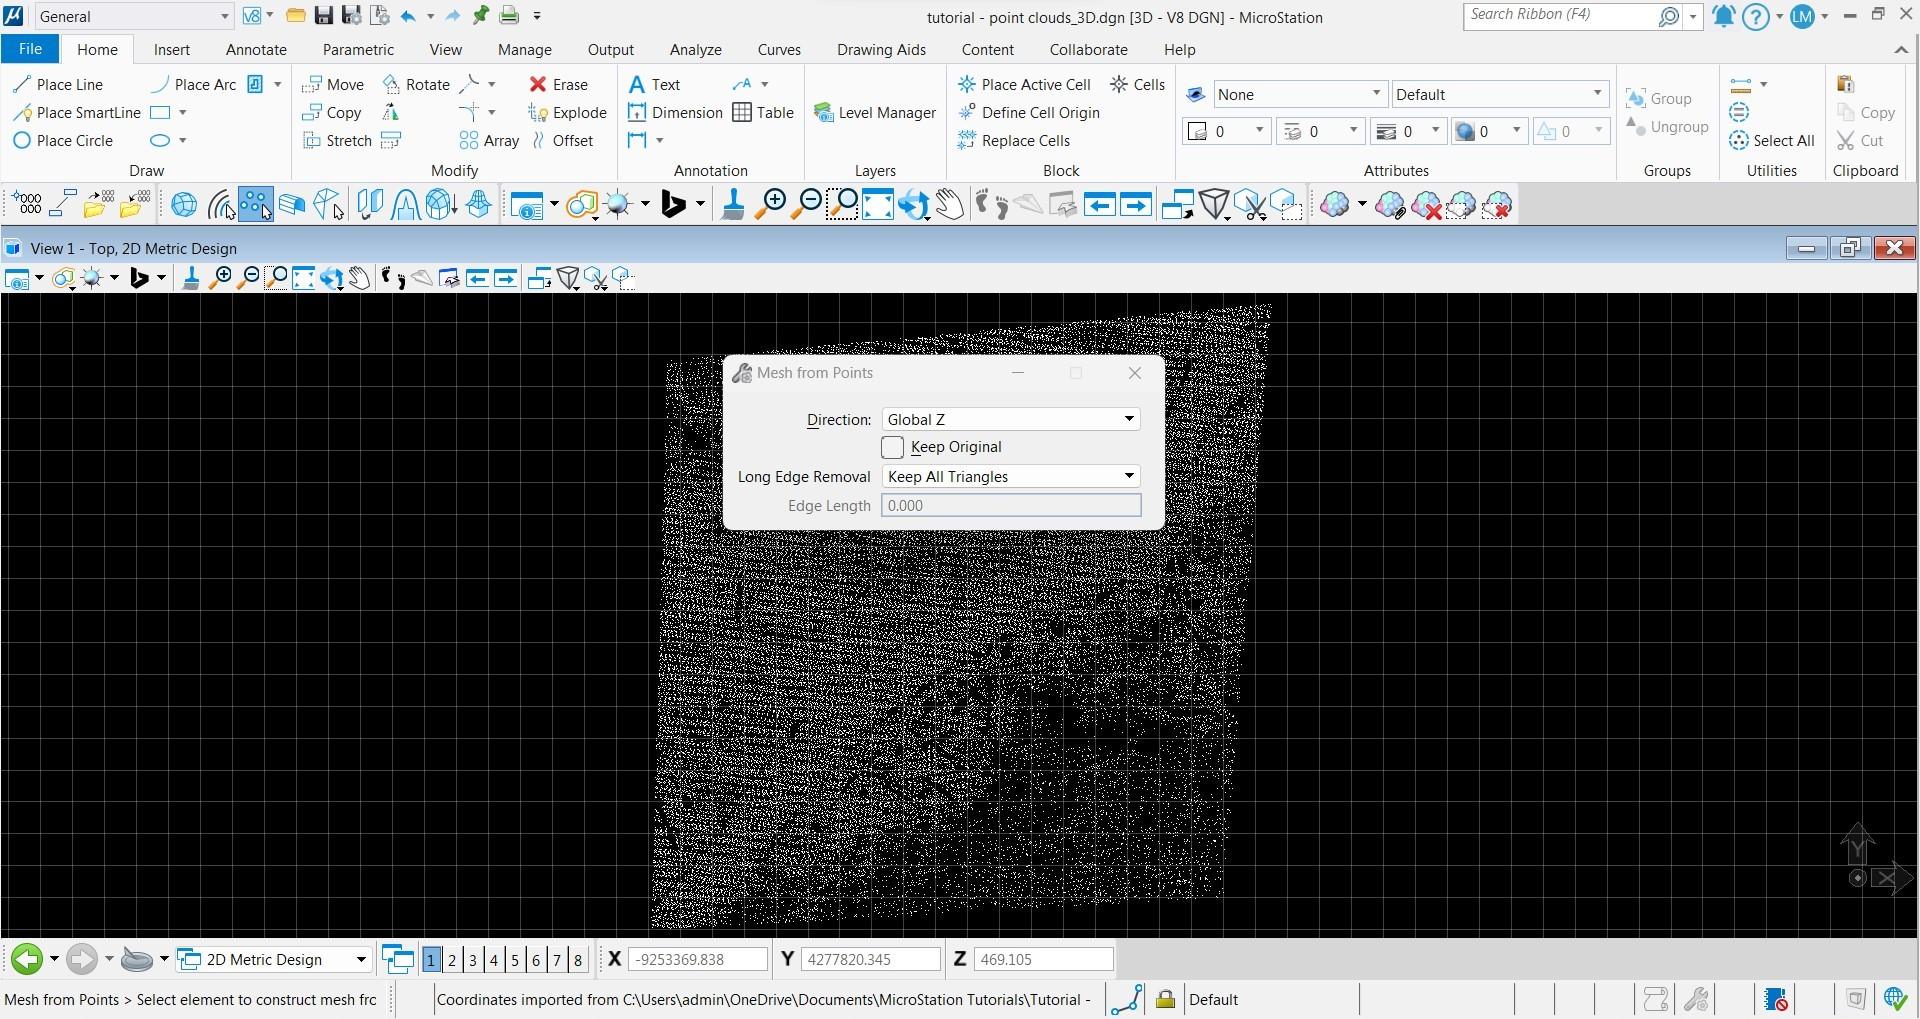
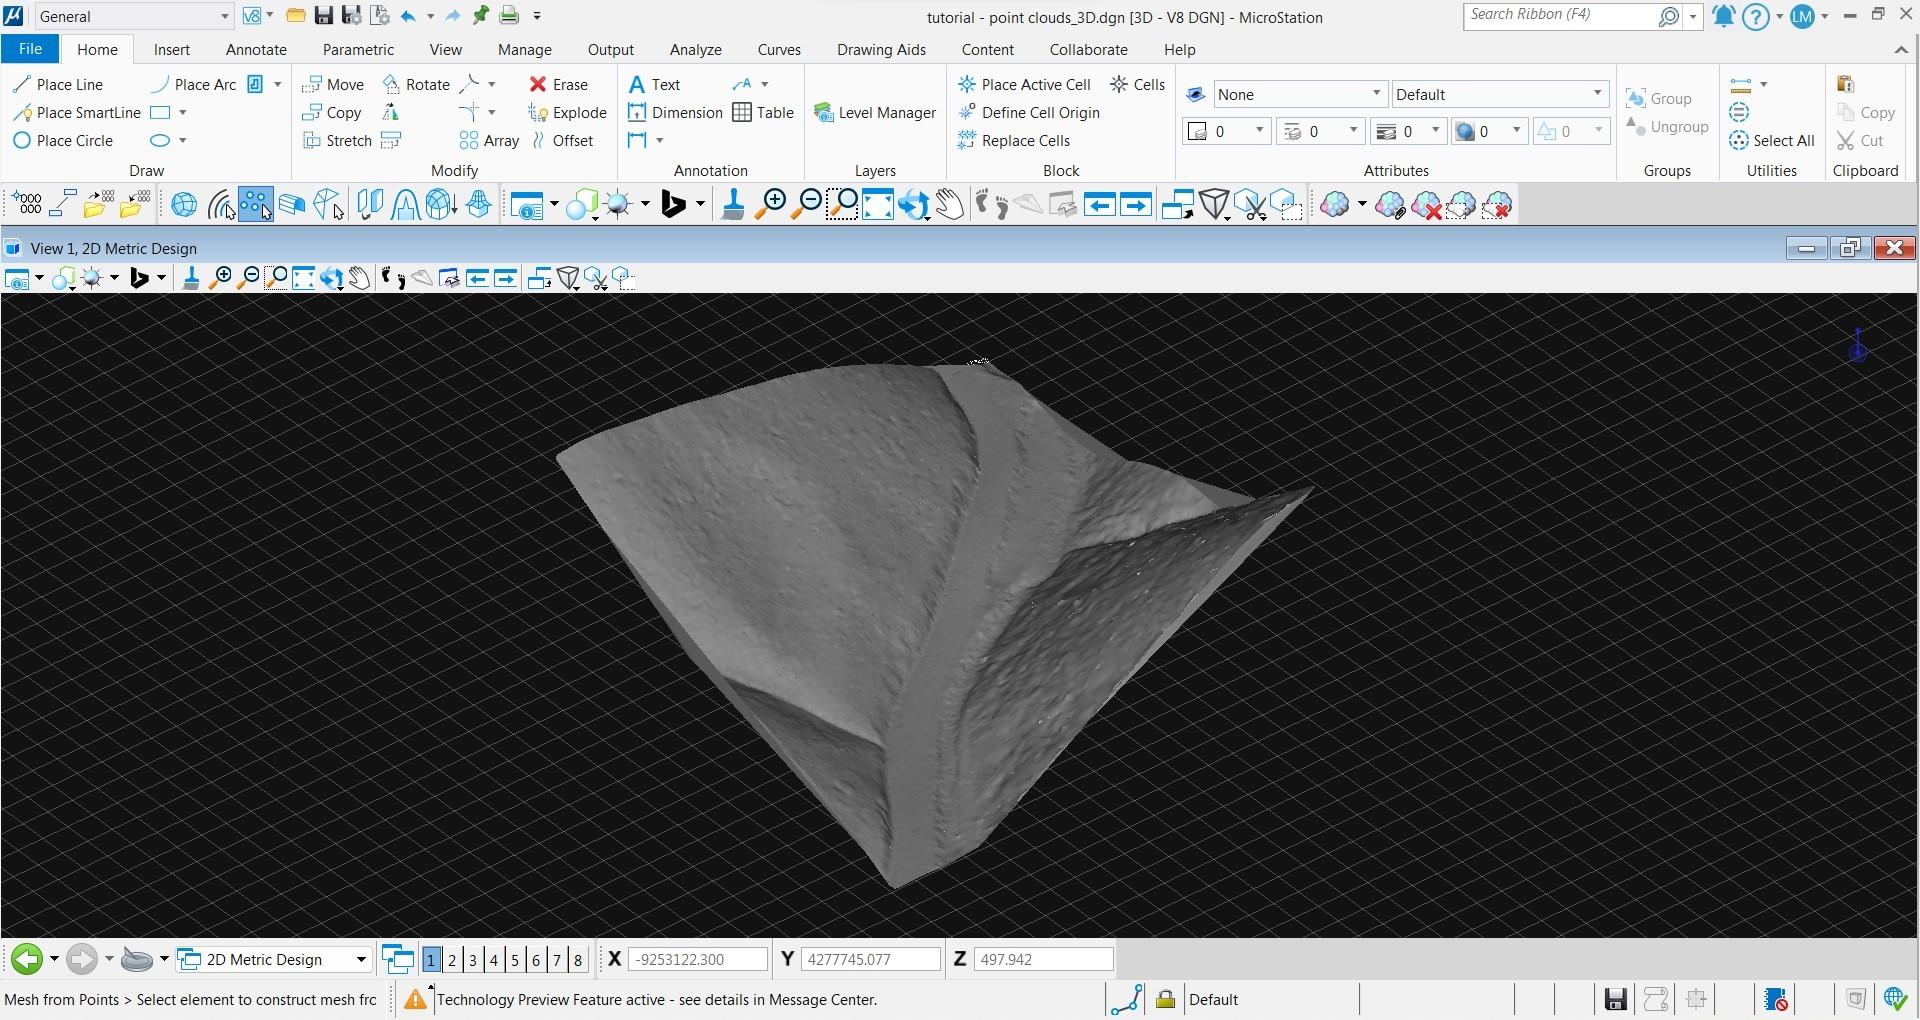
- In the Mesh Surfaces tool box, select Mesh from Points. Select the points that were just processed.
- Your 3D mesh will be created. You can change the visualization of it by changing the Display Style in the Presentation menu.