Tutorial: Export Data from Garmin Connect and Import it into Equator
Learn how to create a custom map to showcase a special hike, run or ride
Have you ever participated in a race that left an unforgettable impression on you or accomplished a personal best time that you were eager to showcase to the entire world? Have you ever embarked on an awe-inspiring hike and thought about designing a poster to commemorate the experience on your wall? Creating a beautiful map with Equator is simple if you’ve used your Garmin or other smartwatch to capture that memorable occasion. Just follow the 3 steps below

- Export Data from Garmin Connect
- Import Data into Equator
- Customize Your Map
Step 1: Export Data from Garmin
- Log into your Garmin Connect account on the computer
- Go to the run, hike or ride that you want to make a custom map of
- Click the settings button, then select “export to Google Earth.” This will create a .kml file of your route.
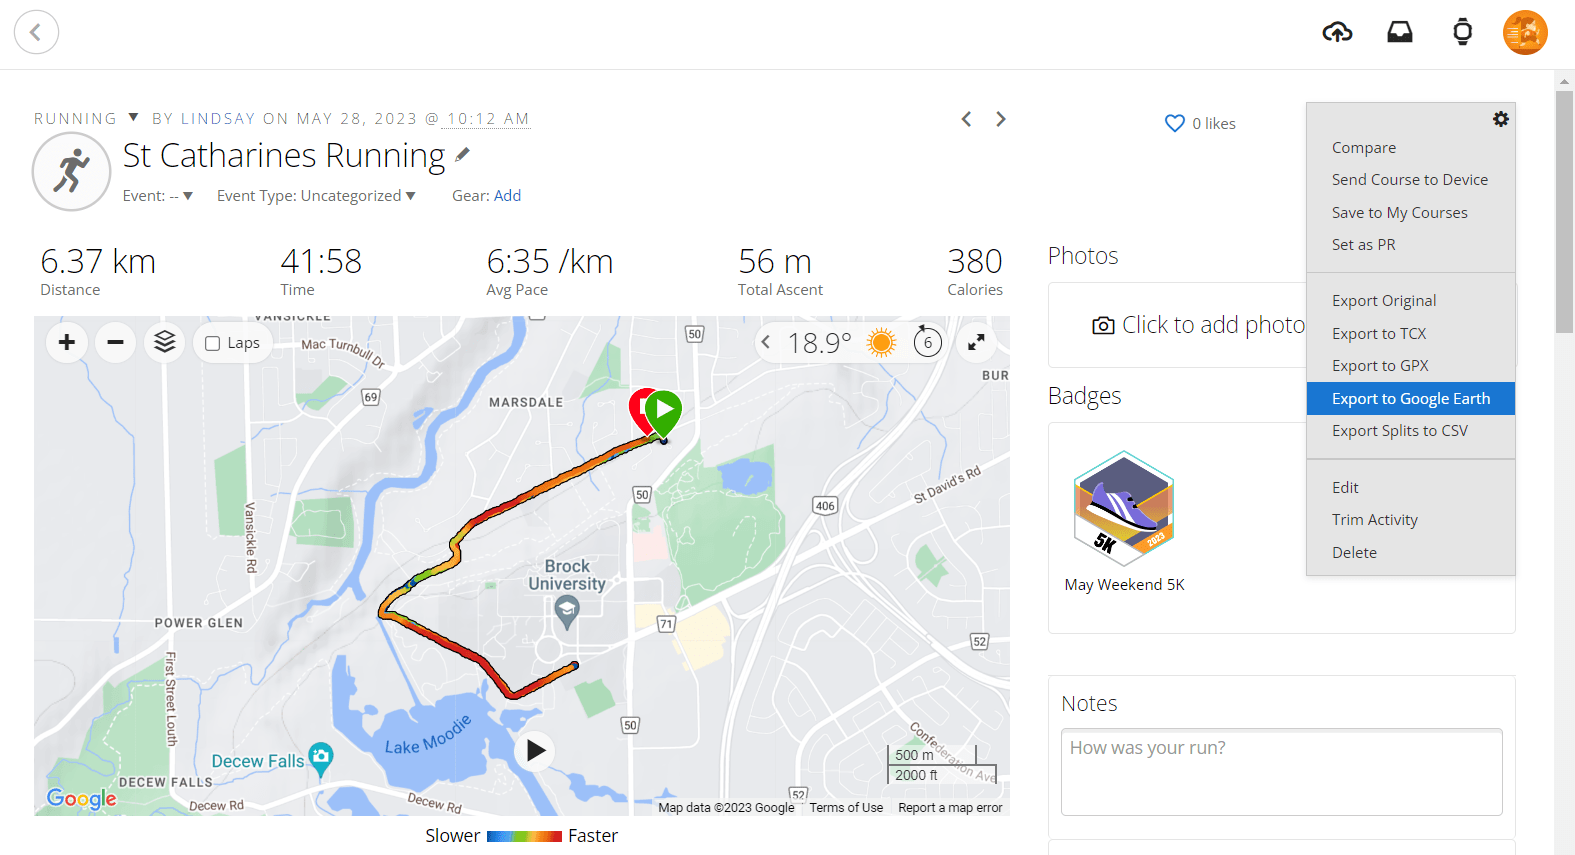
Garmin Connect Activity Page
Export to Google Earth is found in settings
Step 2: Import Data into Equator
- Sign up or log into Equator
- Drag and drop your kml file into Equator (or alternatively, select the “import” button and navigate to your kml file)
- To edit the kml file, simply click on it in the Layers menu and the properties menu will come up.
Step 3: Customize Your Map in Equator
- Under layers, click on the basemap to identify which basemap layer you would like as your background layer
- Add annotations, pictures, or icons to your route. You can make changes to any of these by clicking on them in the layers menu
- Create +NEW SITE if you want to get topographic data for your site
- Export map by selecting the camera button on the top right
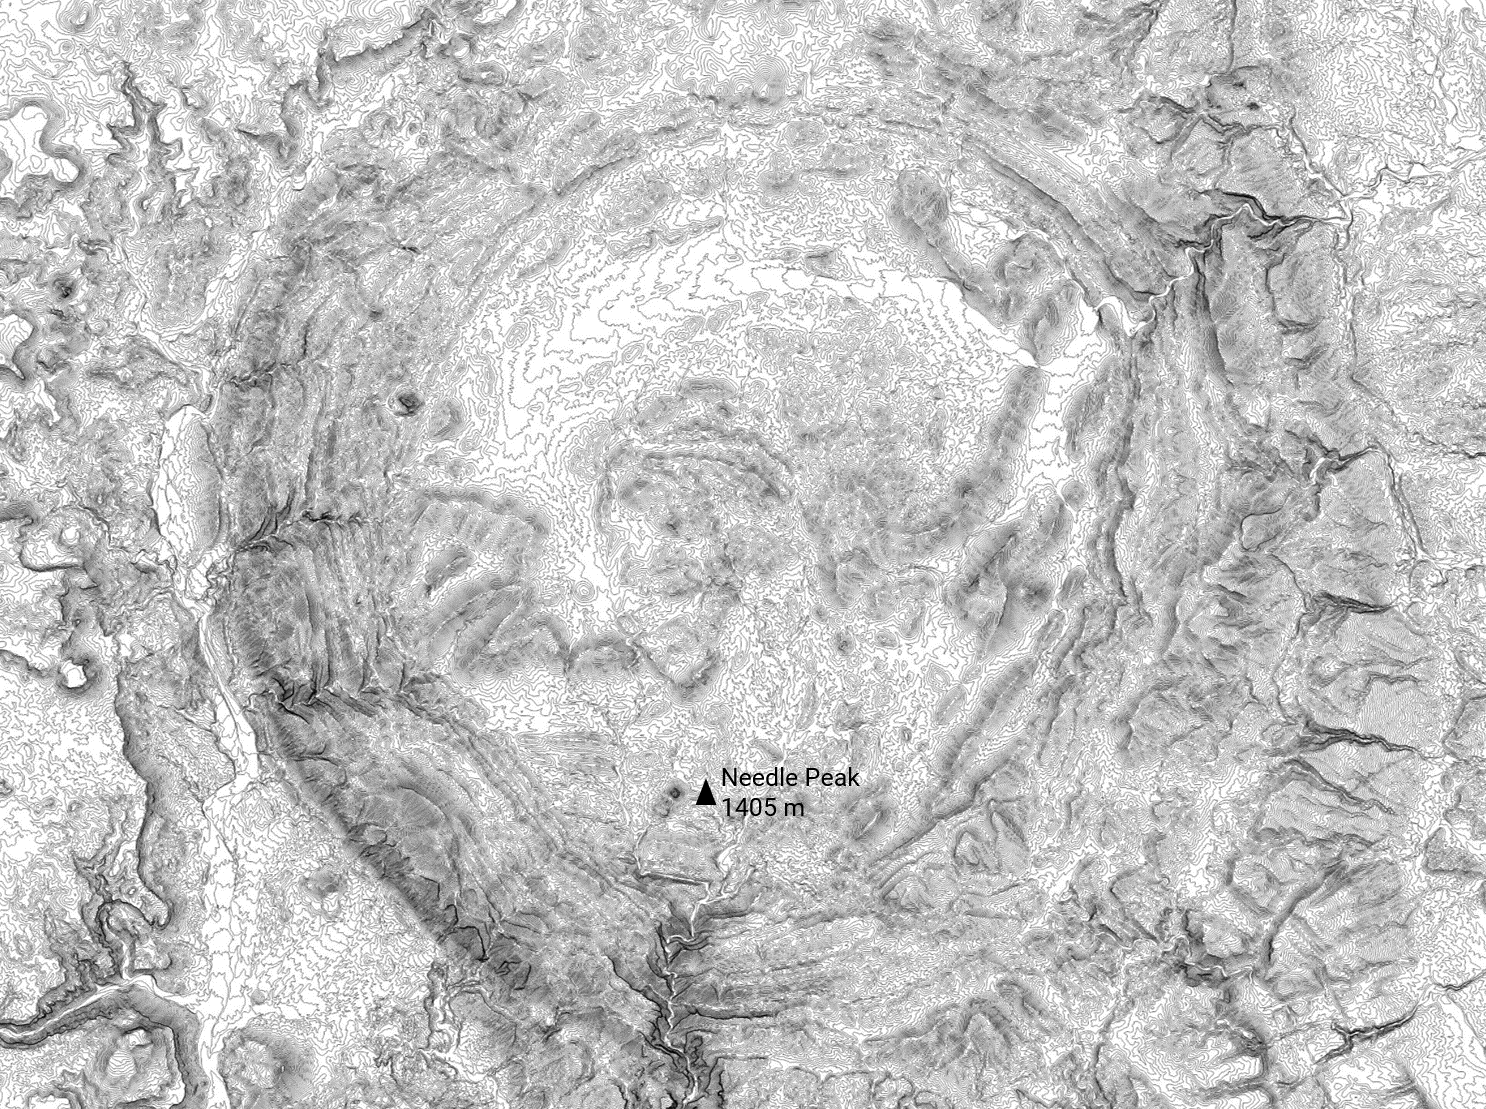
Custom maps created in Equator using the .kml file downloaded from Garmin Connect


