How to Import a LiDAR Point Cloud (.LAZ) into QGIS
QGIS version 3.25 (released in 2021) and subsequent versions has a feature that allows you to import LiDAR point clouds (LAZ files) into QGIS without needing a third party extension.
- Definitions
- Source LiDAR Point Cloud Data
- Import LAZ Into QGIS
- View as a Map Based on Attributes (i.e. Height, Classification, and Eye Dome Lighting)

Definitions
LiDAR, which stands for Light Detection and Ranging, is an advanced remote sensing technique used to measure the surface of the earth. It utilizes pulsed infrared laser beams to measure distances and generate 3D information about the terrain and its characteristics.
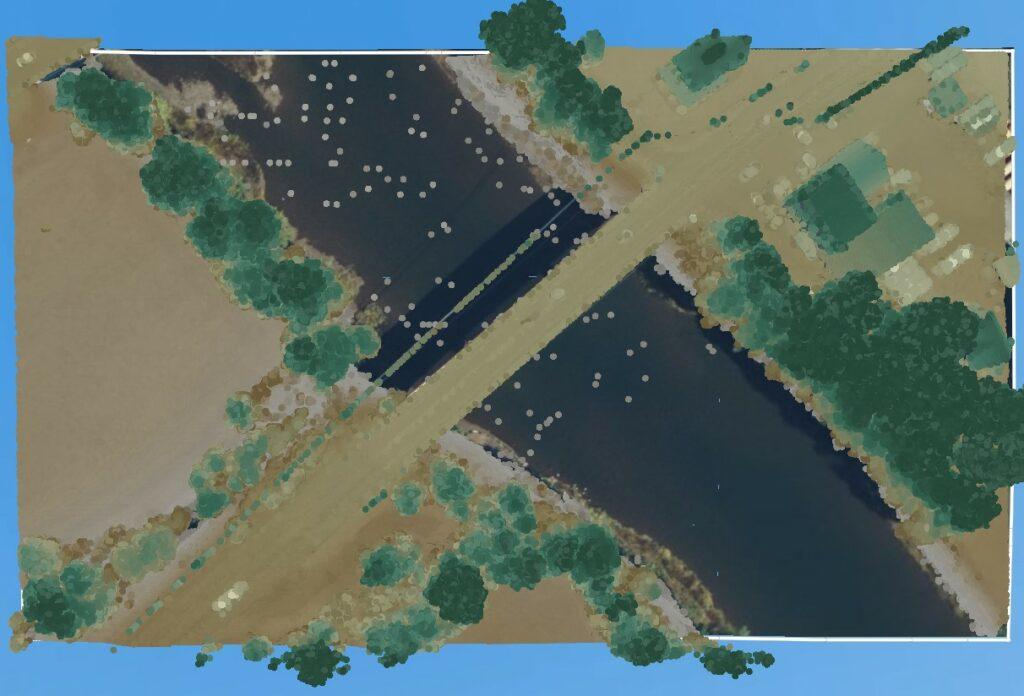
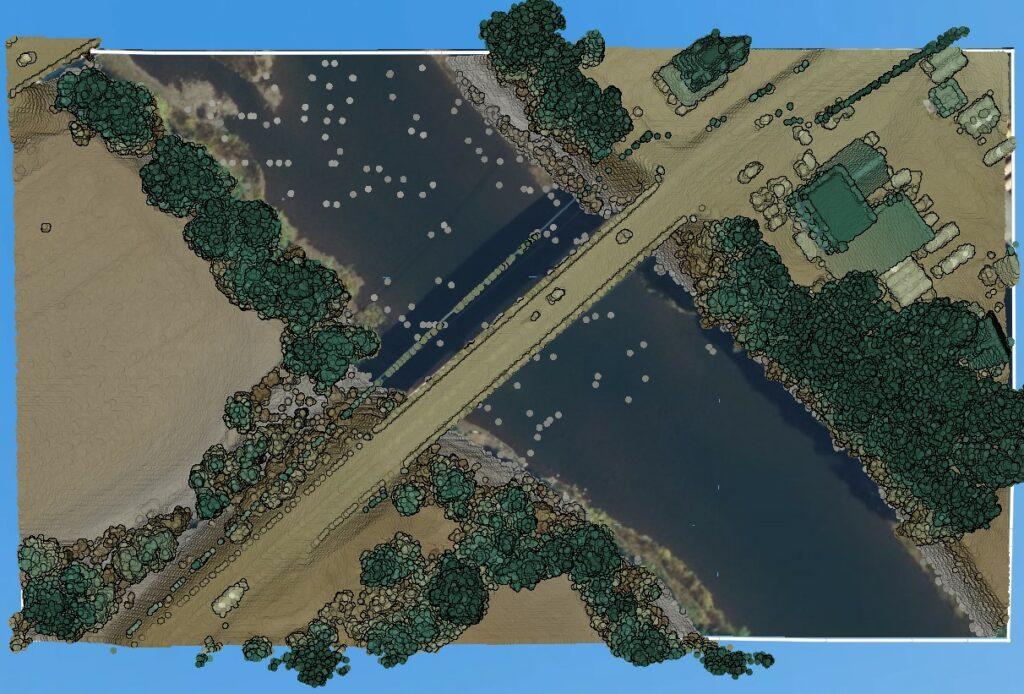
A LiDAR point cloud is a set of data points representing 3D shapes or objects in a physical 3D space. They contain the most reliable 3D data possible.
.las is a file extension used for the Lidar Data Exchange Format, and is the file format used to store point cloud data. It contains information about each point collected, including x, y, and z coordinates, the classification of the point and the projection.
.laz is a file extension used for compressed lidar data. It is based on the same Lidar Data Exchange Format (LAS) as .las files, but the data is compressed to reduce the file size which allows lidar data to be stored more efficiently and transferred more quickly.
CRS, or Coordinate Reference System is a coordinate based system used to locate geographical locations on Earth. Examples include Mercator and UTM.
QGIS is a free, open-source Geographic Information System (GIS) created to view, edit, and analyze geospatial data.

To download a point cloud file (.laz) file from Equator:
- Sign in or create an account with Equator.
- Navigate to the Data tab and turn on Elevation Data.
- Search for your site, then select the +NEW SITE button at the bottom of the screen.
- Edit your site bounds and select okay.
- Navigate to the Data tab and choose ‘Point Cloud’. Choose your parameter and select ‘Generate’.
- Your point cloud is stored in the Layers tab under your site.
- To download, select the download button (down arrow), then choose your parameters and select ‘Process’.
- The .laz file of your site will appear in your Downloads folder (or whichever folder you have directed your downloads to go).
Import LAZ File into QGIS
To import a LiDAR point cloud, or LAZ into QGIS:
- Open a new project
- Layer > Data Source Manager > Point Cloud
- Source Type should be set to File, then select the Source (Point Cloud Dataset)
- Select Add
- Ensure the coordinate system is correct.
- Open the read me file download from Equator with the point cloud. The coordinate reference system is shown in this text file.
- Right click on the layer and select Layer CRS, then Set Layer CRS. Is the current layer CRS set to the Horizontal CRS shown in the Equator text file? If not, change the CRS. If yes, select okay.
View as a Map Based on Attributes
Equator and QGIS have some similar features. If your end goal is visualization, you can skip importing into QGIS and complete everything in Equator. If visualization is just part of your end goal, then you can use Equator to check your data.
Height and Classification
Height refers to the elevation or z coordinate. Classification refers to what the point has been classified as, i.e. ground, vegetation, water, building, rail, noise, wire, and transmission tower.
In Equator, these visualization attributes can be toggled on navigating to the Layers Menu and double clicking on the Point Cloud, then scroll down to Symbology for Height and Classification.
In QGIS, these visualization attributes can be toggled on by going to View > Panels > Layer Styling. The menu will pop up on the right side of your screen and you can select Attribute by Ramp for Height or Classification.
Eye Dome Lighting
Eye Dome Lighting refers to grouping objects that are close together and shading their outline to improve depth perception. In Equator, Eye Dome Lighting can be turned on or off by going to the Layers Menu and double clicking on the Point Cloud. Scroll to the very bottom of the menu and you are able to toggle the Eye Dome Lighting on or off. In QGIS, go to the Layer Styling Panel and scroll to the very bottom. You will see a section titled Eye Dome Lighting which allows you to turn it on or off.