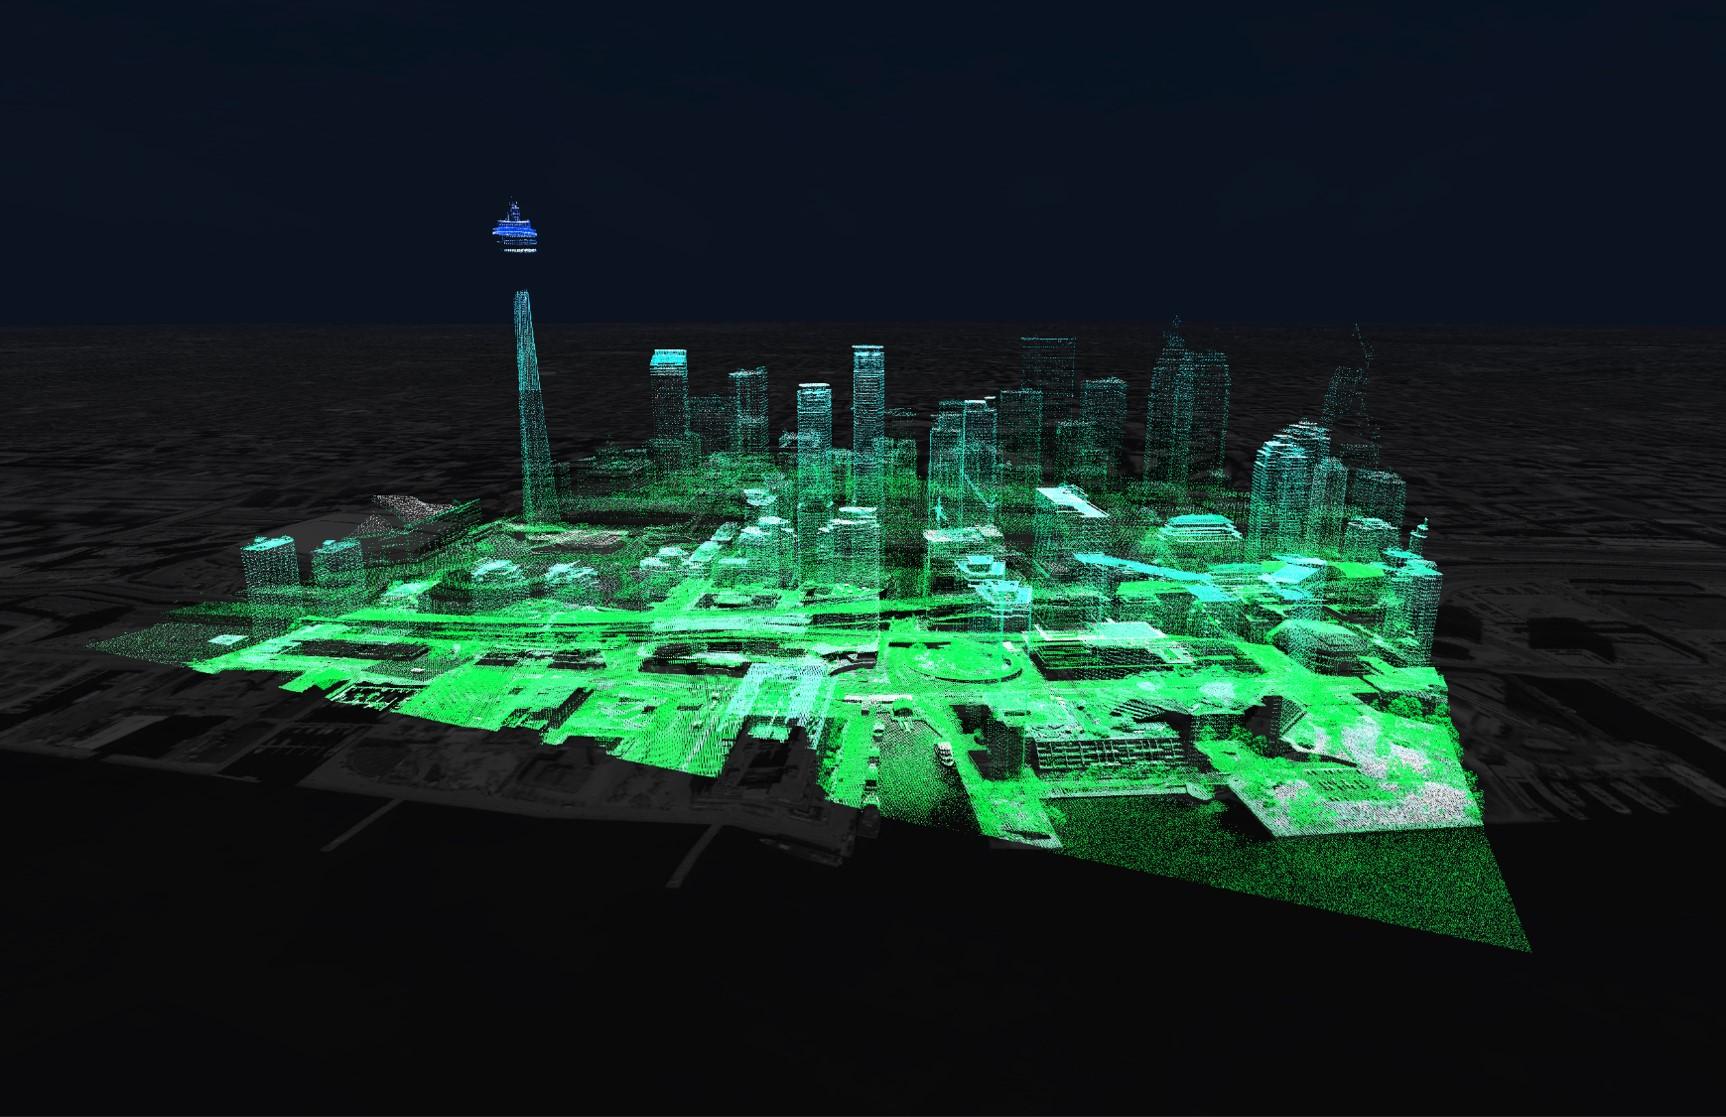
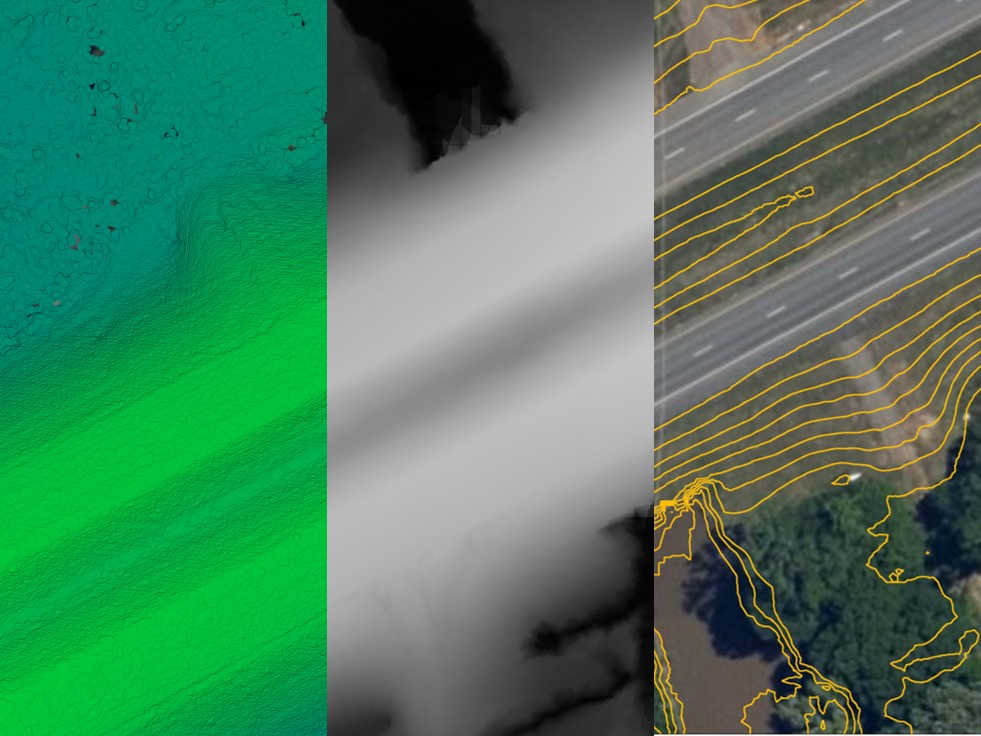
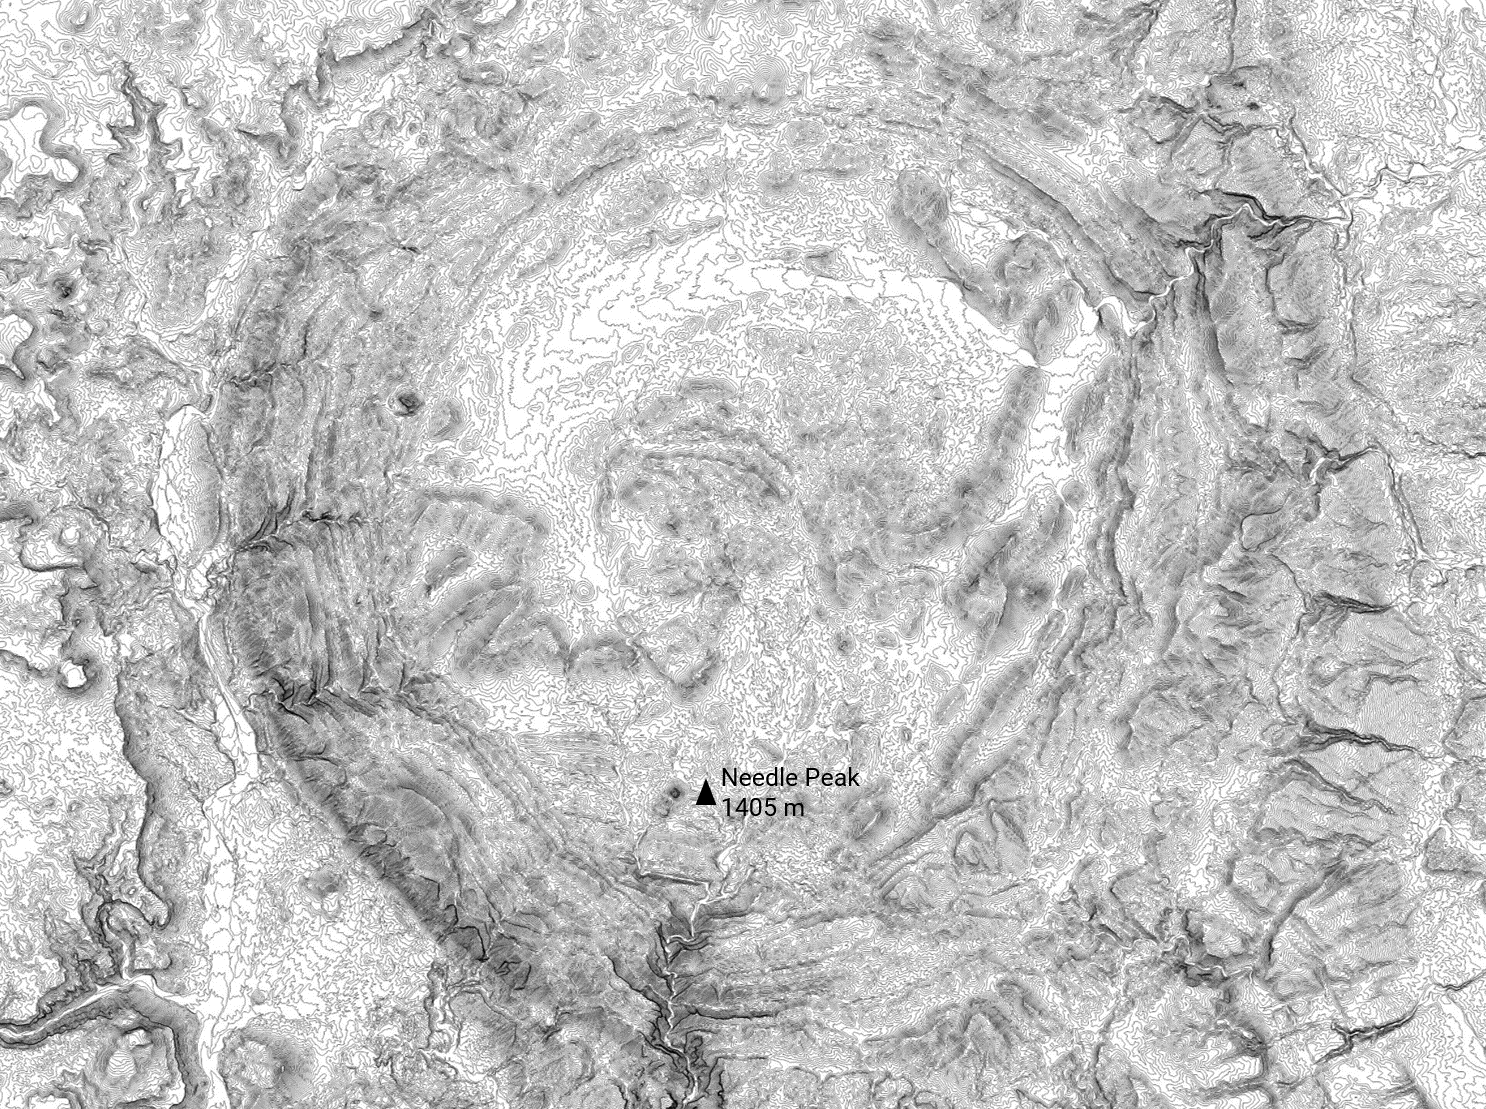
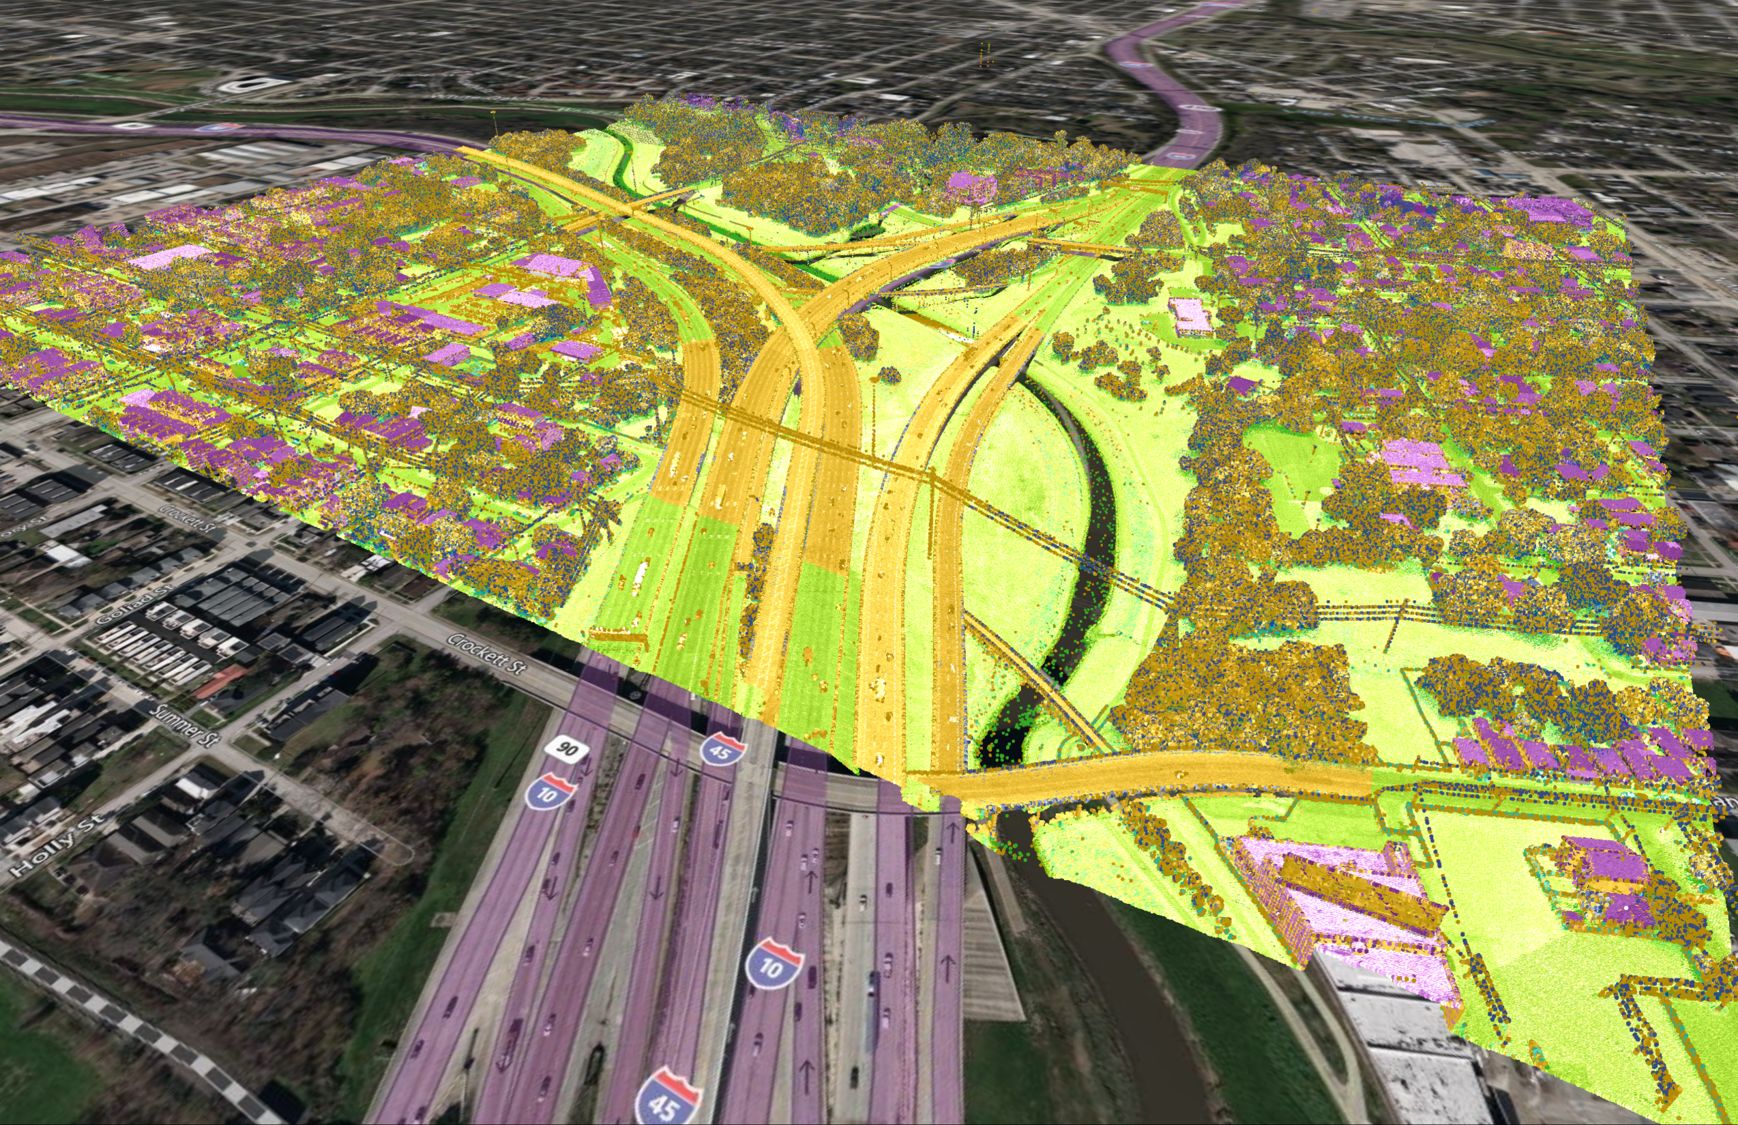
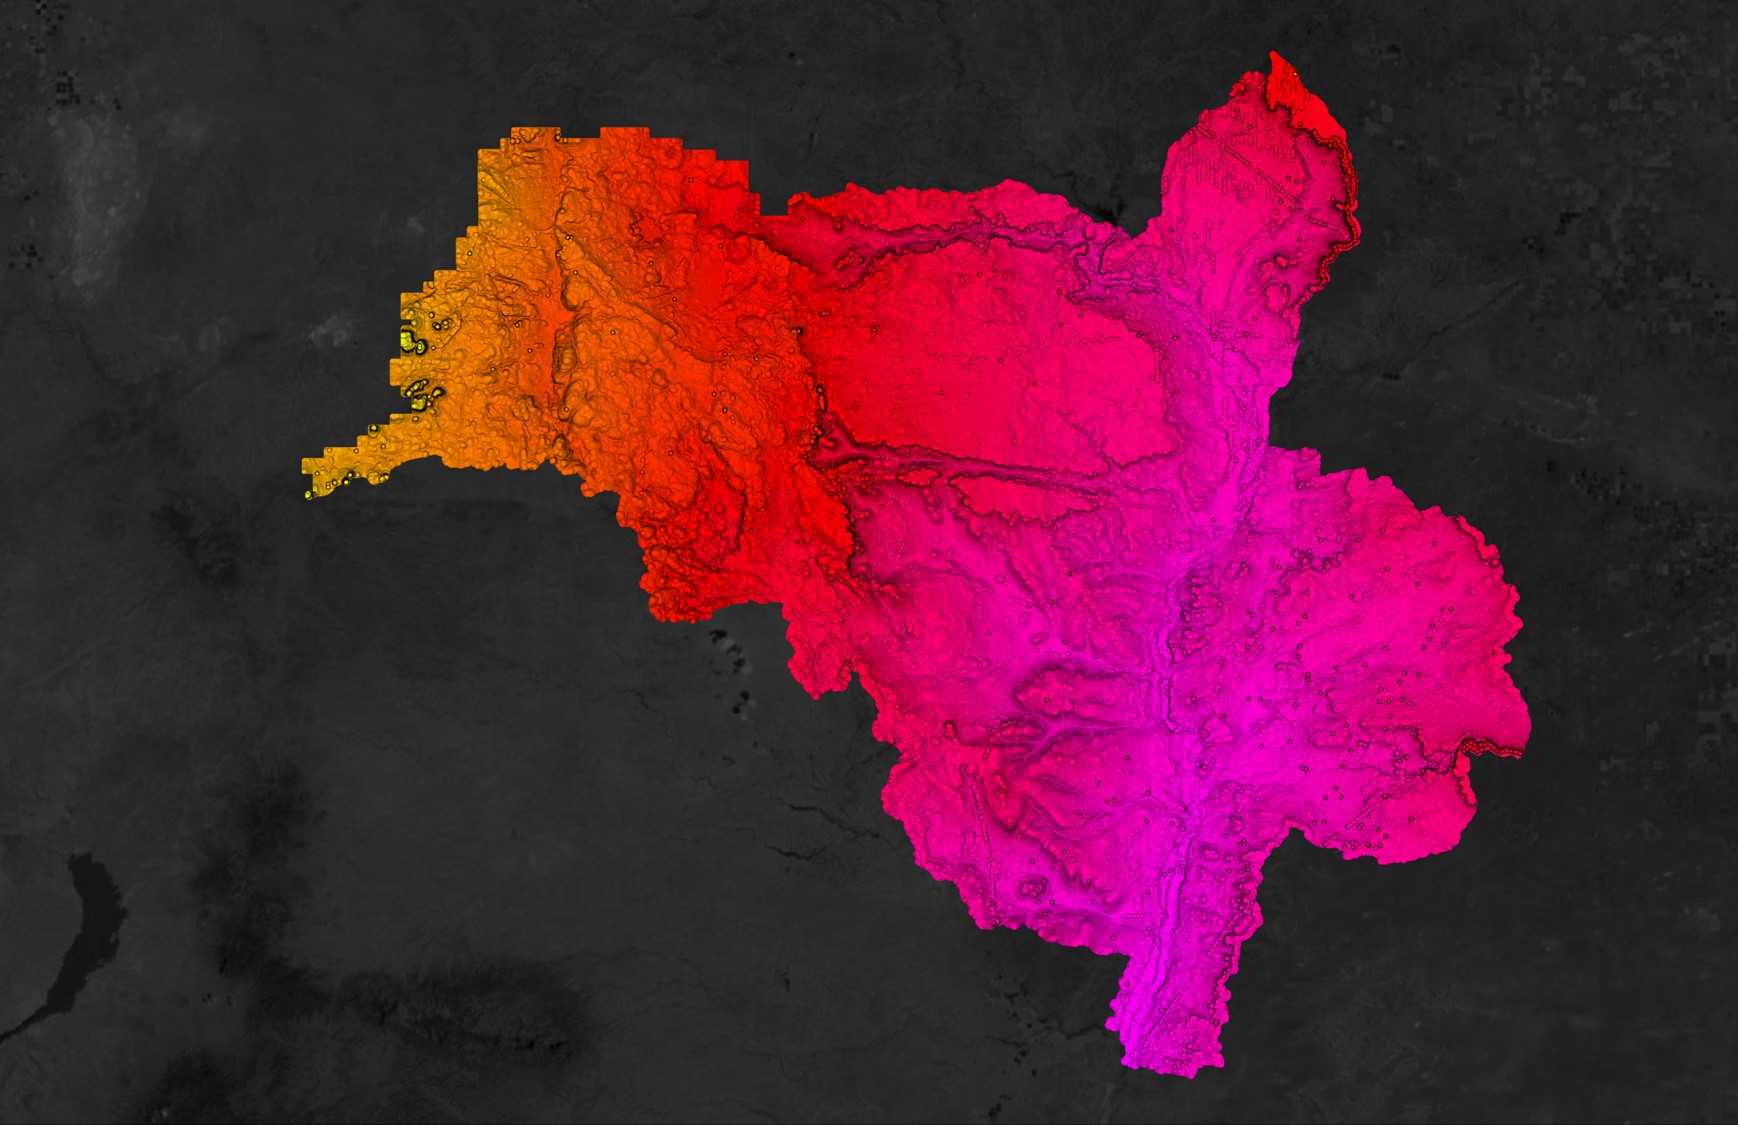
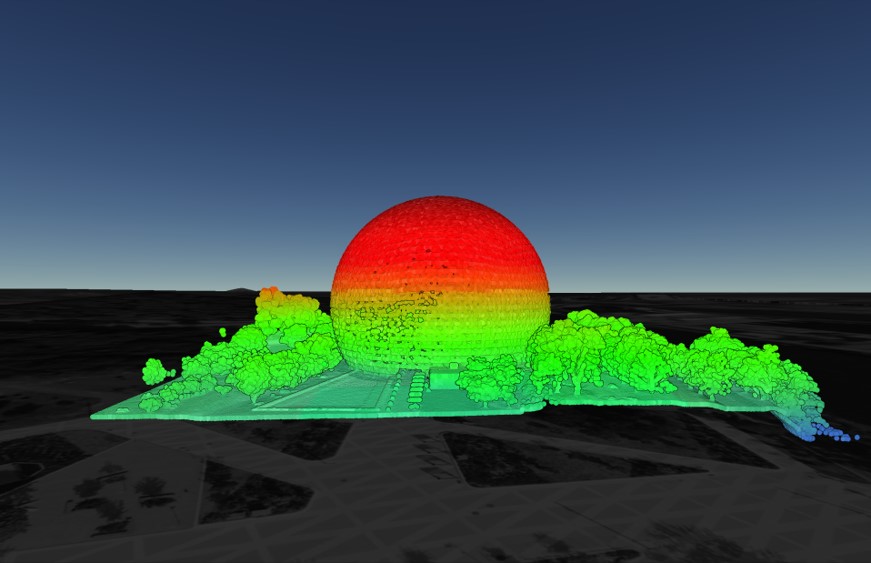
Step 1: Drag and Drop a LAZ file into Equator
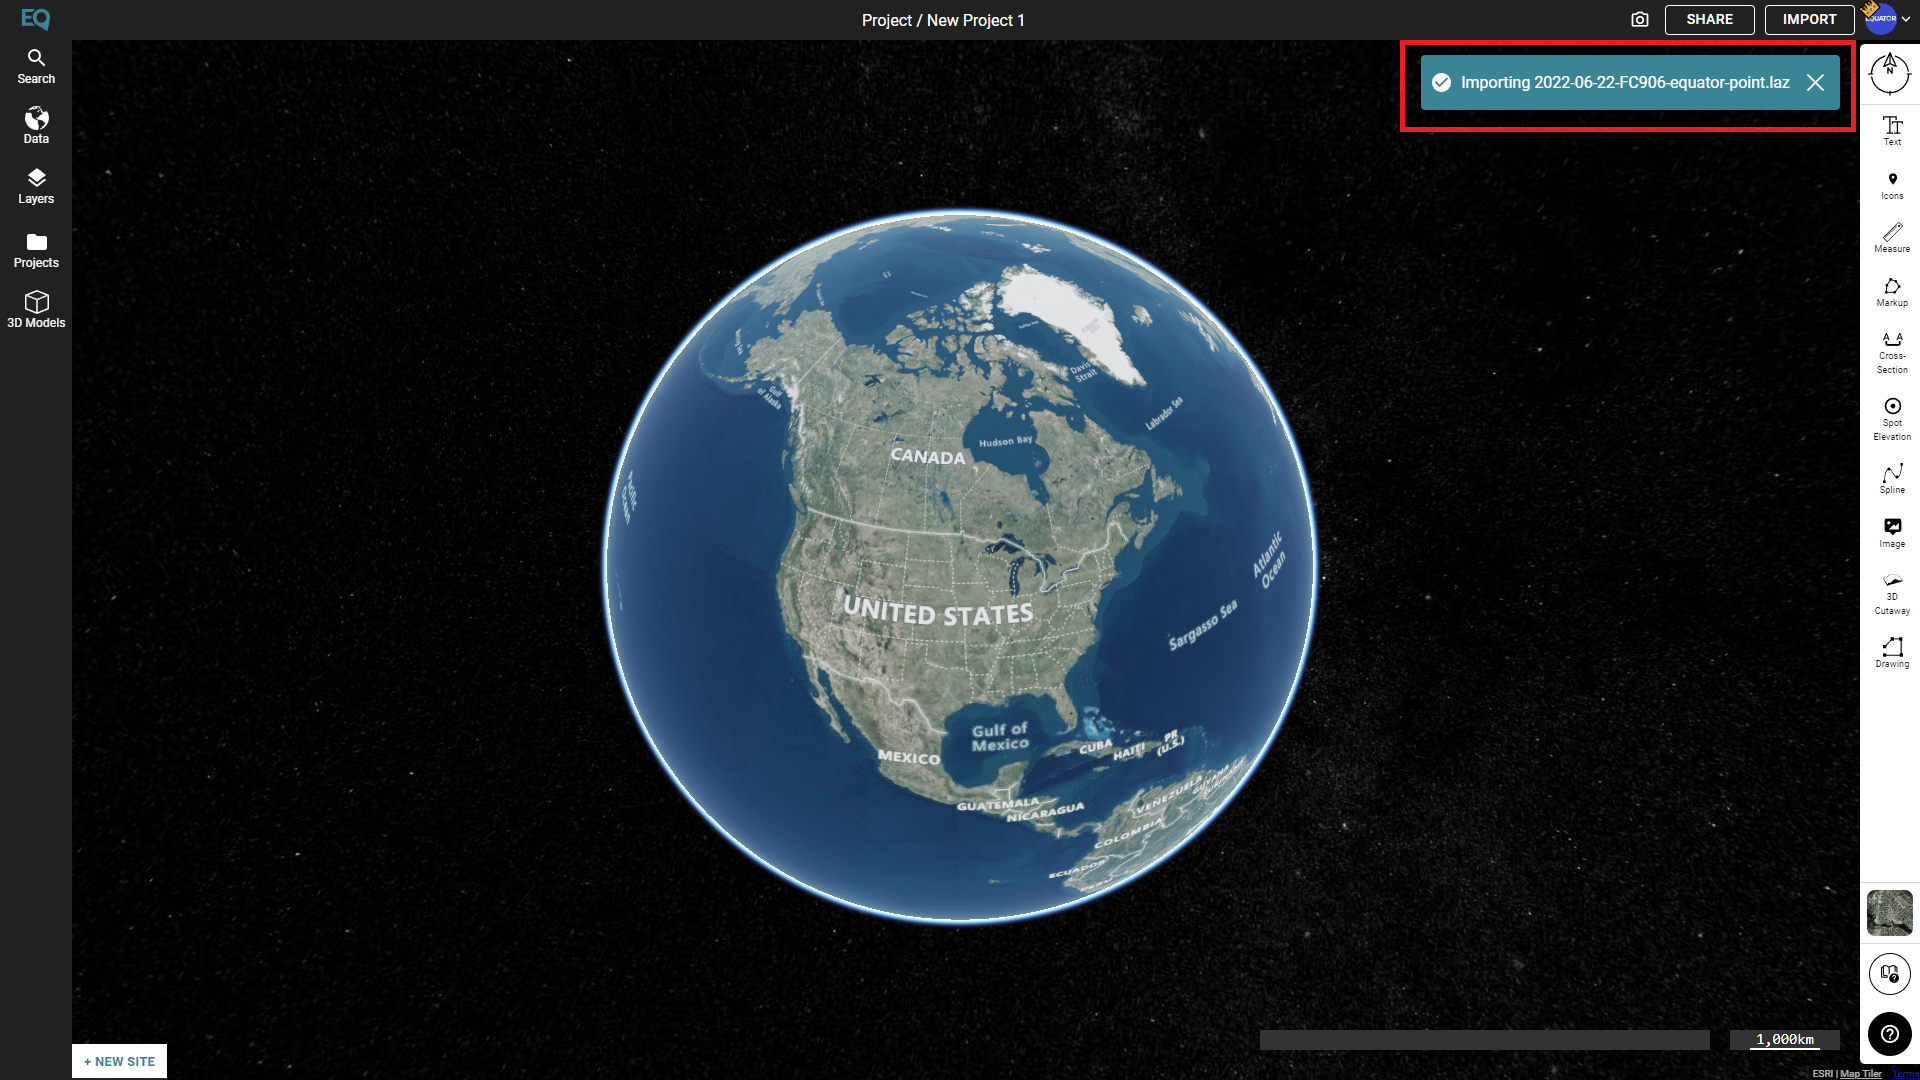
First, visit Equator at maps.equatorstudios.com. Then drag and drop your LAZ file from your computer onto the map in Equator. After a short wait you will get a message in the top right corner that says ‘Importing FILENAME’ and shortly after your LAZ file will load into the map.
Step 2: View your LAZ file
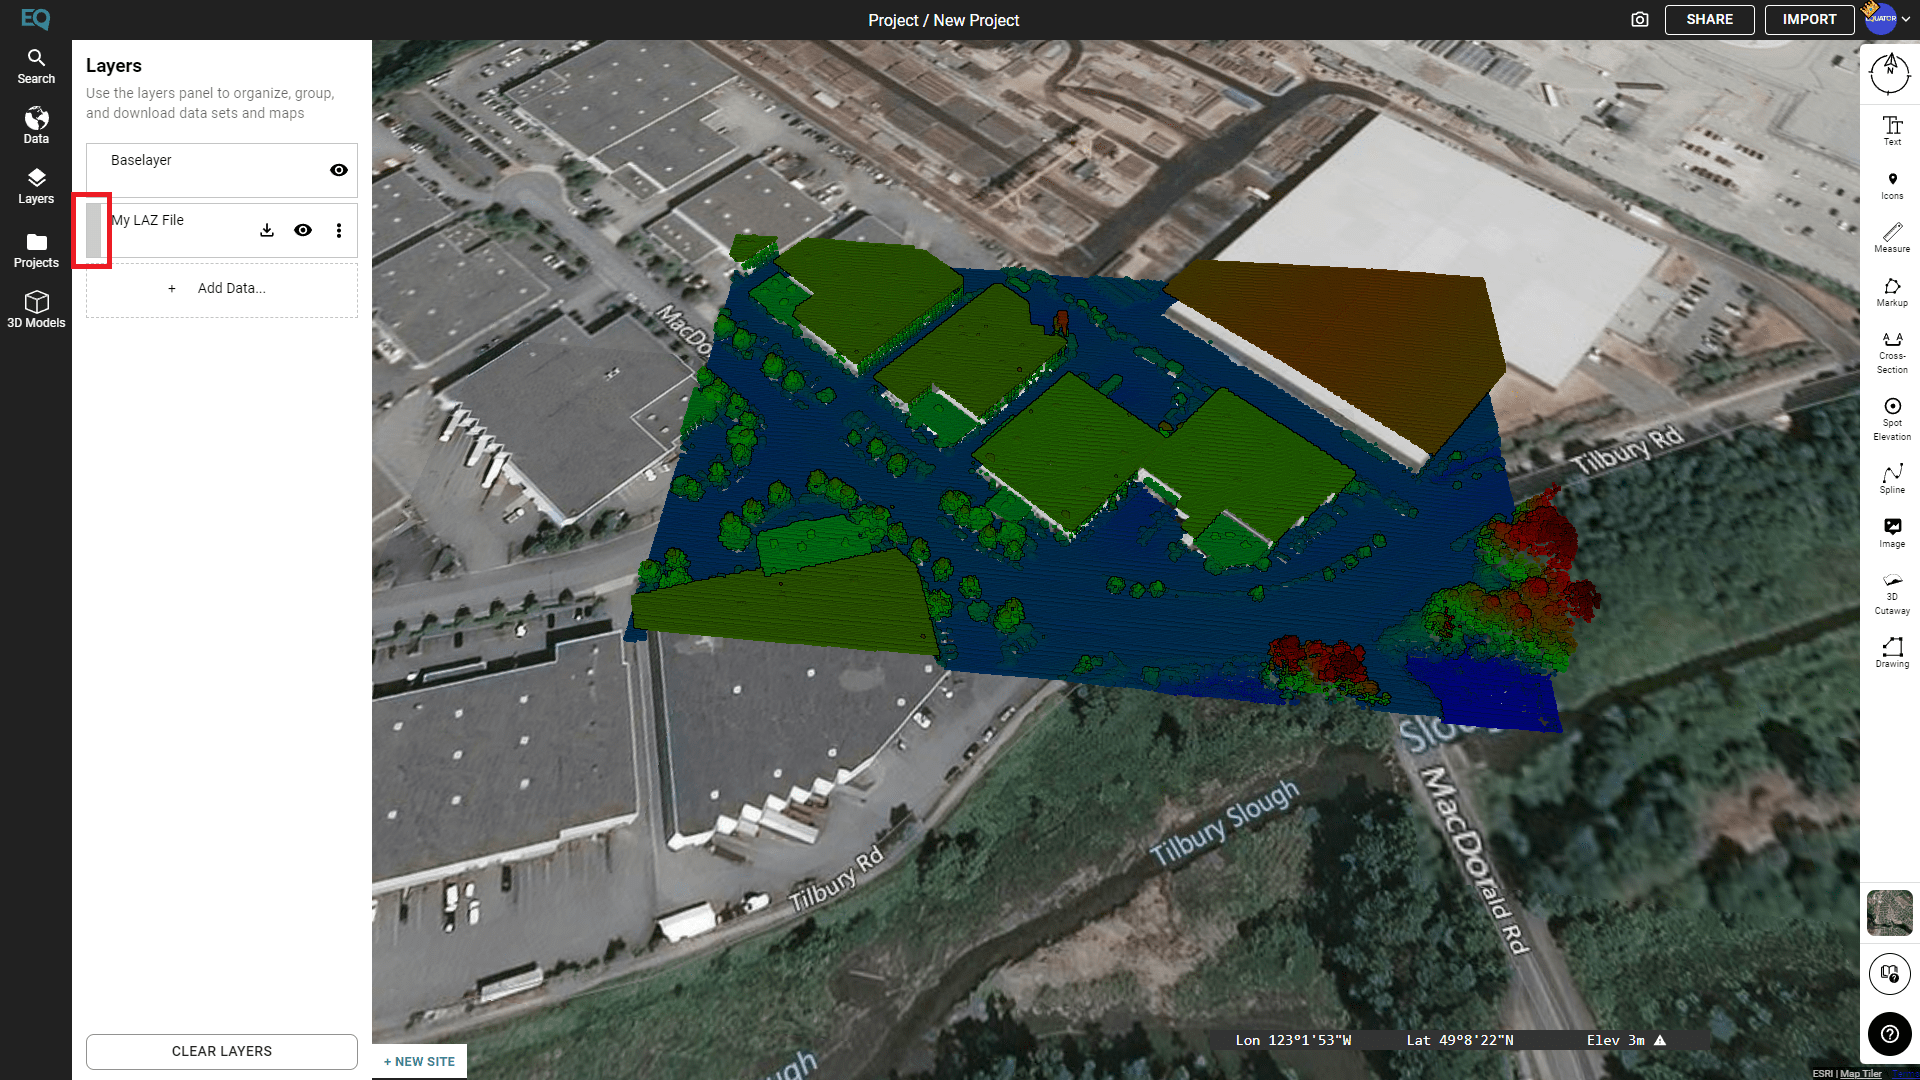
In order to export the LAZ file as a DEM we will need to locate the LAZ file on the map. To view your LAZ file, open the Layers menu on the left sidebar. Once the Layers menu is open, click the gray rectangle (highlighted in red in the picture below) to zoom to the LAZ file on the map.
Step 3: Create a Site around the LAZ file
To create a site around the LAZ file, first click the ‘New Site’ button in the bottom left corner (highlighted in red below).
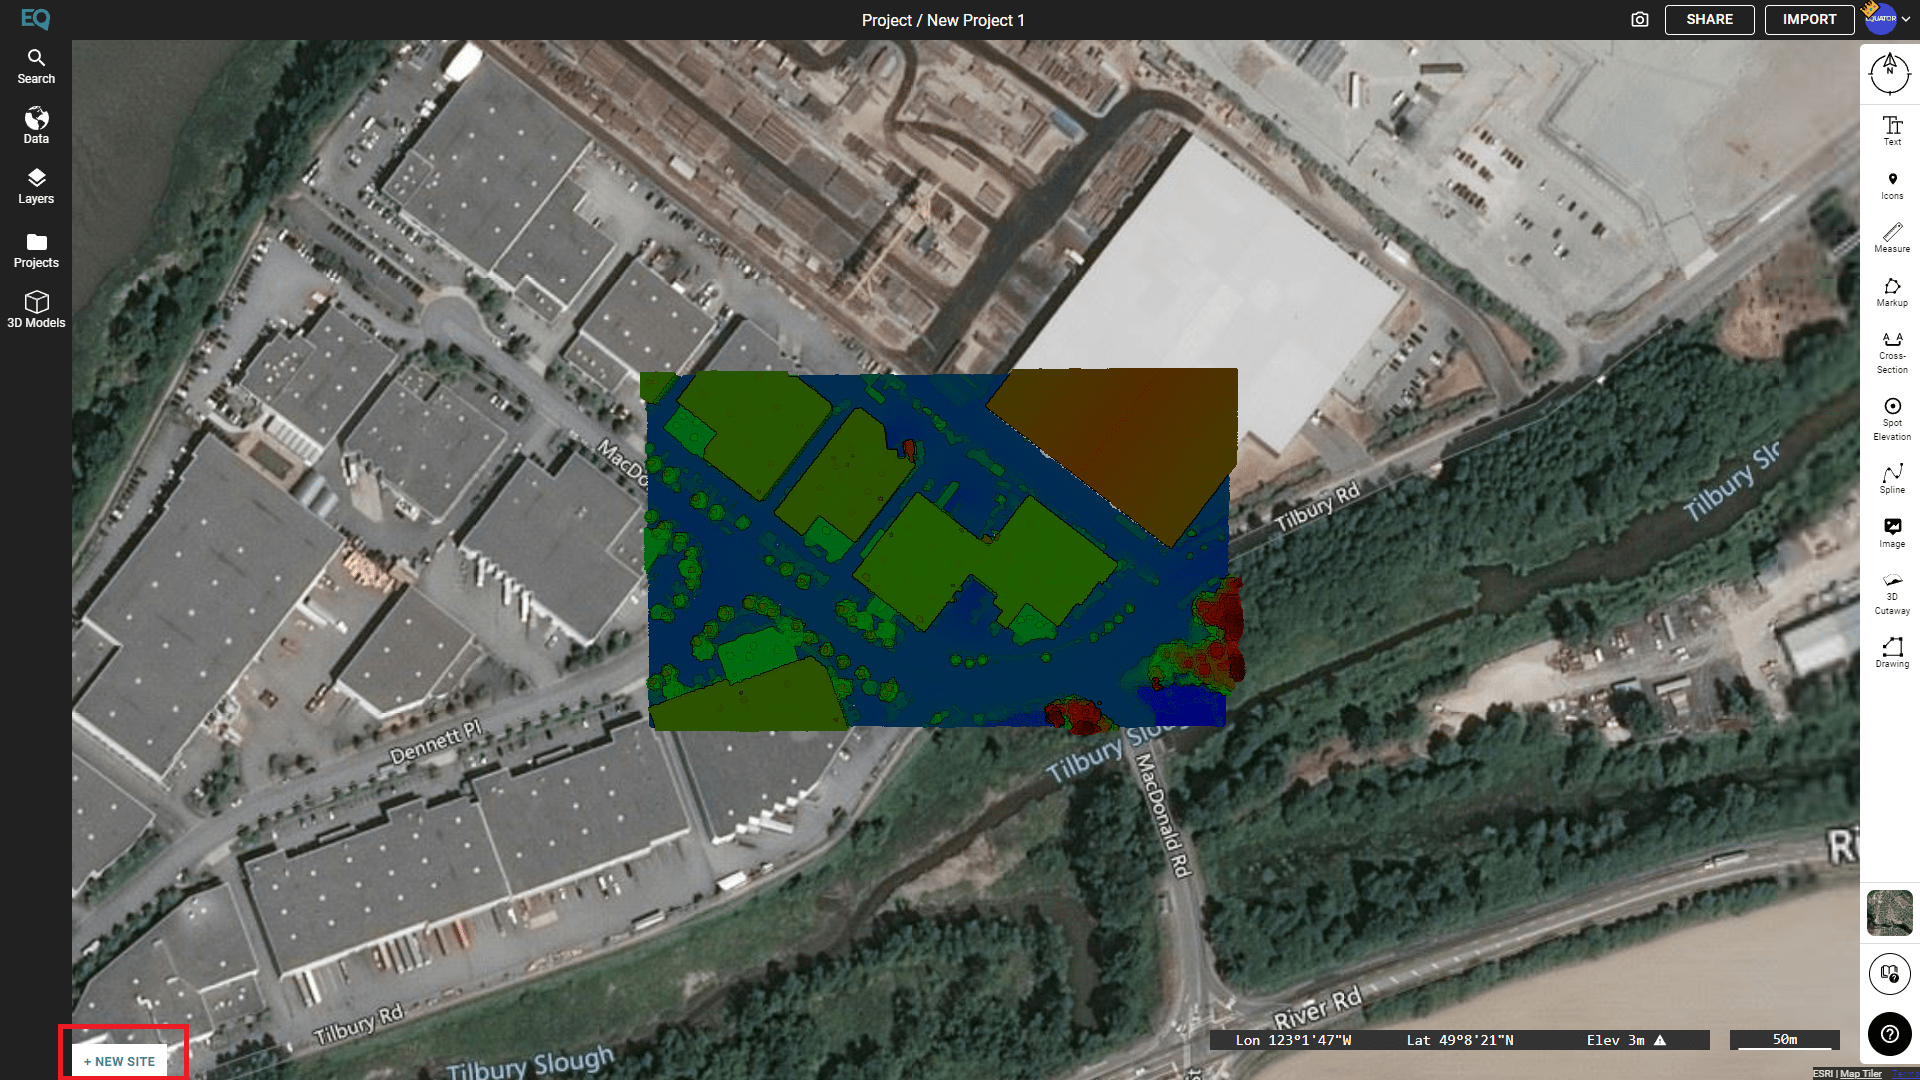
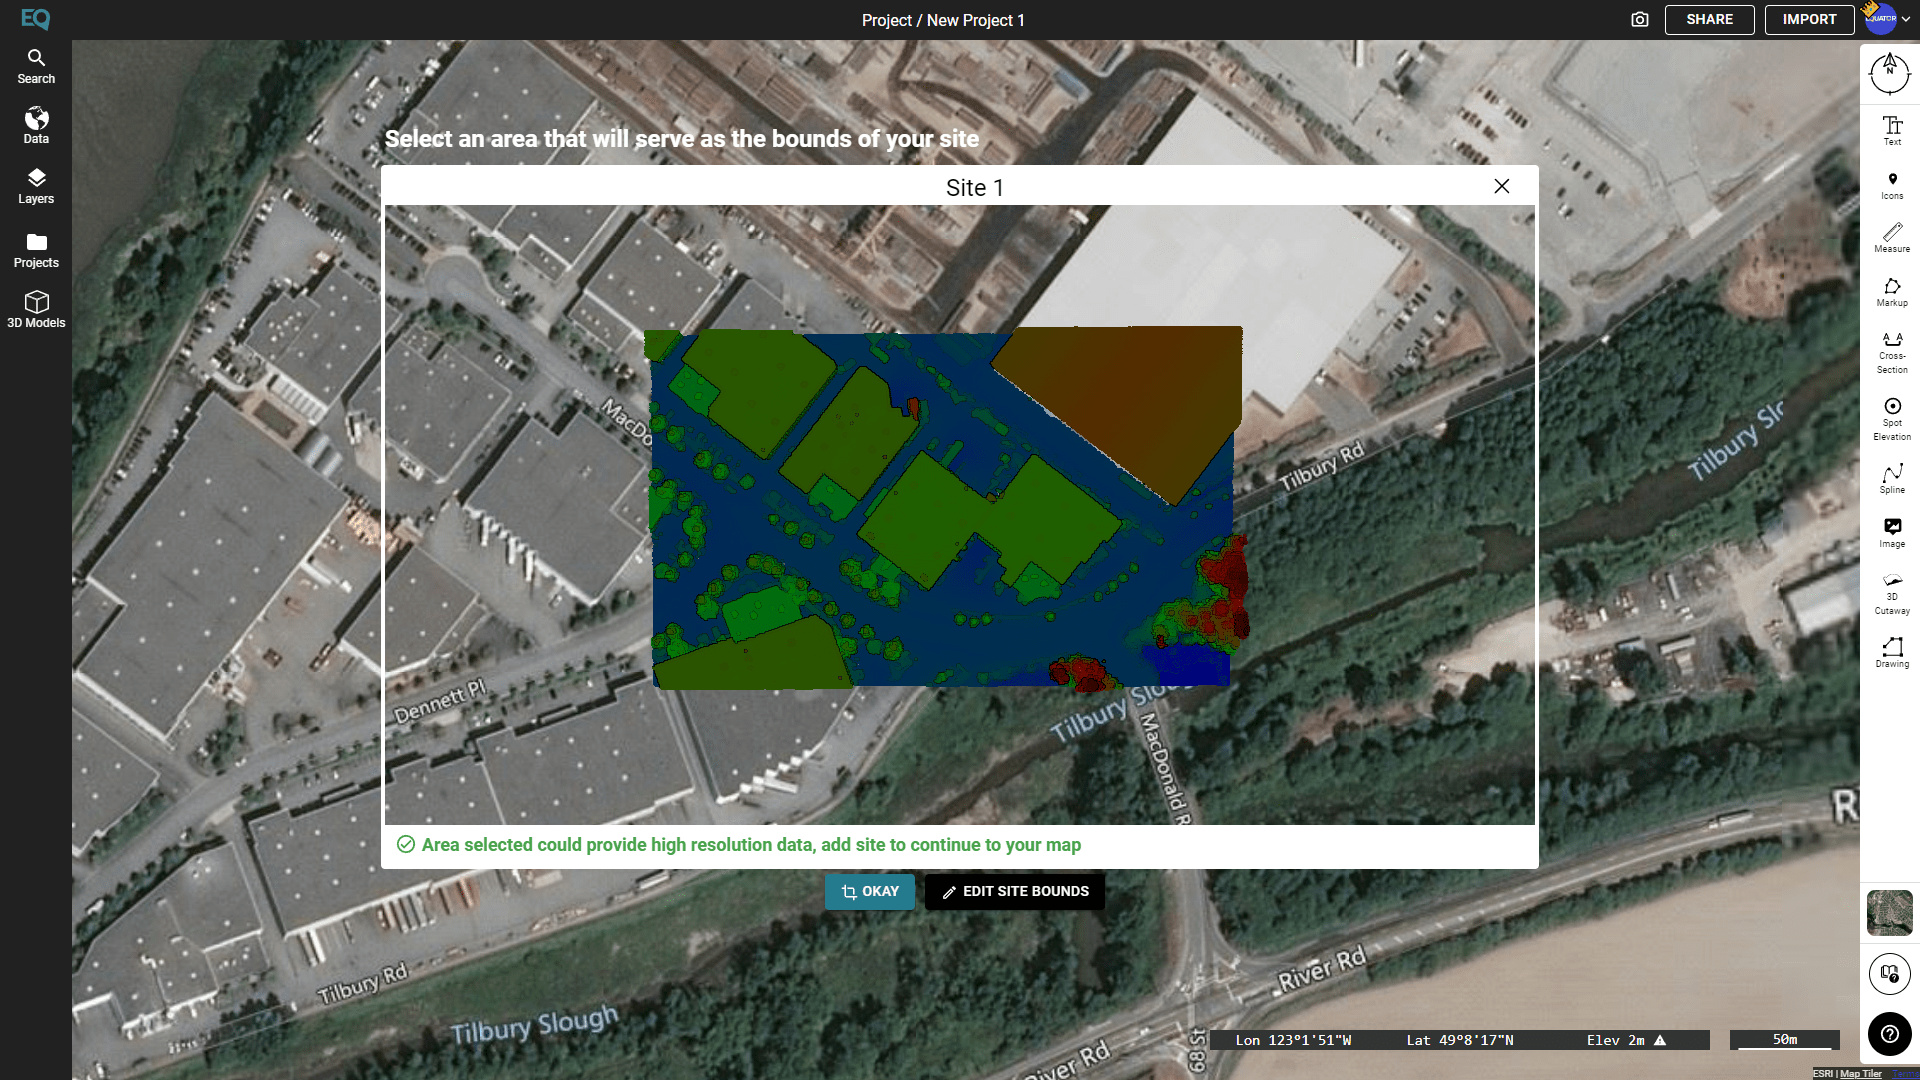
Move the camera so your entire LAZ file is within the confines of the site selector box (shown below). Then click the ‘Okay’ button below the site selector box.
Step 4: Find your Imported LiDAR in the Data menu
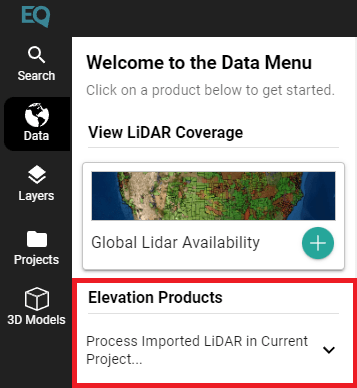
Open the Data menu in the left sidebar. In the Data menu you will find a dropdown that allows you to process imported LiDAR from this project. Click the down arrow on the right to open the menu.
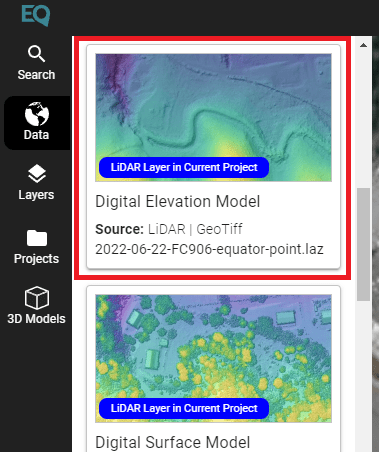
Once the menu is open, scroll down until you find the Digital Elevation Modal product (shown below). Click the Digital Elevation Model card. In the new menu that appears, click Generate.
Step 5: Download your DEM
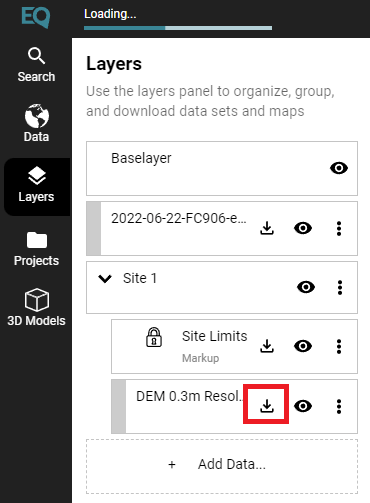
Open the Layers menu on the left sidebar. Locate your newly processed DEM file and click the download button (shown below in red).
Congratulations! You have turned your LAZ file into a DEM file using Equator!
