Tutorial: How to Create a Study Area Map
Learn how to create a Study Area Map in Equator for Environmental Assessments, Urban Planning, or Market Research
In various fields, including environmental assessment, urban planning, and market research, study area maps play a crucial role in understanding and analyzing specific geographic regions.

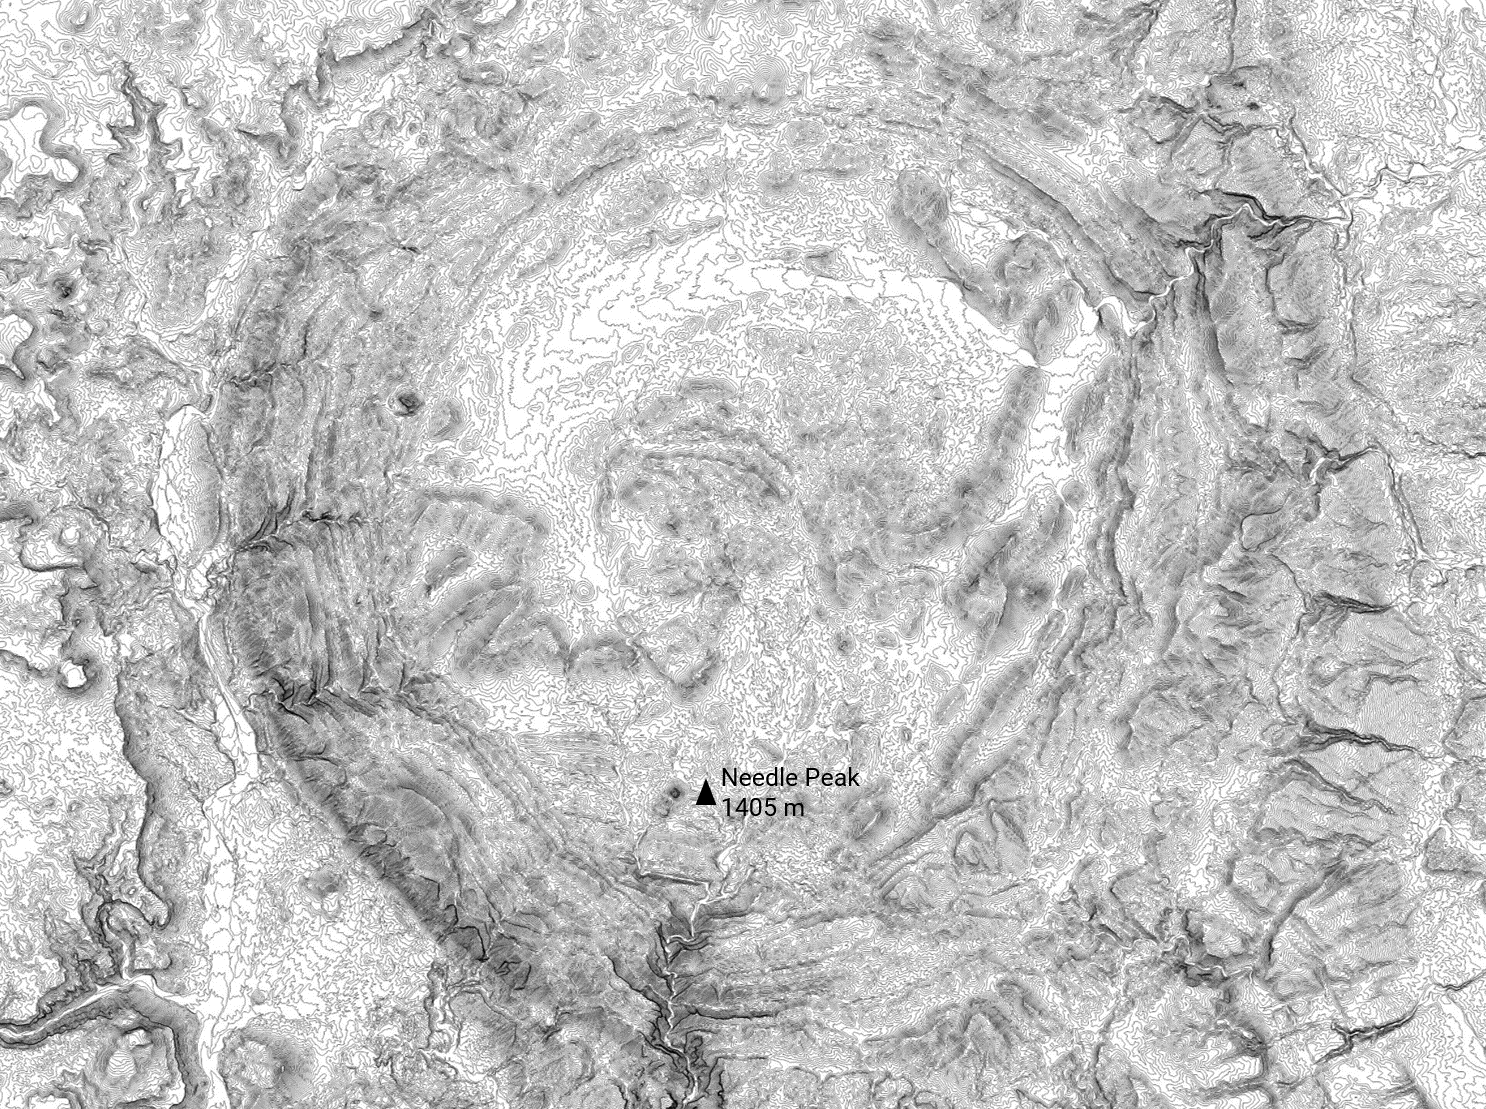
Study Area Map for a Proposed Flow Monitoring Program
What is a Study Area Map?
A study area map is a visual representation of a geographic region or area that is under investigation. It shows the boundaries, key features, and relevant data associated with the area of interest. These maps allow researchers, planners, and decision-makers to better understand the spatial characteristics of the area and can clearly and concisely present stakeholders with the findings.
When referring to environmental assessments and public consultation, having a well-designed study area map is crucial. A study area map provides stakeholders and decision-makers with a clear understanding of the geographical boundaries and scope of a project.

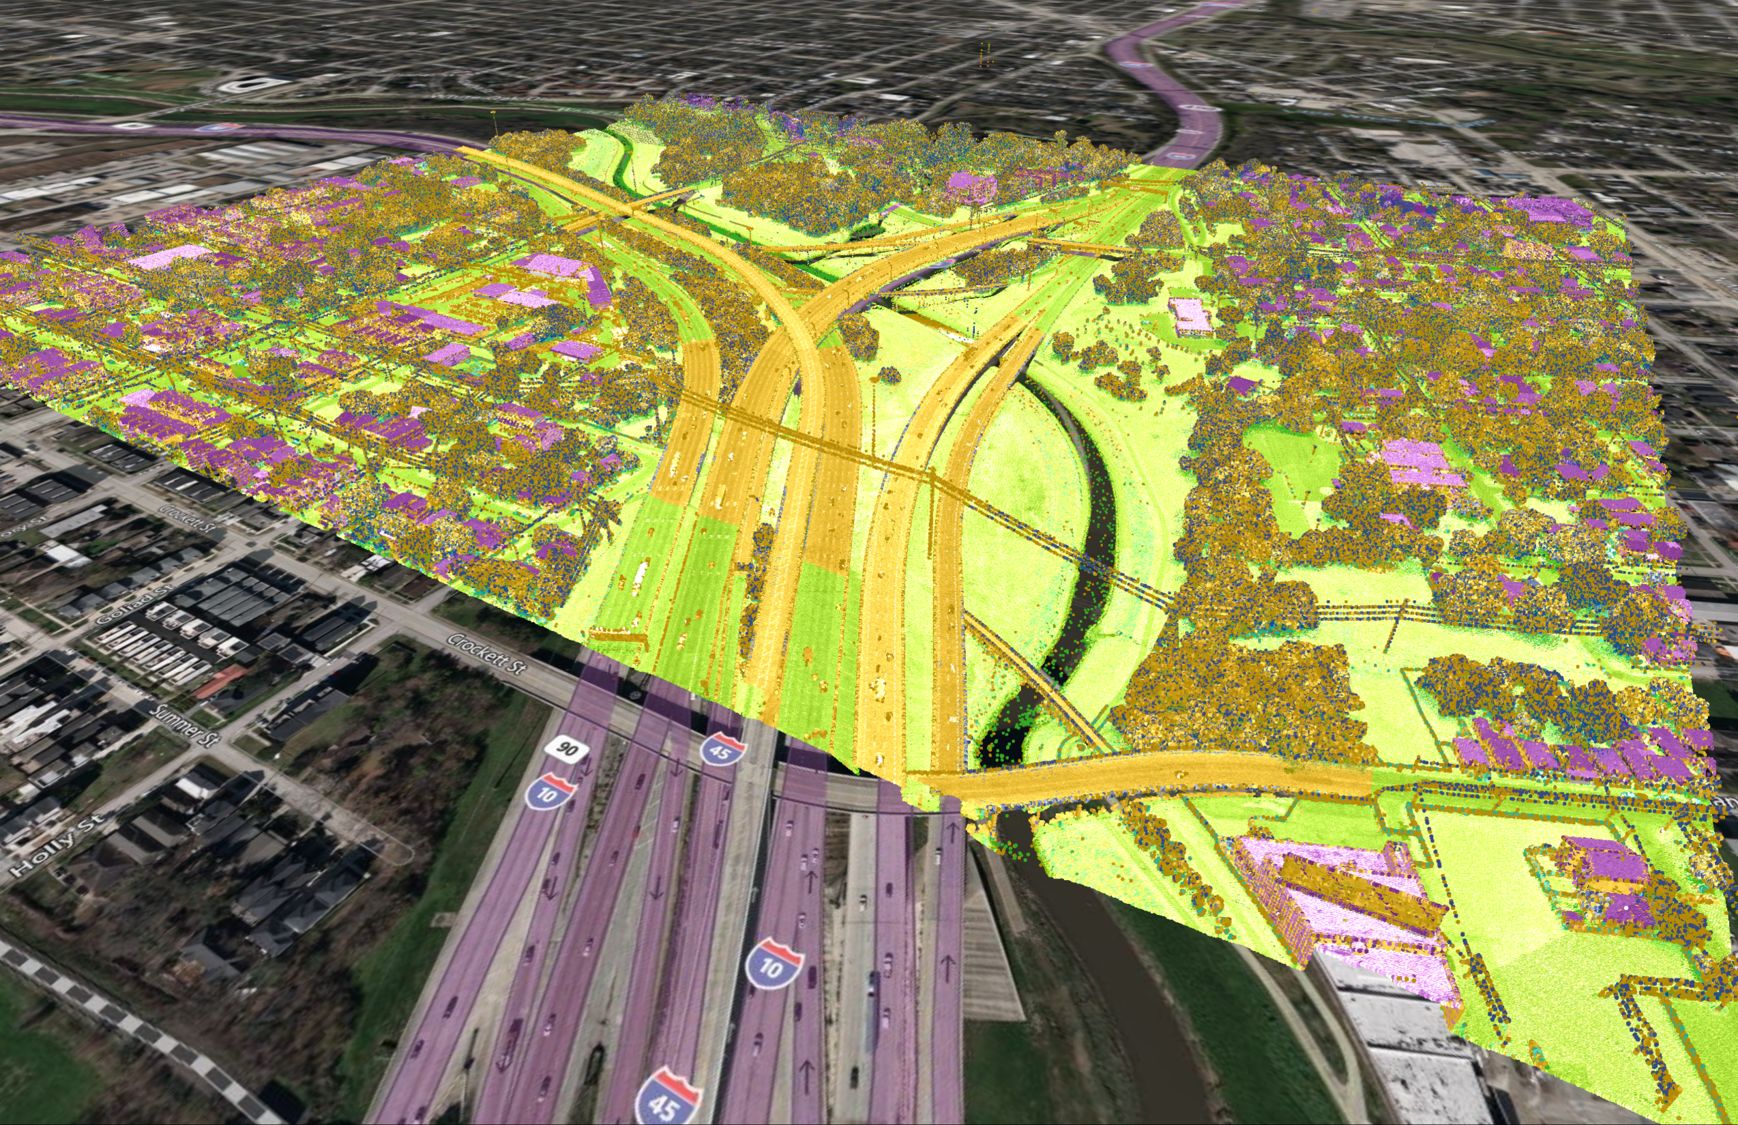
Study Area Map displayed at a Public Information Center or in a Environmental Assessment or Design Report for a Proposed Road Reconstruction Project
How to Create a Study Area Map in Equator
- Sign up or log into Equator
- Locate your study area by zooming into it with the mouse or using the search bar
- Create a +New Site and select Custom from the New Site menu
- Draw your site boundaries and select Create
- Select your baselayer: go to the Layers menu, click on the baselayer and select which map background is best for your project
- Edit site boundary: go to the Layers menu and click the site limits; choose the line type and colour for the boundary as well as the background colour
- Add annotation: label the study area, any streets, or any points of interest
- Click on annotation in the layers menu to edit the colour and style
- Add icons for key places (found in the right side menu)
- Even add photos for key issues if you would like (found in the right side menu)
- Export map: click the take screenshot button in top right corner
If you need to inset the study area into a report as its own separate drawing, check out the report-making tools in Equator.