How to Complete an:
Unsupervised Image Classification with QGIS and SCP Extension
Unsupervised image classification is a remote sensing method used to classify raster images without predefined (human input) training data. It uses clustering algorithms to group raster pixels with similar spectral properties. The user can assign land-cover classes to each cluster once the process has finished. Image classification is used in land-use and land-cover mapping, environmental monitoring, disaster management, urban planning, natural resource management, agriculture, and forestry.
QGIS, with the help of the Semi-Automatic Classification Plugin (SCP) can complete the unsupervised image classification process in 3 easy steps:
- Source Orthoimage
- Import Orthoimage into QGIS
- Run Unsupervised Image Classification with SCP
Step 1: Source Orthoimagery
If you already have an orthoimage, jump down to step 2. If you don’t have an orthoimage of your project location, you can quickly download one from Equator. Follow the steps below to download an orthoimage.
- Log in or create a new account with Equator
- Locate your project site by using the Search tab or simply zooming into your site.
- Create your site boundaries by clicking on the +NEW SITE button on the bottom left of the screen. Use one of the predefined boundary boxes or create a custom boundary. Don’t forget to name your project site.
- Under the Data tab, click on the Orthoimagery (GeoTIFF) option.
- The Orthoimagery dialog box will appear. Select your project site and any customizations. Then click Generate.
- The orthoimage for your project site will appear within the site boundary.
- To export the orthoimagery out of Equator, go to the Layers tab and click the download button beside the orthoimage layer.
- The Customize Download dialog box will appear. Select GeoTIFF as your format, set your coordinate system, and click Process.
- Your orthoimage (GeoTIFF file) will download into your Downloads file.
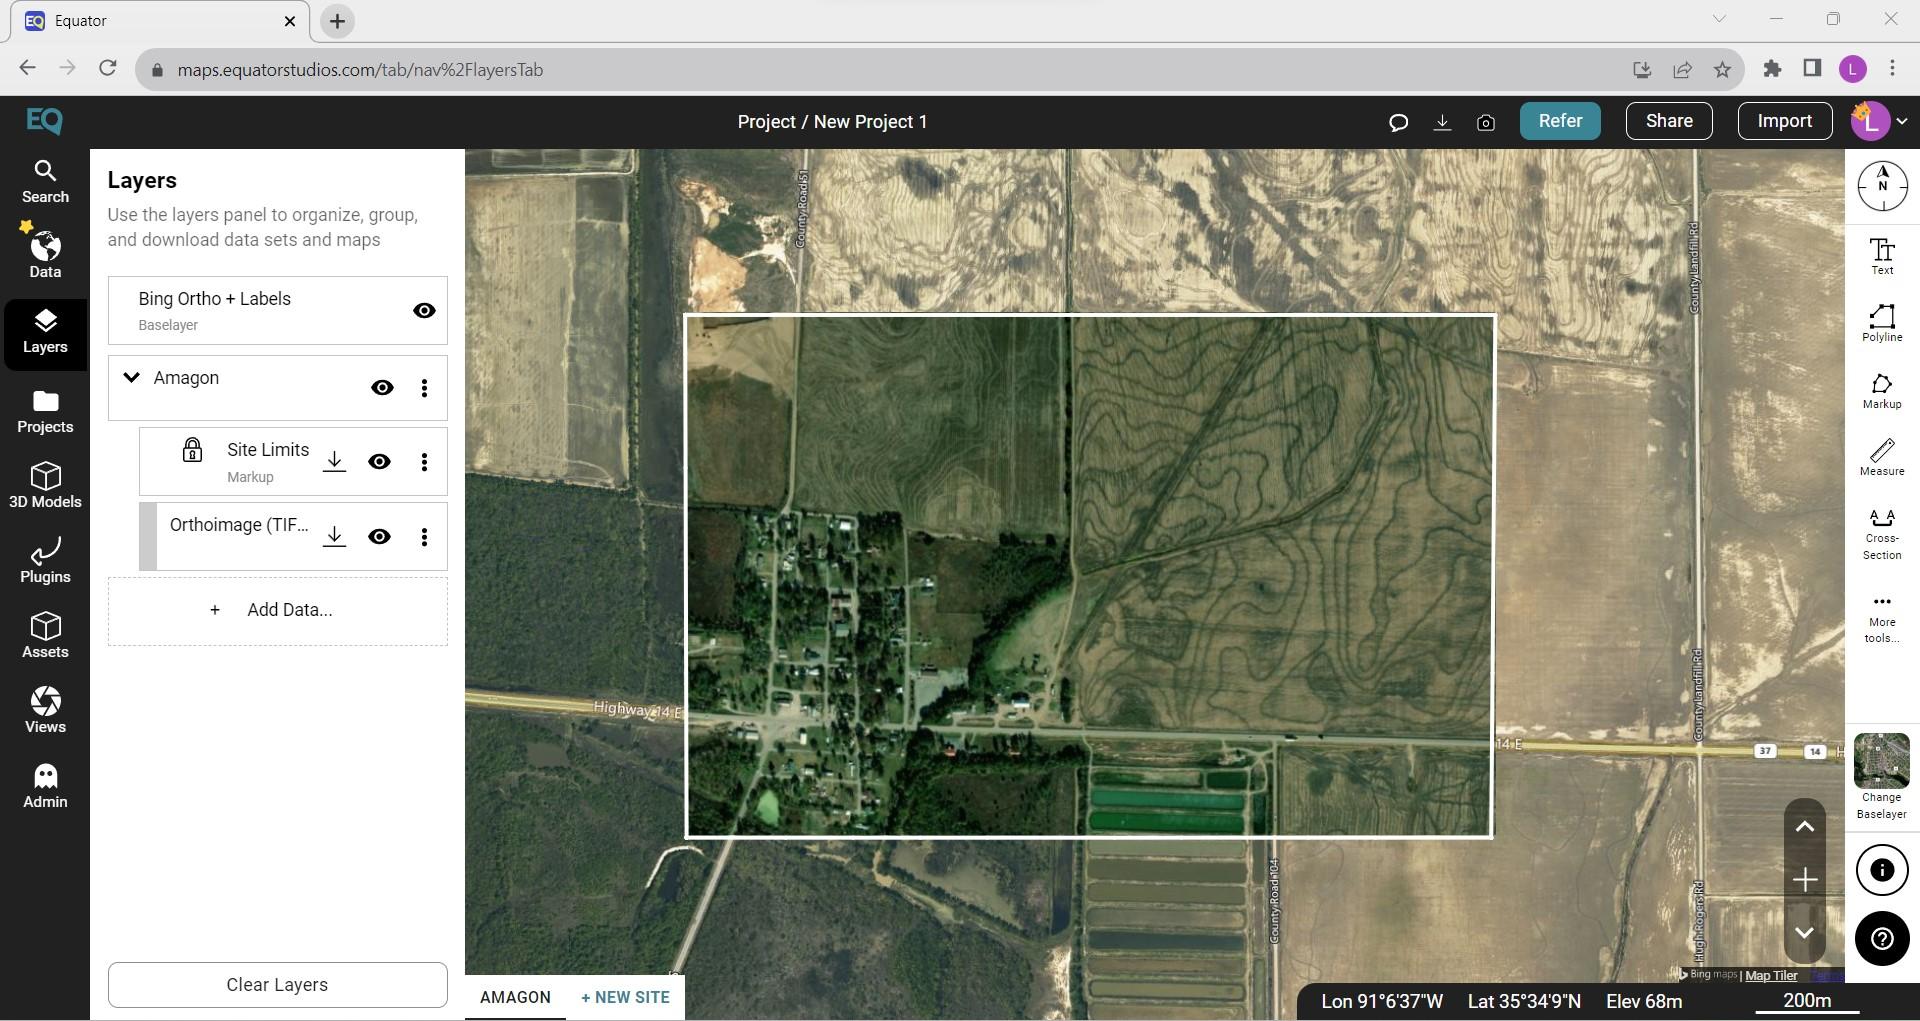
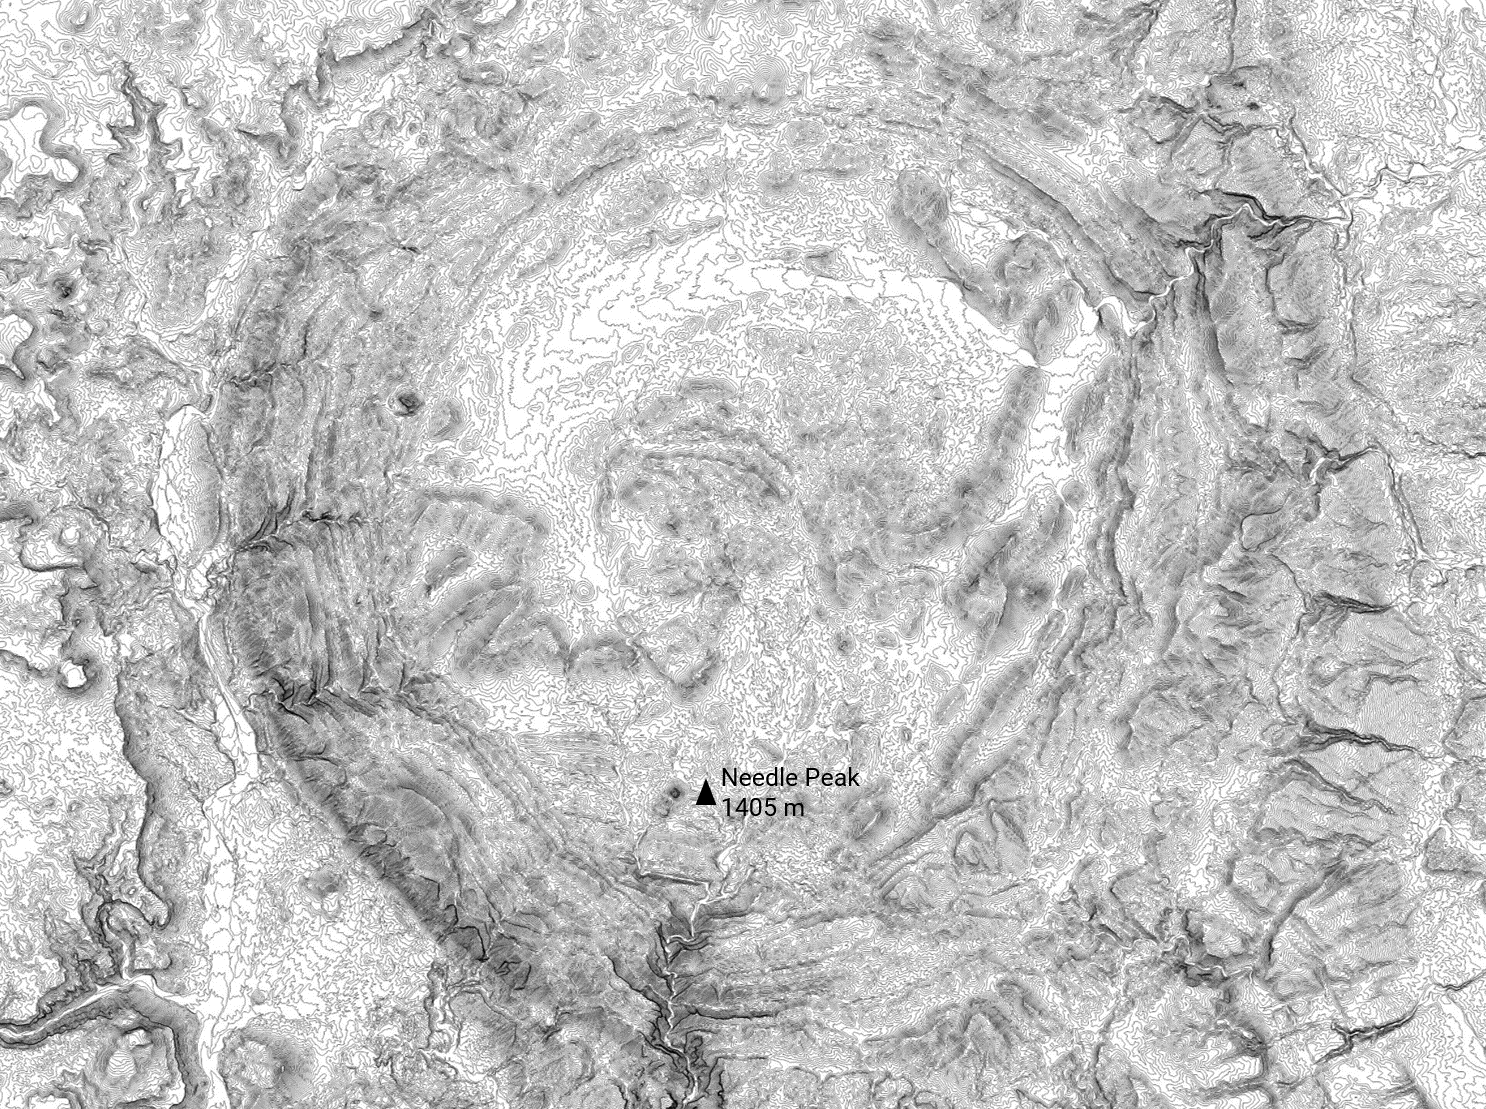
Step 1: Source orthoimage (GeoTIFF) from Equator
Step 2: Add Orthoimage to QGIS
Once you’ve sourced your orthoimage, you need to add it as a raster file to QGIS.
- Open QGIS
- In the top menu, select Layer > Data Source Manager > Raster. Under the source heading, locate your orthoimage. Then click Add.

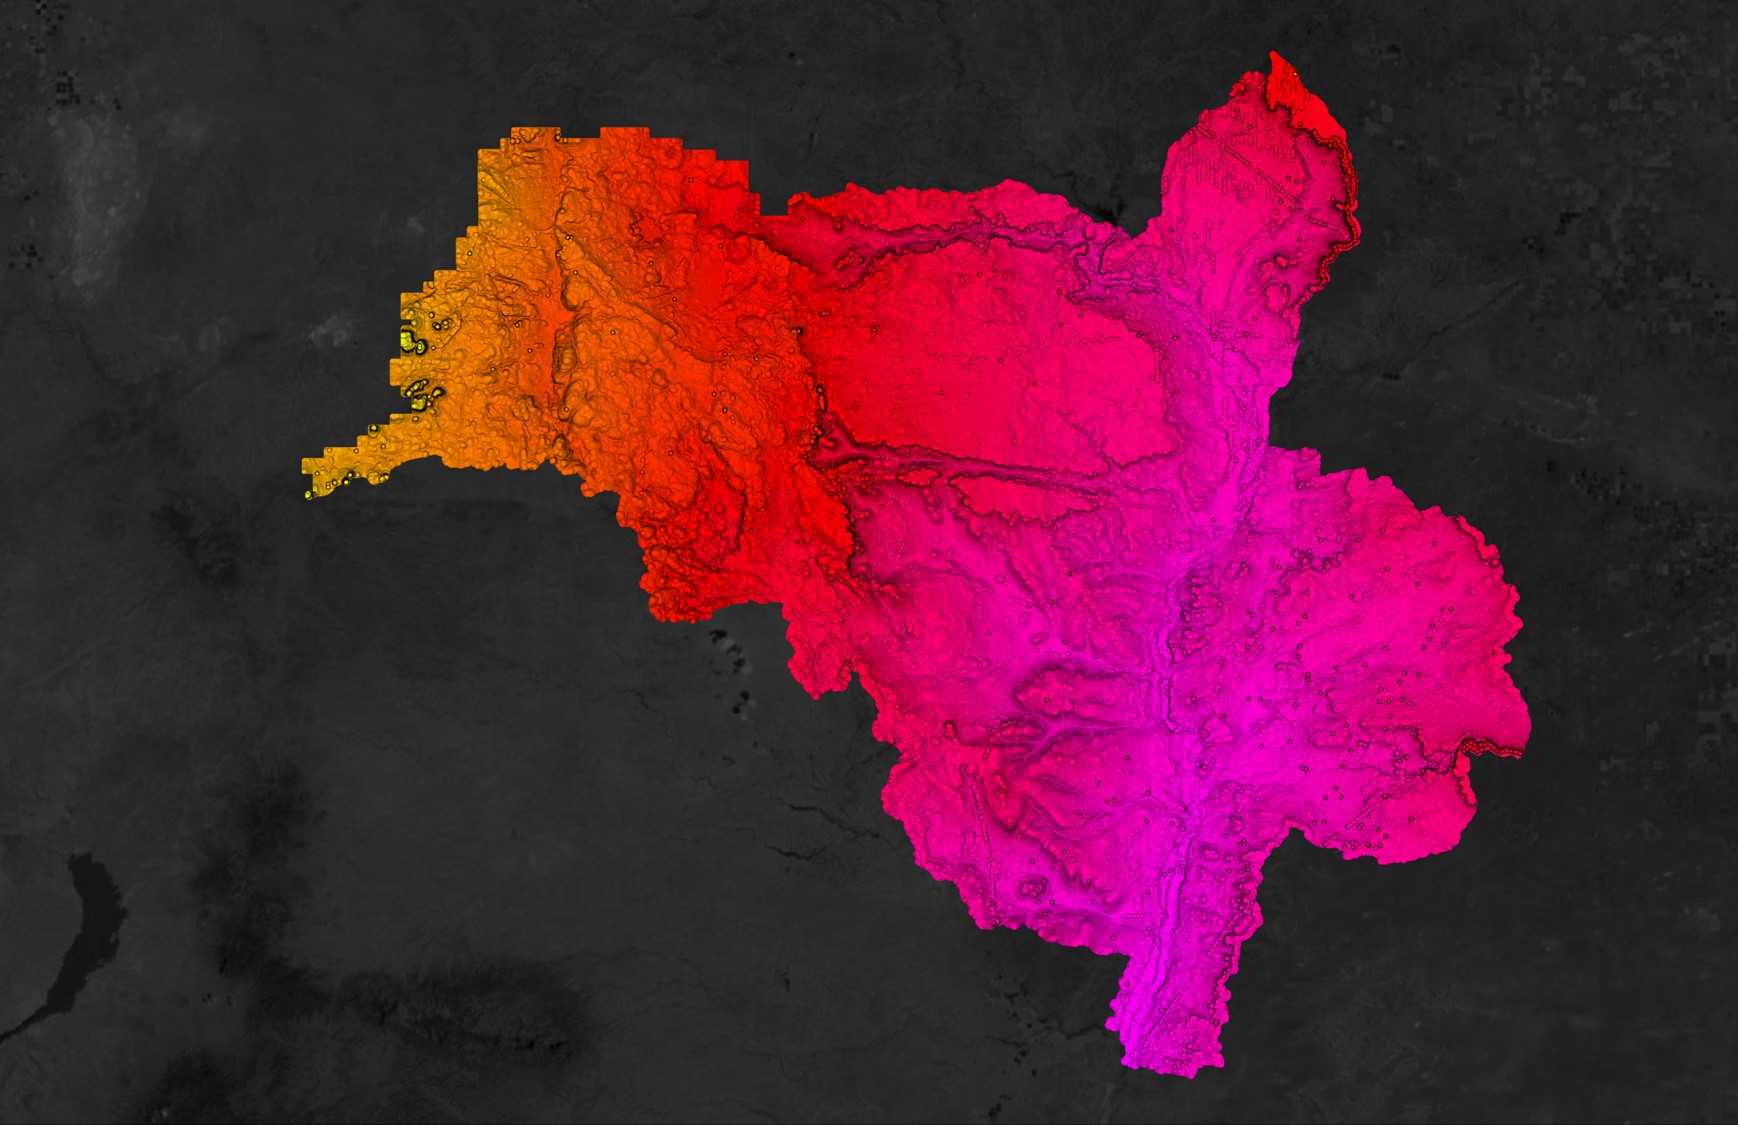
Step 2: Import orthoimage into QGIS
Step 3: Complete Unsupervised Image Classification
Unsupervised image classification can be completed using the semi-automatic classification plugin (SCP). To install the SCP plugin, click on Plugins in the top menu. Select Plugins > Manage and Install Plugins. The dialogue box for Plugins will appear. Search for SCP, select it, and click install. Now follow the steps below to complete your analysis:
- Navigate to SCP on the top menu. Go to SCP > Show Plugin > Band Set. Under the Multiband Image List, add an image. Navigate to your orthoimage.
- Still in the SCP Plugin dialogue box, select Band Processing > Clustering from the left menu.
- Under the Input heading, define your parameters. You can select the method to make an unsupervised classification (either K-means or ISODATA), define the threshold, number of classes, number of iterations, and no data values.
- Once your parameters are set, click RUN.

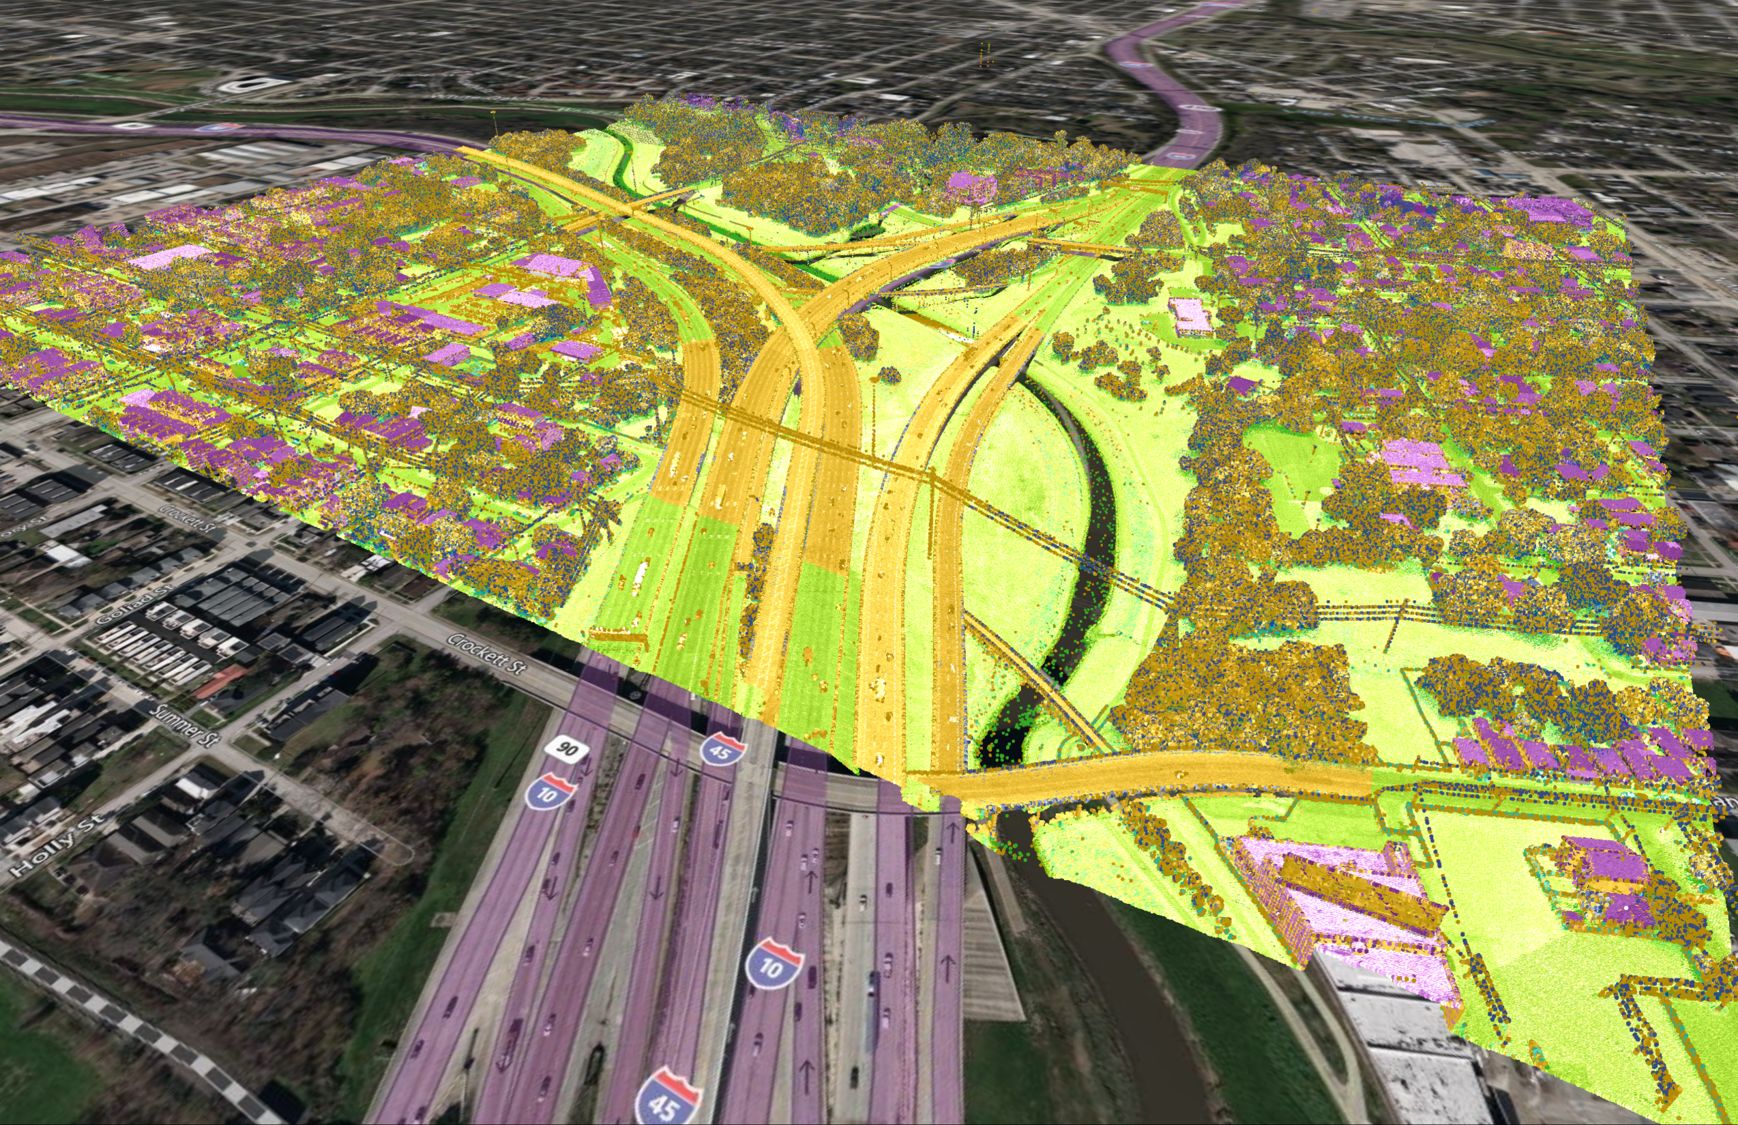
Step 3: Unsupervised Image Classification Results in QGIS with the SCP Extension